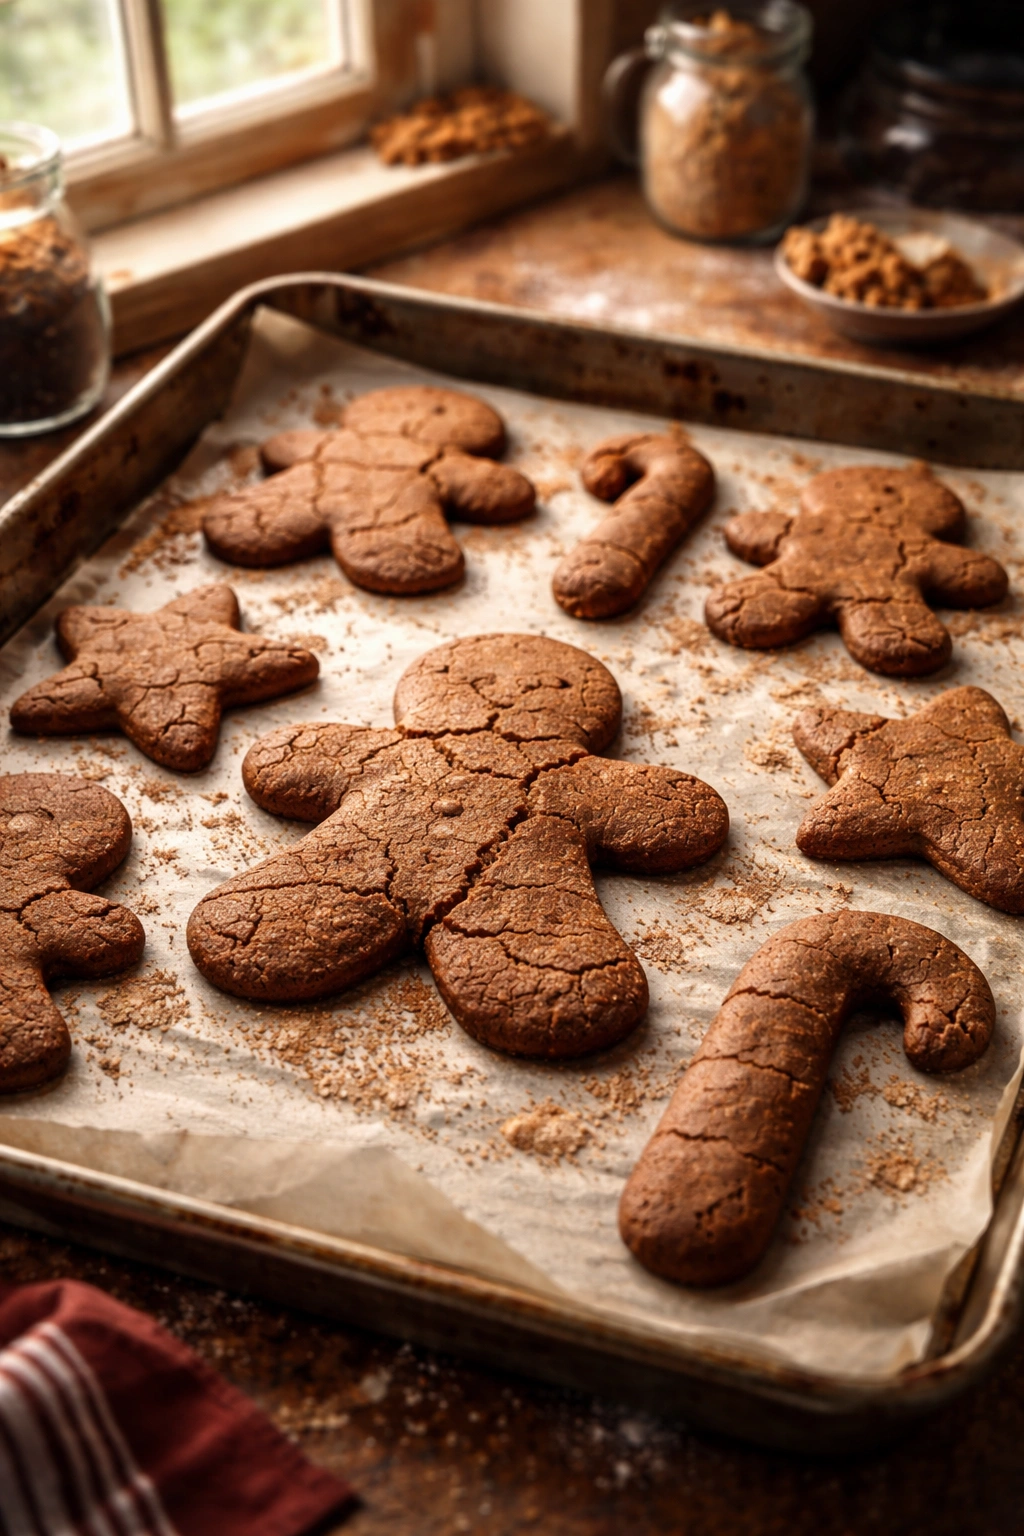
There’s something almost magical about the moment you pull a batch of homemade gingerbread cookies from the oven — the aroma alone fills your entire kitchen with cinnamon, ginger, and molasses warmth. These aren’t the dense, dry versions that sit unloved in holiday tins. When you make gingerbread cookies completely from scratch, you get something infinitely better: tender, chewy centers with crisp edges, deep complex spice flavors, and a richness that comes only from real butter and dark molasses. The best part? The recipe is genuinely easier than you’d think, and the results taste like you spent hours in professional development.
Most store-bought gingerbread cookies taste flat and over-processed because they’re engineered for shelf stability, not flavor. Homemade versions are the opposite — they taste like actual ginger, clove, and nutmeg instead of “spice flavor.” You control the molasses ratio, the spice intensity, and the cookie texture. Want them barely crispy or genuinely chewy? You decide. Want to bump up the clove or dial back the ginger? The recipe is completely flexible. That control is what transforms a basic cookie into something you’ll be craving all year long, not just during the holiday season.
The other huge advantage of making these from scratch is the sheer satisfaction of knowing exactly what goes into your cookies. No preservatives, no mystery ingredients, no artificial anything. Just real butter, pure spices, dark molasses, flour, and a few other basics. You can make a double batch without hesitation because you know every single ingredient. And honestly, once you’ve mastered this recipe, you’ll find yourself making them far more often than you expected — they’re that good and that straightforward.
The History and Soul of Gingerbread Baking

Gingerbread has roots stretching back centuries, originating in the medieval Middle East before becoming a European obsession. The spiced cookies as we know them evolved in Germany and Scandinavia, where gingerbread became inseparable from holiday traditions and folklore. The spices themselves — ginger, cinnamon, clove, nutmeg — were once incredibly expensive, exotic luxuries that only wealthy households could afford. That’s why gingerbread cookies became associated with special occasions and festive celebrations; they literally represented indulgence and care.
What’s fascinating is that traditional gingerbread recipes vary wildly depending on region and family. Some versions are cake-like and tender, others are snappy and crumbly, and still others are thick and chewy. The spice ratios shift dramatically too — German versions tend toward assertive clove and cinnamon, while Scandinavian versions often emphasize cardamom and ginger. This recipe draws from the chewy, flavorful tradition that’s become most popular in North America: dark molasses providing depth, a generous ginger kick, and enough butter to keep the texture soft and satisfying.
The reason homemade gingerbread cookies taste so dramatically different from packaged versions isn’t just freshness — it’s the balance and quality of spices. Store-bought cookies often use “spice blends” that are already mixed and sitting in warehouses, slowly losing potency. When you measure out fresh whole spices (or high-quality ground spices from a reliable source), each spice maintains its individual character while combining into something harmonious. You’re not chasing “spice flavor” — you’re creating a sophisticated blend where you taste the ginger individually, the clove individually, and the cinnamon individually, yet they combine into something greater than the sum of the parts.
Why You Should Make These From Scratch Instead of Using a Mix
Baking from scratch gives you an enormous advantage that packaged mixes simply can’t offer: control over every single variable that affects how the cookies turn out. When you measure your own flour, butter, sugar, and spices, you’re not locked into someone else’s proportions or assumptions about what makes a “good” gingerbread cookie. Maybe you prefer them crispier than the average recipe calls for — you can adjust the baking time or reduce the molasses slightly. Maybe your spice preferences lean more toward ginger and less toward clove — you adjust the amounts freely.
Packaged mixes also contain stabilizers, preservatives, and sometimes artificial flavoring that extends shelf life but diminishes taste. That’s a reasonable trade-off for convenience in some situations, but gingerbread cookies from scratch are so simple and fast that there’s almost no convenience advantage to a mix. You’re looking at roughly 20 minutes of active preparation time (mixing dough), 10-12 minutes of baking, and you’re done. That’s genuinely faster than many home cooks expect, and the flavor difference is enormous.
There’s also a financial argument worth making. A decent gingerbread mix costs around $3-4 per box, and you might get 24-36 cookies depending on size. When you make them from scratch, the ingredient cost works out to maybe 40-50 cents per dozen cookies, and the spices you buy will be used across dozens of batches over months. That initial spice investment pays dividends over time. If you end up making these cookies multiple times per year — which you absolutely will, because they’re addictive — the savings add up fast.
Beyond economics, there’s something genuinely nourishing about making cookies completely from your own hands. You understand exactly how much butter goes in, how the spices were sourced, what the molasses contributes. You can taste the difference between light molasses (which gives a lighter spice flavor) and dark molasses (which adds richness and complexity). You know whether your eggs were room temperature (they were, because you took that step), and you can feel the dough transform as you cream the butter and sugar. That hands-on knowledge creates a connection to what you’re baking that mix-based recipes simply don’t offer.
Understanding the Key Ingredients and Their Roles
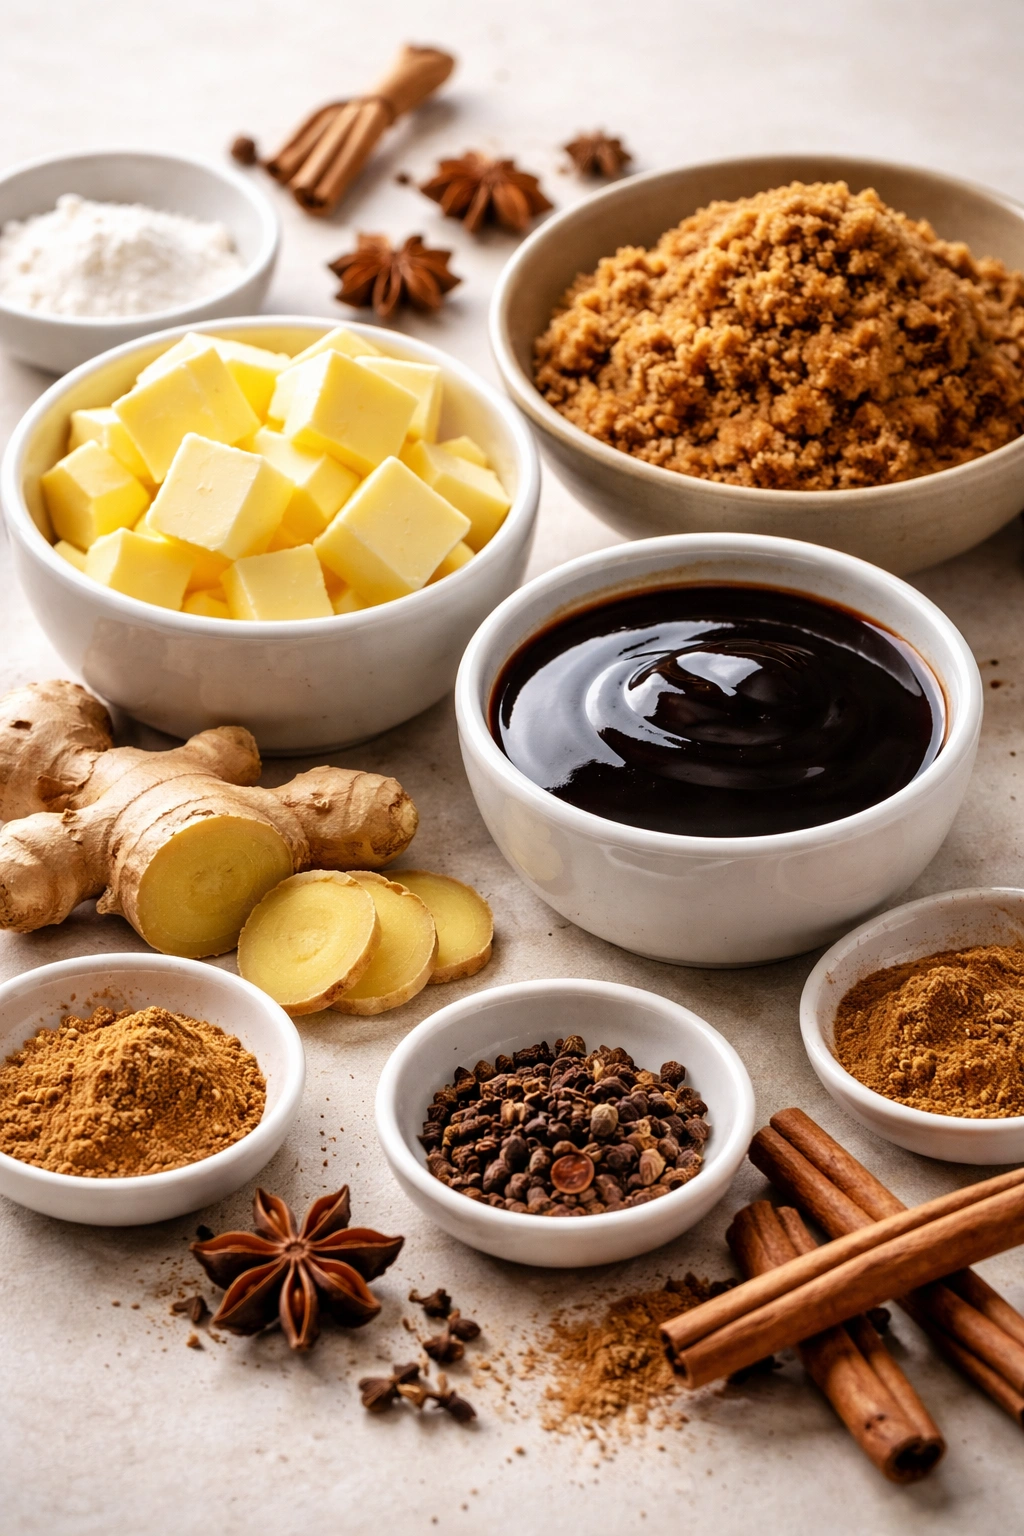
Molasses is the backbone of these cookies, providing both moisture and depth. You’ll want to use unsulphured molasses, which has a cleaner spice flavor than sulphured versions. Dark or blackstrap molasses creates richer, more complex flavor than light molasses. The molasses is slightly thick and syrupy, which is why creaming it into the butter requires a bit more attention than standard cookie recipes — you’re not just mixing, you’re emulsifying.
Butter needs to be unsalted so you can control the salt level precisely. Room temperature butter creams properly with sugar, incorporating air that creates texture. Cold butter won’t incorporate air effectively, and melted butter creates a denser, cake-like texture instead of the tender, slightly crispy-edged cookie you’re aiming for. About 10-15 minutes on the counter at normal room temperature gets butter to the right consistency.
Spices are everything here. Ground ginger provides the forward, slightly sharp spice note that everyone recognizes as “gingerbread flavor.” Ground cinnamon adds warmth and sweetness. Ground clove brings a deep, almost medicinal complexity that shouldn’t be too strong — it’s there to deepen rather than dominate. Ground nutmeg adds subtle sweetness without introducing obvious nutmeg flavor. Some recipes also include black pepper or cardamom, and this recipe includes both cinnamon and ginger because they’re the heart of the flavor profile.
Flour is standard all-purpose flour, and you want to spoon it into your measuring cup rather than scooping directly from the bag. Scooping compacts the flour and adds too much to the dough, which makes cookies tough. Spooning and leveling gives you the correct amount and maintains proper proportions.
Baking soda is the leavening agent, helping the cookies rise slightly during baking and contributing to that tender crumb. You don’t need baking powder here — just soda.
Salt is crucial. Even in sweet recipes, a small amount of salt (¼ to ½ teaspoon) enhances every flavor and prevents the spice notes from becoming one-dimensional.
Brown sugar (versus granulated) adds moisture and a slight molasses note that works beautifully with the actual molasses in the recipe.
Egg binds everything together, adds richness, and contributes to the lift during baking. One egg is plenty for this recipe.
Essential Ingredients Explained

Understanding why each ingredient matters transforms you from someone following a recipe into someone who truly understands baking. Molasses and brown sugar work together to create moisture and chewiness. The molasses is hygroscopic, meaning it absorbs moisture from the air, which keeps these cookies soft even after they cool completely. If you tried to make gingerbread with only white granulated sugar, the cookies would be drier and crispier. The combination of dark molasses and brown sugar is what creates that signature tender-but-structured texture.
Ginger is absolutely essential, but the amount and type matter significantly. Ground ginger loses potency over time, so if your ginger has been in your spice cabinet for more than 6-8 months, consider replacing it. Fresh ginger, if you have it, can be finely grated and added to the dough for extra intensity, though the standard recipe uses ground ginger. The amount called for (about 1½ to 2 teaspoons) creates real ginger flavor without overpowering the other spices — you should taste unmistakable ginger with each bite.
Clove is potent and can easily become overwhelming. Even a half-teaspoon provides noticeable clove flavor. Whole cloves in your spice cabinet are actually more potent than ground clove, so if you want to grind your own for absolute freshness and intensity, measure the whole cloves before grinding. Many home bakers err on the side of caution with clove, and that’s reasonable — you can always add more, but you can’t take it out.
Cinnamon and nutmeg are supportive players, adding complexity without dominating. They enhance the ginger and clove rather than competing for attention. If your cinnamon is stale, it contributes mustiness rather than the bright warmth you’re after. Nutmeg should be just barely noticeable — you’re not trying to make a nutmeg cookie.
Black pepper, while often absent from gingerbread recipes, adds a subtle complexity and sharpness that makes the spice profile more sophisticated. It’s not obvious as “pepper” — it just makes everything taste a bit sharper and more interesting. This is optional, but worth experimenting with once you’ve made the recipe once.
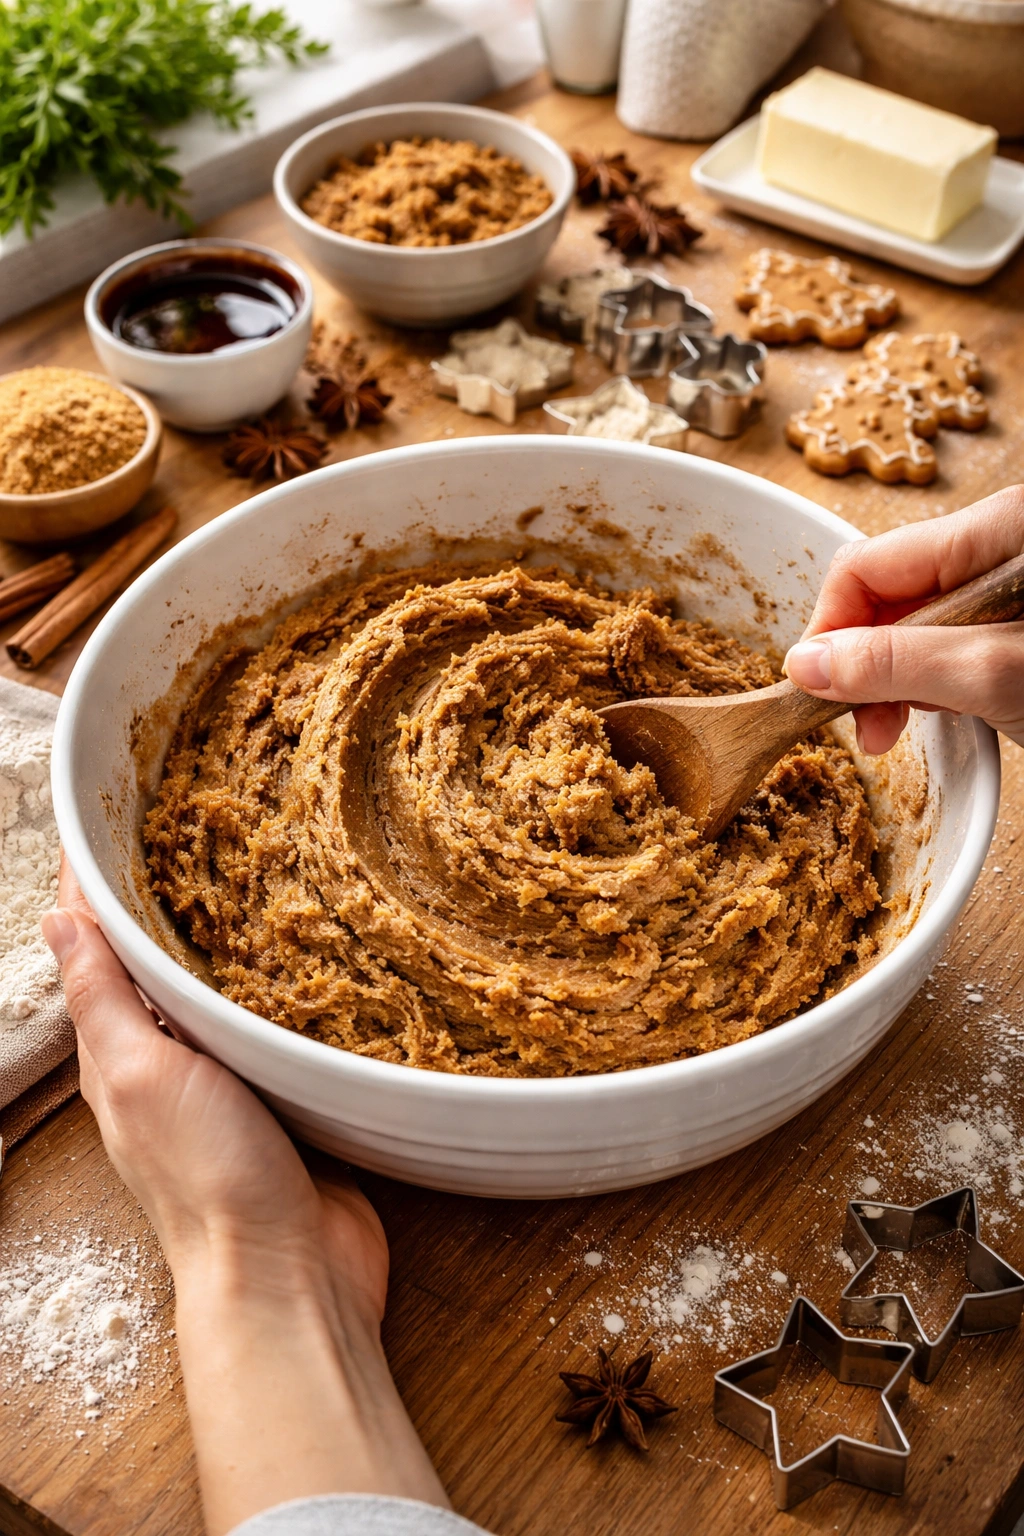
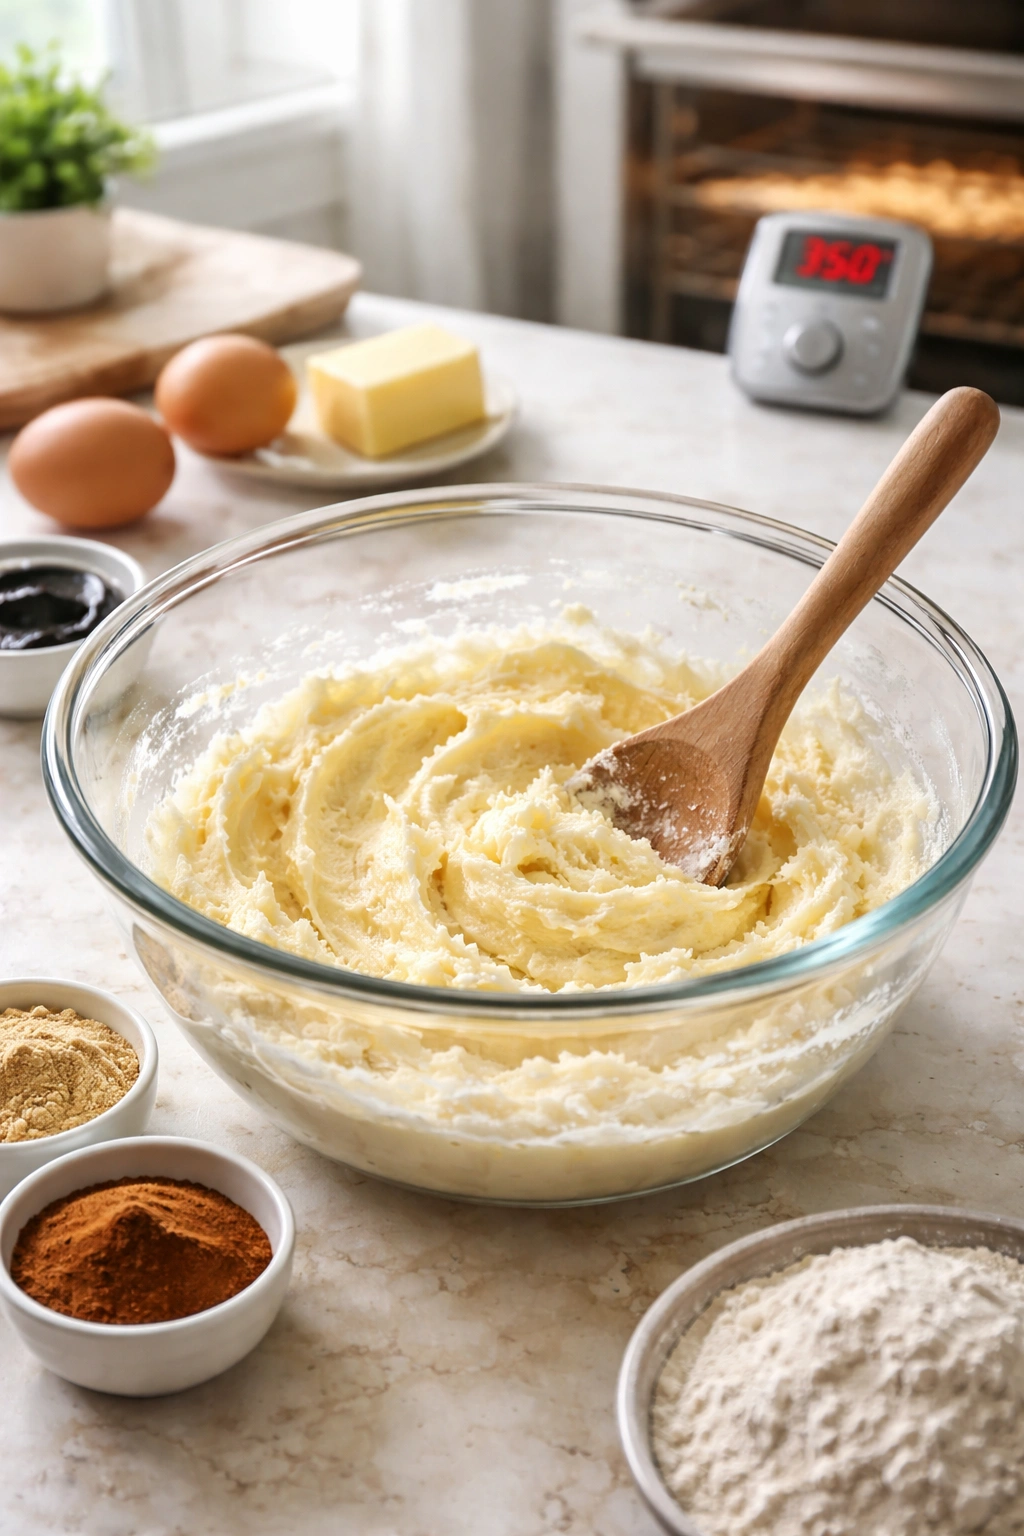
The butter and molasses emulsion is where the magic starts. When you cream soft butter with brown sugar and molasses together, you’re not just mixing — you’re incorporating tiny air bubbles into the fat, which helps the cookies rise during baking and creates a tender crumb. This is why the creaming step matters, and why using room-temperature butter is non-negotiable.
Yield: Makes 36 to 48 cookies, depending on size Prep Time: 20 minutes Cook Time: 10 to 12 minutes per batch Total Time: 50 minutes (including cooling time between batches) Difficulty: Beginner — No special equipment needed beyond a mixer or strong arm, and the steps are straightforward even if you’ve never baked before.
Ingredients
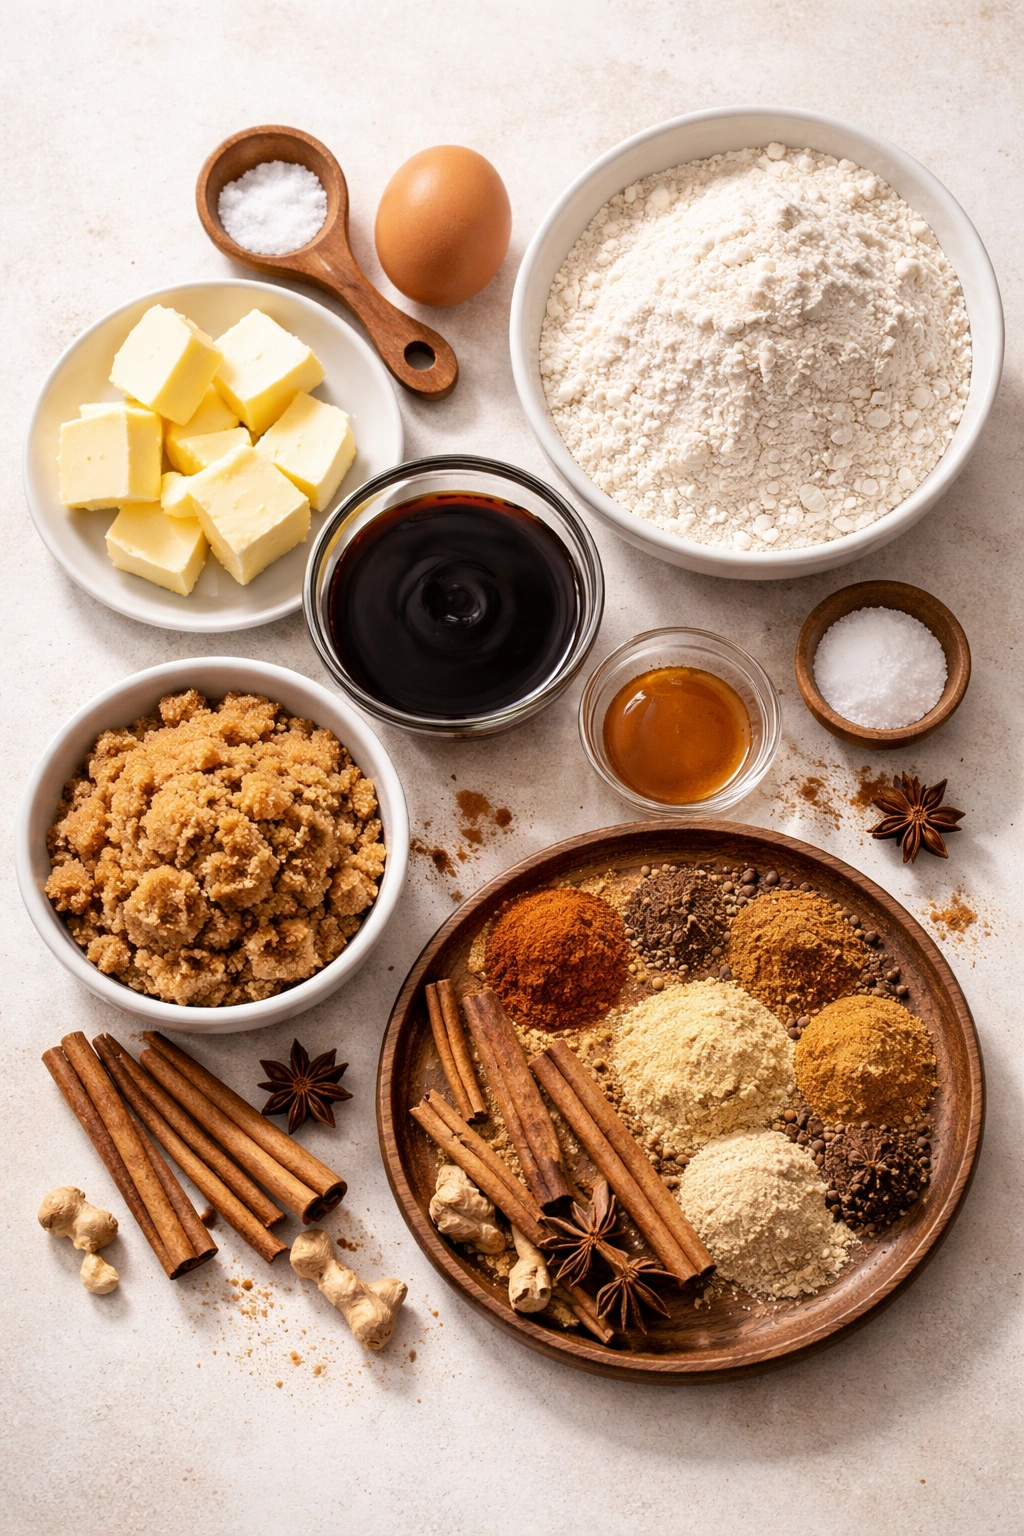
For the Dough:
- ¾ cup (1½ sticks) unsalted butter, softened to room temperature
- ¾ cup packed dark brown sugar
- ⅓ cup unsulphured dark molasses
- 1 large egg, room temperature
- 2 cups all-purpose flour, spooned and leveled
- 1 teaspoon baking soda
- ½ teaspoon fine sea salt
- 2 teaspoons ground ginger
- 1 teaspoon ground cinnamon
- ½ teaspoon ground clove
- ¼ teaspoon ground nutmeg
- ¼ teaspoon freshly ground black pepper (optional but recommended)
For Rolling and Baking:
- ¼ cup granulated sugar (for rolling, optional)
- 2 tablespoons coarse sanding sugar (for rolling, optional)
Instructions
Prepare Your Equipment and Workspace:
-
Position your oven racks so one is in the center of your oven. Preheat the oven to 350°F (175°C) and allow it to heat for at least 10 minutes — this ensures even baking across batches.
-
Line two large baking sheets with parchment paper or silicone baking mats. If you only have one baking sheet, that’s fine — you’ll bake one batch while the second batch waits, then bake the second batch while the first cools slightly on the sheet before transferring to a cooling rack.
Advertisements
Make the Dough:
-
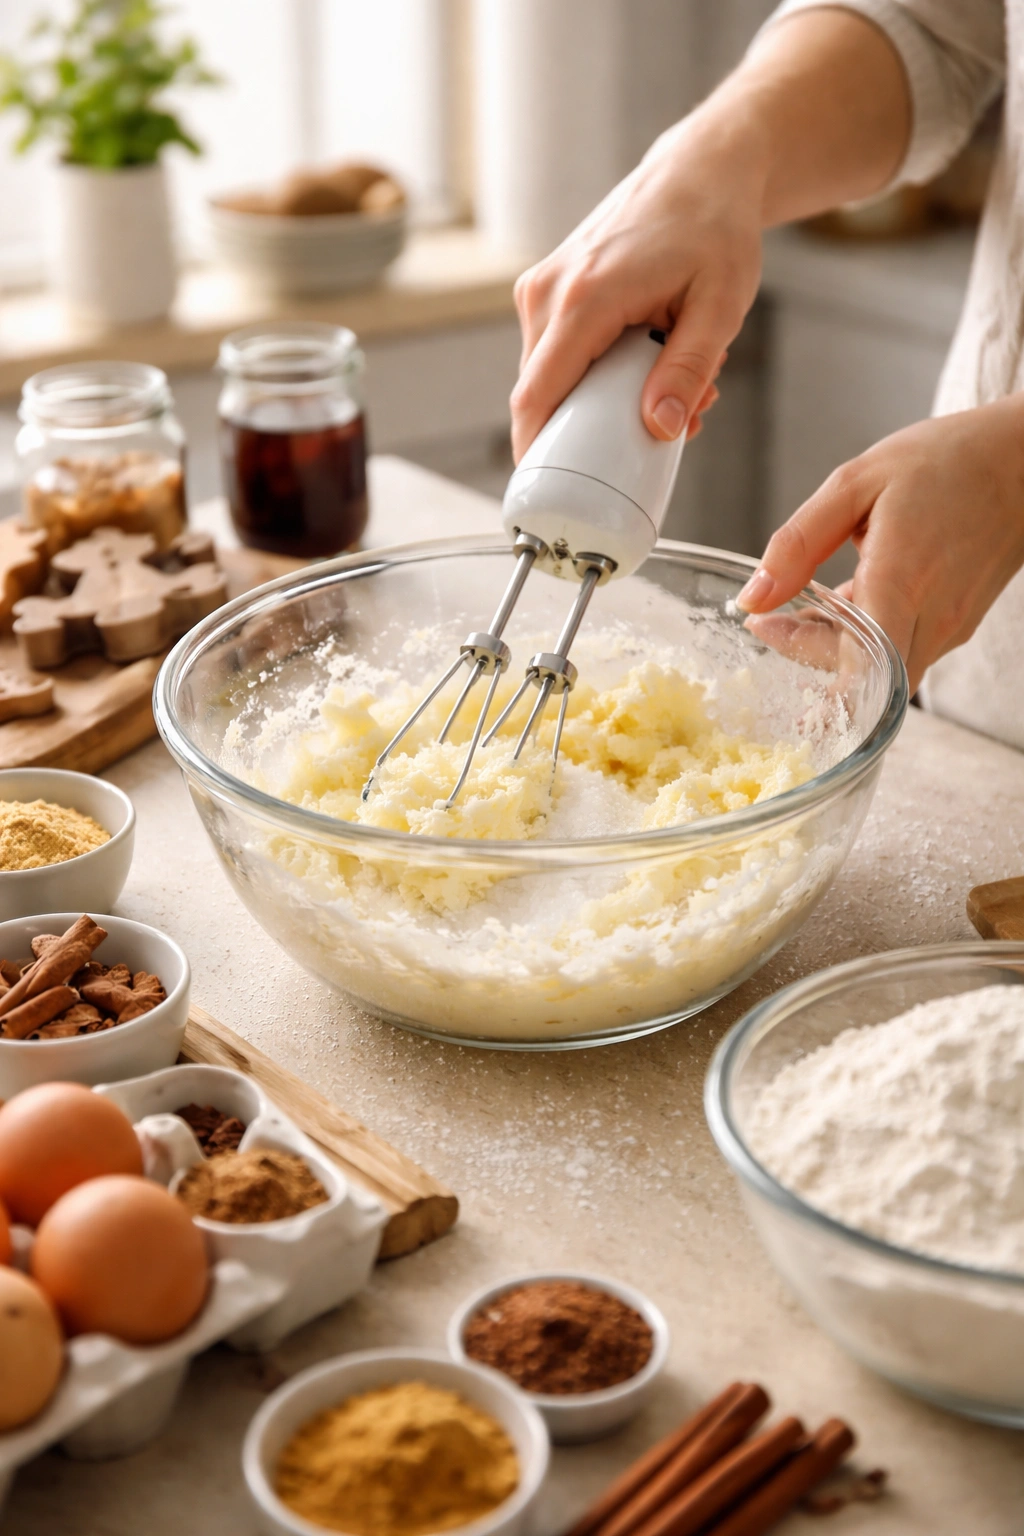
Place the softened butter into a large mixing bowl. Using an electric mixer on medium speed (or a wooden spoon and some serious arm strength), beat the butter for about 2 minutes until it’s noticeably lightened in color and fluffy. Scrape down the sides of the bowl occasionally so all the butter gets incorporated evenly.
-
Add the packed brown sugar to the butter. Continue mixing on medium speed for 3 to 4 minutes. The mixture will go from grainy to smooth to pale and fluffy — you’re looking for a texture that’s light and increased in volume, almost like frosting. This step is crucial because you’re incorporating air into the fat, which affects how the cookies rise and their final texture.
-
Pour in the dark molasses. Beat on low speed for 2 to 3 minutes until the mixture is smooth and well combined. It may look slightly curdled or separated after you first add the molasses — keep mixing and it will come together into a glossy, dark mixture. Scrape down the sides of the bowl several times to ensure the molasses gets distributed evenly.
-
Add the room-temperature egg. Beat for 1 minute on medium speed, scraping down the sides of the bowl once halfway through. The mixture should look smooth, glossy, and slightly lighter than it did before the egg was added.
-
In a separate small bowl, whisk together the flour, baking soda, salt, ginger, cinnamon, clove, nutmeg, and black pepper (if using). Combine these dry ingredients thoroughly so the spices are distributed evenly throughout the flour — you don’t want pockets of unmixed spice.
-
Reduce the mixer to low speed. Add the dry ingredient mixture to the wet ingredients in two additions. Mix on low speed after each addition only until you don’t see any white streaks of flour — do not overmix. Overmixing develops gluten and will make the cookies tough and cake-like instead of tender. It should take about 1 to 2 minutes total for both additions.
-
Stop the mixer and scrape down the sides and bottom of the bowl with a rubber spatula, then fold gently by hand 2 to 3 times to ensure no flour pockets remain hidden at the bottom of the bowl. The dough should come together into a cohesive, soft ball.
Chill the Dough:
- At this point you have two options: Chill the dough for 20 to 30 minutes at room temperature (it will be easier to handle), or bake immediately if you prefer softer, chewier cookies. Chilling creates slightly crispier edges; skipping the chill creates chewier centers. Both methods produce excellent cookies — choose based on your texture preference. If you chill, cover the bowl with plastic wrap or transfer the dough to a covered container.
Bake the Cookies:
-
Once the dough is ready, scoop it into balls using a small cookie scoop (a #40 ice cream scoop holds roughly 1 tablespoon of dough) or a tablespoon measure. Place the balls about 2 inches apart on the prepared baking sheets — they will spread slightly during baking but not dramatically.
-
If you’re rolling the cookies in sugar for a sparkling crust, combine ¼ cup granulated sugar with 2 tablespoons coarse sanding sugar in a small bowl. Gently roll each dough ball in the sugar mixture, pressing lightly so the sugar adheres. Place the sugared balls on the baking sheet.
-
Bake for 10 to 12 minutes, rotating the baking sheet halfway through the baking time. The cookies are done when they’re set around the edges and the very centers still look slightly underbaked and soft — they should jiggle just a tiny bit when you gently shake the pan. Do not overbake. The cookies will continue to cook on the hot pan after you remove them from the oven, and they firm up significantly as they cool. A slightly underbaked appearance now results in perfect texture in 5 minutes.
Cool and Store:
-
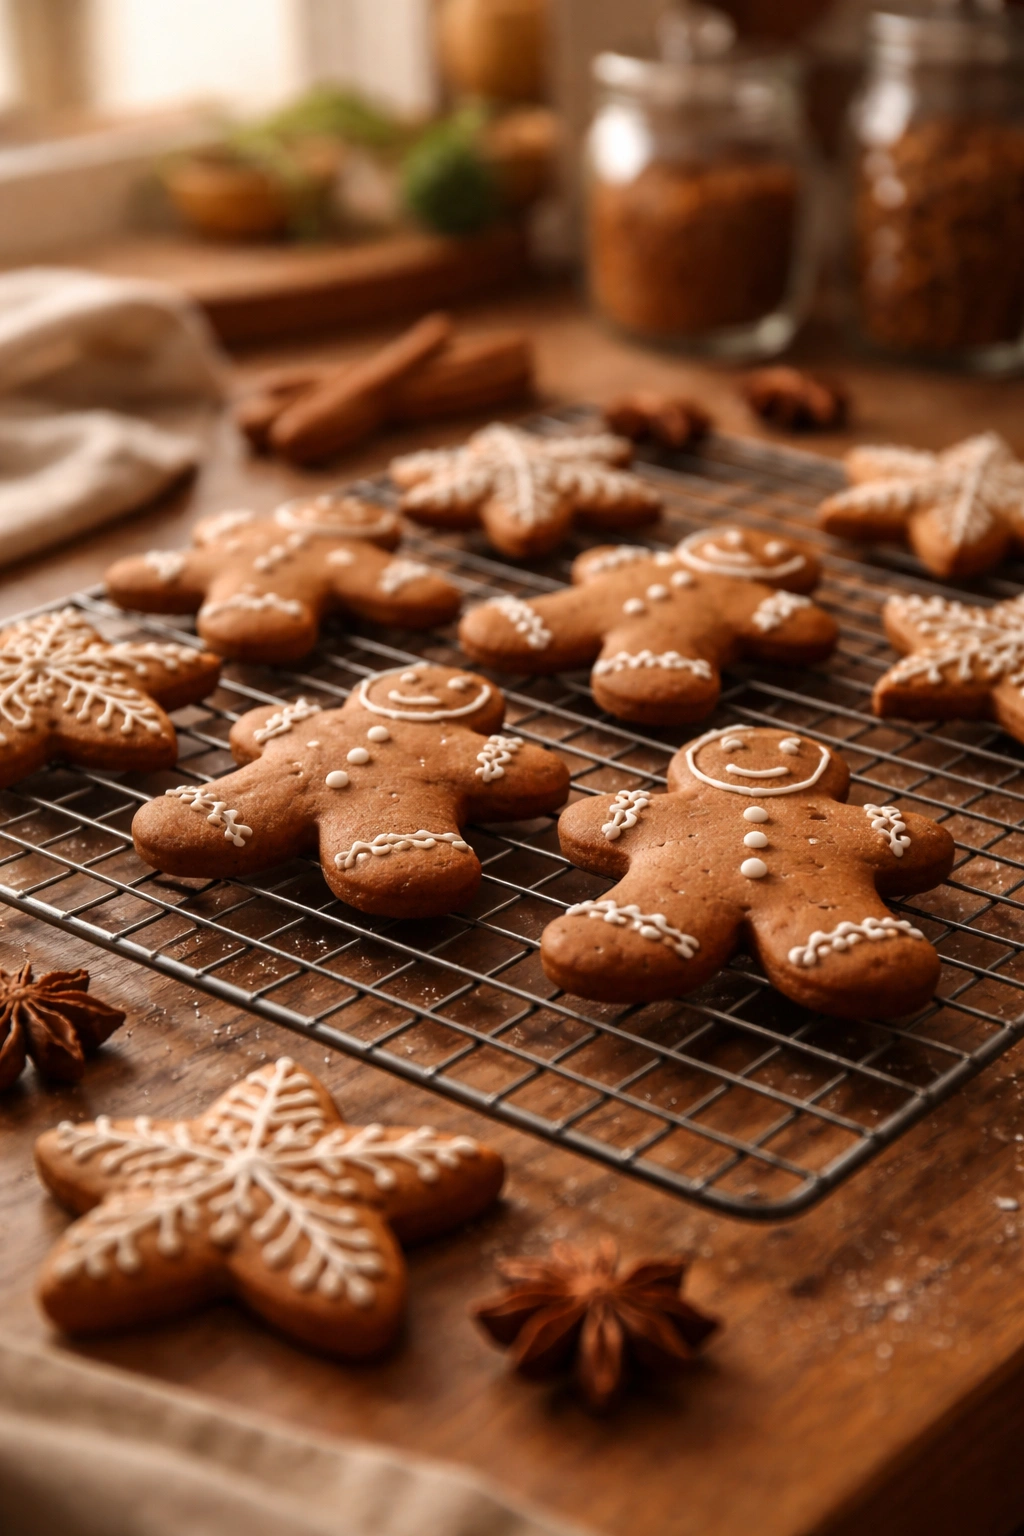
Allow the cookies to cool on the baking sheet for 5 minutes. They’ll firm up considerably during this time. Then transfer them to a wire cooling rack using a thin metal spatula. They should transfer easily without cracking.
-
If you’re baking a second batch, the first batch can cool on the racks while the second batch bakes. Make sure the oven is fully preheated again before baking the second batch, and use cooled baking sheets or quickly run them under cold water and dry them to prevent the bottoms from baking too quickly.
Common Mistakes That Prevent Perfect Gingerbread Cookies
The most common mistake is using room-temperature butter that’s actually too warm. Butter that’s closer to 75-80°F instead of 65-68°F won’t cream properly with the sugar and molasses. It’ll be too soft and greasy, resulting in cookies that spread too much and bake unevenly. The fix is simple: if your kitchen is warm or you’re baking during summer, cut the butter into chunks and refrigerate it for 5 minutes before starting, then let it sit for the full time needed rather than trying to speed things up. You want butter that yields gently to pressure but still holds its shape.
Overmixing the dough after adding flour is the second most common problem. Once the flour hits the wet mixture, you have maybe 2 minutes of gentle mixing before gluten develops and the cookies become tough. Resist the urge to mix until perfectly smooth. A few tiny flour streaks are genuinely okay — they’ll disappear during baking. If you’re using a stand mixer, reduce the speed to low once the flour goes in. If you’re mixing by hand, use a wooden spoon and fold gently rather than beating.
Using molasses that’s too old or storing it improperly changes the flavor dramatically. Molasses gets thicker and less flavorful over time, and exposure to moisture (like in a steamy bathroom or above a stove) can cause crystallization on the surface. Buy from a source with good turnover, store the jar in a cool, dark place, and check the expiration date. Unsulphured molasses in particular benefits from fresh supplies.
Failing to measure spices correctly makes the cookies either spice-bomb intense or disappointingly bland. Use a proper measuring spoon, scoop the spice, and level it off with a knife — don’t shake or pack it. And here’s the hard truth: if your spices have been in the cabinet more than a year, replace them. Spices lose potency over time, and stale ginger or cinnamon won’t deliver the flavor you’re expecting.
Baking at the wrong temperature happens more often than most bakers realize. Your oven might run hot or cool, and inexpensive ovens often aren’t accurate. Invest in a simple oven thermometer (around $8-10) and hang it in the center of your oven, then preheat for a full 10 minutes before baking. If your oven runs cool, increase the temperature by 25°F. If it runs hot, decrease by 25°F.
Overbaking is the mistake that ruins texture the most. Gingerbread cookies should look barely done when you pull them from the oven — slightly soft in the very center, set around the edges. They firm up significantly as they cool. If they look done in the oven, they’re actually overbaked and will be hard and crispy. Underbaking by just 1 minute makes a dramatic difference in the final texture.
Baking Tips for Perfect Texture Every Single Time
Room temperature ingredients are non-negotiable. The egg should be room temperature, the butter absolutely must be room temperature, and even the molasses bakes better when it’s not cold from the fridge. Cold ingredients don’t combine smoothly, which affects the emulsion that creates a tender crumb. Set your egg and butter out 30 minutes before baking — this takes zero active work but makes a noticeable difference.
The creaming step does matter, even though it seems unnecessary. Beating the butter with sugar for a full 3-4 minutes incorporates air that’s absolutely essential for proper rise and texture. You should be able to see that the mixture has gotten noticeably lighter in color and increased in volume. If you rush this step or skip it, you’ll end up with denser cookies. The same goes for beating in the brown sugar — it should take at least 2-3 minutes.
Invest in an oven thermometer. This single investment eliminates so much guesswork. Oven temperatures are notoriously inaccurate, and “350°F” on your dial might actually be 325°F or 375°F. A basic thermometer shows you the true temperature, and if there’s a discrepancy, you can adjust. This one change will improve your baking dramatically.
Pull the cookies out slightly early rather than slightly late. The centers should look underdone in the oven — they’ll continue cooking on the hot pan. The difference between perfect and overcooked is literally 1-2 minutes, and cookies bake quickly, so watch them carefully during the last few minutes of the bake time. Set a timer for one minute before the minimum bake time so you don’t forget and leave them in too long.
Rotate the baking sheet halfway through baking. Even oven-calibrated ovens have hot spots, and rotating the sheet ensures more even browning. This is especially important if you have a gas oven or an older electric oven.
Let cookies cool completely on the rack before storing or decorating. Warm cookies are structurally fragile and will crumble if you try to move them too early. They firm up significantly as they cool, and once they’re completely cool, they’re practically indestructible. A full cooling typically takes 20-30 minutes depending on cookie size.
If you notice the dough is very soft and difficult to scoop, chill it. Chilled dough scoops more neatly and creates cookies with slightly crisper edges. Room-temperature dough creates chewier cookies overall. Choose your chilling approach based on what texture you prefer — there’s no “wrong” answer.
Flavor Variations You Can Try
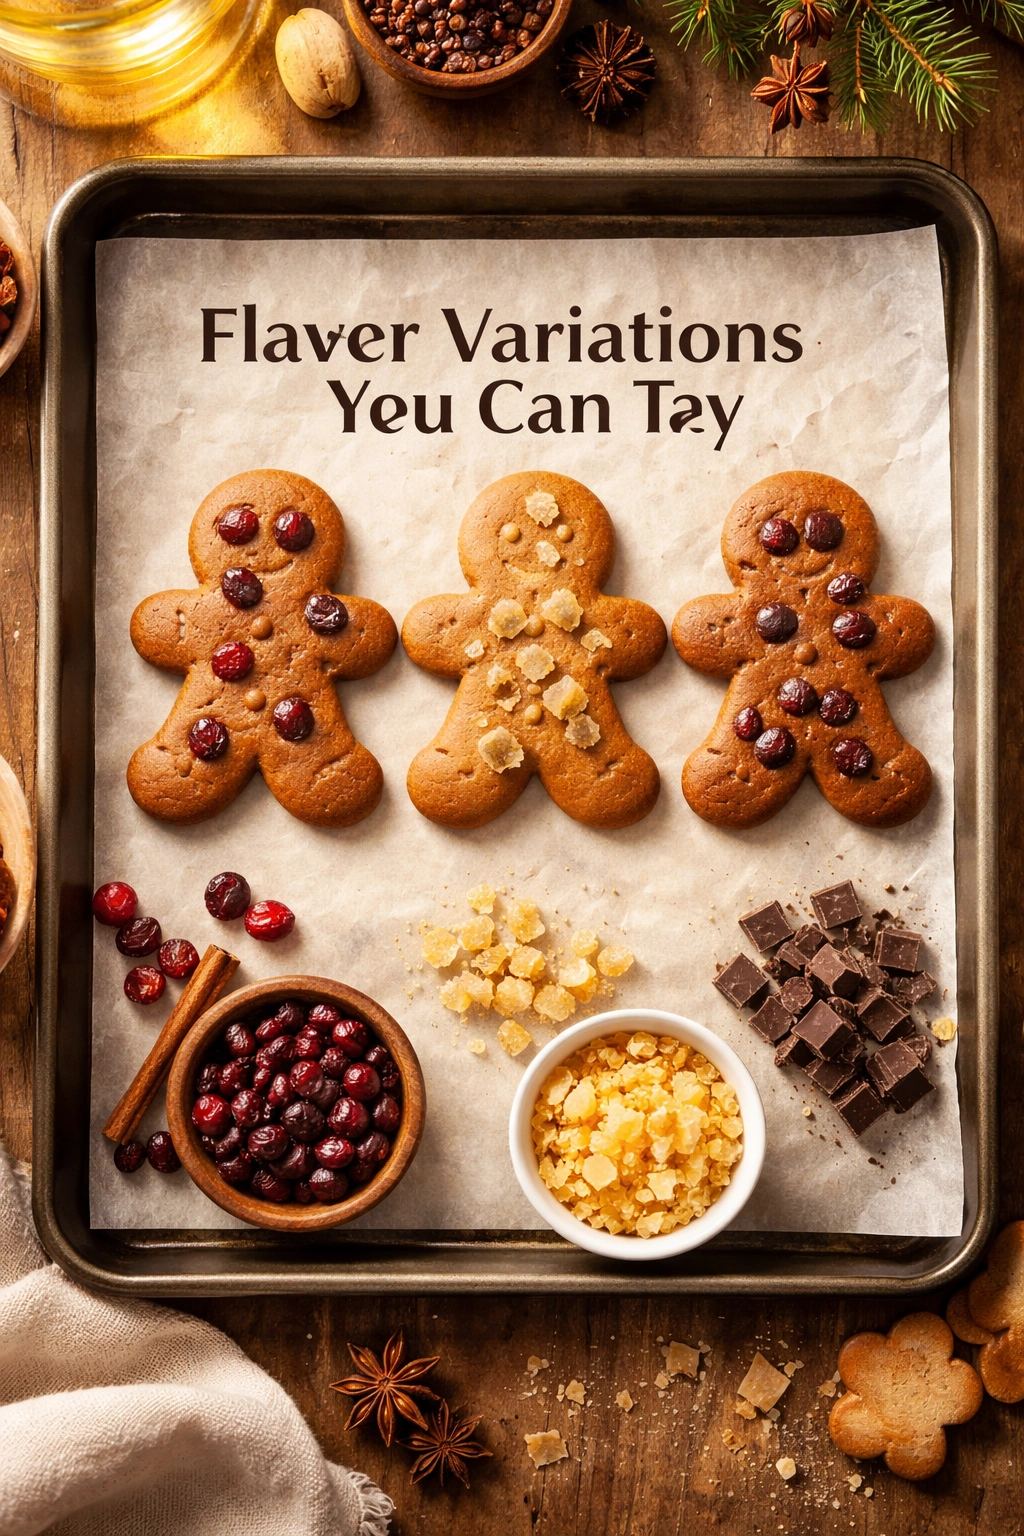
Classic with a Ginger Boost: If you love ginger-forward cookies, increase the ground ginger from 2 teaspoons to 2½ teaspoons and add 1 teaspoon of freshly grated fresh ginger to the dough. The fresh ginger adds brightness that ground ginger can’t replicate.
Spiced Cranberry: Fold ¾ cup finely chopped dried cranberries into the dough after mixing. The tartness of cranberry plays beautifully against the spices. You can also add ½ teaspoon of cardamom if you want to lean into a Scandinavian-inspired flavor profile.
Deep Molasses Version: Replace ⅓ cup dark molasses with ¼ cup dark molasses and ¼ cup blackstrap molasses. Blackstrap is thicker, darker, and more complex — it creates incredibly deep flavor but can taste slightly bitter if you use too much. This version is less sweet and more sophisticated.
Chocolate Chunk: Fold ¾ cup chopped dark chocolate (roughly 60-70% cacao) into the dough after mixing. The chocolate adds richness without overwhelming the spices. This creates a cookie that’s almost like a gingerbread brownie.
Candied Ginger: Replace half of the ground ginger (use 1 teaspoon ground ginger instead of 2 teaspoons) and fold ½ cup of chopped candied ginger into the dough. Candied ginger pieces add chewiness and concentrated ginger flavor in a completely different way than ground ginger.
White Chocolate Peppermint: Fold ¾ cup white chocolate chips and ½ cup crushed candy canes into the dough. Bake slightly longer (11-13 minutes) so the white chocolate has time to meld slightly. This creates a festive variation that feels more like a holiday cookie.
Apple Spice: Add ½ teaspoon ground allspice to the dry ingredients and fold ¾ cup finely diced dried apple into the dough. The apple adds a subtle tartness and chewiness that complements the warm spices.
Dairy-Free and Vegan Adaptations
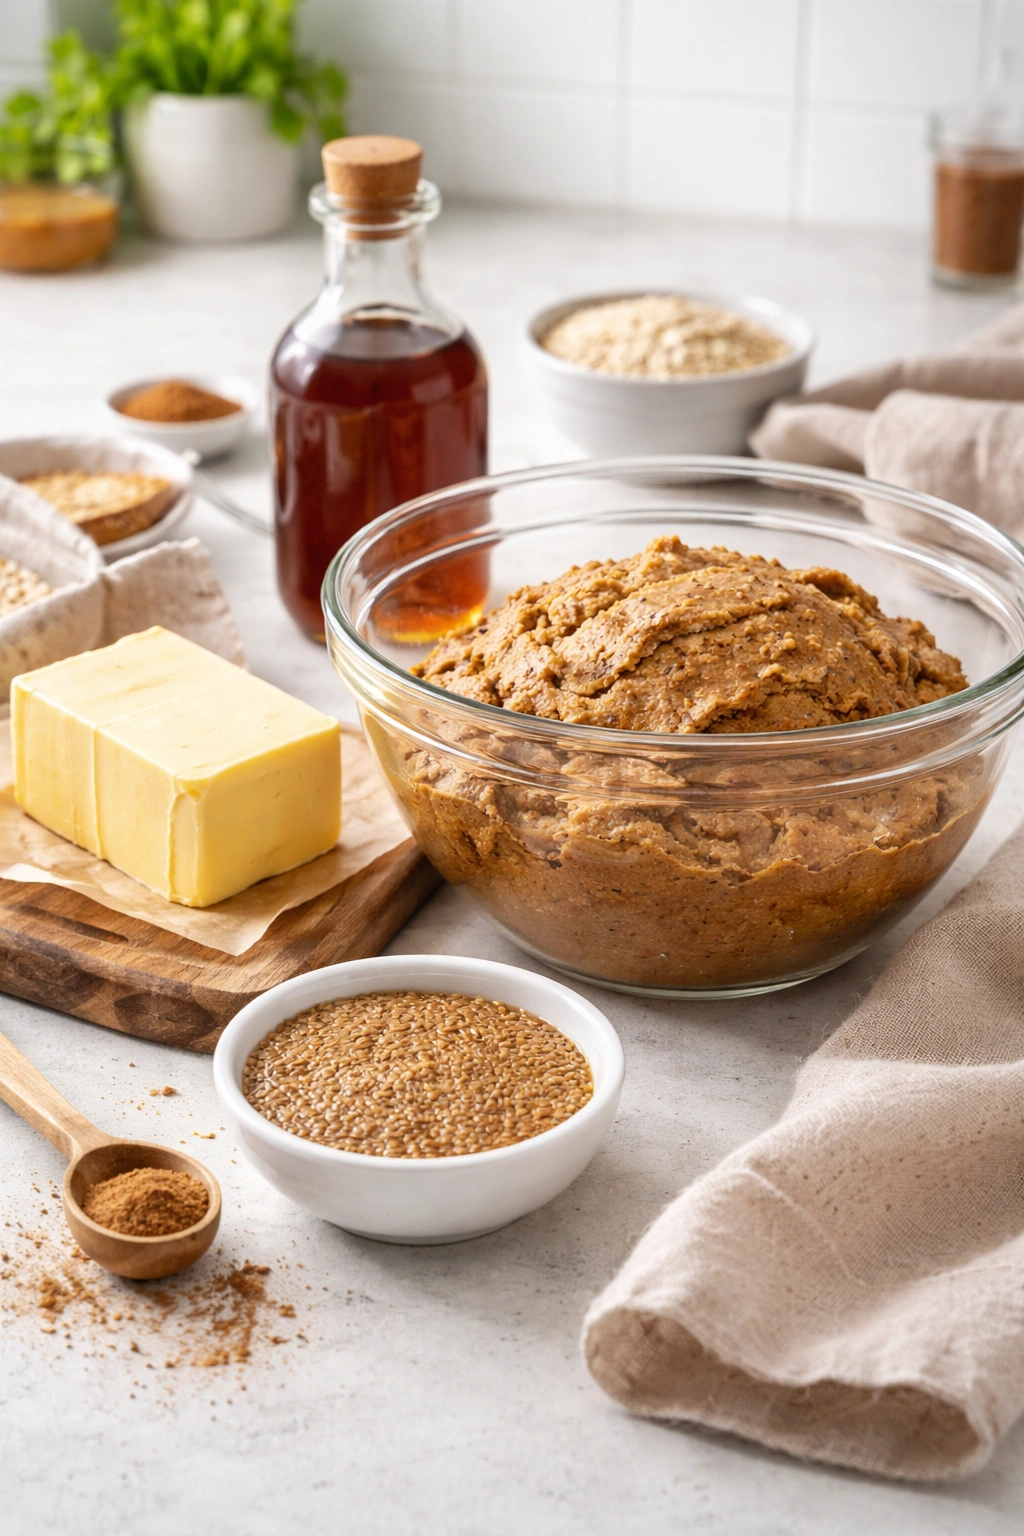
For Dairy-Free (but not vegan): Replace the unsalted butter with high-quality dairy-free butter (like Miyoko’s or Earth Balance) in equal amounts. Use a flax egg for binding: whisk 1 tablespoon of ground flaxseed with 3 tablespoons of water and let sit for 5 minutes until thickened, then use this in place of the whole egg. The resulting cookies are slightly more tender and have a slightly nuttier flavor from the flax egg, which actually complements the spices nicely.
For Vegan: Use the dairy-free butter and flax egg method described above. The rest of the recipe works perfectly as-is — all the dry ingredients and molasses are naturally vegan. The cookies might be very slightly less fluffy because you’re missing the proteins in egg white, but they’re still absolutely delicious. You might need to add just 1 teaspoon of water to the dough if it seems drier than expected, since flax eggs add slightly less moisture than real eggs.
For Gluten-Free: Replace the all-purpose flour with a 1:1 gluten-free flour blend (King Arthur and Bob’s Red Mill both make reliable versions). Use slightly less — start with 1¾ cups and add more if the dough is too wet. Gluten-free dough is often wetter, and you want it to be manageable enough to scoop. The baking time might be very slightly shorter (check at 9 minutes instead of 10). The texture is slightly more cake-like with gluten-free flour, but the flavor is identical, and they’re still excellent cookies.
For Lower Sugar: Reduce the brown sugar to ½ cup and add 2 tablespoons of date paste (blend soaked dates into a paste) or 2 tablespoons of unsweetened applesauce. The sweetness becomes slightly less pronounced, and you rely more on the molasses flavor. You might also slightly increase the spices (add ¼ teaspoon more ginger and cinnamon) to compensate for the reduced sweetness. Lower-sugar versions are slightly less fluffy but still delicious.
Storage and Make-Ahead Instructions
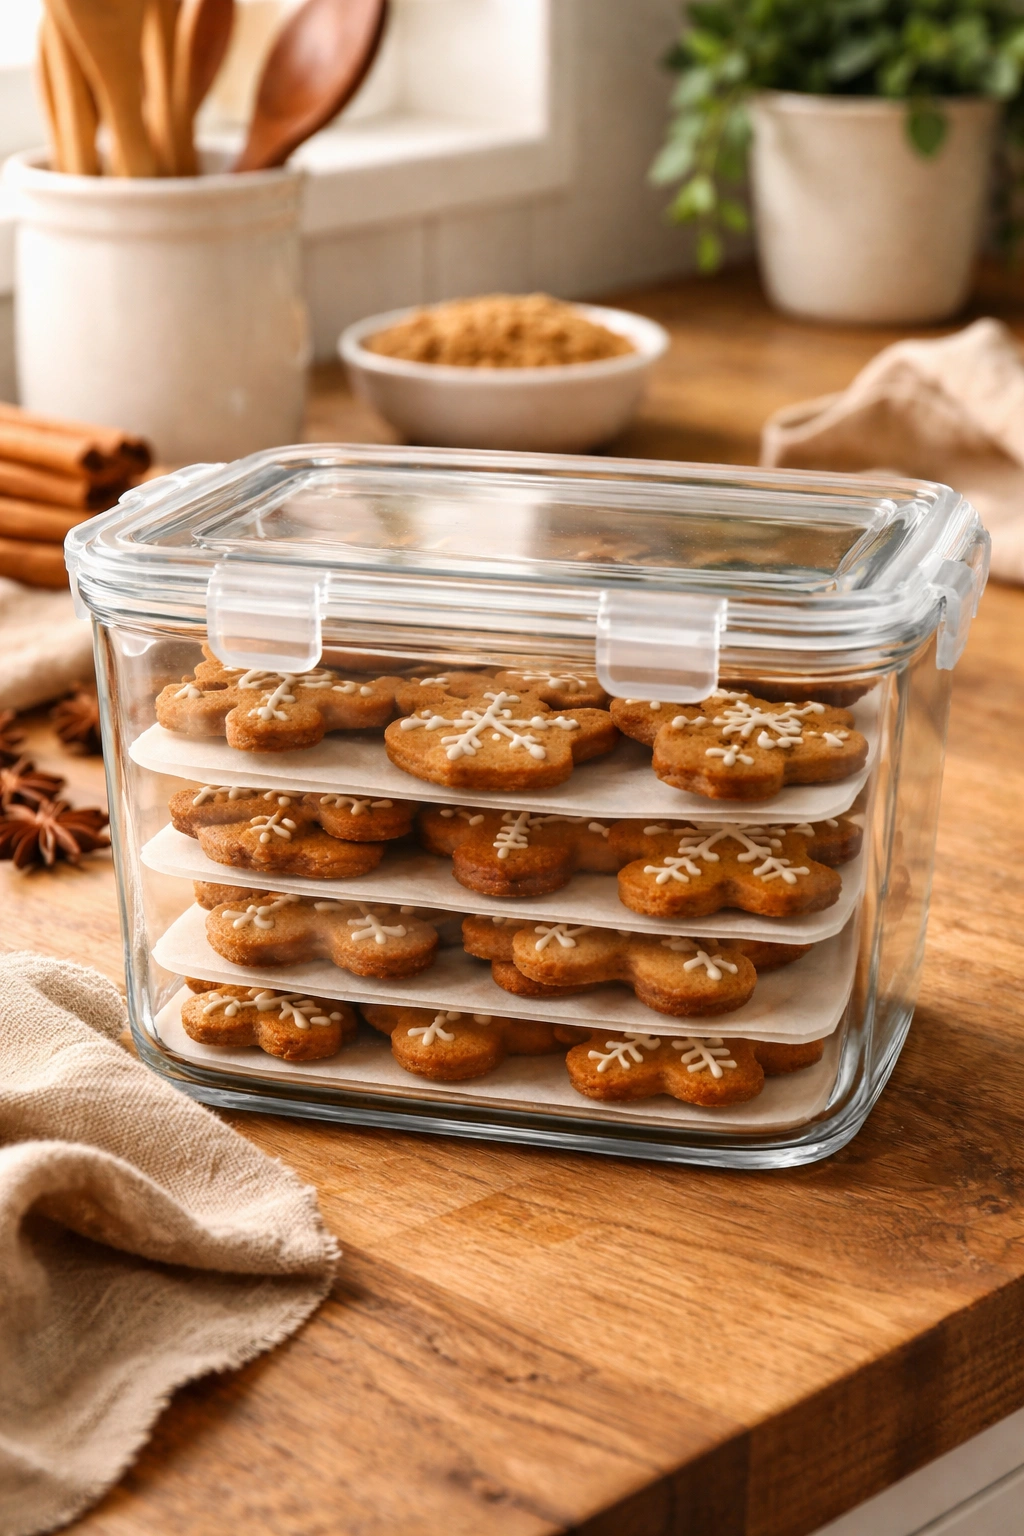
Room Temperature Storage: Gingerbread cookies stay fresh at room temperature in an airtight container for up to 7 days. Pack them in a single layer if possible, or separate layers with parchment paper so they don’t stick together or crumble. They actually improve slightly after a day, as the flavors continue to develop and the texture becomes more uniform.
Refrigerator Storage: If you live in a very warm or humid climate, store the cooled cookies in an airtight container in the refrigerator for up to 2 weeks. The cold environment prevents the molasses from making the cookies stick together, and they maintain their crispness better in humid conditions.
Freezer Storage: Baked cookies freeze beautifully for up to 3 months. Stack them in a freezer bag with parchment between layers, remove as much air as possible, label with the date, and freeze. Thaw at room temperature in an airtight container for about 30 minutes — as they come to room temperature, they reabsorb any moisture they lost during freezing and taste just as fresh as the day they were baked.
Dough Make-Ahead: The shaped dough (after scooping into balls) can be frozen for up to 2 months. Scoop the dough, place the balls on a parchment-lined baking sheet, and freeze until solid (about 2 hours). Then transfer the frozen balls to a freezer bag. Bake directly from frozen, adding 2-3 minutes to the baking time (so 12-15 minutes total). This method is perfect if you want fresh-baked cookies but don’t have time to bake a full batch.
Unrolled Dough Storage: If you prefer to work with the dough fresh rather than in pre-scooped portions, wrap the whole bowl of dough tightly in plastic wrap and refrigerate for up to 3 days. You can also freeze the dough ball for up to 1 month — thaw in the refrigerator overnight before scooping and baking.
Best Served: Eat these cookies within 24 hours for peak softness and chewiness. After that, they firm up slightly but are still delicious. If they’ve been sitting out and hardened, you can refresh them by placing them in a container with a small slice of bread or an apple slice for a few hours — the cookies absorb moisture and become chewy again.
Decorating and Serving Ideas

Simple Sugar Coating: The easiest decoration is to roll the dough balls in a mixture of granulated sugar and coarse sanding sugar before baking. The sugar melts slightly and creates a sparkling crust that catches the light beautifully. This adds visual interest without any post-baking work.
Royal Icing Details: Make a simple royal icing by whisking together 1 cup powdered sugar, 1 to 2 tablespoons of egg white (or aquafaba if vegan), and a tiny bit of vanilla extract until smooth. Drizzle it across cooled cookies, or use a piping bag to create delicate lines or dots. Royal icing dries hard, so you can stack decorated cookies without smudging.
Cream Cheese Frosting: Make a thin cream cheese frosting by mixing 4 oz softened cream cheese, 2 tablespoons unsalted butter, 1 cup powdered sugar, and ½ teaspoon vanilla. Spread or pipe onto cooled cookies. The tanginess of cream cheese balances the deep spice flavors beautifully. This version should be eaten within a few days and stored in the fridge.
Chocolate Drizzle: Melt 4 oz of dark chocolate (60-70% cacao is perfect) and drizzle it across cooled cookies using a spoon or piping bag. Let the chocolate set before serving. You can drizzle white chocolate the same way for contrast.
Candied Ginger Garnish: Top each cookie with a tiny piece of candied ginger right after baking, while the cookie is still warm enough for the ginger to stick slightly. The bright ginger flavor adds another layer.
No Decoration: Honestly, these cookies are beautiful and flavorful on their own. If you prefer undecorated cookies, that’s absolutely the way to go — the dark, glossy surface and sugar coating (if used) are decoration enough.
Perfect Pairings and Serving Suggestions

Beverages: Gingerbread cookies pair beautifully with coffee, hot tea (especially spiced chai or English breakfast), hot chocolate, or even cold milk. The deep spice flavors complement warm beverages especially well. With tea, they’re sophisticated enough for an afternoon tea service. With hot chocolate, they’re pure comfort.
Gift-Worthy Presentations: Arrange cooled cookies in a decorative box or tin, separated with parchment paper. These cookies ship well if you’re mailing them to someone, arriving in excellent condition if they’re packed carefully. They also freeze so well that you can make a big batch weeks ahead and thaw them for gifting.
Holiday Tradition: Make these cookies the centerpiece of a holiday dessert spread alongside other sweets — they balance heavier desserts like brownies or fudge because they’re cookie-light but flavor-rich. They’re also substantial enough to hold their own on a dessert table without getting lost.
Afternoon Snack: Pack a few cookies in a container for afternoon snacking. They’re portable, not too sweet, and provide sustained energy from the molasses and butter. One or two cookies with a cup of coffee makes an excellent 3 PM energy boost.
Standalone Dessert: Serve these as the entire dessert after a simple meal. You don’t need additional dishes or components — the cookies are sophisticated and complete on their own. Two or three cookies per person is a generous but not excessive dessert portion.
Crumbled Topping: If you end up with broken cookies or imperfect pieces, don’t discard them — crumble them and use them as a topping for ice cream or yogurt. The spice flavor works surprisingly well with vanilla ice cream.
Final Thoughts
Homemade gingerbread cookies are one of the most rewarding baking projects because the difference between homemade and store-bought is so dramatic that even a first-time baker will be amazed at the results. You’re not fighting against a complicated recipe or counterintuitive techniques — you’re just creaming butter and sugar, mixing in molasses, combining dry ingredients gently, and baking for 10-12 minutes. That’s it. The magic comes from using quality spices and understanding that slightly underbaked cookies become perfect as they cool.
The other beautiful thing about this recipe is its flexibility. You can make it exactly as written for classic perfection, or you can experiment with spice ratios, add chocolate or dried fruit, adapt it for dietary restrictions, or decorate it however you like. Once you’ve made it a couple of times, you’ll have the confidence to make it your own.
Most importantly, make plenty. One batch of 36-48 cookies disappears faster than you’d expect — people genuinely cannot stop eating them. The combination of tender texture, complex spice flavor, and pure butter richness creates something genuinely addictive. Expect to find yourself making these cookies far more often than you initially thought, especially once you realize how simple the process is and how much better they taste than anything from a bakery or store. The only real challenge will be finding storage space for the batches you keep making.