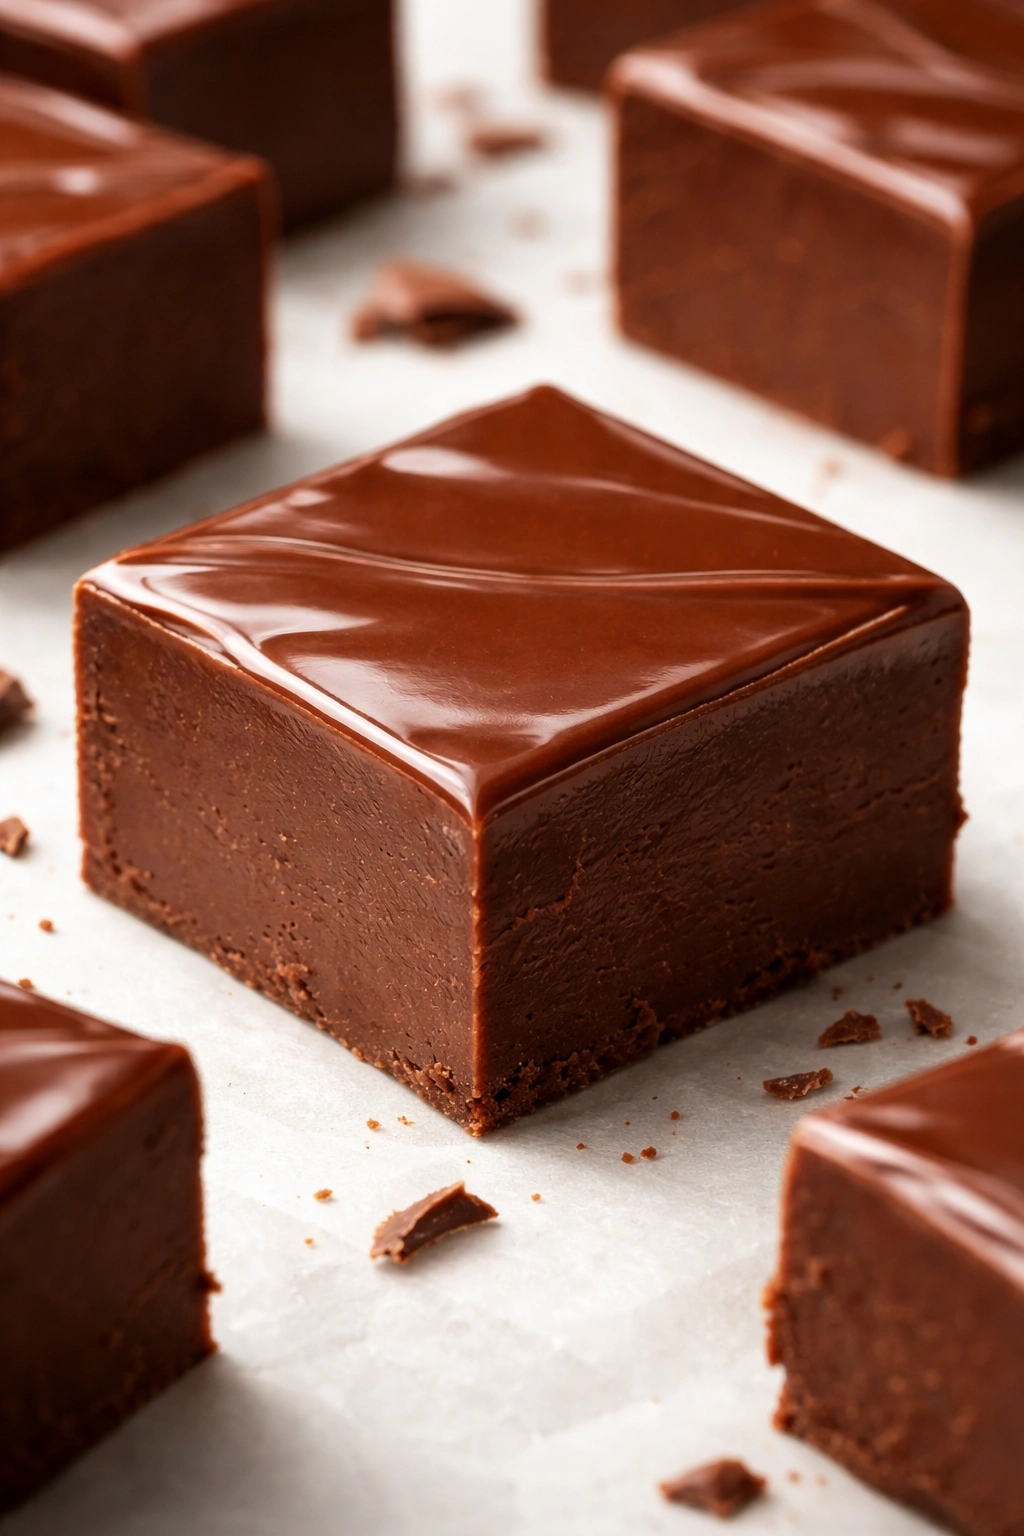
There’s something deeply satisfying about making fudge at home. Your kitchen fills with the rich chocolate aroma, the mixture transforms from grainy to silky smooth in minutes, and within hours you have homemade candy that tastes infinitely better than anything store-bought—all from three simple ingredients you probably already have in your pantry. The best part? You don’t need a candy thermometer, a marble slab, or any of the intimidating equipment traditional fudge recipes demand. This version is foolproof, forgiving, and absolutely foolproof to prepare, even if you’ve never made candy before.
The Magic of Homemade Fudge
Homemade fudge has been a treasured pantry staple for generations, but most recipes are intimidating—they demand precise temperature control, constant stirring, and a deep understanding of sugar crystallization. The three-ingredient version strips away all that complexity while delivering the same velvety texture and intense chocolate flavor that makes fudge so crave-worthy.
The beauty of this approach lies in how it leverages a few brilliant chemistry facts. Rather than relying on temperature precision and crystallization control, this method uses sweetened condensed milk as the base. Sweetened condensed milk is essentially sugar and milk that have already been combined and partially cooked during processing, so it arrives in your kitchen already doing half the work. When you combine it with chocolate and butter, those three ingredients naturally create the ideal ratio of cocoa solids, fat, and sugar for perfect fudge texture.
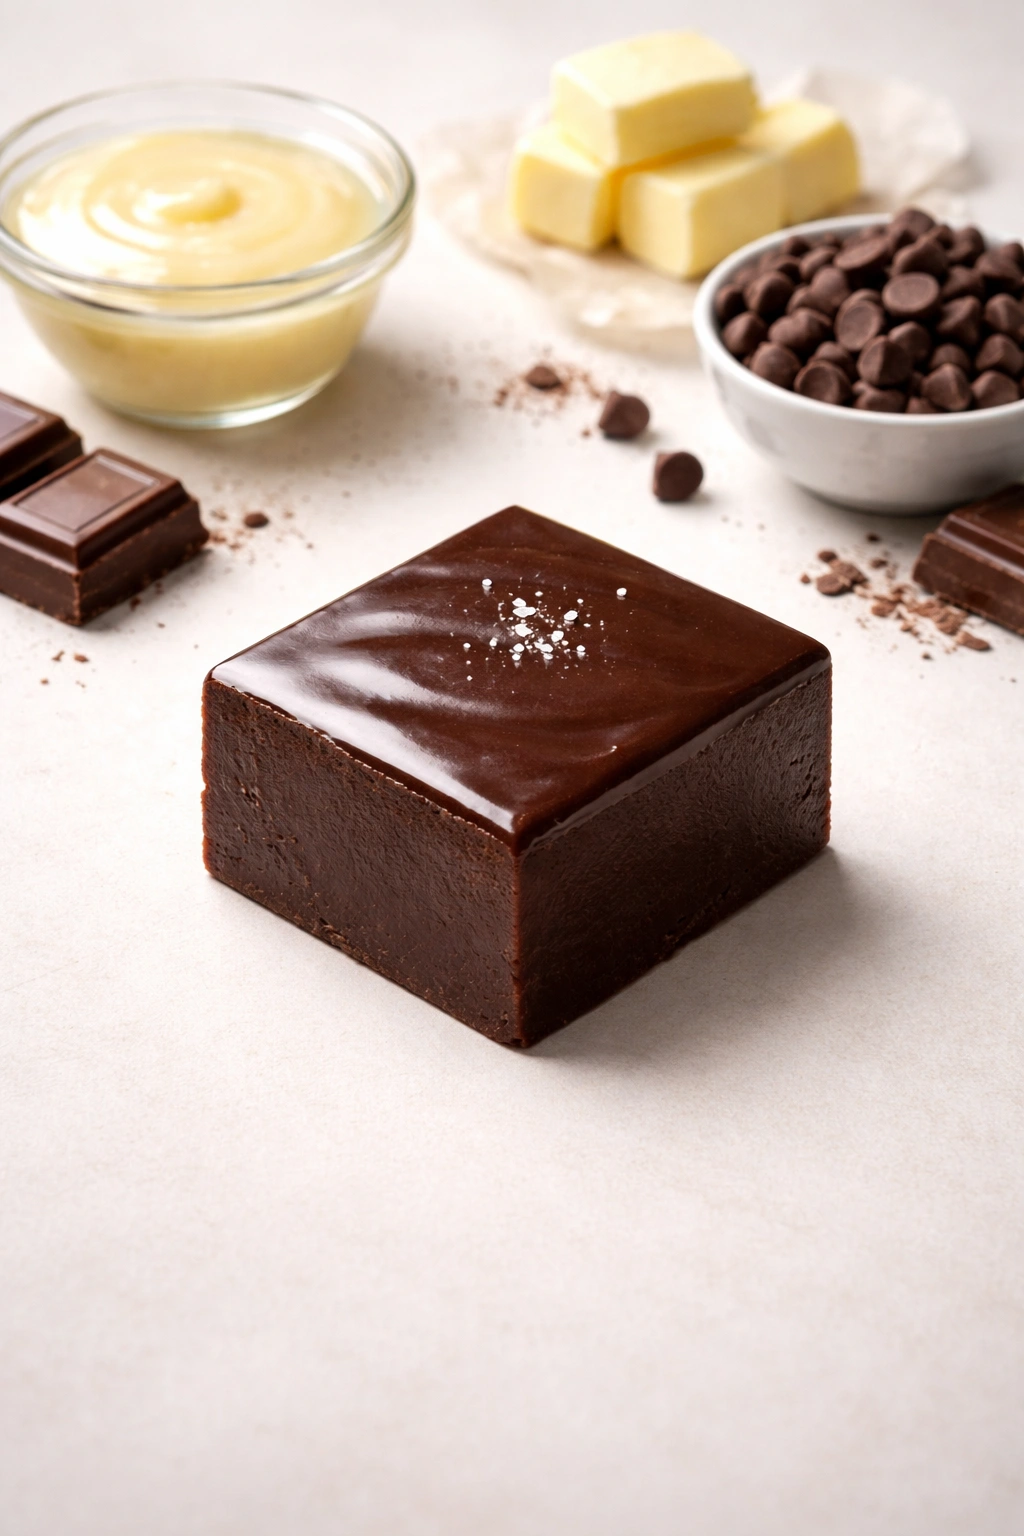
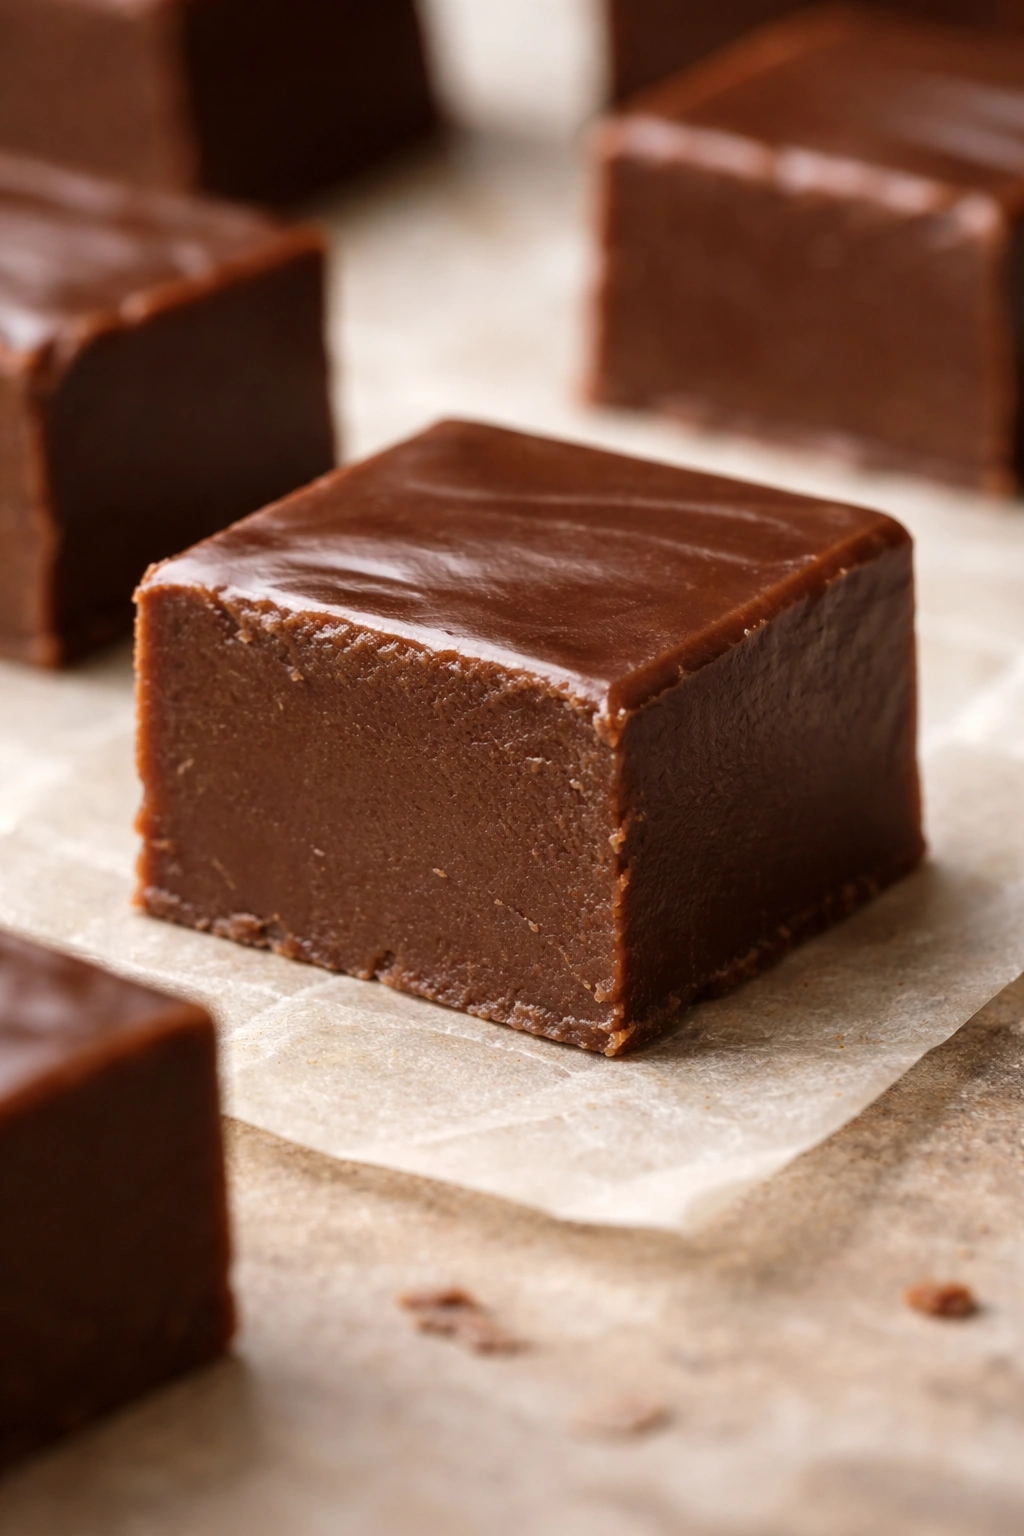
The texture you’ll get is dense, creamy, and genuinely melts on your tongue. It’s not brittle or hard like some homemade fudges can be if they crystallize incorrectly. It’s not grainy or sandy in texture. Instead, it delivers that silky-smooth sensation that high-quality fudge should have, because the ratios and method prevent the kind of large sugar crystals that ruin so many homemade candy attempts.
Why This 3-Ingredient Version Works So Well
You might wonder whether three ingredients can really produce fudge that rivals a traditional recipe. The answer is yes—sometimes simplicity is the secret.
Sweetened condensed milk does the heavy lifting here. It’s already a mixture of milk, sugar, and a touch of cornstarch that prevents crystallization. When you melt it with chocolate and butter, you’re creating an emulsion—a stable combination of fat and sugar that naturally sets to the perfect consistency without requiring any temperature monitoring. This is why traditional fudge recipes often call for both sweetened and unsweetened condensed milk or require cooking to a specific temperature; they’re trying to achieve the exact sugar-to-fat ratio that sweetened condensed milk already provides.
The chocolate provides the flavor, richness, and most of the cocoa solids. The butter acts as both a flavor enhancer and a texture controller—it keeps the fudge creamy and spreadable rather than hard or crumbly. Together, these three ingredients create a balanced formula that sets properly at room temperature without the stress of temperature-sensitive crystallization.
This approach is forgiving in ways traditional fudge never is. If you overstir it, it doesn’t seize. If you let it sit an extra minute, it doesn’t crystallize. If you don’t hit an exact temperature, it still turns out. That’s exactly what makes it perfect for home cooks and beginners who want impressive results without the anxiety.
What You’ll Need
Yield: Makes about 36 pieces (one 8×8-inch pan) Prep Time: 10 minutes (plus setting time) Cook Time: 5 minutes Total Time: 15 minutes active + 2 hours setting at room temperature (or 30 minutes in the refrigerator) Difficulty: Beginner — No special equipment required, minimal stirring, no temperature monitoring needed. This is one of the easiest candies to make.
For the Fudge:
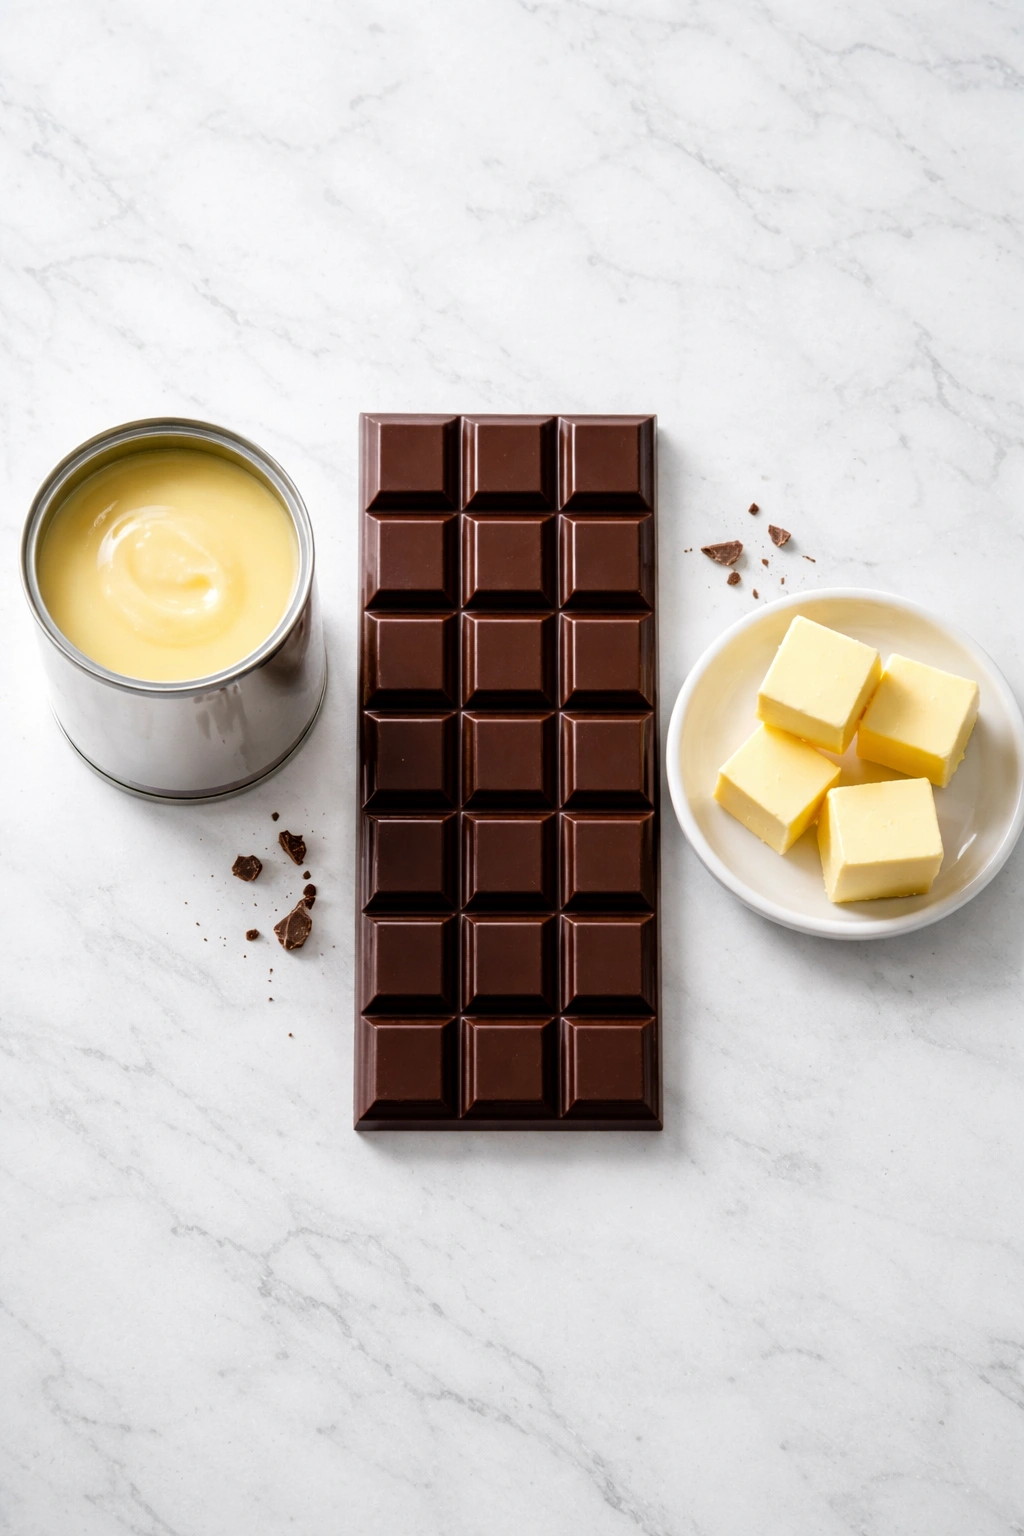
- 1 can (14 ounces) sweetened condensed milk
- 6 ounces unsweetened chocolate, chopped into small pieces (or 6 ounces good-quality chocolate chips or baking chocolate)
- 2 tablespoons unsalted butter, cut into small pieces
Optional add-ins for flavoring:
- ¼ teaspoon sea salt (for salted chocolate fudge)
- ½ teaspoon pure vanilla extract (for vanilla-enriched chocolate flavor)
- ⅛ teaspoon instant espresso powder (for deeper chocolate richness)
For the pan:
- Parchment paper, cut to fit an 8×8-inch baking pan
Making Creamy Fudge at Home
The method for this fudge is straightforward, but precision in a few small details makes the difference between excellent fudge and mediocre fudge.
Prepare Your Pan:
-
Line an 8×8-inch baking pan with parchment paper, letting a 1-inch overhang hang over two opposite sides. This overhang acts as a handle that lets you lift the cooled fudge block out of the pan cleanly, without scraping the edges.
-
If you want to prevent the bottom of your fudge from sticking, lightly oil the parchment paper with a neutral oil or cooking spray. This is optional but genuinely helpful—it makes removal easier and keeps the parchment from peeling away from the finished fudge.
Melt the Chocolate and Butter:
-
Add the chopped chocolate and butter to a heatproof bowl (glass or stainless steel works best; avoid plastic, which can retain heat and continue cooking your chocolate after you remove it from heat).
-
Pour about 1 inch of water into a saucepan and bring it to a simmer over medium heat. Set your chocolate-filled bowl on top of the saucepan so the bottom of the bowl touches the simmering water—this is a double boiler setup. The hot water gently warms the chocolate without the direct heat that can burn it.
-
Stir occasionally with a rubber spatula as the chocolate and butter melt. This takes about 3 to 4 minutes. Stop as soon as everything is mostly melted—chocolate retains heat and will continue to melt slightly after you remove it from the water. You want the mixture smooth and glossy, not separated or grainy. If you notice a few unmelted chocolate pieces, remove the bowl from heat and let residual warmth finish the melting—stirring occasionally—rather than continuing to apply heat.
Advertisements -
Remove the bowl from the water carefully and set it on the countertop.
Add the Sweetened Condensed Milk:
-
Pour the entire can of sweetened condensed milk into the melted chocolate mixture. It will seem thick and might look like it won’t blend, but that’s normal—it’s the cool, dense condensed milk meeting the warm chocolate. Stir gently but steadily with a rubber spatula, pushing the mixture from the bottom and sides toward the center of the bowl.
-
Continue stirring for about 1 to 2 minutes until the fudge mixture is completely smooth, glossy, and uniform in color. The transformation is remarkable—the mixture goes from looking separated to perfectly combined as you stir. If you’re adding vanilla extract or espresso powder, add it now and stir to incorporate.
Pour and Set:
-
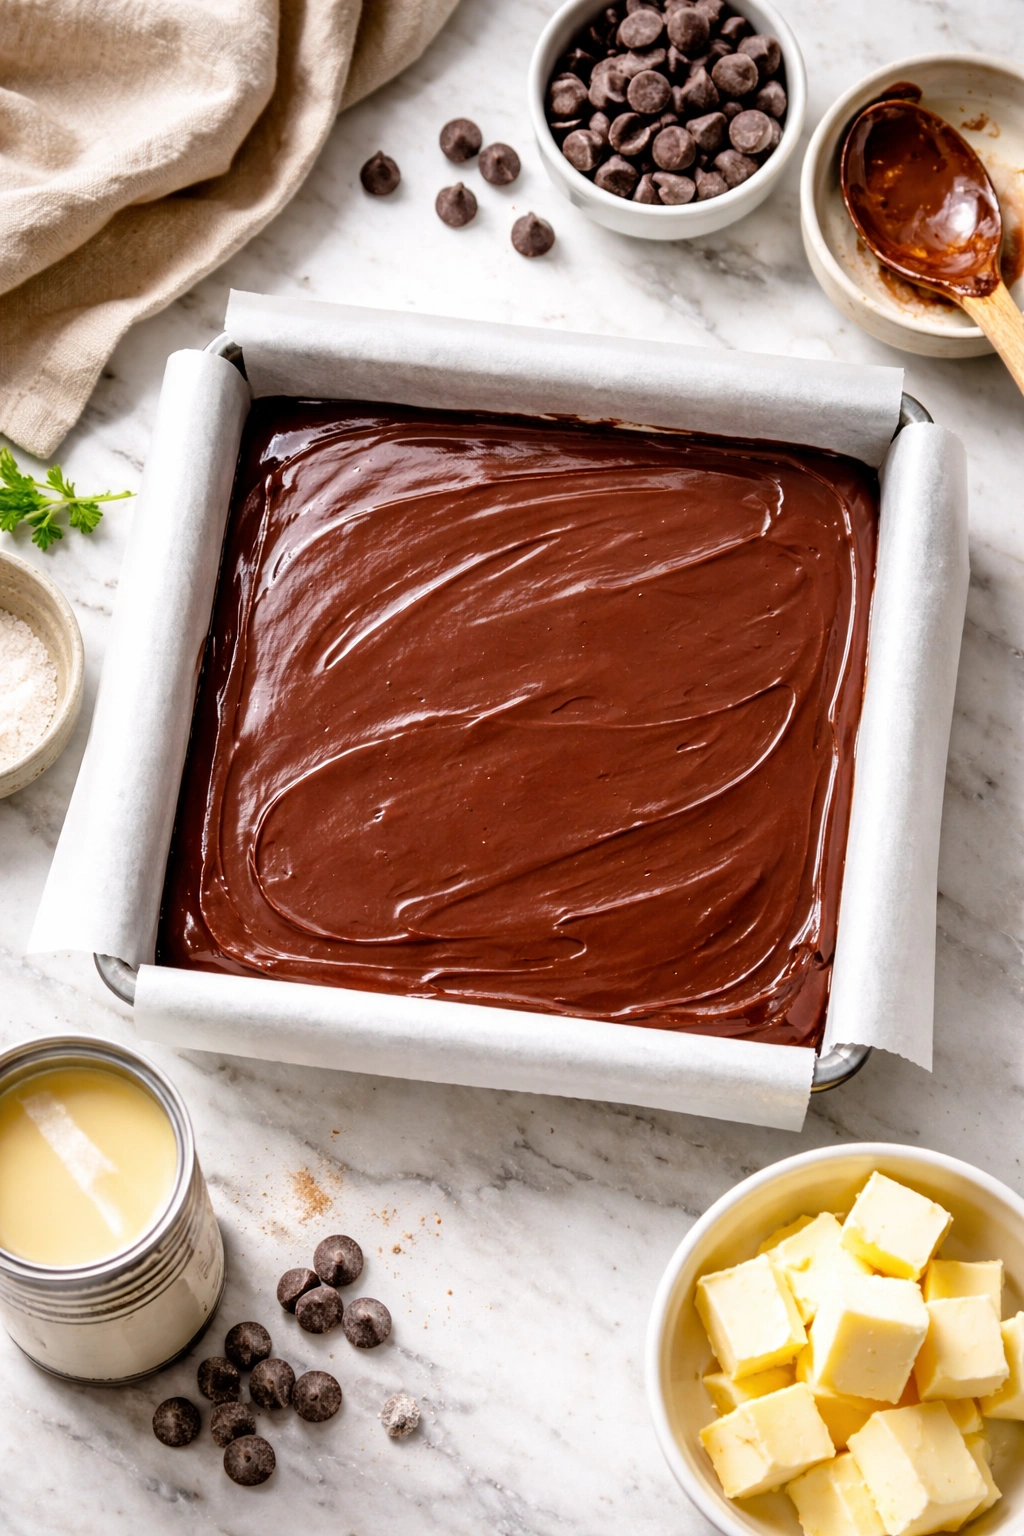
Pour the fudge mixture into your prepared pan. Pour from a slightly elevated position so the fudge self-levels (rather than pouring from very high, which incorporates air). Use an offset spatula or the back of a spoon to spread it into an even layer, working gently so you don’t incorporate air bubbles. You want a smooth, uniform surface—air bubbles might prevent even setting or create uneven texture in the finished fudge.
-
Allow the fudge to cool at room temperature for about 2 hours. You’ll notice it gradually firming up as it sits. Don’t move the pan or disturb it during this time—the fudge is setting, and jostling can interfere with the texture.
Alternatively, if you prefer faster results, refrigerate the fudge for 30 to 45 minutes, at which point it will be firm enough to cut.
Tips for Perfect Fudge Every Time
The margin for error with this recipe is genuinely forgiving, but a few small details elevate good fudge to exceptional fudge.
Use quality chocolate. The chocolate is one of only three ingredients, so its quality matters significantly. Choose chocolate with a cocoa content between 60 and 72 percent—this gives you a balanced flavor that’s rich without being intensely bitter. Cheap chocolate often contains waxy fillers that create a grainy texture rather than the smooth creaminess you’re after. If you can’t find good unsweetened baking chocolate, use chocolate chips from a quality brand or chop a bar of dark chocolate into small pieces. Avoid chocolate melts or candy coating chocolate—they’re formulated for a different purpose and won’t give you the fudge texture you want.
Don’t overheat the chocolate. Chocolate is sensitive to heat, and if the water under your double boiler boils too vigorously or if the chocolate-filled bowl sits on the water too long, you can scorch the chocolate. Scorched chocolate tastes bitter and grainy. Keep your water at a gentle simmer, not a rolling boil. If you’re making this multiple times and worry about getting the temperature right, you can also melt the chocolate in the microwave in 20-second bursts, stirring between each burst, until it’s mostly melted. This gives you more control and less risk of overheating.
Stir smoothly but deliberately. When you add the sweetened condensed milk to the melted chocolate, the initial combination will look curdled or separated. Don’t panic and don’t stop stirring thinking something went wrong. Continue stirring steadily, scraping the bottom and sides of the bowl, and the mixture will come together into something silky and uniform. This takes about 90 seconds to 2 minutes of stirring.
Let it set without rushing. Fudge needs time to firm up properly. Two hours at room temperature or 30 to 45 minutes in the refrigerator gives you the ideal texture—it’s firm enough to cut cleanly but still has that melt-in-your-mouth quality. If you cut it too early, it will be too soft and the pieces will lose their shape. If you refrigerate it longer than a few hours, it becomes quite hard; let it sit at room temperature for 5 to 10 minutes before eating to let the texture warm and become more creamlike.
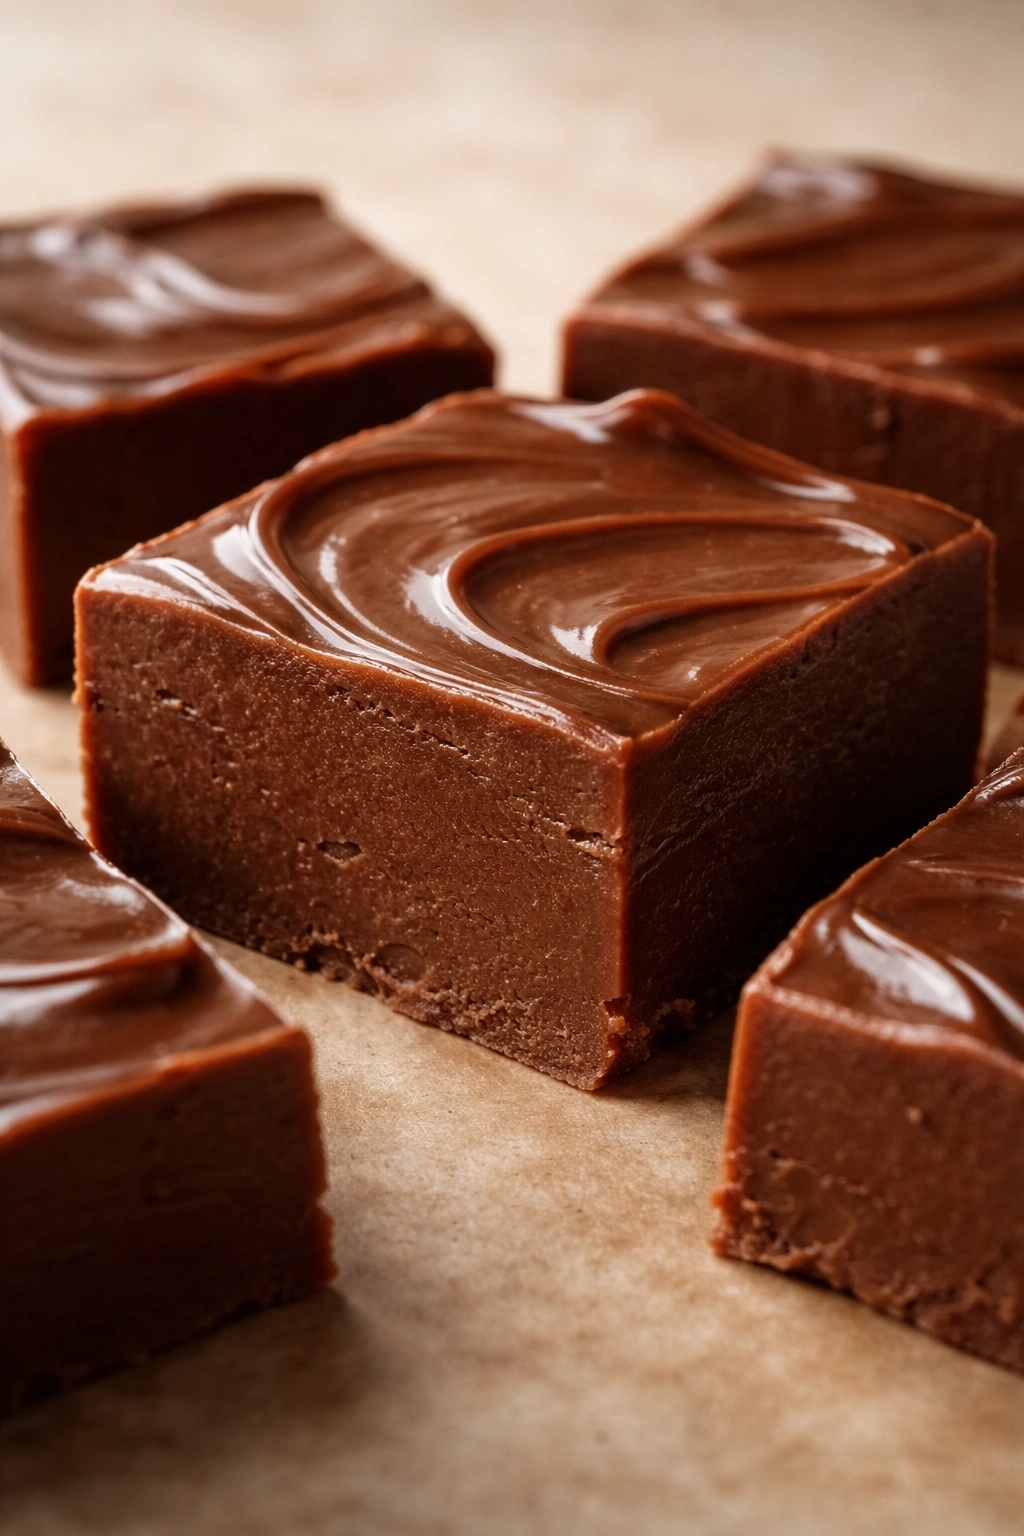
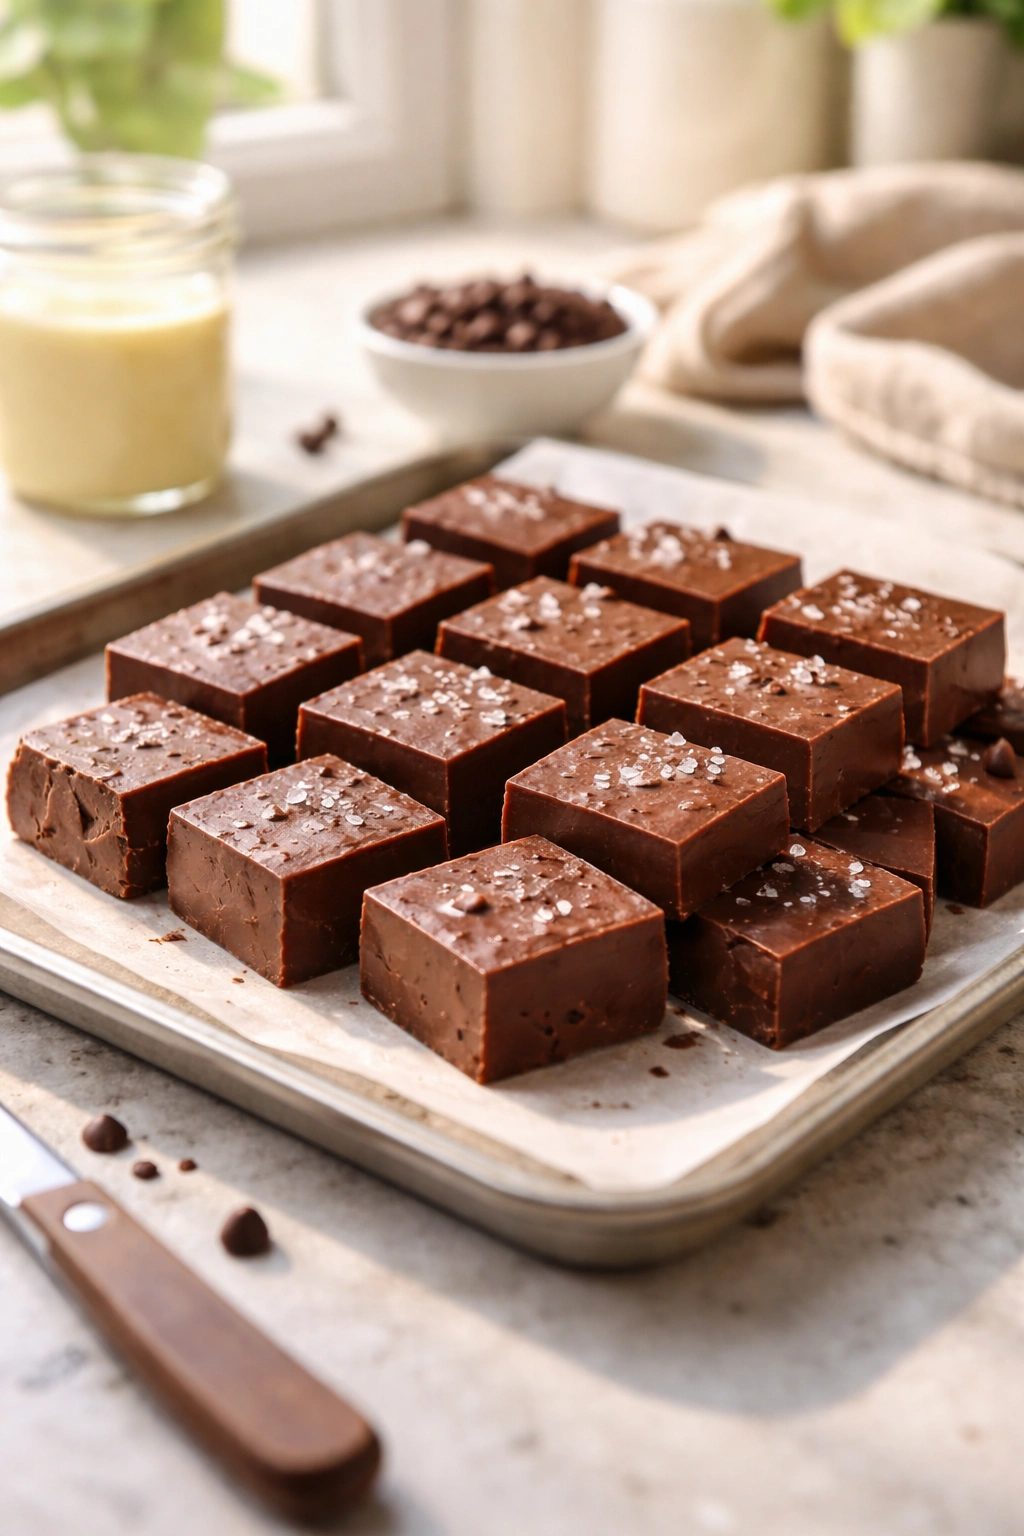
Cut with a sharp knife dipped in hot water. Once your fudge has set, run a sharp chef’s knife under hot water (or dip it briefly in hot water), wipe the blade dry, and use it to cut the fudge into squares. The heat on the blade melts the fudge slightly, preventing cracking and creating clean lines. You can wipe and reheat the knife between cuts if you like—it genuinely does make a difference in appearance.
Common Fudge Mistakes and How to Fix Them
Grainy or sandy texture: This usually means the chocolate was scorched or the mixture broke during melting. Unfortunately, once fudge has a grainy texture, it’s difficult to fix. For your next batch, use lower heat, avoid letting the chocolate sit directly on the boiling water, and melt more slowly. If you’re using a microwave, stop before the chocolate is completely melted and let residual heat finish the job.
Fudge won’t set or stays too soft: This often happens if you used butter that was too warm, which can interfere with setting. Make sure your butter is at cool room temperature when you add it, or chop it small so it cools the mixture slightly. Alternatively, if your kitchen is quite warm (above 75°F), the fudge may need refrigeration to set properly—room temperature setting only works in normal kitchens.
Fudge is too hard and doesn’t melt smoothly: This usually means the chocolate-to-fat ratio is off (too much cocoa, not enough fat) or you’ve refrigerated it too long. For your next batch, ensure you’re using the full amount of butter. If you’re eating refrigerated fudge, let it sit at room temperature for 10 minutes before enjoying it—this restores the creamy mouthfeel.
White streaks or spots appearing on stored fudge: This is blooming, which happens when cocoa butter separates slightly from the chocolate. It doesn’t indicate the fudge has gone bad or tastes wrong; it’s purely cosmetic. To prevent it, store fudge in a cool place (around 60 to 70°F is ideal) rather than in a warm kitchen or direct sunlight. Keep it wrapped tightly so it doesn’t absorb moisture from the air.
Fudge tastes too sweet: This is common with this recipe because sweetened condensed milk is quite sweet on its own. For your next batch, reduce the sweetened condensed milk by 2 tablespoons and increase the chocolate to 7 ounces. You’ll get a darker, less sweet fudge. Alternatively, add ⅛ teaspoon of sea salt to balance the sweetness—salt doesn’t make fudge taste salty; it amplifies chocolate flavor and makes the sweetness less prominent.
Creative Flavor Variations
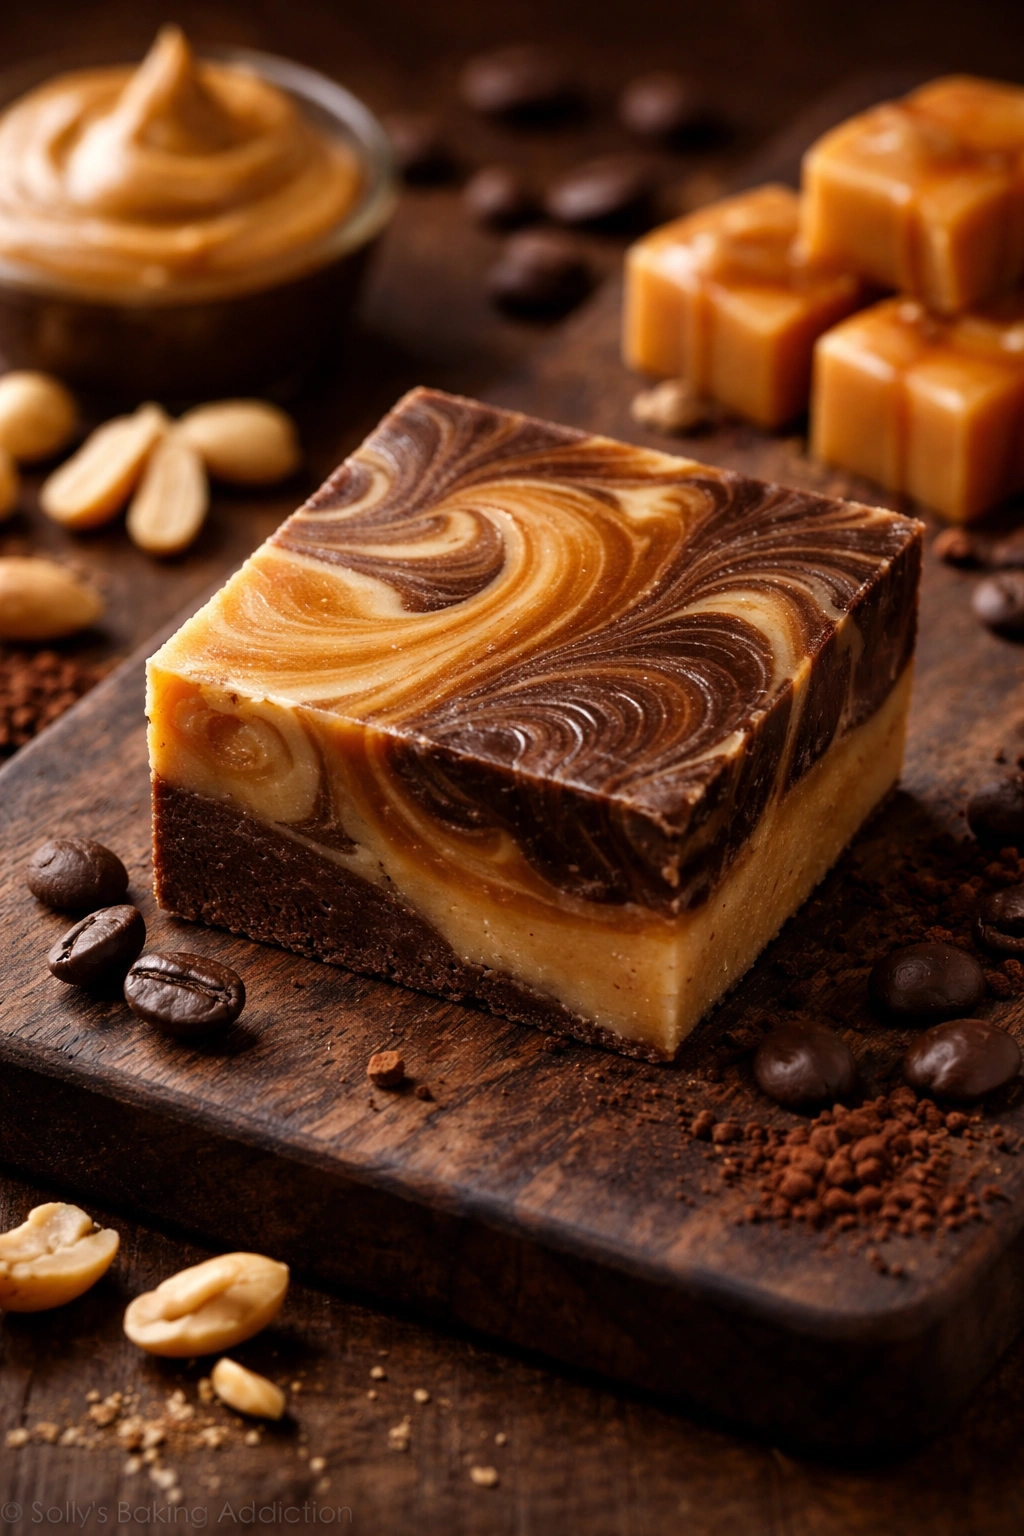
Once you’ve mastered the basic three-ingredient version, the variations are endless. The formula remains the same—what changes is what you mix into the melted chocolate before adding the sweetened condensed milk.
Peanut Butter Fudge: Add 1 tablespoon of smooth peanut butter to the melted chocolate before stirring in the sweetened condensed milk. Use peanut butter that’s at room temperature (soften it slightly if it’s been in the refrigerator). The peanut butter incorporates smoothly and adds a savory richness that complements the chocolate beautifully. This variation works best with 60 to 65 percent cocoa chocolate—going darker can make the peanut flavor fade.
Salted Caramel Fudge: Reduce the sweetened condensed milk by 1 tablespoon and add 1 tablespoon of dulce de leche (caramel sauce) to the melted chocolate. Stir in the sweetened condensed milk as usual, then sprinkle ½ teaspoon of fleur de sel or sea salt on top of the fudge immediately after pouring it into the pan. The salt crystals will partially sink in and partially stay on the surface, creating pockets of salty caramel throughout.
Espresso Fudge: Add ¼ to ½ teaspoon of instant espresso powder (or instant coffee) to the melted chocolate and stir until fully dissolved before adding the sweetened condensed milk. The espresso deepens the chocolate flavor and adds a sophisticated note. This is perfect if you love the coffee-and-chocolate combination.
Mint Chocolate Fudge: Add ¼ teaspoon of peppermint extract or ½ teaspoon of mint extract to the melted chocolate before stirring in the sweetened condensed milk. Taste as you go—mint extract is potent, and you can always add more but can’t remove it. Alternatively, chop fresh mint leaves very finely, toast them briefly in a dry pan to concentrate the oils, and stir them into the fudge.
Ginger Fudge: Add 1 tablespoon of finely minced candied ginger (or ½ teaspoon of powdered ginger) to the melted chocolate. Candied ginger gives you little pockets of spicy-sweet flavor, while powdered ginger distributes the spice more evenly throughout. Both work beautifully with dark chocolate.
Coconut Fudge: Reduce the sweetened condensed milk by 1 tablespoon and add 1 tablespoon of coconut milk to the melted chocolate. Stir in ¼ teaspoon of toasted coconut extract if you have it. The coconut adds a subtle tropical note that’s not overwhelming.
Maple Walnut Fudge: Reduce the sweetened condensed milk by 1 tablespoon and add 1 tablespoon of pure maple syrup to the melted chocolate. Stir in ⅓ cup of finely chopped toasted walnuts after the sweetened condensed milk is incorporated. Pour into the pan and let the walnuts distribute evenly as it sets.
Lavender Honey Fudge: Add 1 tablespoon of raw honey and ⅛ teaspoon of dried culinary lavender (crushed between your fingers to release the flavor) to the melted chocolate. This creates a sophisticated, floral fudge that’s lovely as a gift. Strain out the lavender pieces if they feel too gritty, or leave them in for a more rustic texture.
No-Cook Variations If You Prefer Simplicity

Not everyone is comfortable with even basic stovetop cooking, and this recipe can be adapted to skip the heat entirely.
No-Heat Coconut Oil Version: Replace the butter with coconut oil and use melted chocolate chips that come from a jar (available at baking supply stores), or briefly microwave chocolate chips in 20-second bursts until they’re melted and pourable. Simply stir the melted chocolate and coconut oil together, then add the sweetened condensed milk. The coconut oil gives you a slightly different mouthfeel—a bit more brittle when chilled, but still creamy at room temperature. This variation works well if your kitchen is cool or if you’ll be storing the fudge in the refrigerator.
Peanut Butter Cup Fudge (No-Cook): Use melted chocolate chips (warmed in the microwave in 20-second intervals), add peanut butter and coconut oil, then stir in sweetened condensed milk. You can also layer this version—pour half the fudge into the pan, add a thin layer of peanut butter mixed with a little sweetened condensed milk, then cover with the remaining chocolate fudge.
Cookies and Cream Fudge: Make the basic fudge following the traditional method, then stir in ⅓ cup of crushed chocolate sandwich cookies (such as Oreos) just before pouring into the pan. The cookie pieces add crunch and visual appeal.
How to Store Your Fudge
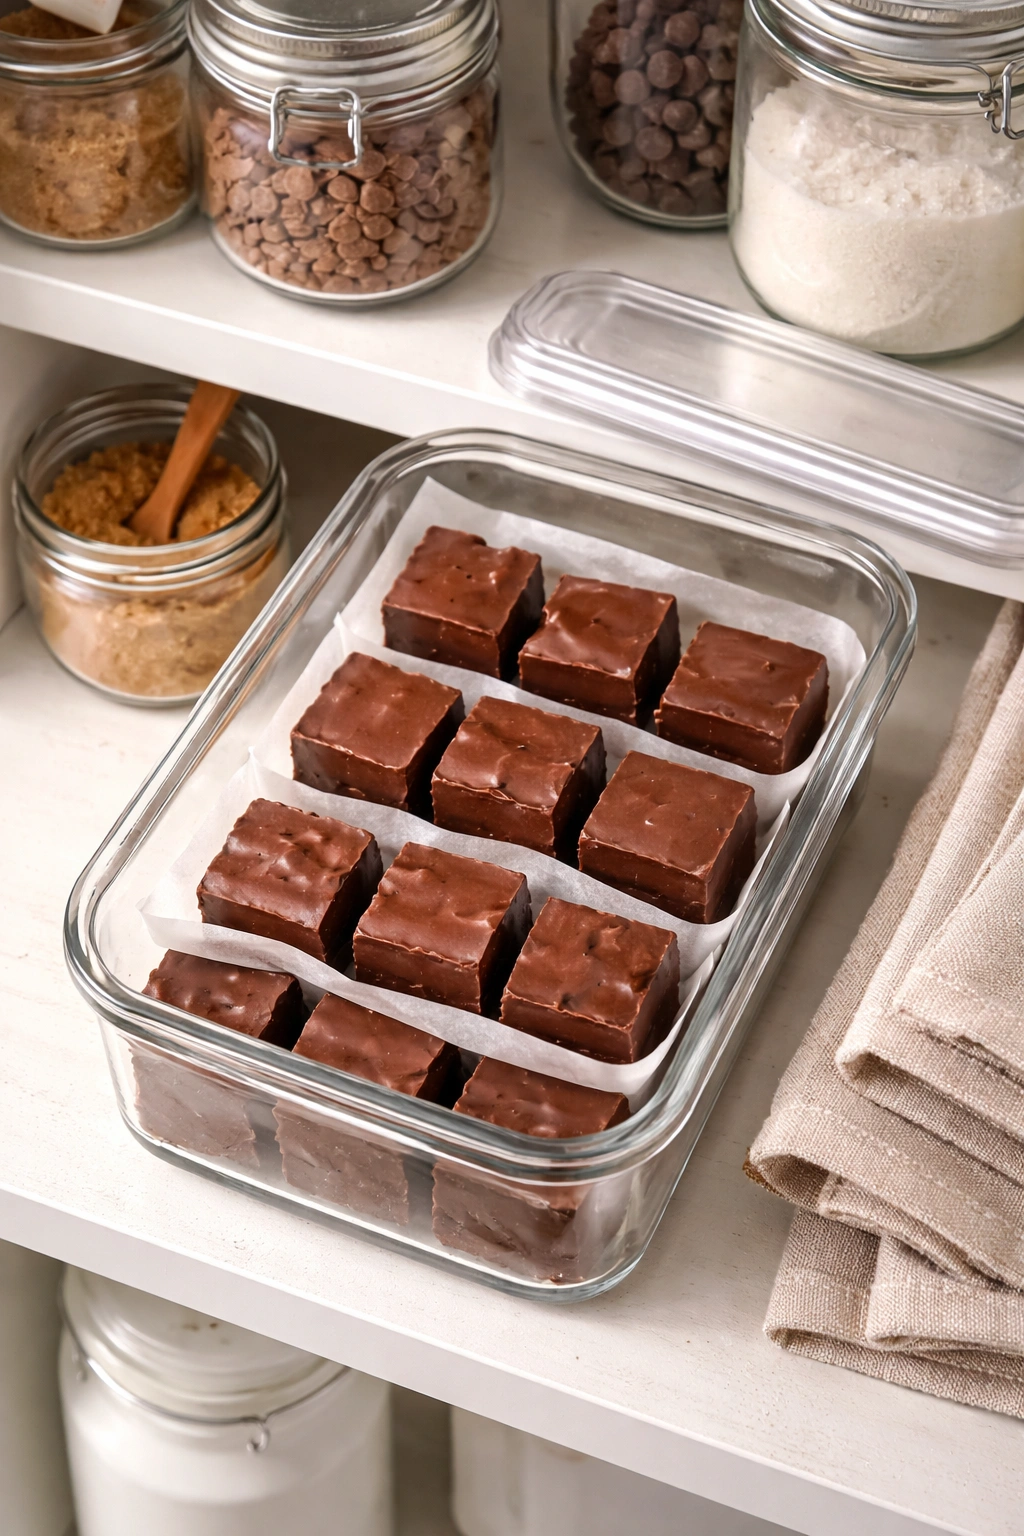
Properly stored fudge keeps beautifully for an impressive length of time, which makes it perfect for advance preparation and gift-giving.
At Room Temperature: Store fudge in an airtight container at room temperature (ideally between 60 and 75°F) for up to two weeks. If your kitchen runs warm, this might be shorter. Keep the fudge wrapped in parchment paper or wax paper to prevent pieces from sticking together, especially if the kitchen is humid.
In the Refrigerator: Refrigerated fudge keeps for four to six weeks. Store it in an airtight container on a shelf away from strong odors (fudge can absorb flavors from your fridge). Separate layers with parchment paper. When you want to eat it, remove it from the fridge 5 to 10 minutes before eating so it can warm slightly and achieve its creamy texture.
In the Freezer: Fudge freezes brilliantly for up to three months. Wrap it tightly in plastic wrap, then place it in an airtight container or freezer bag. Thaw it at room temperature for about 30 minutes before serving. Frozen fudge actually keeps the texture fresher longer because the cold stops any crystallization or blooming.
Gift-Giving: Layer fudge pieces in a box lined with parchment paper, separating rows with additional parchment. Wrap the entire box in plastic wrap or place it in a cellophane bag and tie it with a ribbon. Store in a cool place. Fudge makes an exceptionally impressive homemade gift because most people assume it’s far more difficult to make than it actually is.
Signs It’s Gone Bad: Fudge is quite stable and rarely goes bad, but toss it if you notice a rancid smell (indicating the butter has oxidized), visible mold, or an off taste. The chocolate might develop a white coating (bloom) during storage, which is purely cosmetic and doesn’t indicate spoilage.
Serving and Gift Ideas
Three-ingredient fudge is elegant enough to serve at a dinner party but approachable enough for casual snacking straight from a container.
For Serving: Cut the fudge into 1-inch squares or slightly larger pieces depending on your preference. Serve at room temperature for the creamiest texture. If you’ve refrigerated it, let it warm slightly on the counter for 5 to 10 minutes before serving. A small plate or parchment paper makes serving fudge feel special and prevents guests from getting chocolate on their hands.
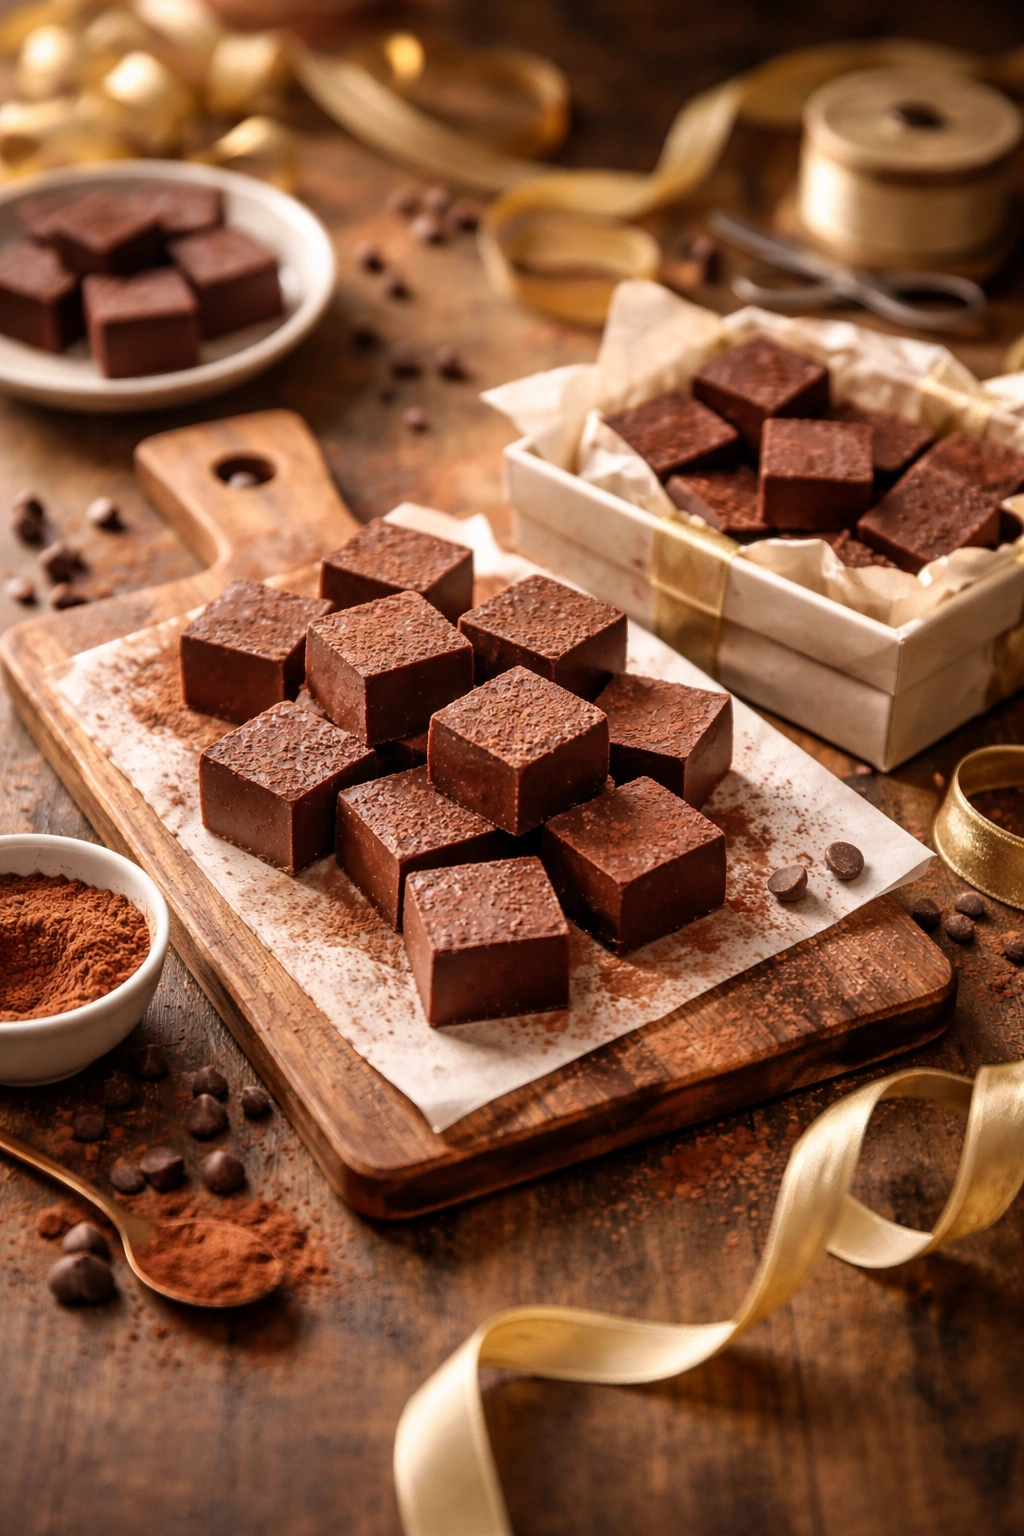
Plating Ideas: Dust fudge pieces with unsweetened cocoa powder for a sophisticated presentation. A sprinkle of fleur de sel on top adds visual interest and balances the sweetness. Arrange pieces on a board alongside other elements—candied citrus peel, crushed nuts, or chocolate-covered nuts—to create an impressive dessert board.
Holiday Gift Packaging: Cut the fudge into uniform pieces and layer them in a pretty box lined with parchment paper. Include a label noting the flavor, ingredients, and storage instructions. Pro tip: If you’re making multiple flavors, clearly label each type so recipients know what they’re eating. A handwritten note about how easy this recipe is often prompts them to make it themselves.
Pairing with Beverages: Fudge is perfect with strong coffee or espresso—the slight bitterness of coffee balances the sweetness of fudge beautifully. It also pairs well with dessert wines, port, or brandy. For non-alcoholic options, try it alongside hot chocolate, herbal tea, or cold milk.
Using Up Leftover Fudge: Crumble leftover fudge and use it as a topping for vanilla ice cream, fold it into brownie batter, or sprinkle it over frosted cakes. Fudge shards added to cookies create pockets of chocolate richness.
Final Thoughts
Making fudge at home transforms a pantry staple into something genuinely impressive, and this three-ingredient version proves that simplicity and quality aren’t mutually exclusive. You’ll find yourself making batch after batch—one for your own enjoyment, one to give as gifts, one to experiment with flavors. Within a week of mastering the basic recipe, you’ll understand why homemade fudge tastes so much better than store-bought. It’s not just superior ingredients, though that helps. It’s the precise ratio of cocoa, fat, and sugar that this method guarantees. It’s the creamy texture that only develops when you respect the chemistry of the ingredients instead of fighting against it.
The real revelation is how achievable this is. Fudge isn’t finicky or temperamental when you use this approach. It’s forgiving, reliable, and adaptable to your taste. Whether you’re a confident cook or someone who’s intimidated by the kitchen, you can make genuinely excellent fudge. That’s the promise of this recipe, and it’s one it keeps every single time.