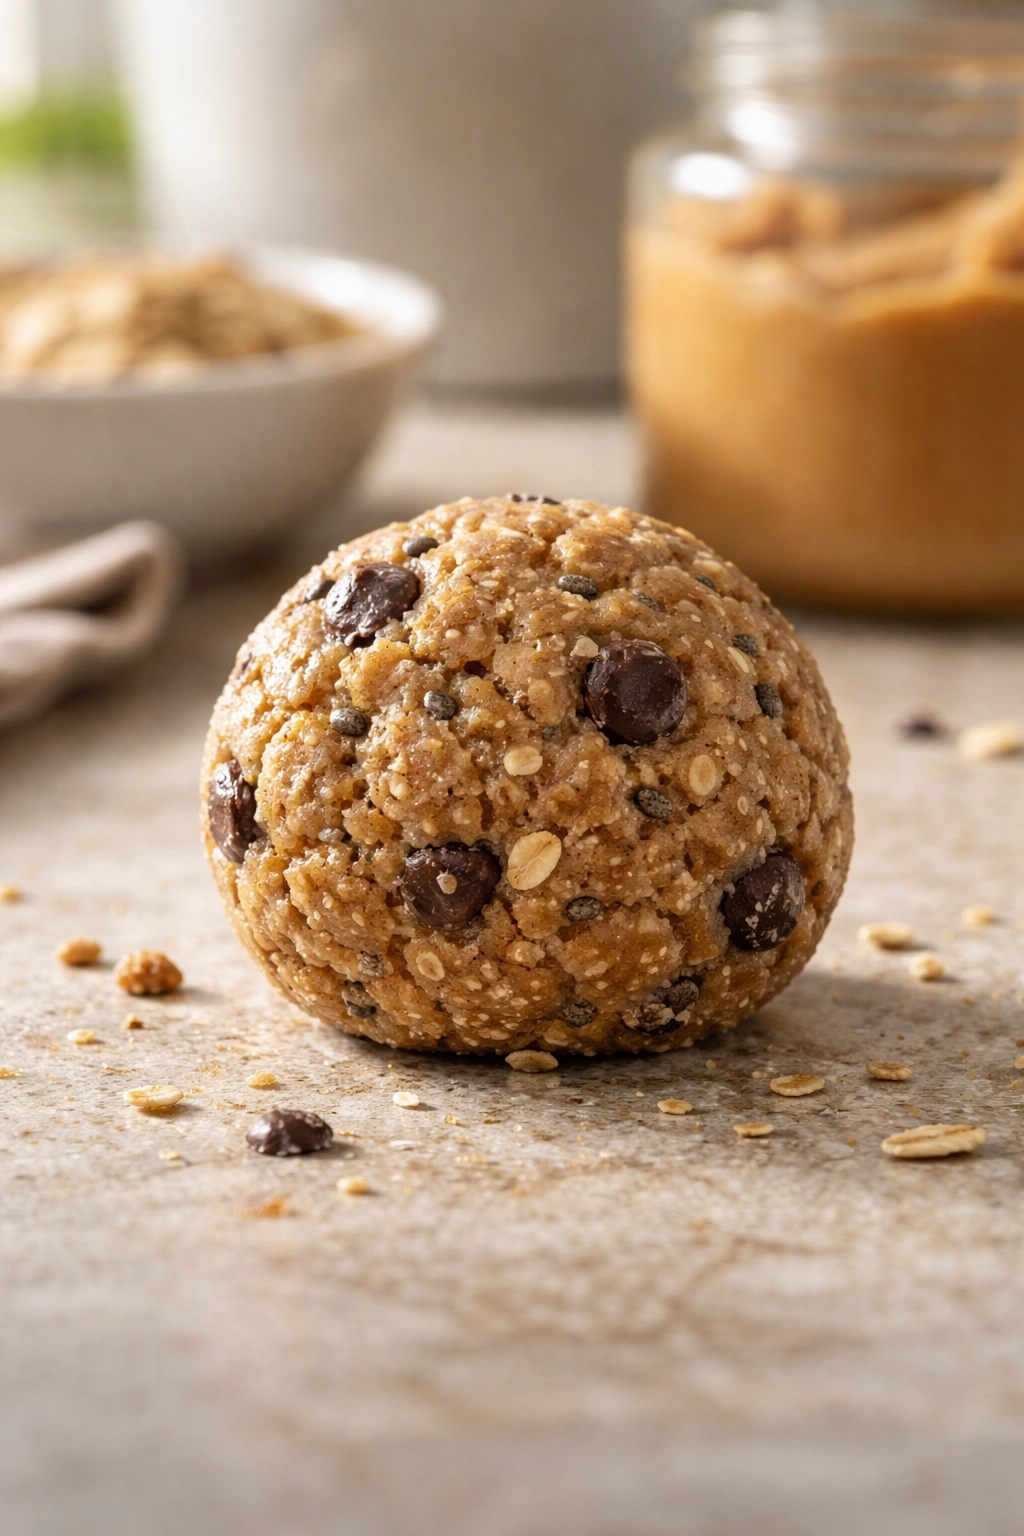
Energy balls made with peanut butter might sound like one of those overly trendy health-food inventions, but they’re actually one of the most practical, delicious solutions for anyone looking for a quick snack that doesn’t require an oven. These little powerhouses come together in about fifteen minutes, require no special baking skills, and taste like a cross between a candy and something genuinely nourishing — which is exactly why they’ve earned a permanent place in the snack rotation of home cooks everywhere.
The beauty of no-bake peanut butter energy balls isn’t just their speed. It’s that they solve a real problem: you’ve got a sugar craving that won’t quit, you need something to grab before the gym, or you’re trying to keep your family away from store-bought snack bars loaded with ingredients you can’t pronounce. These balls deliver genuine satisfaction with ingredients you actually recognize. They’re substantial enough to quiet hunger between meals, portable enough to throw in a lunchbox or take on a hike, and customizable enough that you can make them exactly the way you like them.
What makes these different from baked goods is that there’s no precise temperature to hit, no oven to preheat, and no waiting for things to cool. You’re simply mixing, rolling, and chilling — and even that chilling step is flexible. Whether you’ve got thirty minutes or three hours, they’ll be ready to eat. This is the kind of recipe that works for a busy weeknight, a weekend batch-cooking session, or even a last-minute gift made with homemade care.
Why No-Bake Energy Balls Are a Game-Changer
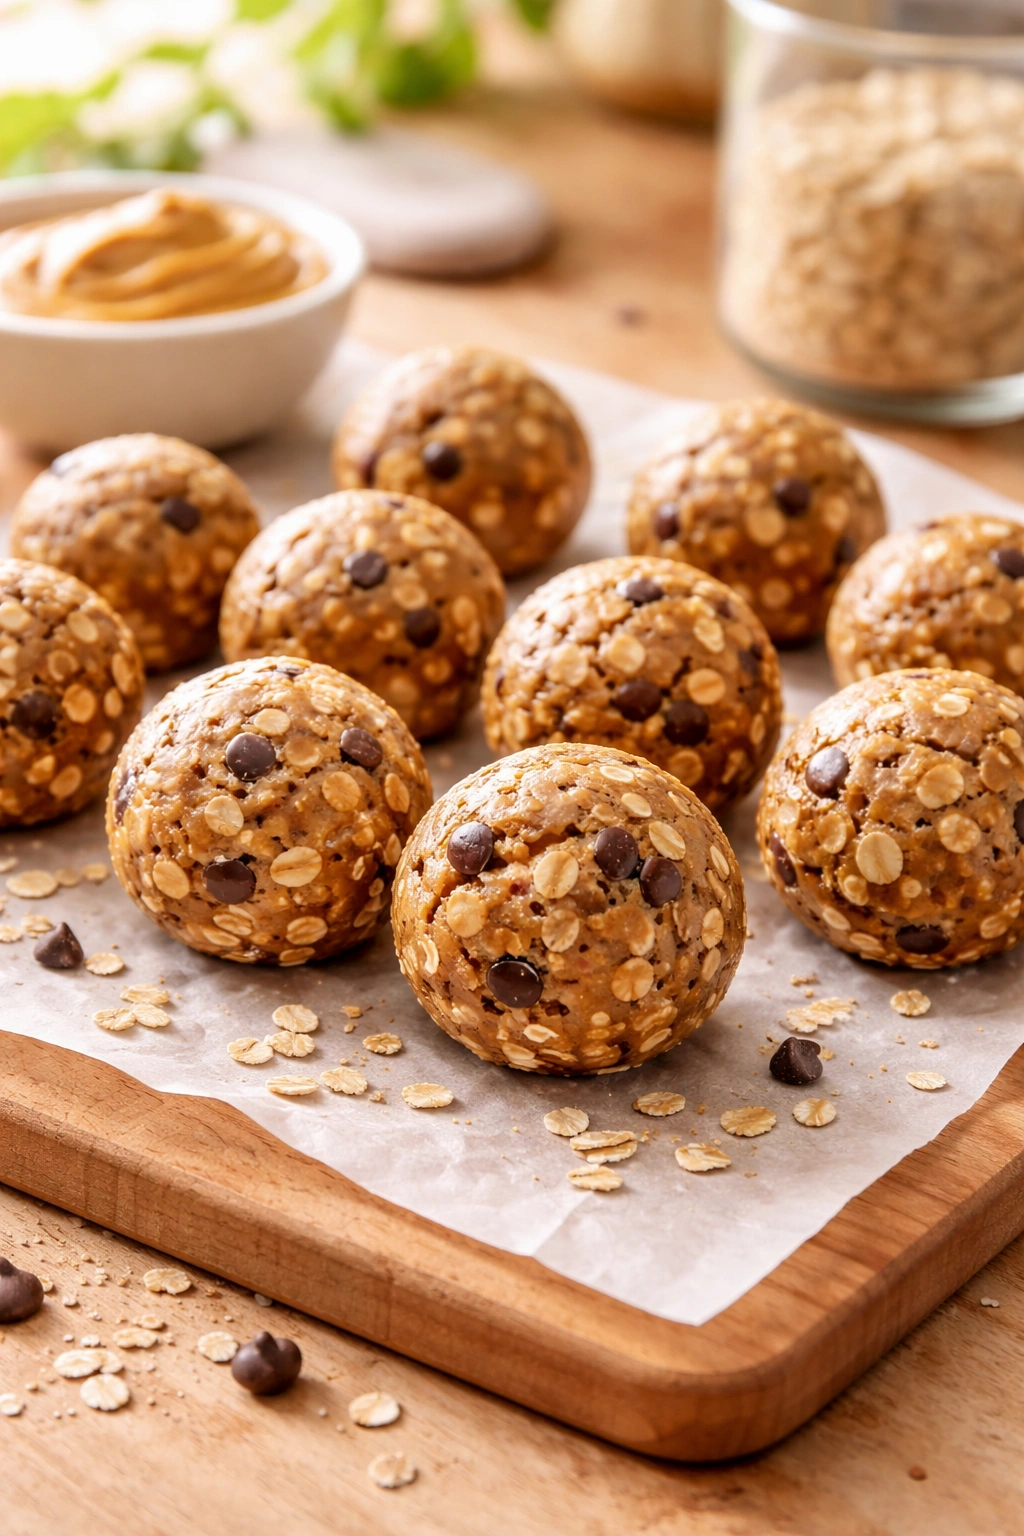
There’s something deeply satisfying about making a snack that actually requires zero cooking. No burned edges. No dry texture disasters. No wondering if you underbaked or overbaked. You mix, you shape, you chill, and you’re done — the outcome is always the same: soft, chewy energy balls with the exact texture you want.
The real advantage goes beyond convenience, though. No-bake means you can make these in summer without heating up your kitchen. There’s no oven involved, so your air conditioning stays off and your living space stays cool while you’re making something delicious. You’re also not investing thirty to forty minutes of active oven time for a snack that only takes minutes to eat — the time-to-deliciousness ratio is unbeatable.
They’re also infinitely forgiving in a way that baked goods simply aren’t. If your mixture is a little stickier than expected, you work a bit more flour into it. If it’s too dry, you add a touch more peanut butter or honey. There’s no waiting to see how it turns out after baking — you adjust as you go and have immediate feedback. This makes them perfect for first-time snack makers and for anyone who finds baking intimidating.
Another game-changer is the customization. You can make a huge batch at the start of the week and have grab-and-go snacks ready for five days. You can make them dairy-free, gluten-free, vegan, or keep them traditional. You can add chocolate chips, coconut, dried fruit, or nothing at all. The same basic formula works for everything.
The Science Behind Simple Ingredients
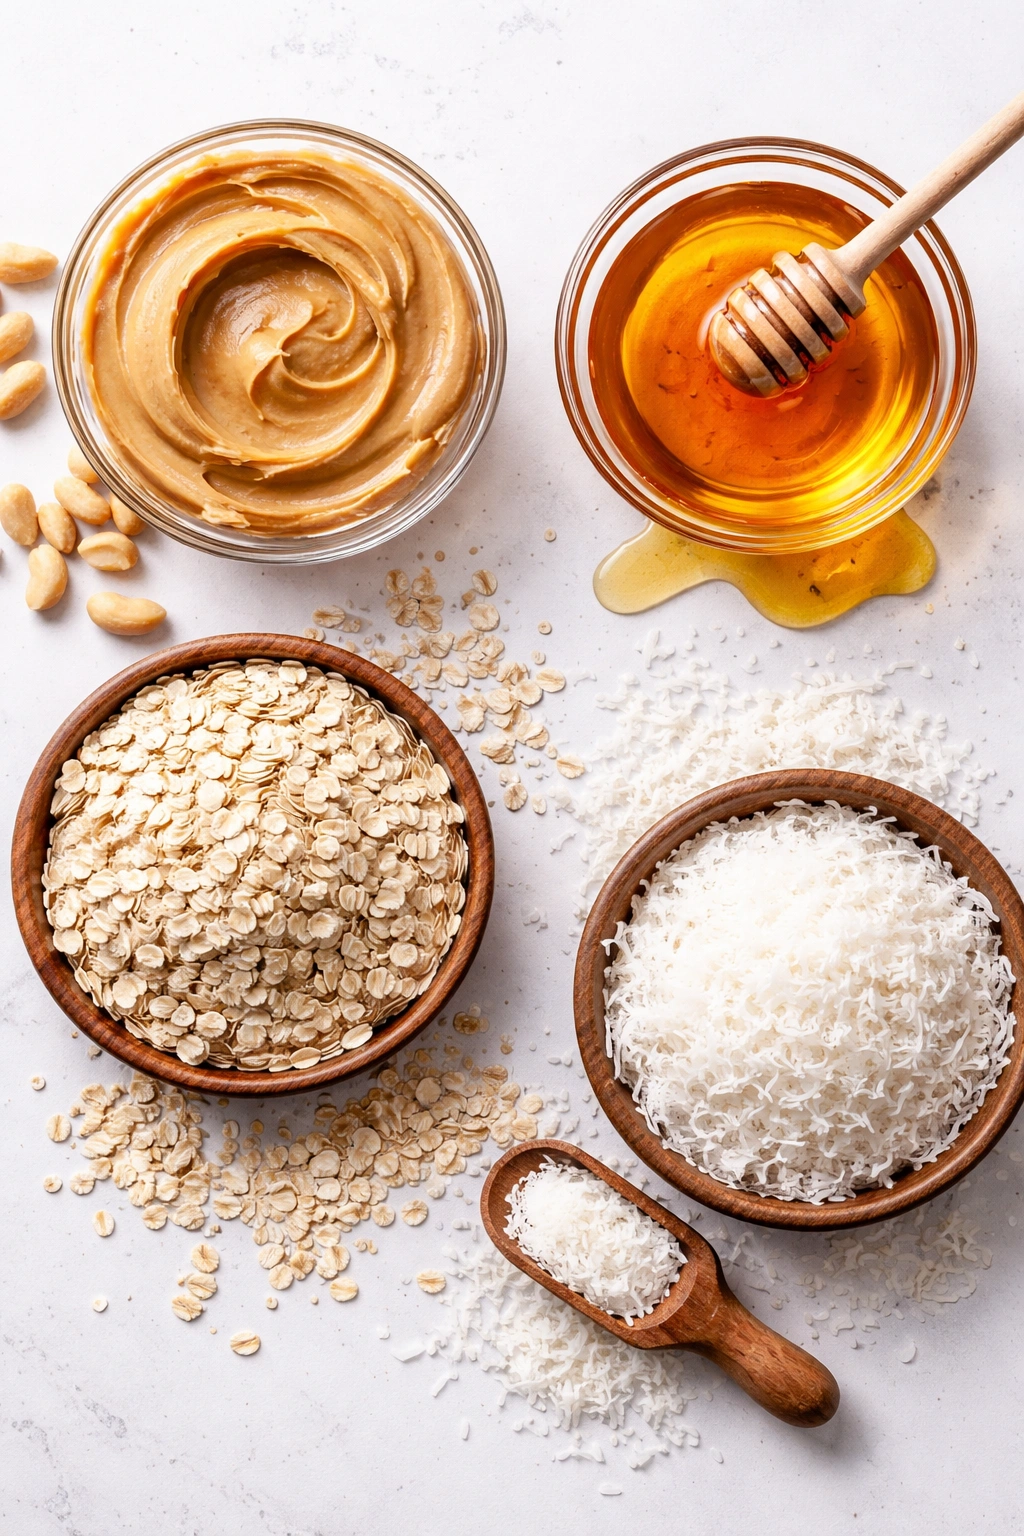
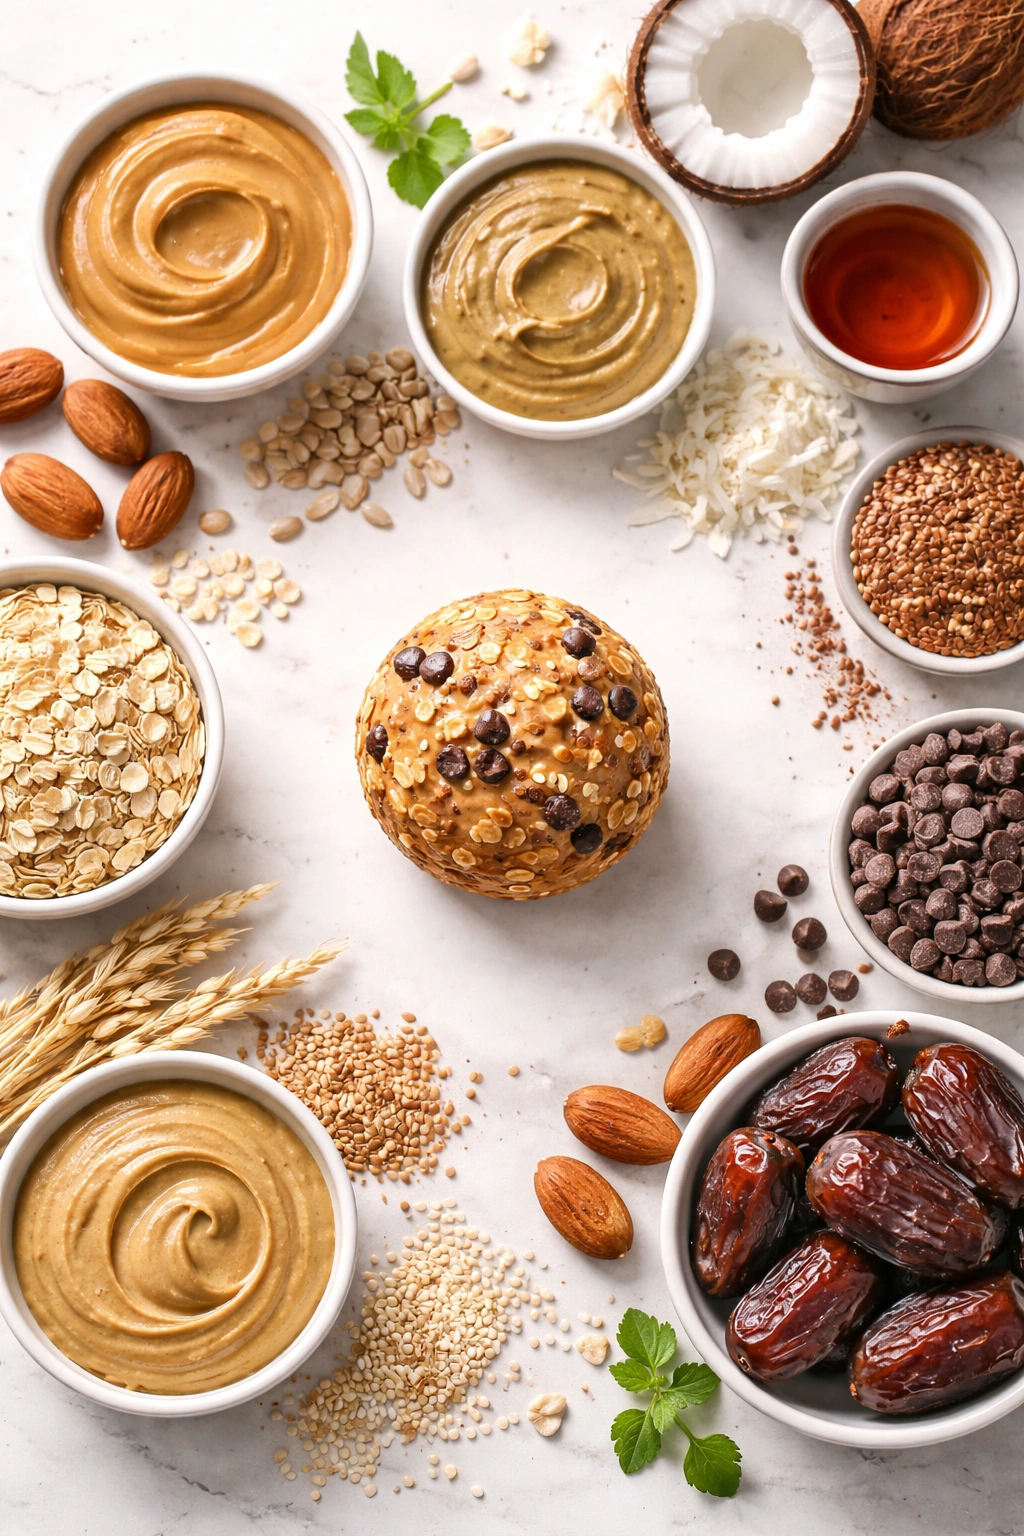
Understanding why these three or four simple ingredients actually work together changes how you approach making them. Peanut butter serves as the binding agent and flavor foundation — the protein and fat in it hold everything together naturally without any need for eggs or leavening agents. Unlike flour-based recipes that need moisture content balanced perfectly, peanut butter is already dense and cohesive, so it essentially does the work for you.
The sweetener — whether honey, maple syrup, or powdered sugar — dissolves into and coats the peanut butter, adding sweetness and moisture. If you use honey or maple syrup, you’re also adding a sticky consistency that helps everything bind. Powdered sugar works differently: it creates a drier mixture that’s actually easier to roll, and it dissolves on your tongue instantly, creating a melting sensation. Some recipes use both for the best of both worlds.
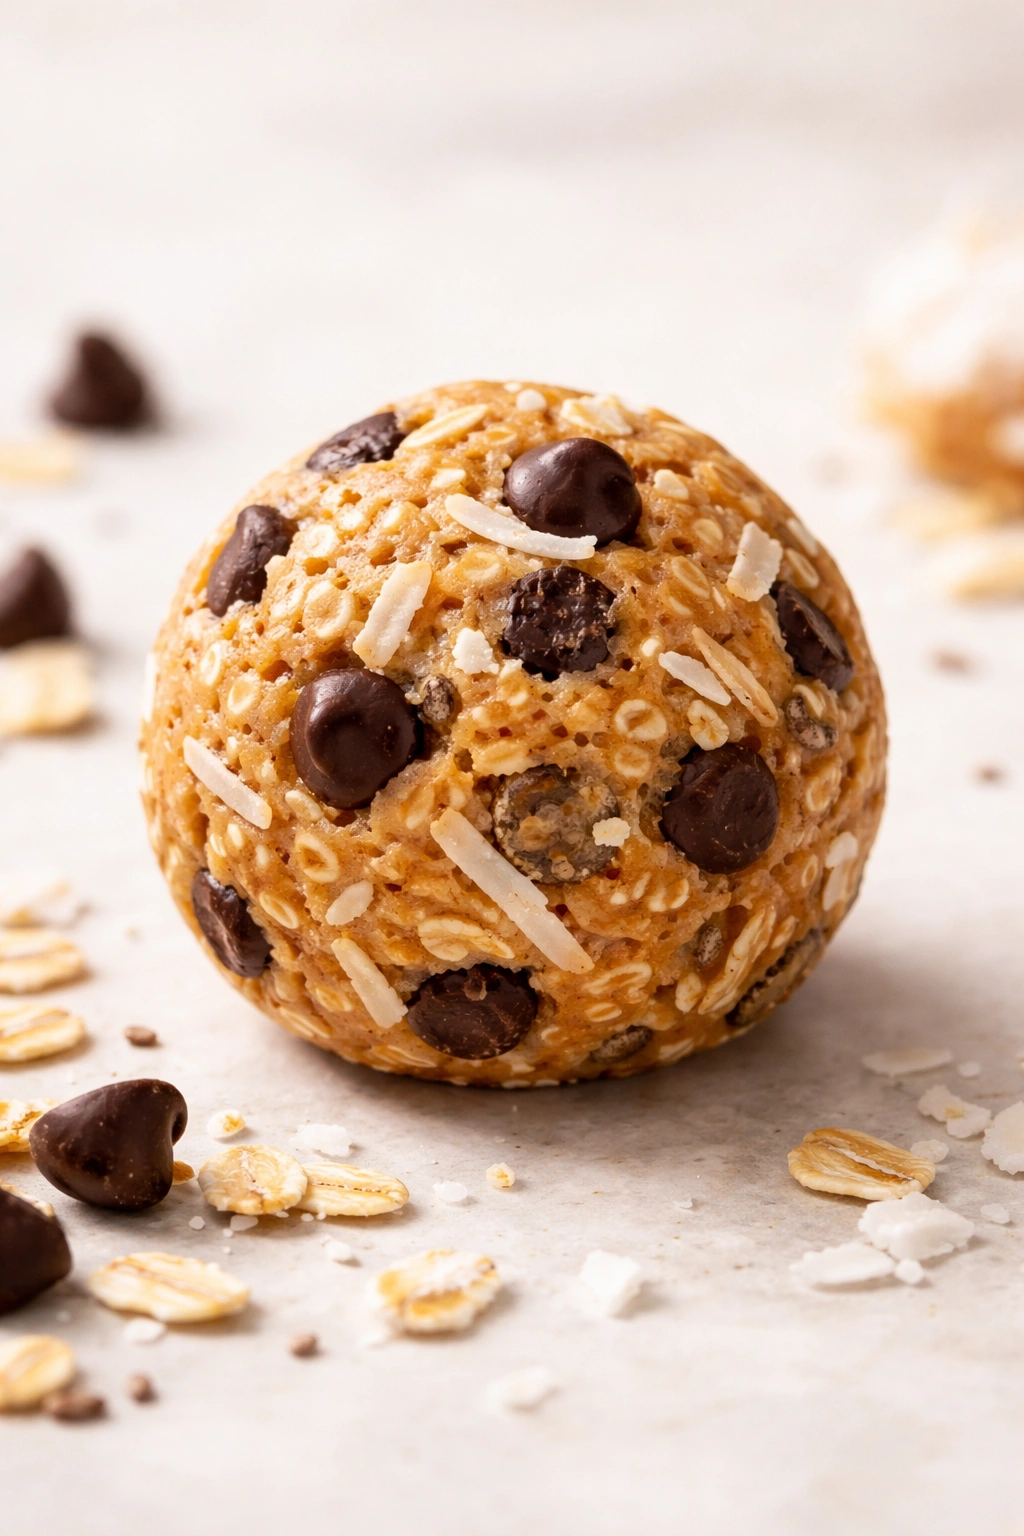
The third component is typically something for structure and texture variety. Oats add chewiness and absorb moisture, preventing the balls from getting greasy. Shredded coconut adds flavor and structure. Graham cracker crumbs add subtle sweetness and a slightly crispy texture. Chocolate chips aren’t structural but add richness and visual appeal. Whatever you choose affects how the mixture feels in your hand and how the finished balls taste.
The reason these come together so quickly is that there’s no hydration chemistry happening. You’re not developing gluten. You’re not creating an emulsion that needs precision. You’re simply combining dense, already-cohesive ingredients and using your hands or a mixer to distribute them evenly. The binding happens through simple mechanical mixing, not through any chemical reaction.
Essential Equipment and Setup
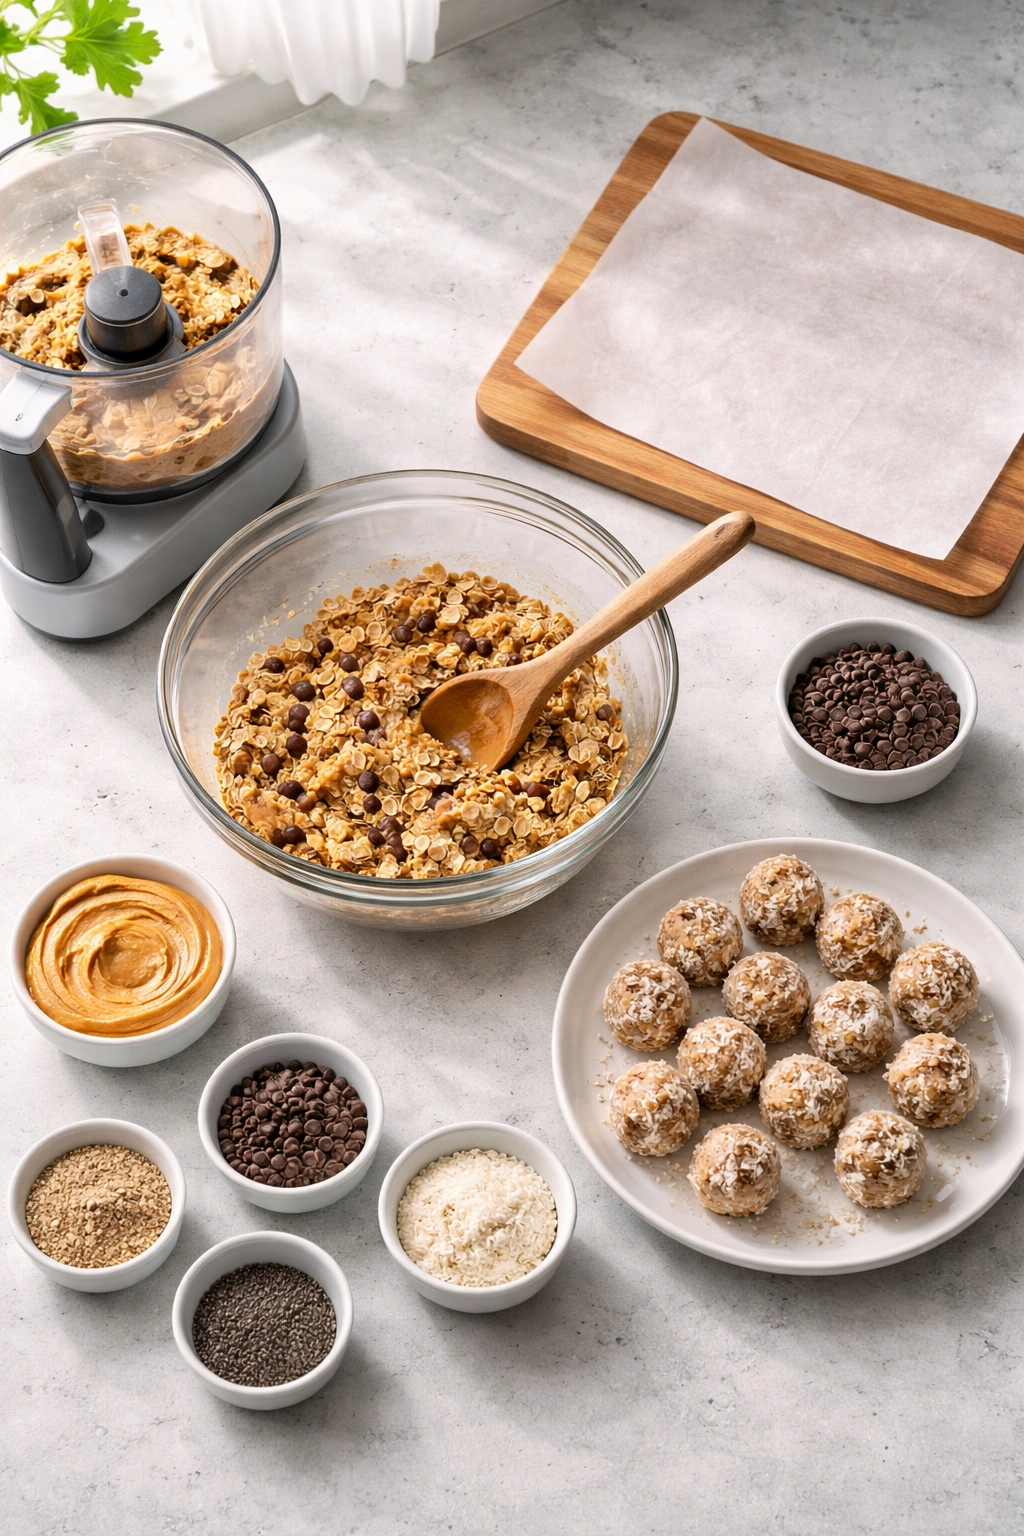
You’ll need almost nothing to make these, which is part of their appeal. A mixing bowl — standard size, nothing fancy. A spoon or small spatula for stirring, or a stand mixer if you have one and want to use it. A baking sheet or large plate. Parchment paper, plastic wrap, or even a clean kitchen towel to prevent sticking. A one-inch cookie scoop or small melon baller makes rolling much faster and more uniform, but your hands work perfectly fine.
The one thing worth having is a food processor if you’re making large batches, especially if you’re starting with whole nuts to make your own peanut butter or if you’re chopping dried fruit fine. For small batches with jarred peanut butter, you don’t need anything beyond a bowl and a spoon.
Your workspace should be cool rather than warm. If your kitchen is very hot, peanut butter mixture gets softer and much harder to roll. Working near an open window or with air conditioning helps. If you’re making these in summer and your peanut butter is already soft, you can pop the mixed dough in the freezer for five to ten minutes before rolling to make it firmer and easier to handle.
Choosing Your Peanut Butter
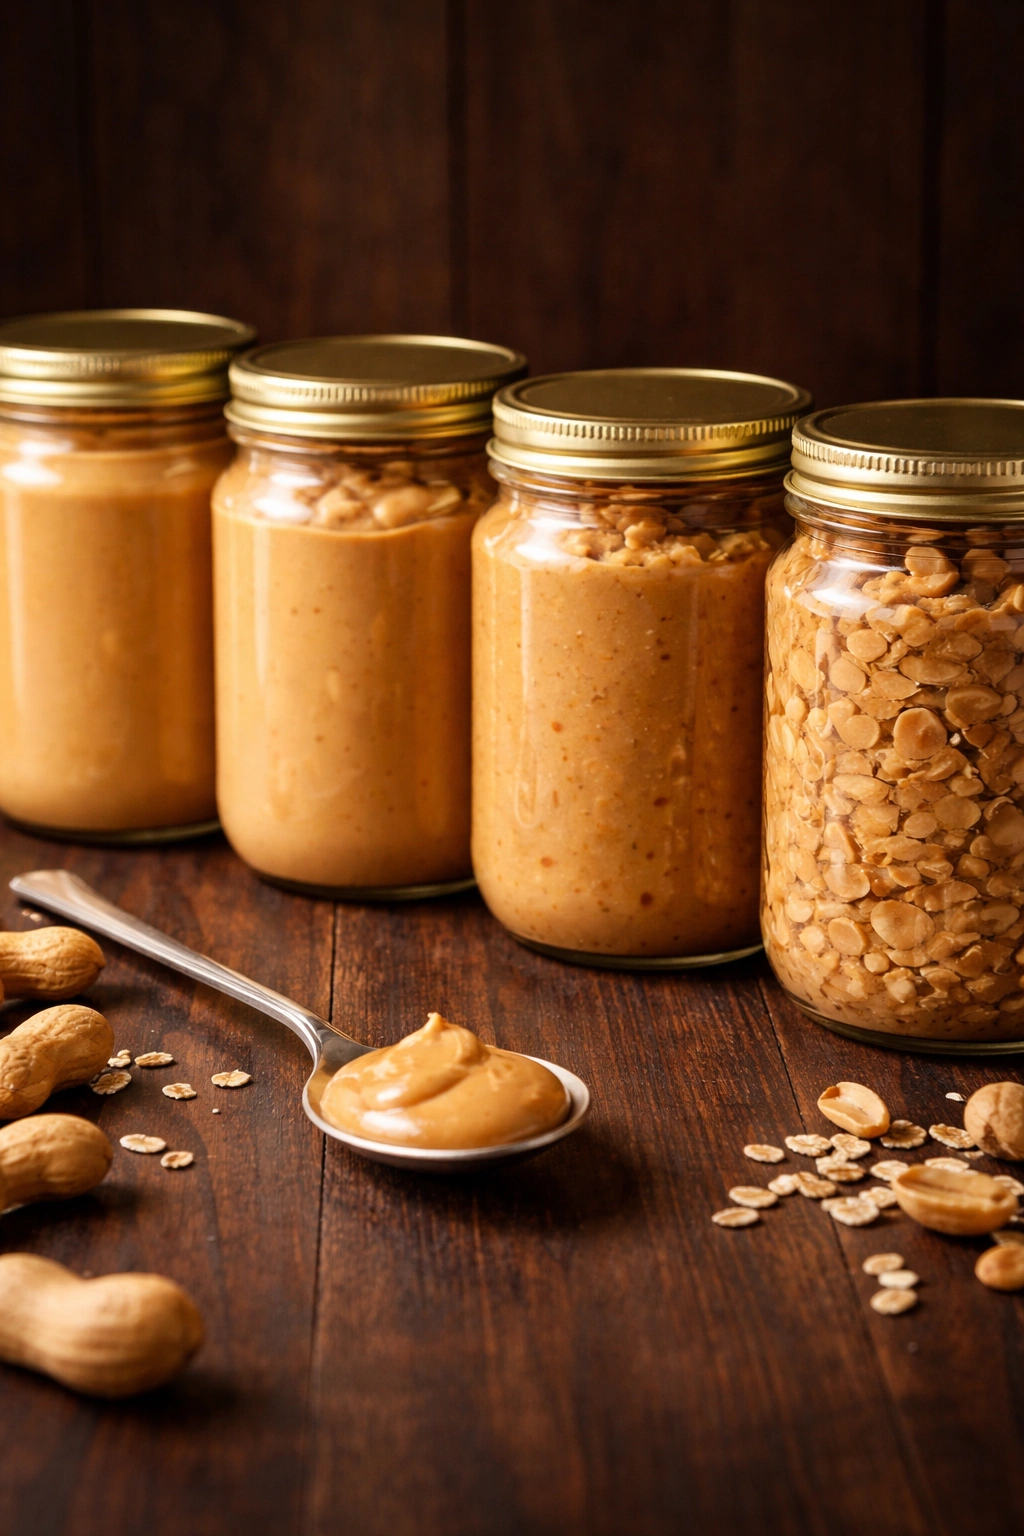
Not all peanut butters behave the same way, and this matters more than it sounds. Natural peanut butter — the kind with just peanuts and maybe salt, with oil separated at the top — makes a slightly different texture than commercial creamy peanut butter because it has less added sugar and no stabilizers. It works perfectly, but the mixture is often slightly softer and may benefit from more powdered sugar or oats to firm it up.
Standard creamy peanut butter has added sugar, hydrogenated oil, and stabilizers that make it denser and easier to work with. It’s predictable, which is valuable when you’re learning the recipe. It’s what most home cooks reach for, and honestly, there’s nothing wrong with that — you’ll get great results.
Crunchy peanut butter works too, but now you’ve got visible peanut pieces throughout, which some people love and others find less appealing in a smooth energy ball. If you use it, be aware that it’s slightly grittier.
Powdered peanut butter — the kind where the oil has been removed and you mix it with water — doesn’t work for this recipe because it’s meant to be reconstituted into a spread, not used as a standalone ingredient with binders.
What you absolutely want to avoid is peanut butter that’s separated into hard oil on top and dry peanut paste on the bottom. If your jar looks like this, stir it thoroughly before measuring, or transfer it to a food processor and blend it until uniform. This ensures even mixing.
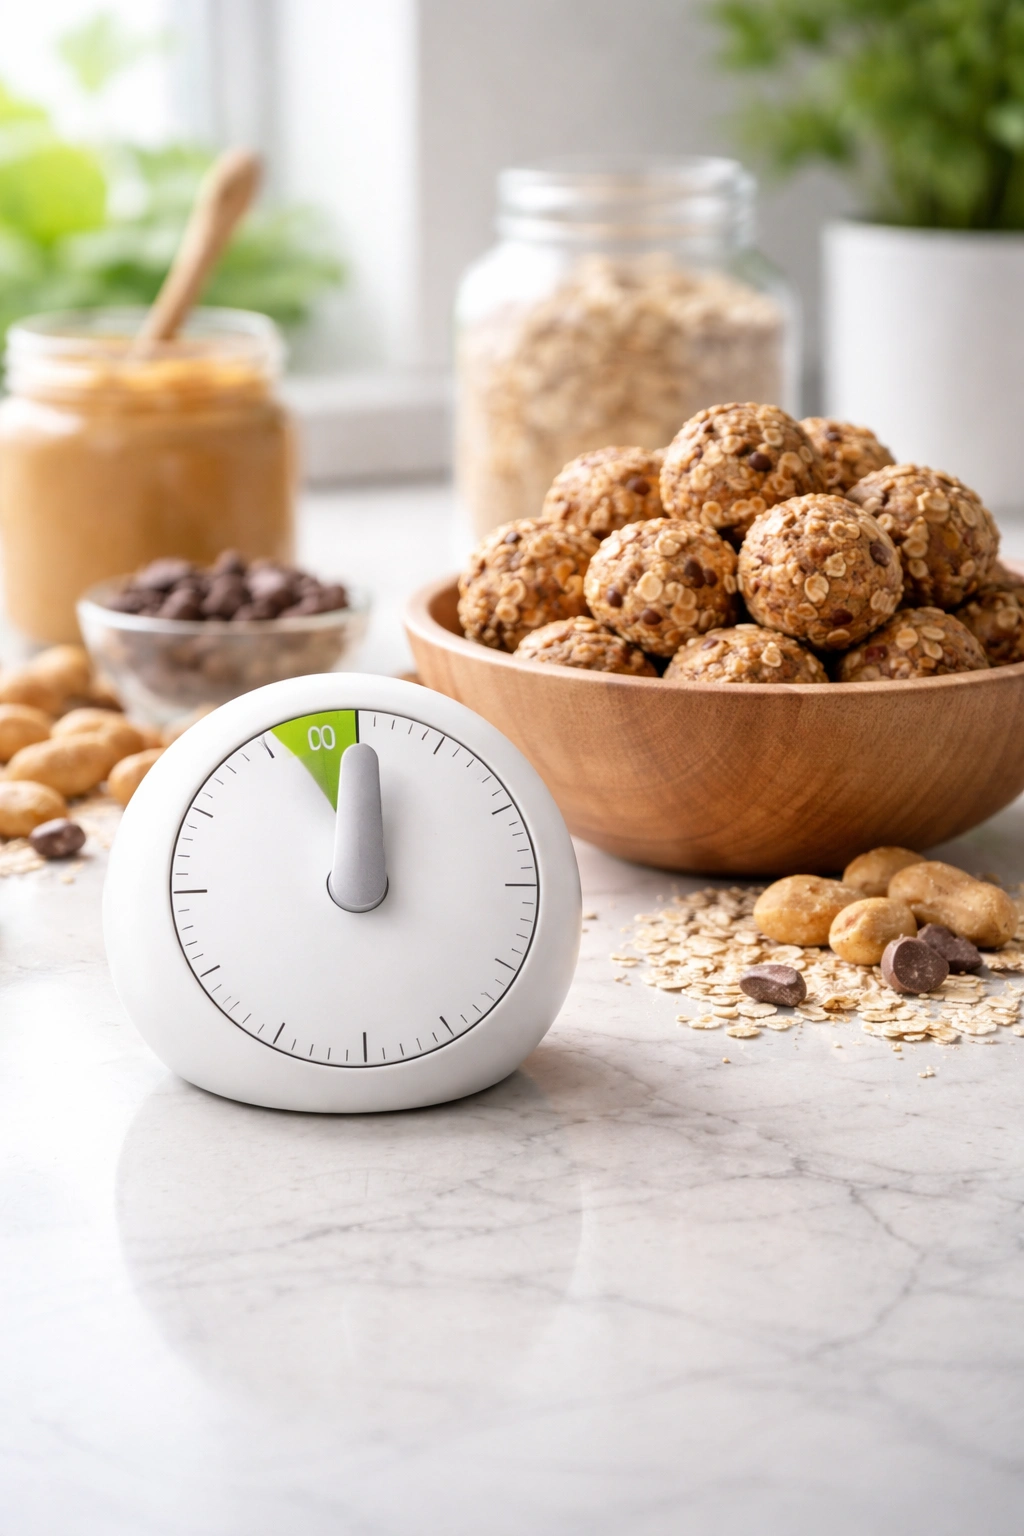
Total Time:
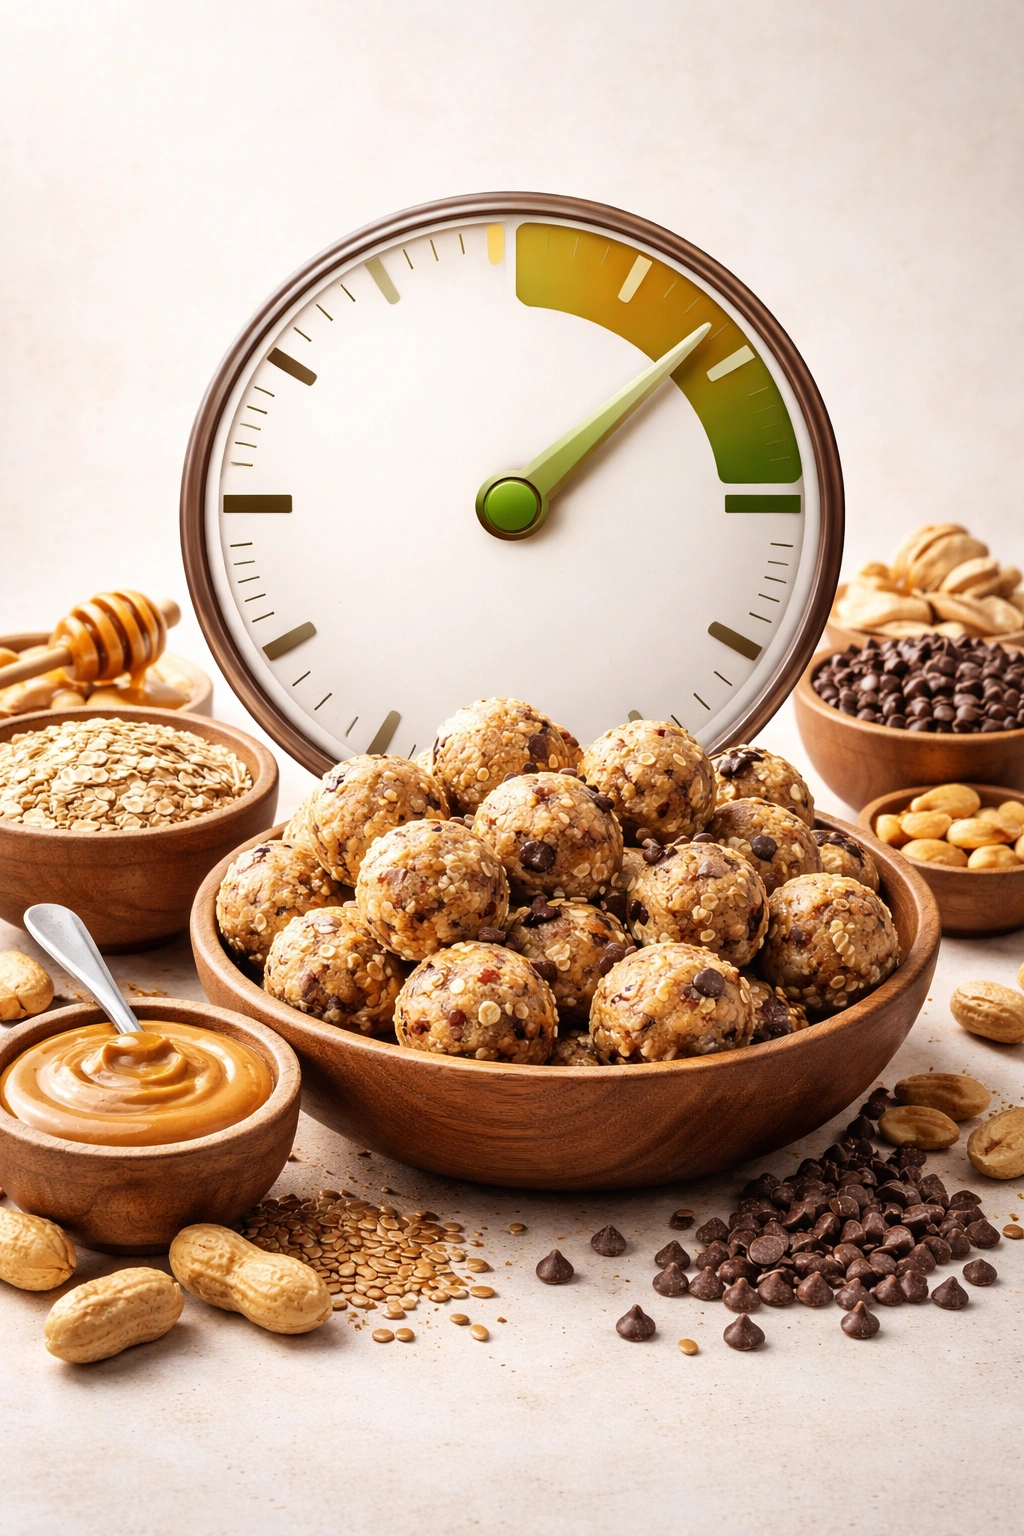
15 minutes active + 20-30 minutes chilling (can eat right away if you prefer softer balls, or chill up to 2 hours for firmer texture)
Difficulty:
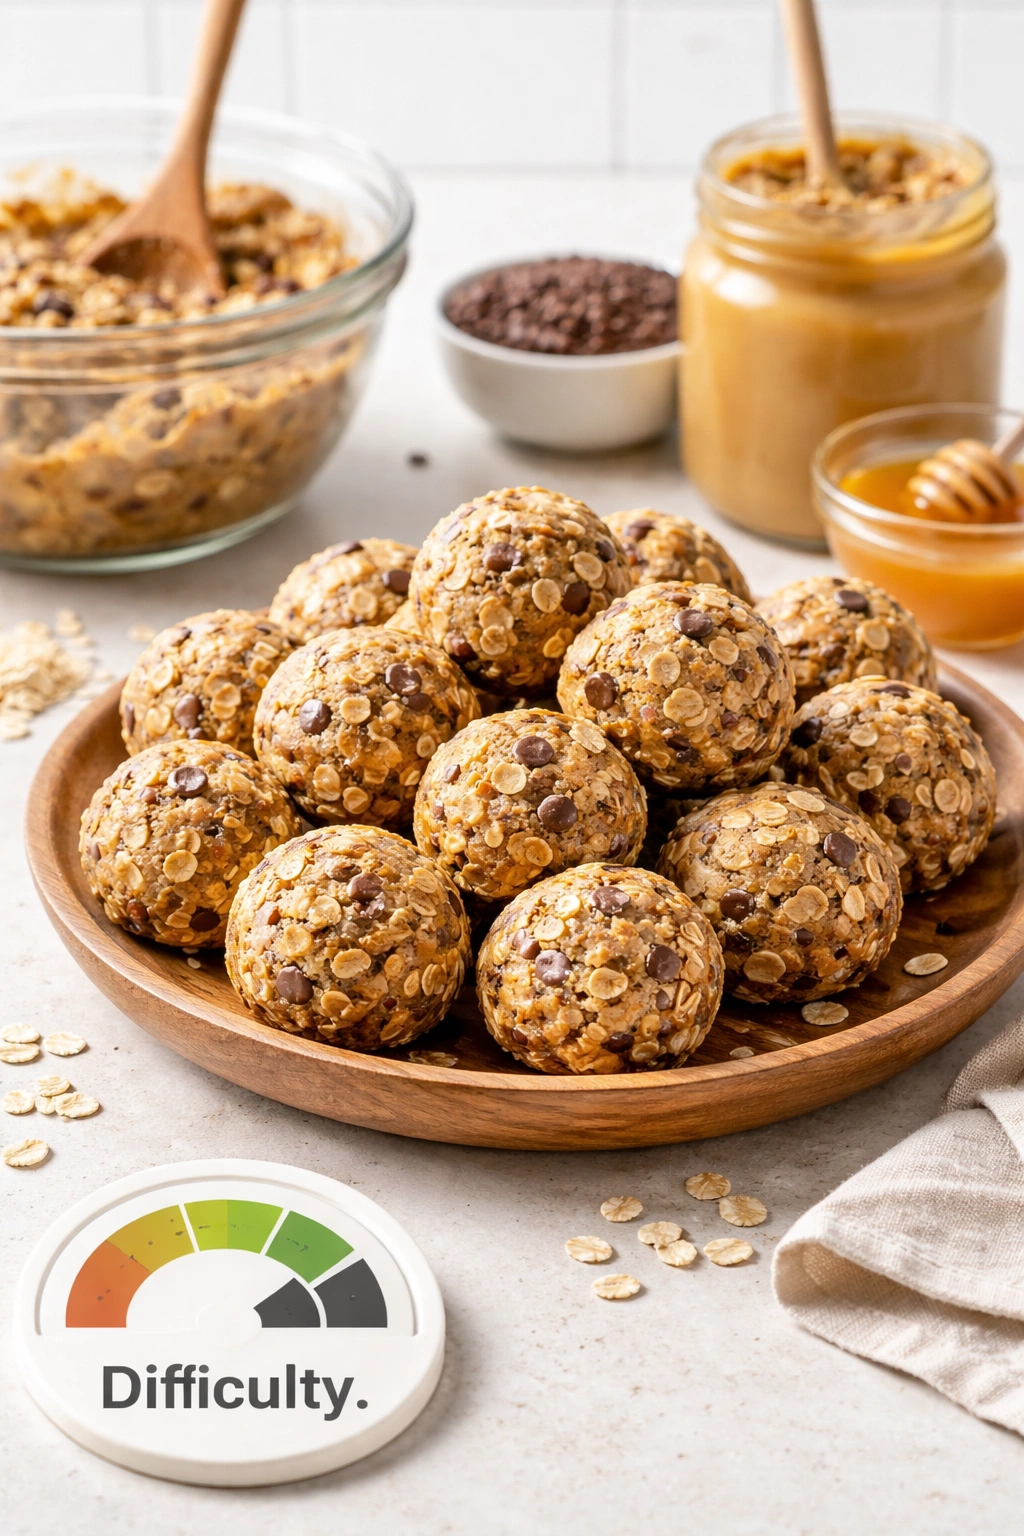
Beginner — No cooking skills required, minimal equipment, and no chemistry involved. If you can stir and roll, you can make these.
For the Energy Balls:
- 1 cup creamy peanut butter, at room temperature
- ½ cup powdered sugar, sifted
- 3 tablespoons honey or pure maple syrup
- 1 cup old-fashioned rolled oats
- ¼ teaspoon fine sea salt (even if your peanut butter is salted — this enhances flavor)
- ½ teaspoon pure vanilla extract
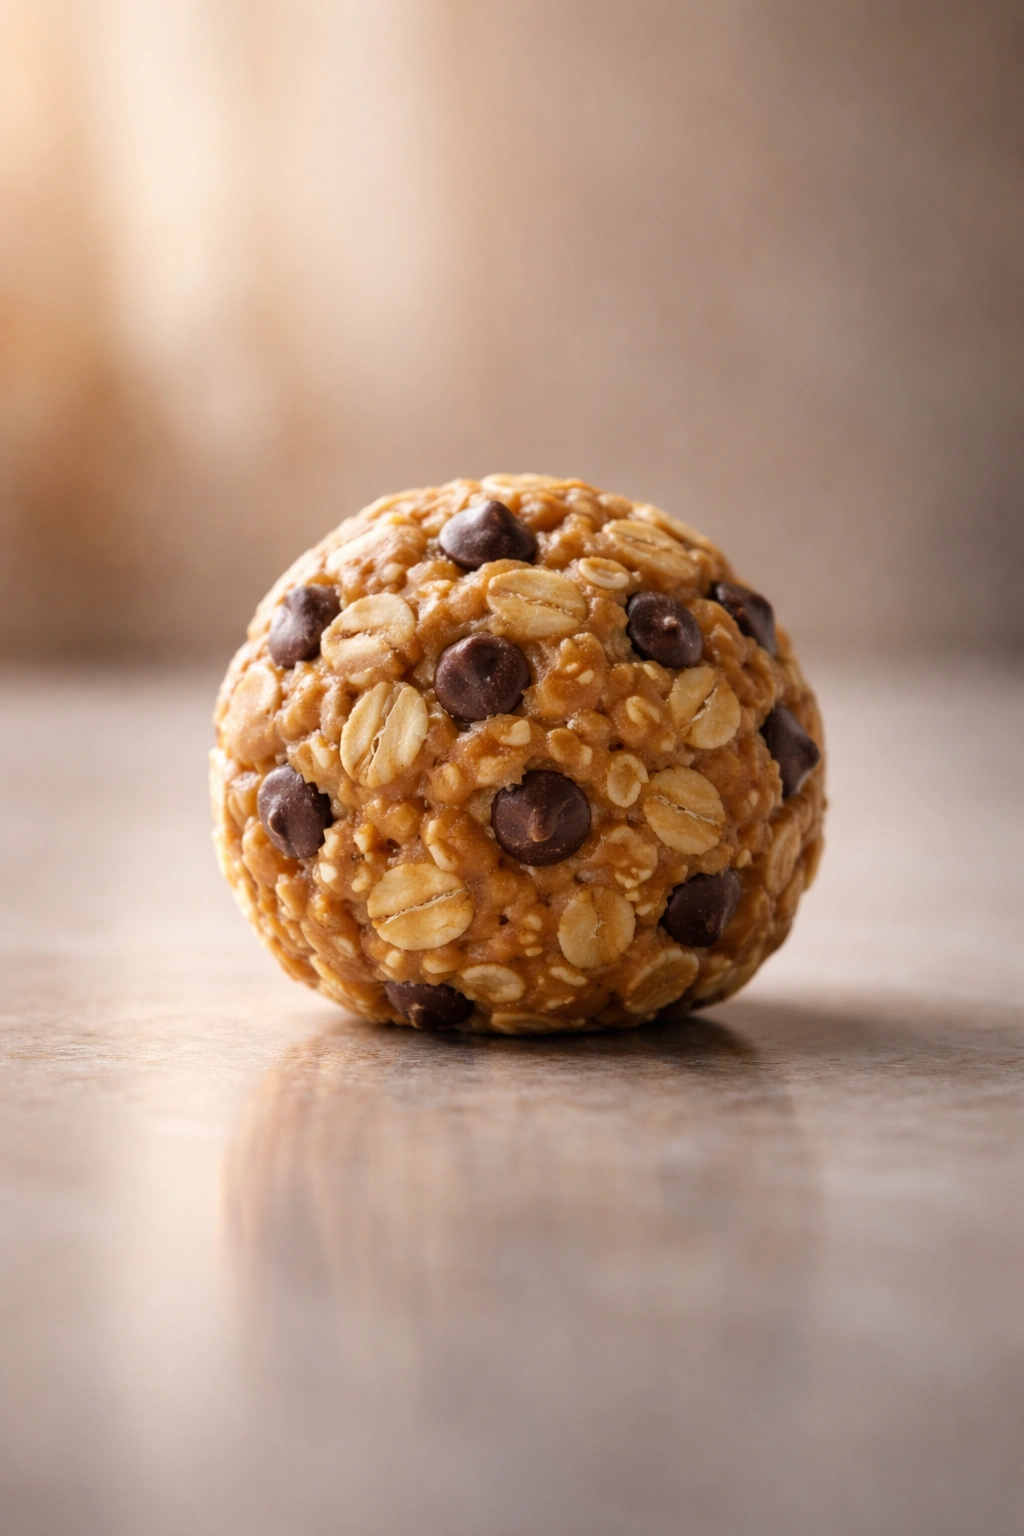
- ½ cup semi-sweet or dark chocolate chips (optional but recommended)
For the Chocolate Coating (optional):
- ¾ cup semi-sweet or dark chocolate chips
- 1 tablespoon coconut oil or unsalted butter (makes the chocolate easier to coat and prevents it from hardening too thickly)
Making Your Energy Balls:
Combine the Base Mixture:
-
In a medium mixing bowl, combine the room-temperature peanut butter, powdered sugar, honey, oats, salt, and vanilla extract.
-
Stir vigorously with a wooden spoon or spatula until the mixture is well combined and there are no streaks of peanut butter or powdered sugar. Alternatively, use a stand mixer fitted with the paddle attachment on low speed for 2-3 minutes until the mixture comes together uniformly. The texture should resemble thick cookie dough — it should hold together when squeezed but not feel wet or oily.
-
If the mixture feels too wet or greasy, add 1 to 2 tablespoons of additional powdered sugar and mix again. If it feels too crumbly, add ½ tablespoon of honey and mix again. The texture should be firm enough to roll but soft enough to compress in your hand without cracking.
-
If you’re adding chocolate chips, fold them in now with a spatula, distributing them evenly throughout.
Advertisements
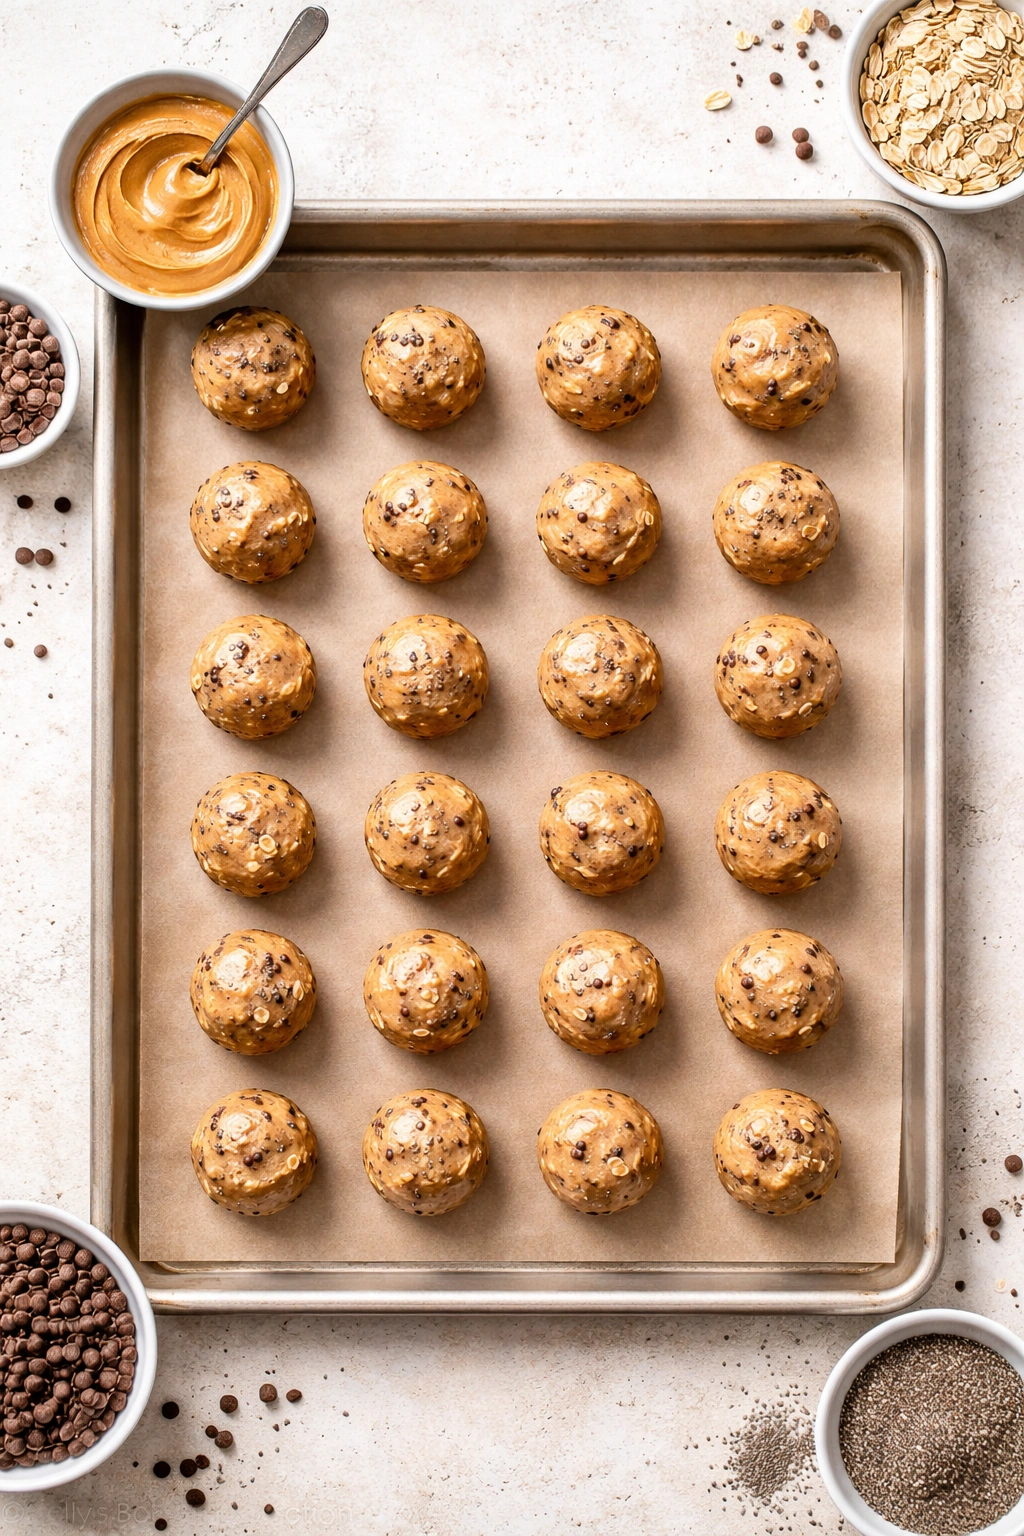
Shape the Balls:
-
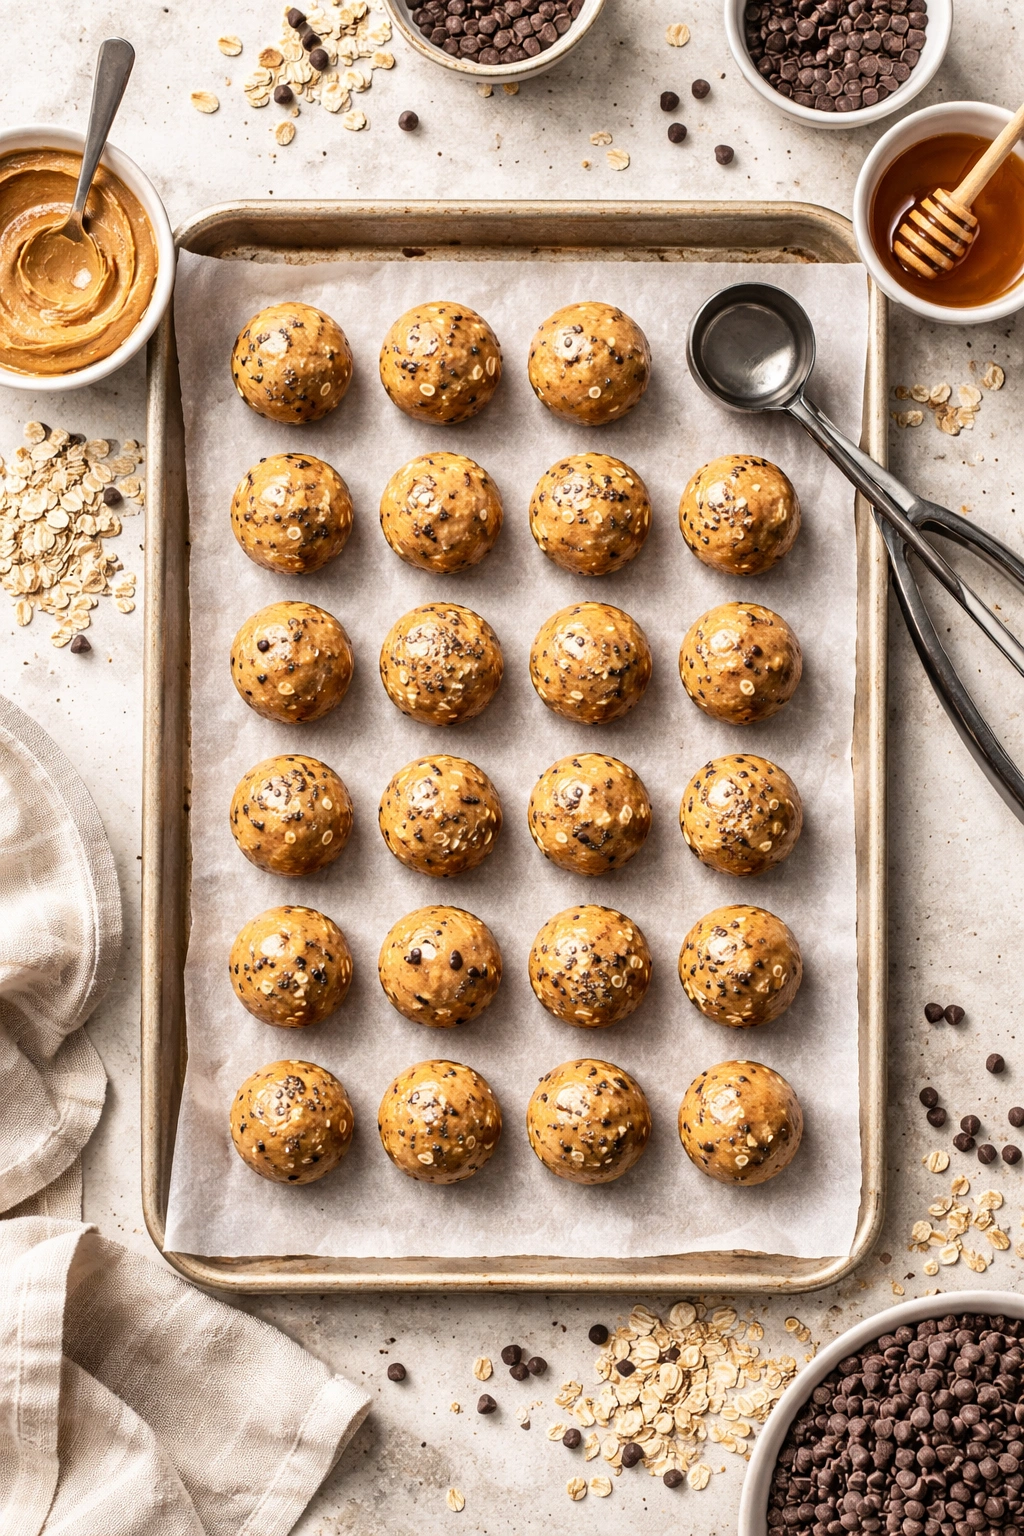
Line a baking sheet with parchment paper or plastic wrap (this prevents sticking and makes transfer easier).
-
Using a one-inch cookie scoop, melon baller, or your hands, portion the mixture into 24 equal pieces. If using your hands, pinch off a piece about the size of a large marble (roughly ¾ inch diameter) and place it on the parchment.
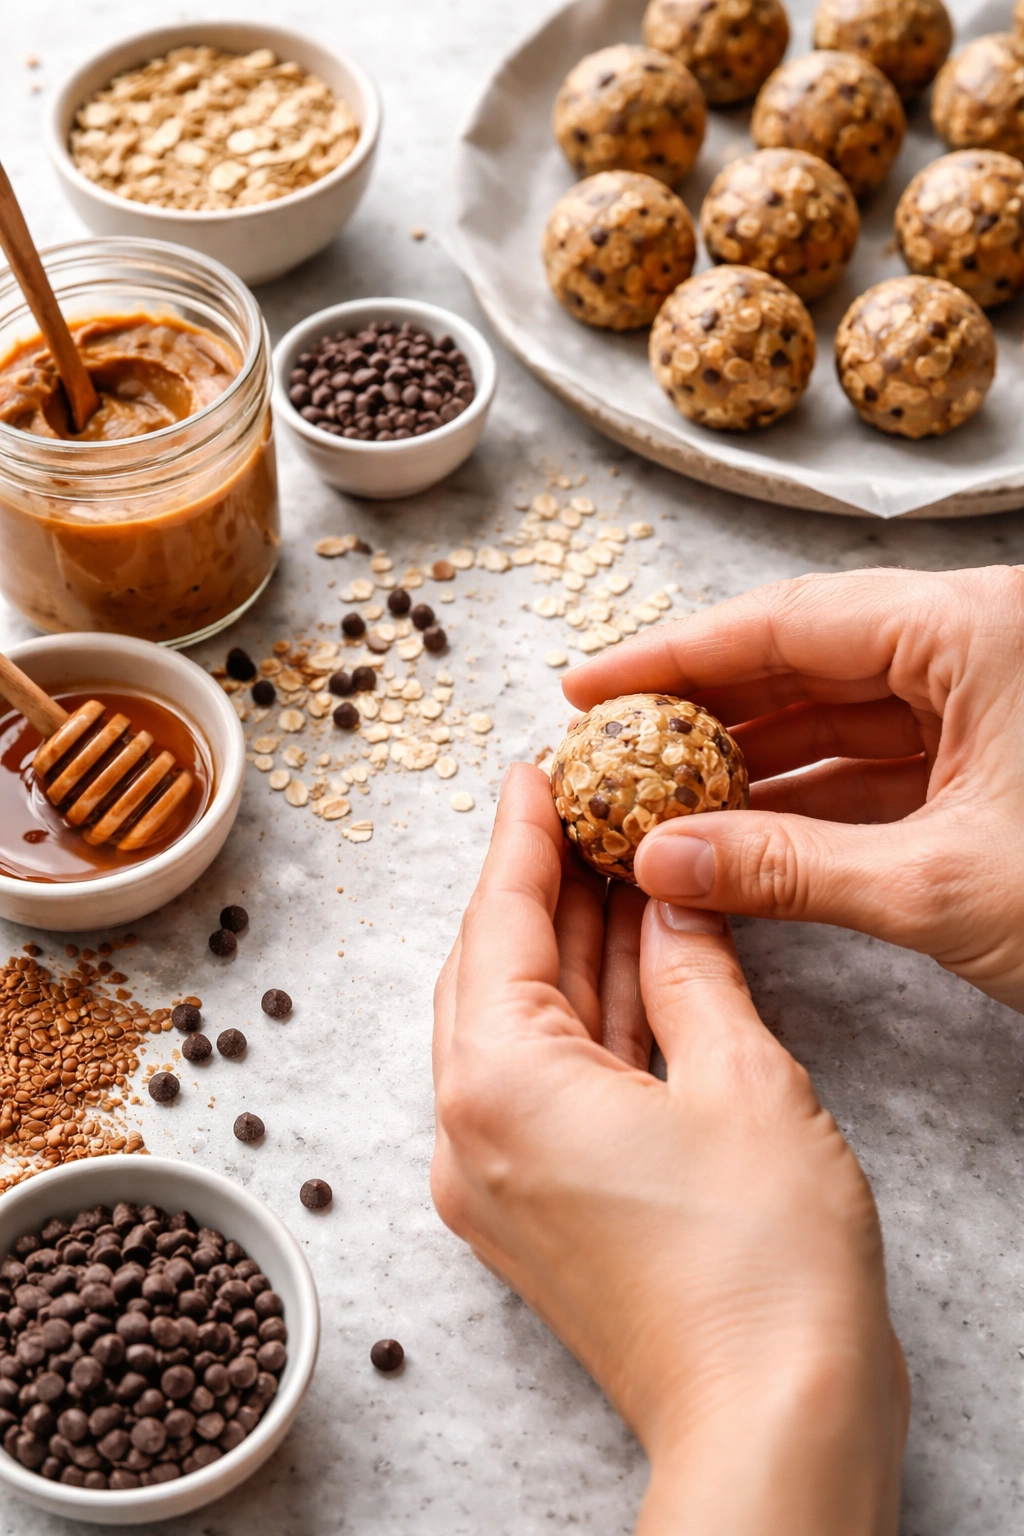
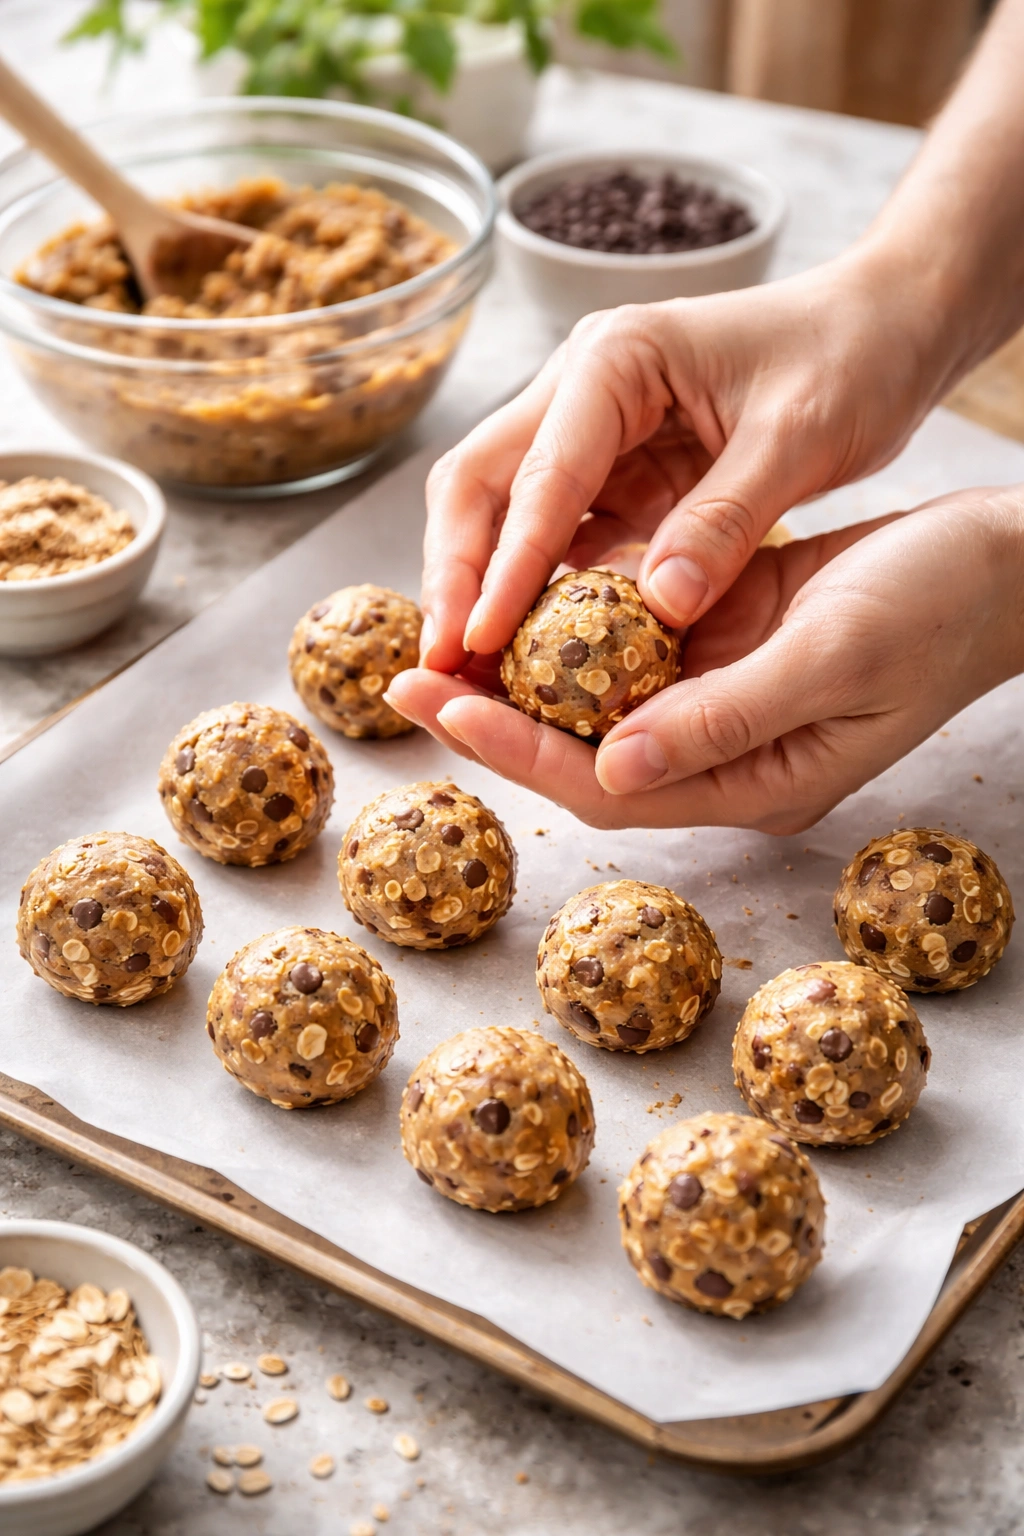
-
Roll each piece between your palms in quick, gentle motions until it forms a smooth, compact ball. Don’t overwork the balls — 5-10 seconds of rolling is enough. Excessive handling warms the mixture and makes it harder to keep them shaped. If the mixture gets too warm and sticky as you work, pop it back in the bowl and refrigerate for 5-10 minutes.
-
Space the balls about an inch apart on the parchment paper.
Chill (Optional Chocolate Coating):
- Place the tray in the refrigerator for 20 to 30 minutes. This firms them up and makes them easier to dip in chocolate, if you’re doing that. They can be eaten at this point, though they’ll be softer. For a longer chilling time, cover the tray with plastic wrap to prevent them from absorbing refrigerator odors.
Apply Chocolate Coating (If Using):
-
If you’re coating them in chocolate, melt the chocolate chips and coconut oil together. You can do this in a microwave-safe bowl, microwaving in 20-second intervals and stirring between each, or in a small saucepan over very low heat. The mixture should be smooth and pourable but not hot — about body temperature.
-
Working with one chilled ball at a time, dip it into the melted chocolate using a fork, allowing excess chocolate to drip back into the bowl. Place it back on the parchment and immediately move to the next ball. Work quickly before the chocolate cools and thickens.
-
Once all balls are dipped, return the tray to the refrigerator for 10 to 15 minutes until the chocolate coating is set and no longer sticky.
Advertisements
Pro Tips for Perfect Energy Balls Every Time
The single most important factor is using peanut butter at room temperature. Cold peanut butter straight from the refrigerator is stiff and won’t mix evenly. Leave it on the counter for thirty minutes before making these, or soften it gently by stirring for a minute with a warm spoon. This makes a dramatic difference in how easily everything combines.
If you find yourself with a mixture that’s slightly too wet, resist the urge to add a ton more oats — they’ll make the balls gritty and dry. Instead, add just one more tablespoon of powdered sugar, mix, and test. Powdered sugar adjusts the texture without changing the flavor like oats might.
The cookie scoop method is genuinely worth the tiny investment if you make these regularly. It ensures every ball is the same size, which means they chill and set evenly. It also saves significant time compared to rolling each one by hand. A one-inch scoop is the sweet spot for handheld eating.
If you’re making these for a party or gift and want them looking extra polished, store them in a single layer in an airtight container with parchment paper between layers. This prevents them from sticking to each other and makes them look pristine when you open the container.
The chocolate coating isn’t just for looks — it also provides a little protection that extends shelf life slightly. The cocoa butter creates a moisture barrier. But these are equally delicious without chocolate, so don’t feel obligated to coat them if you prefer the pure peanut-and-oat flavor.
Common Mistakes to Avoid
The biggest mistake is using cold peanut butter right from the refrigerator and then wondering why the mixture won’t come together smoothly. You’ll spend ten minutes stirring and end up with a lumpy, frustrating mess. Plan ahead and let it warm up.
Another common error is measuring peanut butter incorrectly. A heaping cup and a packed cup can have completely different densities. For consistency, measure by weight if you can — one cup of peanut butter is about 250 grams. If you’re measuring by volume, spoon it lightly into the measuring cup and level it off without pressing down.
Overmixing is less of a problem here than in baking, but it’s still worth mentioning. If you use a stand mixer, don’t let it run for five minutes on high speed. Two to three minutes on low or medium speed is all you need. Excessive mixing warms the mixture and can make the peanut butter separate slightly.
Not adjusting for humidity is another subtle mistake. If you’re making these on a humid day versus a dry day, the mixture’s texture will be different. On humid days, add an extra tablespoon of powdered sugar or oats. On dry days, you might need an extra half-tablespoon of honey. This is why home bakers adjust by feel rather than following recipes exactly.
Trying to roll the balls too early, before they’ve had a chance to chill, makes them greasy and hard to shape. If your mixture feels warm and soft right after mixing, put it in the refrigerator for ten minutes before rolling. Those ten minutes are an investment in much easier rolling.
Creative Flavor Variations You Can Make
Once you’ve made the basic version, you’ve got the foundation to play with flavors endlessly. The chocolate chip version is the most popular — add ½ cup of chocolate chips to the base mixture, or double the chocolate chip amount if you want chunks of chocolate throughout every bite.
A honey-vanilla version increases the vanilla extract to 1 full teaspoon and the honey to 4 tablespoons, reducing the powdered sugar slightly. This creates a sweeter, more vanilla-forward flavor that’s almost like a candy.
For coconut lovers, substitute ¼ cup of the oats with unsweetened shredded coconut and add ½ teaspoon of coconut extract. Coat these in white chocolate instead of dark chocolate if you want an island-vibe aesthetic.
The espresso version adds 2 teaspoons of instant espresso powder dissolved in 1 teaspoon of hot water, added to the mixture along with the honey. This creates a subtle coffee flavor that pairs beautifully with chocolate. Double the chocolate chips if you go this route.
For a maple-pecan flavor, use maple syrup instead of honey, replace ¼ cup of the oats with finely chopped pecans, and add ¼ teaspoon of maple extract. These are particularly good during autumn months when maple flavors feel seasonal.
A no-sugar version for diabetics or those limiting sweeteners can use a liquid sugar substitute like allulose (which has the best texture and taste) in place of honey, and monk fruit sweetener or erythritol in place of powdered sugar. You’ll need to adjust amounts slightly since sweeteners have different densities, but the concept works well.
The cookie butter version is decadent: replace half the peanut butter with cookie butter (also called speculoos spread), keep everything else the same, and you’ve got a spiced cookie-and-peanut flavor that feels indulgent.
A bananas foster version adds ¼ teaspoon of banana extract and ¼ cup of freeze-dried banana pieces (chopped fine), plus dark chocolate chips. This is wonderfully different.
For peanut butter cup lovers, add ½ cup of chocolate chips to the mixture, then dip the finished balls in chocolate with a sprinkle of crushed peanuts on top before the coating sets.
Dietary Adaptations and Substitutions
For a dairy-free version, everything in the base recipe is already dairy-free. The only place dairy might hide is in the chocolate coating. Use dairy-free chocolate chips and coconut oil (not butter) to melt them. Dark chocolate is often naturally dairy-free, but always check the label.
For a gluten-free version, use certified gluten-free rolled oats — they’re widely available and work identically to regular oats. Everything else in the recipe is naturally gluten-free.
For a vegan version, the base recipe is already vegan. For the chocolate coating, use dairy-free chocolate chips (which are usually vegan) and coconut oil. Double-check that your powdered sugar hasn’t been processed with bone char, though most brands sold in grocery stores are vegan-friendly nowadays.
For a nut-free version, this is more challenging because peanut butter is the star ingredient. However, you can substitute tahini (sesame seed butter) in a 1:1 ratio — it has a similar texture and binding ability. The flavor will be earthier and less sweet, so increase the honey slightly (to 4 tablespoons) and add an extra ¼ teaspoon of vanilla or a pinch of cinnamon. Sunflower seed butter also works and tastes slightly sweet naturally.
For a low-sugar version, reduce the powdered sugar to ¼ cup and increase the honey to ½ cup, or use a sugar substitute like allulose. Allulose has the most similar texture and taste to real sugar of any substitute.
For a higher-protein version, add 3 to 4 tablespoons of unflavored protein powder to the mixture. You may need to add an extra tablespoon of honey to keep the texture from becoming too dry. Vanilla or chocolate protein powders work better than unflavored for adding flavor without added sweetness.
Storage, Make-Ahead, and Shelf Life
These energy balls are designed for make-ahead convenience, and they handle storage beautifully. At room temperature, they’ll keep in an airtight container for about 4 to 5 days before they start to soften and the flavors fade. In a cool kitchen, they last closer to 5 days. In a warm kitchen, eat them within 3 days.
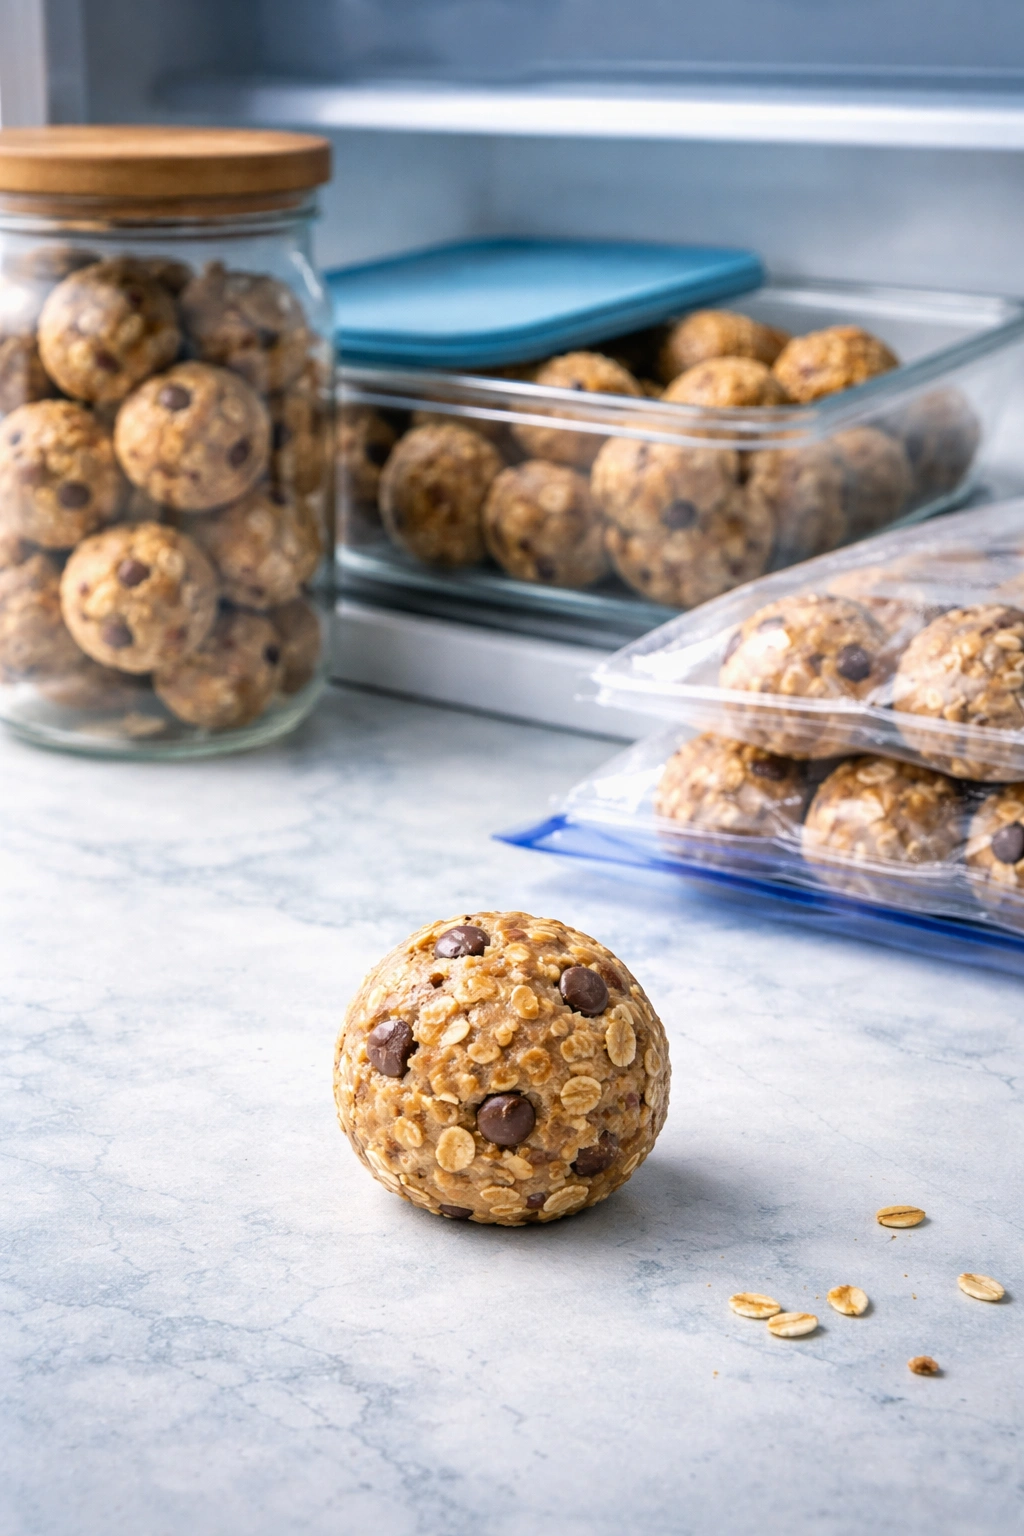
In the refrigerator, they keep for 2 to 3 weeks in an airtight container. The cold keeps them firm and prevents the peanut butter from softening. This is your best storage option if you’re making a large batch for the week ahead.
In the freezer, they keep for up to 3 months without any noticeable change in quality. Freeze them in a single layer on a baking sheet first, then transfer to a freezer-safe container or freezer bag with parchment between layers. Thaw at room temperature for about 15 to 20 minutes before eating — they’ll be perfect every time. The frozen version is actually wonderful for taking to the gym because they’ll thaw to room temperature by the time you’re ready to eat them post-workout.
Make-ahead advantage: You can make an entire week’s worth on Sunday and have grab-and-go snacks ready for every day. This is one of those recipes that actually rewards batch-making. They take the same amount of effort whether you’re making 12 or 48 — the only difference is working with a larger batch size.
Storage containers matter slightly. Glass containers are ideal because they don’t absorb odors or oils from the peanut butter. Plastic works fine too, but if you’ve ever had plastic containers that smell permanently like peanut butter, you’ll understand why glass is better long-term. Use parchment paper between layers to prevent sticking.
Serving Suggestions and Pairings

These energy balls are designed to be eaten straight from the container, but you can get creative with how you serve them. With morning coffee, they’re an elegant grab-and-eat snack that pairs beautifully with the bitterness of dark roast or espresso. The sweetness complements without overwhelming.
As a post-workout snack, they provide quick carbohydrates from the oats and sugar, plus protein from the peanut butter. Eat one within thirty minutes of finishing exercise, paired with water or an electrolyte drink.
As a dessert, arrange them on a plate, maybe with a small dollop of yogurt on the side and some fresh berries. They’re substantial enough to feel like real dessert without being as heavy as a traditional cake or brownie.
For lunchbox appeal, pack one or two in a small container or wrapped in parchment paper. Kids love them, and they travel well without refrigeration for a school day. They won’t melt or get sticky like chocolate bars.
As a gift, package them in a small mason jar with a ribbon, or arrange them in a small box lined with parchment paper. Homemade energy balls feel personal and thoughtful, and most people are thrilled to receive snacks made from recognizable ingredients.
With fresh fruit, a few energy balls plus an apple and some almonds make a complete, satisfying snack plate. The contrast between the dense balls and the crisp, juicy fruit is genuinely appealing.
For parties or gatherings, arrange them on a platter alongside mixed nuts, dried fruit, and cheese. They’re substantial enough that people feel satisfied taking just one or two, and they look elegant displayed with other snacks.
Final Thoughts
No-bake peanut butter energy balls are proof that the simplest recipes often deliver the most consistent results. There’s no complicated technique to master, no precise temperature to hit, no waiting for ovens to preheat. You spend fifteen minutes mixing and rolling, another fifteen or thirty minutes chilling, and then you’ve got a week’s worth of snacks ready to go.
What makes these special isn’t just the speed — it’s that they genuinely taste good and keep you satisfied. The combination of protein from peanut butter, fiber from oats, and quick carbohydrates from honey and sugar creates a snack that actually supports your body rather than just entertaining your taste buds for two minutes.
Make them once and you’ll likely find yourself making them regularly. The fact that you can customize them endlessly means they never get boring. One week you’re making chocolate-chip versions, the next you’re experimenting with coconut or espresso. They adapt to whatever ingredients you have on hand and whatever flavors you’re craving. That flexibility, combined with their ridiculously easy method and genuine deliciousness, is why these have become kitchen staples for home cooks everywhere.