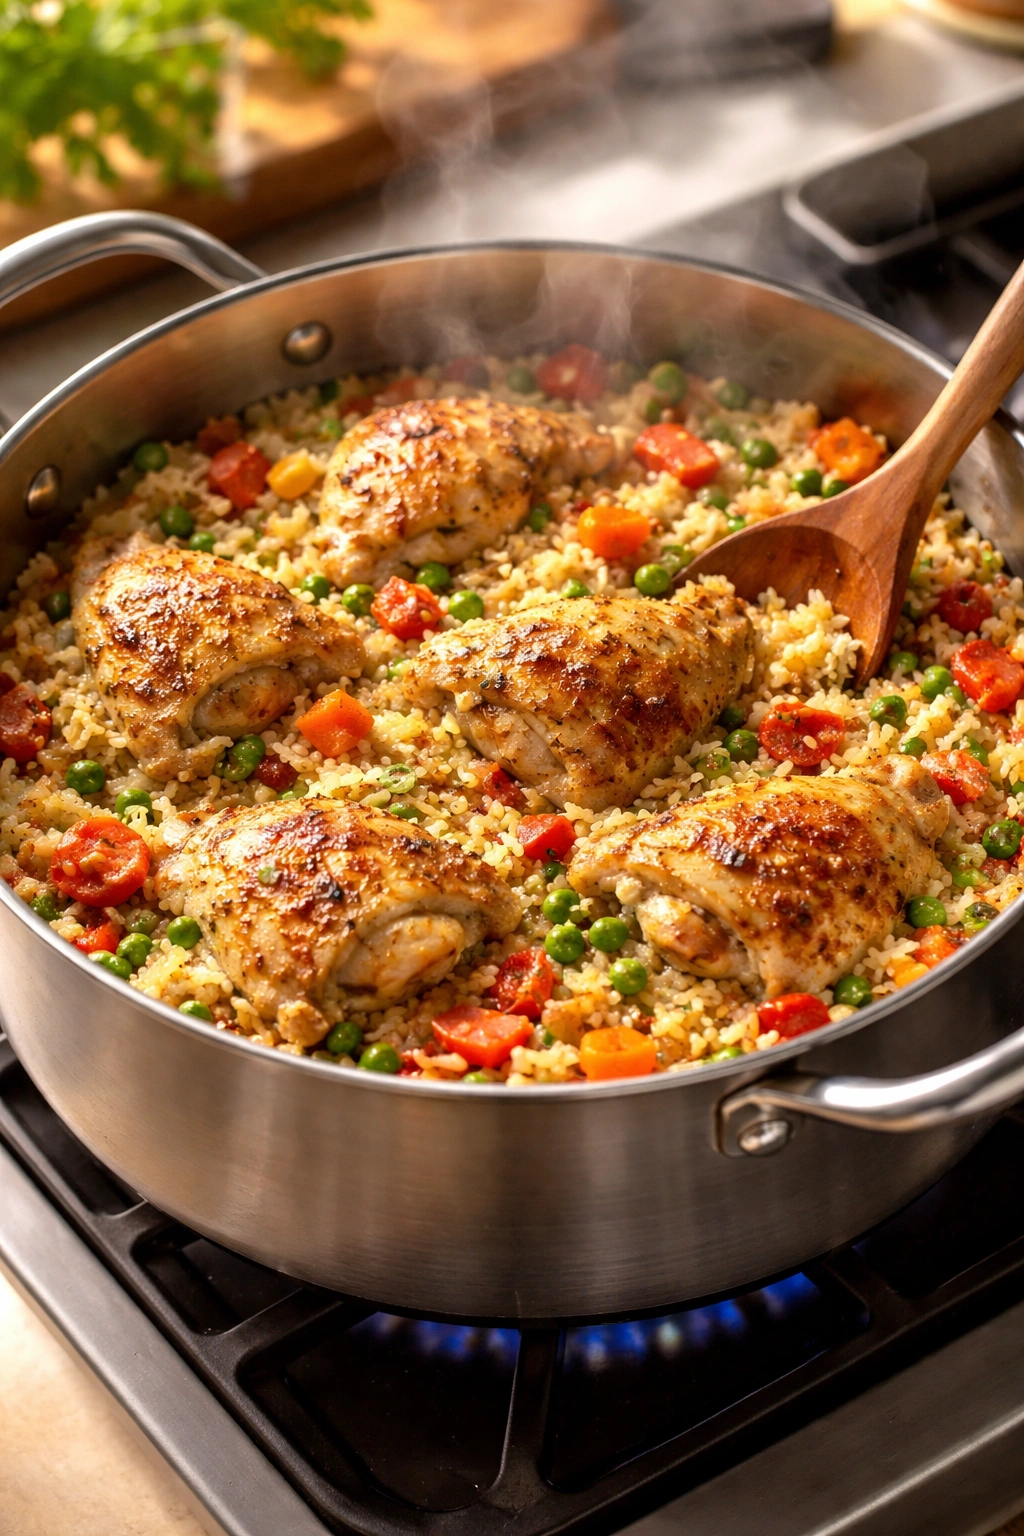
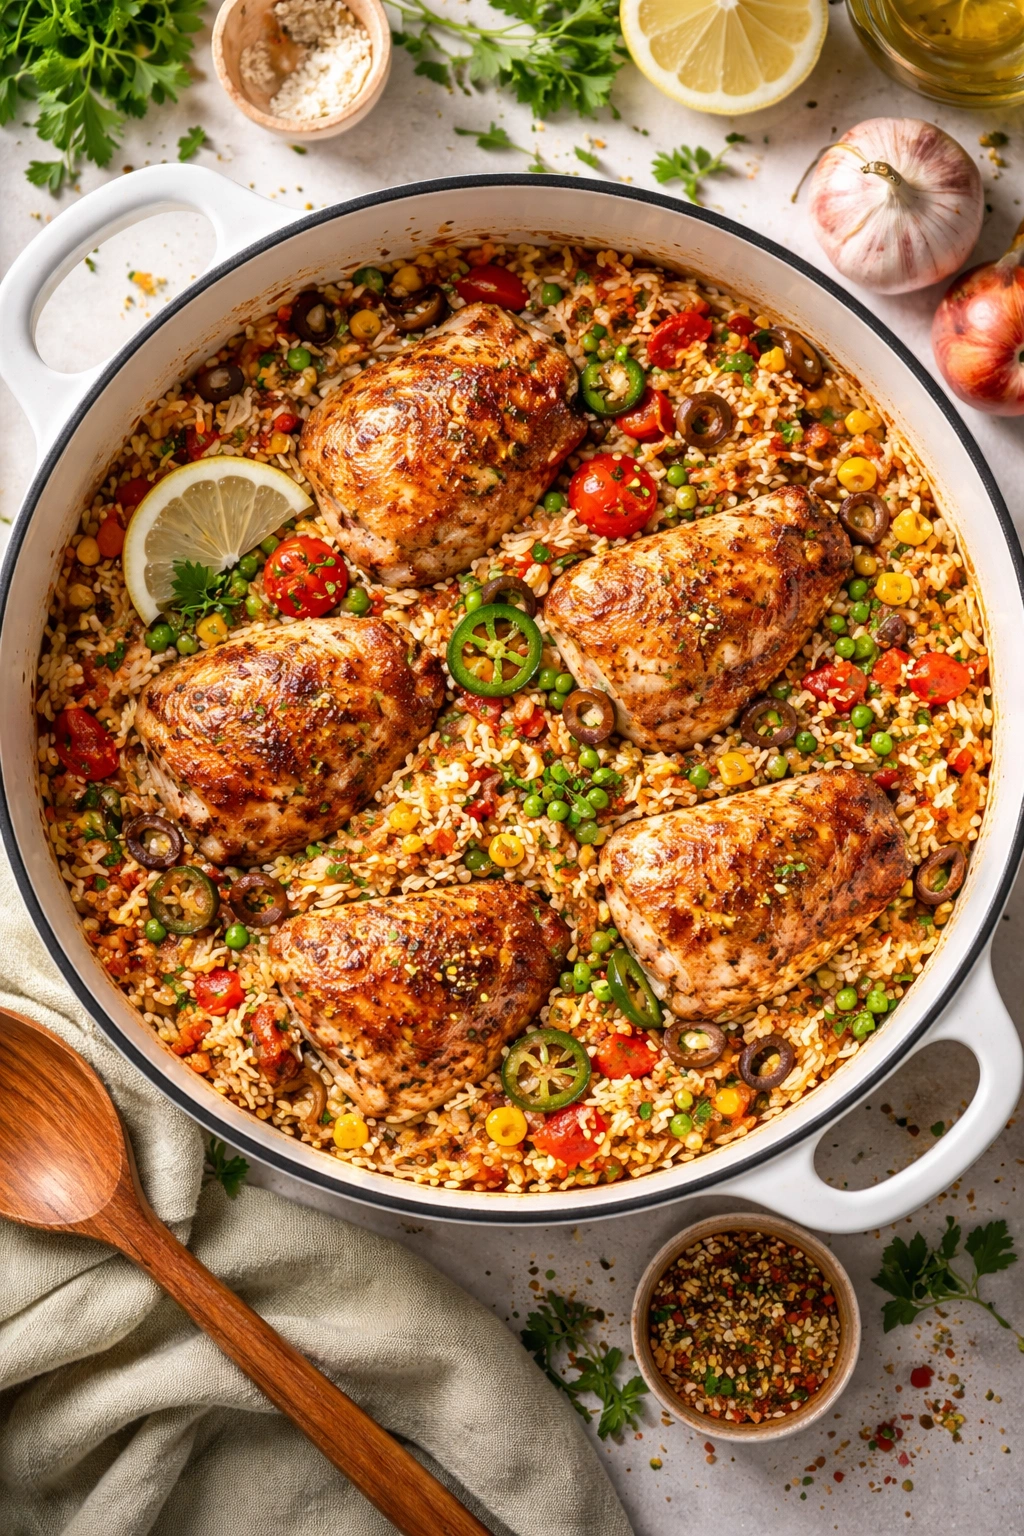
One-Pot Chicken and Rice Done in 30 Minutes
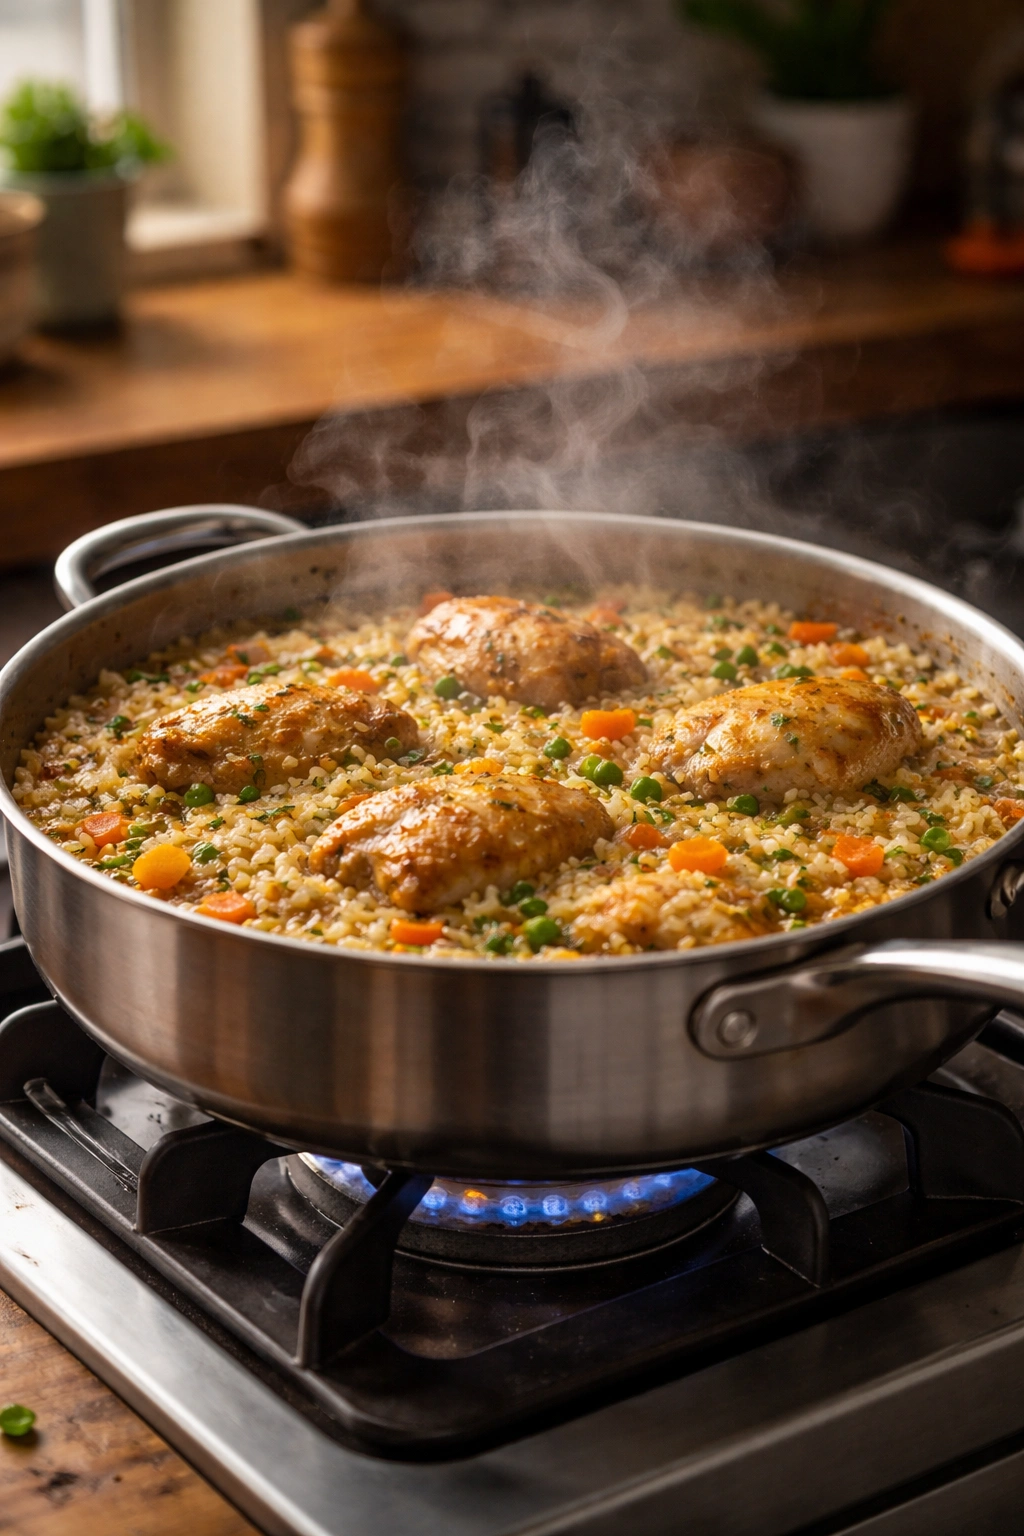
There’s a particular kind of magic that happens when you can serve a complete, deeply satisfying dinner with just one pot to wash. Not just any dinner—a meal with tender chicken, fluffy rice, and built-in vegetables, all coming together in a single vessel in the time it takes to watch a sitcom. This is exactly what one-pot chicken and rice delivers, and it’s become the secret weapon of home cooks everywhere who want to eat well without the chaos or cleanup that typically comes with weeknight cooking.
The beauty of this dish lies in its absolute simplicity. You’re not juggling multiple burners, waiting for water to boil while vegetables soften, or standing at the stove stirring constantly. Instead, everything cooks in one pot—the chicken gets seared, the aromatics soften, the rice toasts, the liquid simmers, and somewhere around the 25-minute mark, you’ve got a complete meal that tastes like you actually planned ahead and put thought into dinner. For busy families, this recipe isn’t just convenient; it’s genuinely transformative. It removes the barrier between “what should we eat?” and “dinner is ready.”
What makes this version specifically work in 30 minutes is understanding exactly how heat, timing, and ingredient selection all work together. You’re not rushing through the cooking process—you’re cooking smart. The chicken pieces are sized just right so they cook through in the same amount of time the rice needs to absorb the liquid. The vegetables are sliced thin enough to soften alongside everything else. The broth-to-rice ratio is calibrated so there’s nothing left to babysit once the lid goes on. This isn’t overcomplicated cooking; it’s cooking with intention.
Why One-Pot Chicken and Rice Is a Weeknight Lifesaver
If you’ve ever stood in your kitchen at 5:30 p.m. with no dinner plan and three hungry people expecting to eat within an hour, you already understand the appeal of this recipe. One-pot meals address the three biggest pain points of weeknight cooking: time, complexity, and cleanup.
From a time perspective, this recipe wins because most of the 30 minutes is completely hands-off. Once you’ve seared the chicken, sautéed the aromatics, and added the liquid and rice, you can walk away. The stovetop does the work while you set the table, help with homework, or simply sit down for five minutes. That’s a game-changer for stressed weeknight cooking.
The complexity factor is equally important. You’re working with a short ingredient list—probably things you already have in your pantry and fridge. There’s no fancy knife skills required, no precision timing on multiple dishes, no coordinating when different components will be ready. Everything cooks at the same pace, in the same vessel. If you can chop an onion and slice a bell pepper, you can make this recipe successfully.
And then there’s cleanup. This is the part that actually matters to most people. One pot. One lid. Maybe a cutting board. That’s it. In a world where cooking dinner often feels like adding one more task to an already overwhelming day, the promise of minimal cleanup is genuinely motivating. You eat, you rinse the pot, you’re done.
The Magic Behind This 30-Minute Recipe
The reason this recipe works in such a tight timeframe comes down to a few specific cooking principles that all come together perfectly when you understand them.
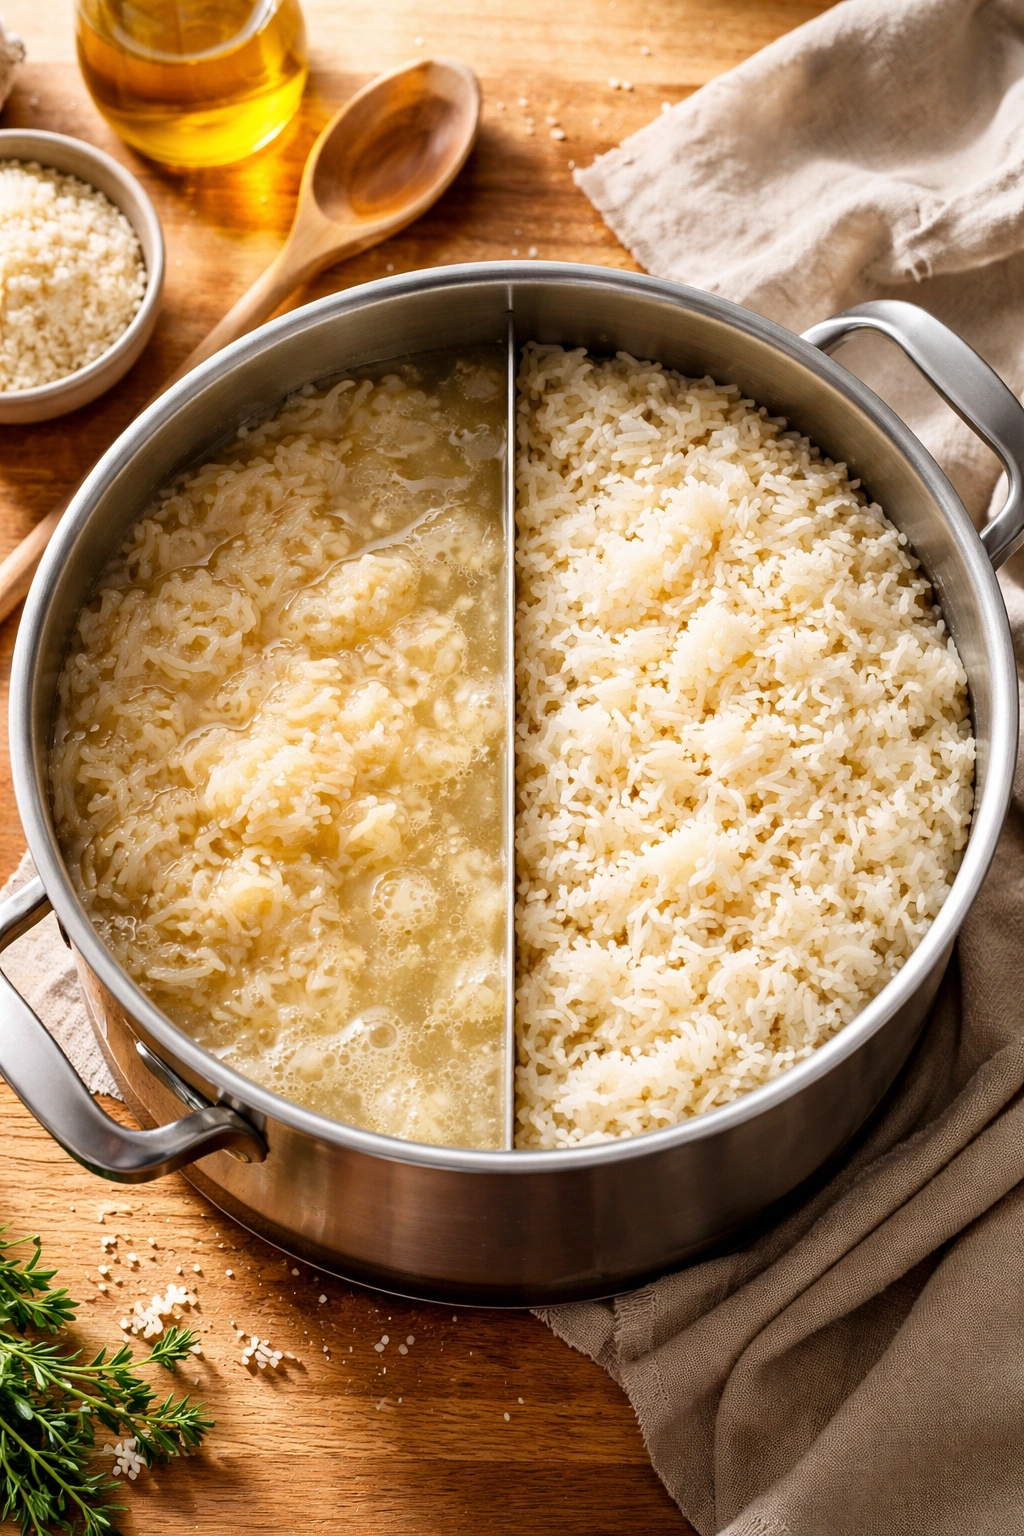
The first principle is moisture balance. Rice absorbs liquid at a specific rate, and that rate determines everything else. When you add your rice to the pot and pour in the broth, you’re creating an environment where the rice will absorb that liquid over approximately 20 to 25 minutes. That exact timeframe is what gives you the window to cook the chicken through without overcooking it. If you used more liquid, the rice would take longer and the chicken would turn tough. If you used less liquid, you’d end up with crunchy, undercooked rice. The right ratio—typically one part rice to about two parts liquid—is what makes the timing work like clockwork.
The second principle is layered heat. When you sear the chicken first, you’re creating what cooks call the Maillard reaction—that golden-brown exterior that happens when proteins meet high heat. This adds flavor that carries through the entire dish. When you toast the rice in the residual oil before adding liquid, you’re doing the same thing on a different scale. That toasted rice grain will have a subtle nutty flavor that plain boiled rice never achieves. These aren’t fancy techniques; they’re just smart sequencing that takes maybe three extra minutes but elevates the entire dish.
The third principle is component sizing. Everything in this pot cooks in the same amount of time because everything is the same size. The chicken pieces aren’t huge hunks; they’re bite-sized. The vegetable cuts are uniform—thin slices rather than chunks. This uniformity means there’s no guessing about whether something is done. When the rice is tender, the chicken is tender. When the liquid is absorbed, everything is perfectly cooked.
Finally, there’s the principle of controlled steam. Once the lid goes on that pot, you’re creating a sealed environment where moisture circulates and gets reabsorbed by the rice. This is why you can’t lift the lid and poke at things constantly—every time you do, you release steam and the cooking process has to restart. It’s why a good, tight-fitting lid is essential equipment, not optional. Fifteen minutes covered means 15 minutes of uninterrupted steam circulation, which means perfectly cooked rice every single time.
Essential Equipment and Ingredient Selection
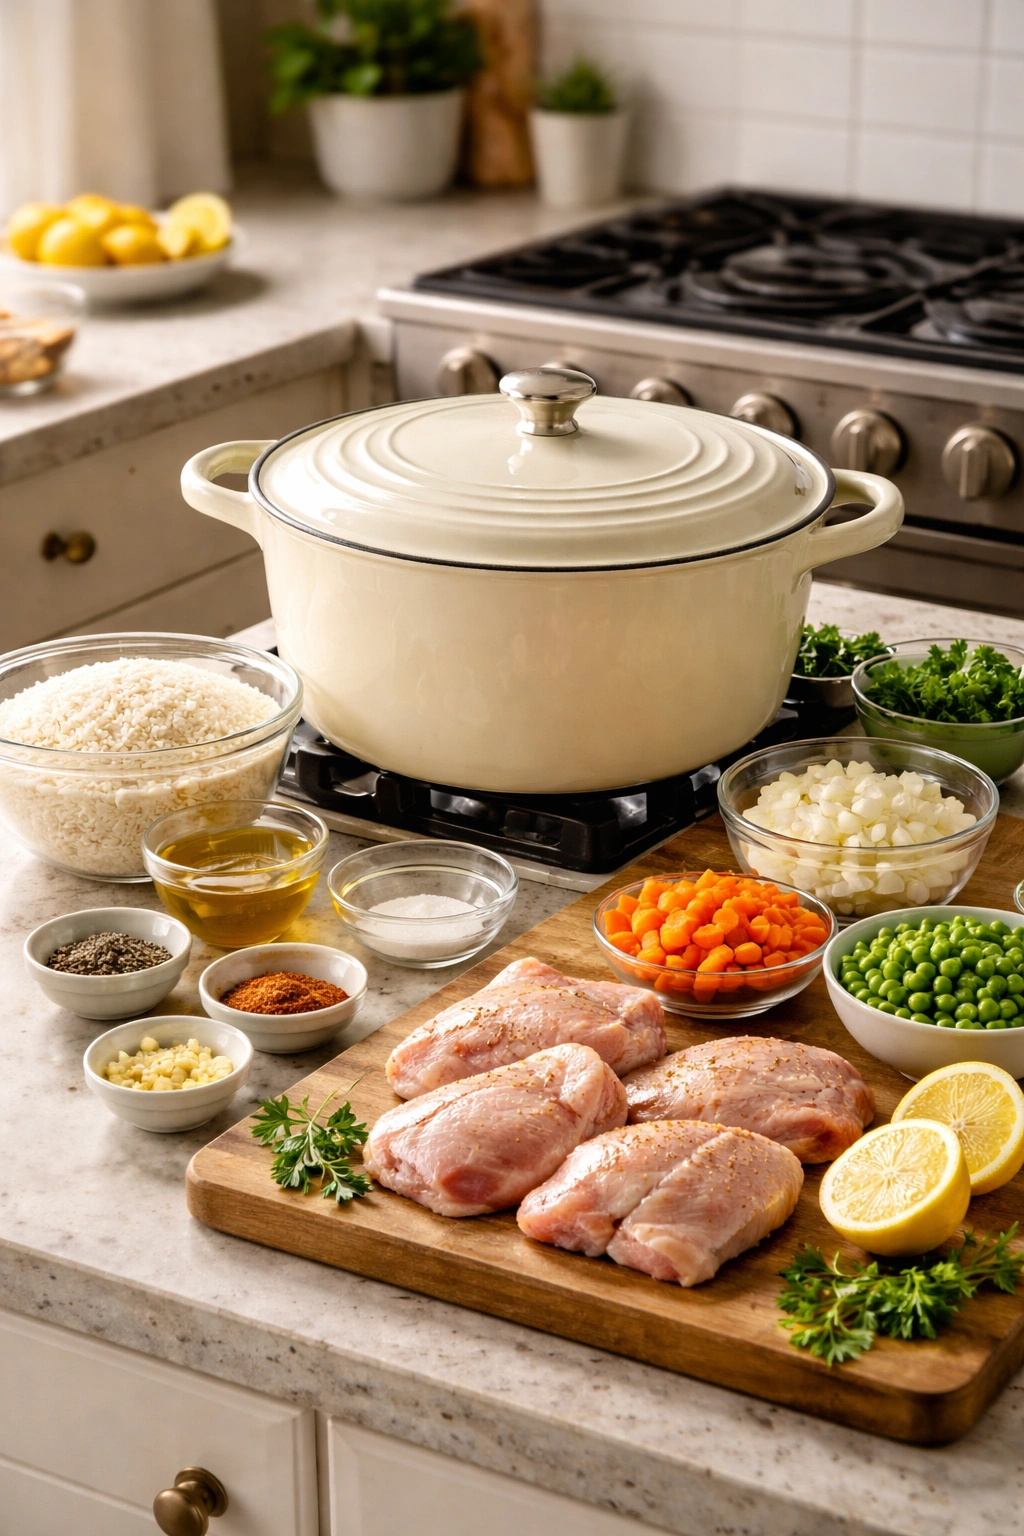
You don’t need much to make this recipe, but what you do need actually matters.
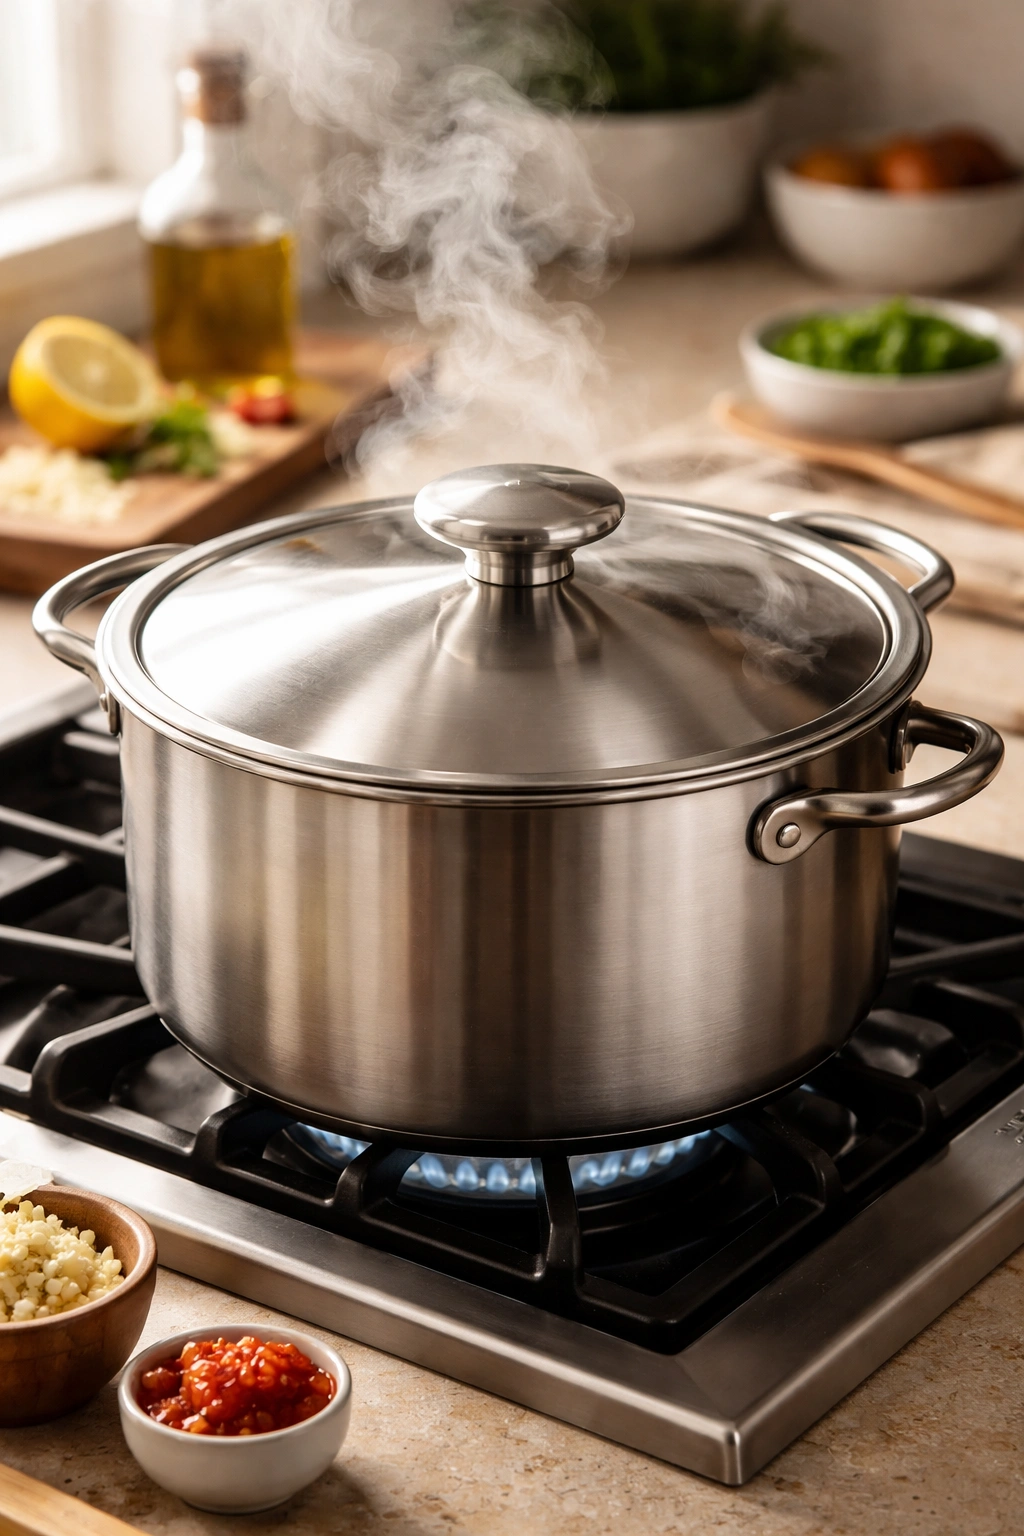
The right pot is everything. A large skillet with a tight-fitting lid, a Dutch oven, or a wide, shallow pot all work beautifully. What you’re looking for is something with enough surface area that you can sear chicken without overcrowding, but deep enough to hold all your ingredients comfortably. Cast iron is wonderful if you have it—it distributes heat evenly and develops beautiful browning—but a regular stainless steel pot or even a nonstick skillet works just as well. The one non-negotiable feature is a lid that fits snugly. A loose-fitting lid releases steam, and that’s what causes undercooked rice or chicken that takes too long to cook.
The lid itself deserves a moment of attention because it’s honestly crucial. A glass lid lets you see what’s happening without lifting it, which is helpful for learning. A solid lid works perfectly fine too—you just have to trust the timing. Either way, make sure it sits securely on the pot. You want the seal to be tight enough that steam stays trapped inside.
Regarding rice selection, white long-grain varieties like jasmine, basmati, or regular long-grain white rice are your best friends here. These rice varieties have just the right starch content and grain length. They absorb liquid predictably and cook evenly in this timeframe. Brown rice, while nutritious, takes too long—you’d need to extend the cooking time to 35-45 minutes, which defeats the purpose of a 30-minute meal. Arborio rice or short-grain rice will turn mushy because they release too much starch. And definitely don’t use instant or minute rice—not only does it often taste cardboard-like, but it also throws off your cooking times.
On the chicken front, boneless, skinless breasts are the most practical for this recipe because they cook quickly and consistently. You can absolutely use boneless chicken thighs if you prefer—they’re more forgiving and tend to stay juicier—but the cooking time might shift slightly since thighs are denser. If you go that route, just keep an eye on things and adjust as needed. You want the chicken cut into bite-sized pieces, roughly 1 to 1.5 inches. This is important because larger chunks won’t cook through in time. Smaller pieces mean more surface area for browning and faster, more even cooking.
For your broth, use chicken broth or stock—and if you can access good quality, the difference is noticeable. Low-sodium is ideal because it gives you control over the salt level rather than relying on the broth to dictate how salty your final dish is. If all you have is regular salted broth, just adjust the amount of additional salt you add to the pot.
Complete Ingredient List and Serving Information

Yield: Serves 4 to 6 | Makes approximately 5 to 6 cups total
Prep Time: 15 minutes (cutting vegetables and chicken)
Cook Time: 25 minutes (searing, simmering, and resting)
Total Time: 40 minutes active + 5 minutes resting
Difficulty: Beginner to Intermediate — No special cooking skills required, straightforward steps, and forgiving timing. Even a first-time cook will succeed with this recipe.
For the Chicken and Rice:
- 2 tablespoons olive oil, divided
- 1.5 pounds boneless, skinless chicken breasts, cut into bite-sized pieces (approximately 1 to 1.5 inches)
- 1 teaspoon salt, divided
- ½ teaspoon freshly ground black pepper
- ½ teaspoon garlic powder
- ½ teaspoon paprika (sweet or smoked, both work beautifully)
- 1 medium yellow onion, thinly sliced
- 2 red or yellow bell peppers, thinly sliced
- 4 garlic cloves, minced (or 1 teaspoon garlic powder if fresh isn’t available)
- 1 tablespoon tomato paste (this adds depth—don’t skip it)
- 1.5 cups long-grain white rice (jasmine, basmati, or regular white rice), rinsed until the water runs clear
- 3 cups low-sodium chicken broth
- Optional: ½ cup diced carrots (frozen are fine), ⅓ cup fresh peas (frozen work perfectly), or fresh spinach
For Serving:
- Fresh parsley, chopped (about ¼ cup, though more never hurts)
- Lemon wedges for squeezing
- Extra salt and black pepper to taste
Step-by-Step Instructions
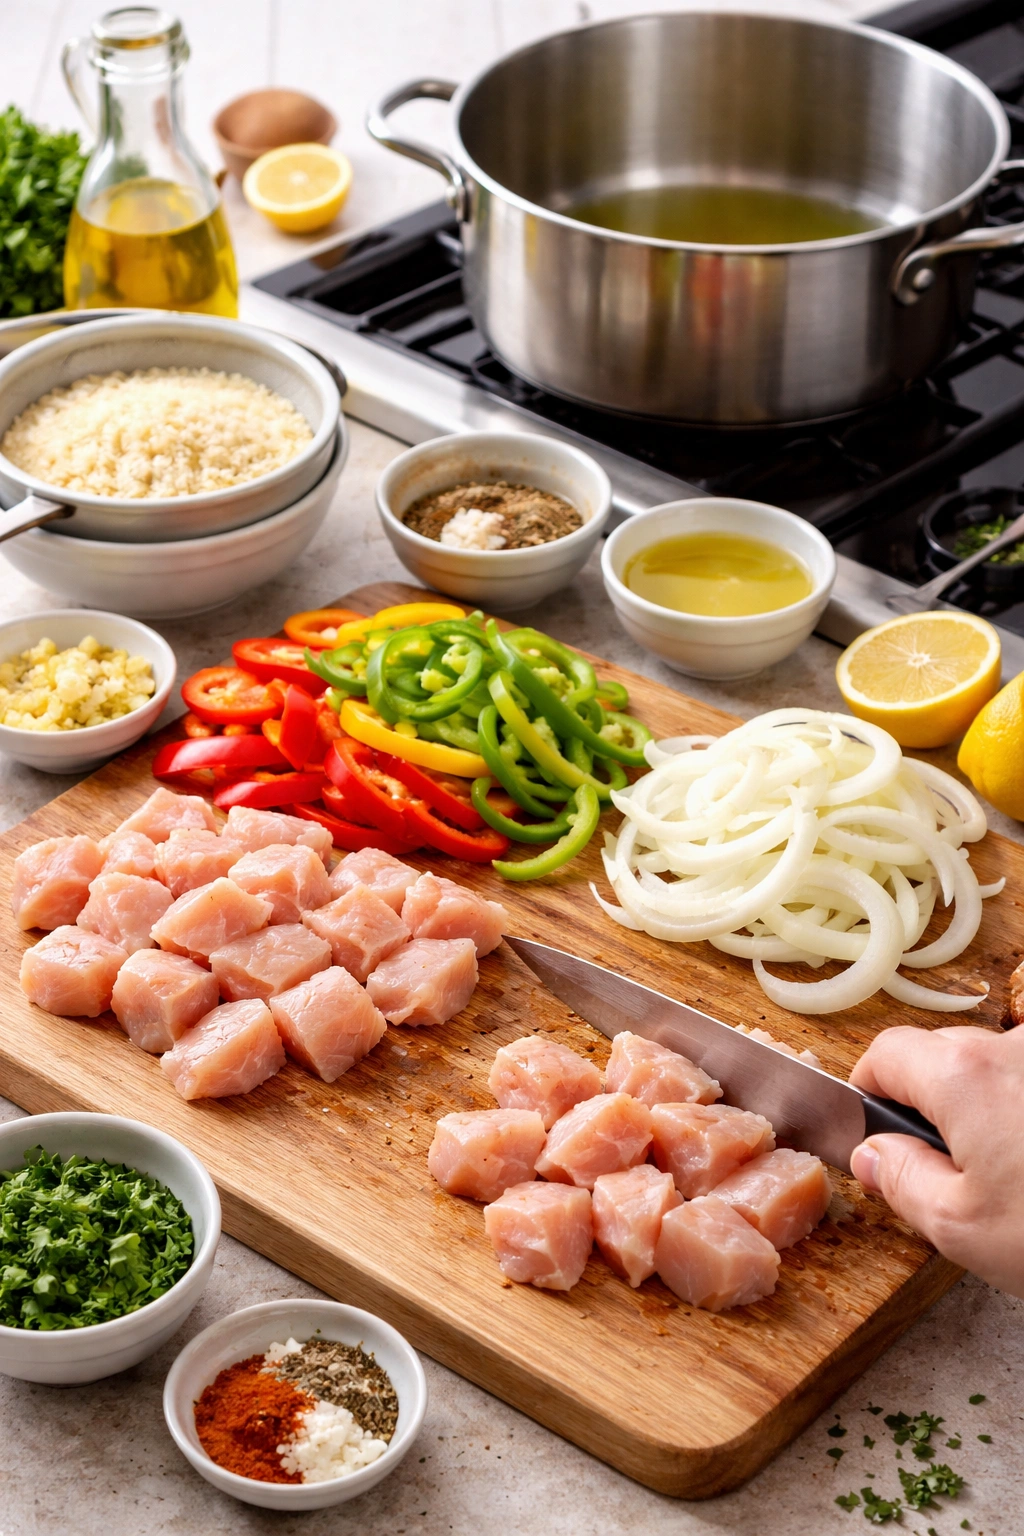
Prepare the Ingredients:
-
Rinse your rice under cold water, stirring gently with your fingers, until the water running out becomes mostly clear. This removes excess starch that would otherwise make the rice gluey. Set the rinsed rice aside in a fine-mesh strainer.
-
Cut your chicken breasts into bite-sized pieces—roughly 1 to 1.5 inches. Uniform sizing is important so everything cooks evenly. Try to cut them all roughly the same size.
-
Thinly slice your onion and bell peppers. Thin slices means they’ll soften alongside the rice rather than remaining crunchy. Mince your garlic or have it ready.
-
In a small bowl, combine the salt, pepper, garlic powder, and paprika. This spice mixture will season the chicken first, then get distributed through the rice later.
Advertisements
Sear the Chicken:
-
Heat 1 tablespoon of olive oil in a large skillet or pot over medium-high heat. Wait for the oil to shimmer and move easily around the pan—this means it’s hot enough to create a good sear.
-
Add the chicken pieces to the hot oil and sprinkle half of your spice mixture (roughly ½ teaspoon salt and the pepper, garlic powder, and paprika) over them. Don’t stir immediately—let them sit for 2 to 3 minutes so they can brown. You’re looking for a golden-brown crust on the bottom.
-
Stir the chicken pieces and cook for another 3 to 4 minutes, stirring occasionally, until most pieces are golden brown on at least two sides and the chicken is mostly (but not completely) cooked through. It doesn’t need to be fully cooked at this stage because it’ll finish cooking with the rice.
-
Transfer the chicken to a clean plate and set it aside. Don’t wash out the pot. Those browned bits stuck to the bottom are flavor gold—they’ll dissolve into your cooking liquid and add richness to every grain of rice.
Build the Base:
-
Add the remaining tablespoon of olive oil to the same pot. Once hot, add your sliced onion and bell peppers along with a pinch of salt. Cook, stirring occasionally, for 3 to 4 minutes until the vegetables begin to soften and the onion starts turning translucent.
-
Add the minced garlic and cook, stirring constantly, for exactly 1 minute. Don’t let it cook longer—garlic burns quickly and tastes bitter when burned. You want it fragrant and golden, not brown.
-
Stir in the tomato paste and cook for 1 minute, stirring constantly. The tomato paste will deepen to a darker red and smell rich and savory. This single ingredient adds an umami depth that makes the entire dish taste more complex and developed than its simple ingredient list would suggest.
Add the Rice and Liquid:
-
Pour in your rinsed rice and stir constantly for 1 to 2 minutes. You’re toasting the rice grains in the oil and vegetable mixture. The grains will look slightly translucent and smell subtly nutty when they’re ready.
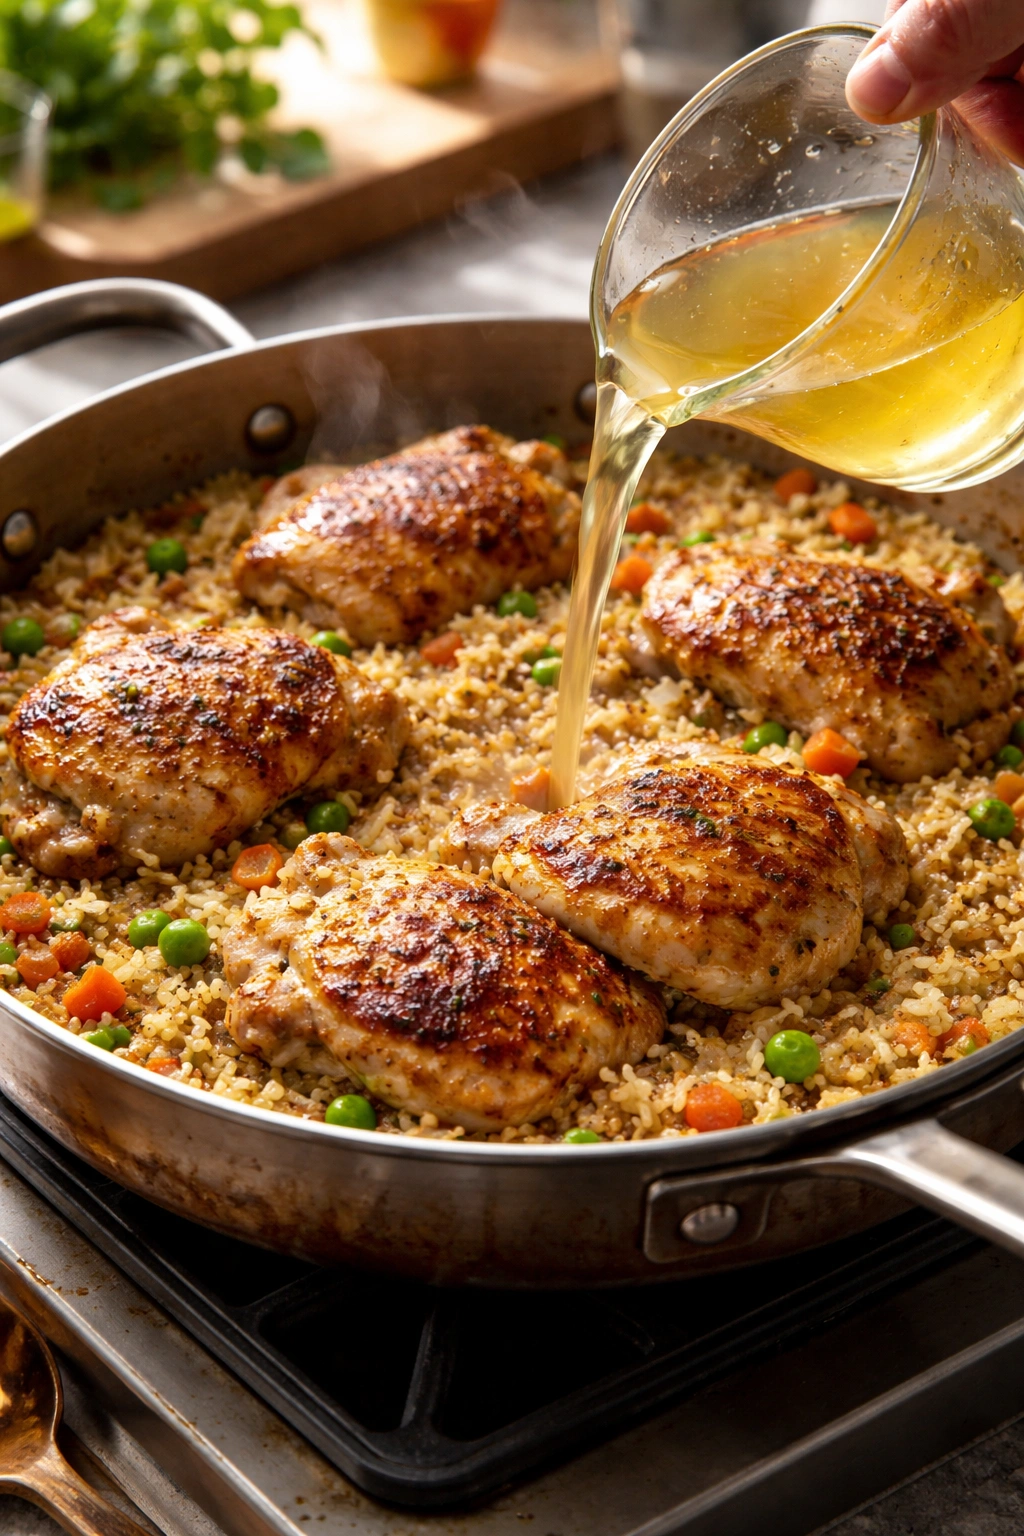
-
Slowly pour in the chicken broth while stirring gently. Use a wooden spoon to scrape the bottom and sides of the pot, pulling up any browned bits that are stuck there. These bits will dissolve into the liquid and flavor the entire dish. Stir until the liquid and rice are well combined.
-
Add the remaining ½ teaspoon of salt and a generous grinding of black pepper. Taste the liquid—it should taste pleasantly salty, like a good broth. If it tastes bland, add a bit more salt now rather than trying to fix it at the end.
Bring It Together:
-
Return the seared chicken to the pot, arranging it in an even layer across the top of the rice mixture. Don’t stir it in yet—just nestle it in so the pieces are sitting on top.
-
Increase the heat to medium-high and bring the mixture to a boil. You’ll see steam rising and the liquid will start bubbling actively around the edges.
-
Once boiling, immediately reduce the heat to low and cover the pot with a tight-fitting lid. The heat needs to drop to low right away—if you leave it on medium or medium-low, the rice on the bottom will brown and stick to the pot.
The Hands-Off Part:
-
Leave the pot undisturbed for 20 to 25 minutes. Do not lift the lid to check on things. Every time you lift it, you release steam and extend the cooking time. Trust the process. The rice will absorb the liquid, and the chicken will finish cooking in the steam.
-
After 20 minutes, carefully lift the lid and check whether the rice is tender and most of the liquid has been absorbed. The top grains might still look slightly wet, but the rice should feel creamy when you taste a bite. If there’s still visible liquid and the rice isn’t tender yet, cover and cook for another 2 to 3 minutes.
Advertisements
Finish and Rest:
-
Once the rice is tender and liquid is mostly absorbed, remove the pot from heat. Leave the lid on and let it sit for exactly 5 minutes. This resting period allows any remaining liquid to be absorbed, the temperature to equalize, and the flavors to settle.
-
Remove the lid and fluff the rice gently with a fork, breaking up any clumps and redistributing the chicken throughout the rice.
-
Taste a spoonful and adjust seasoning with additional salt and pepper as needed. Fresh lemon juice adds brightness—a squeeze or two over individual bowls is lovely.
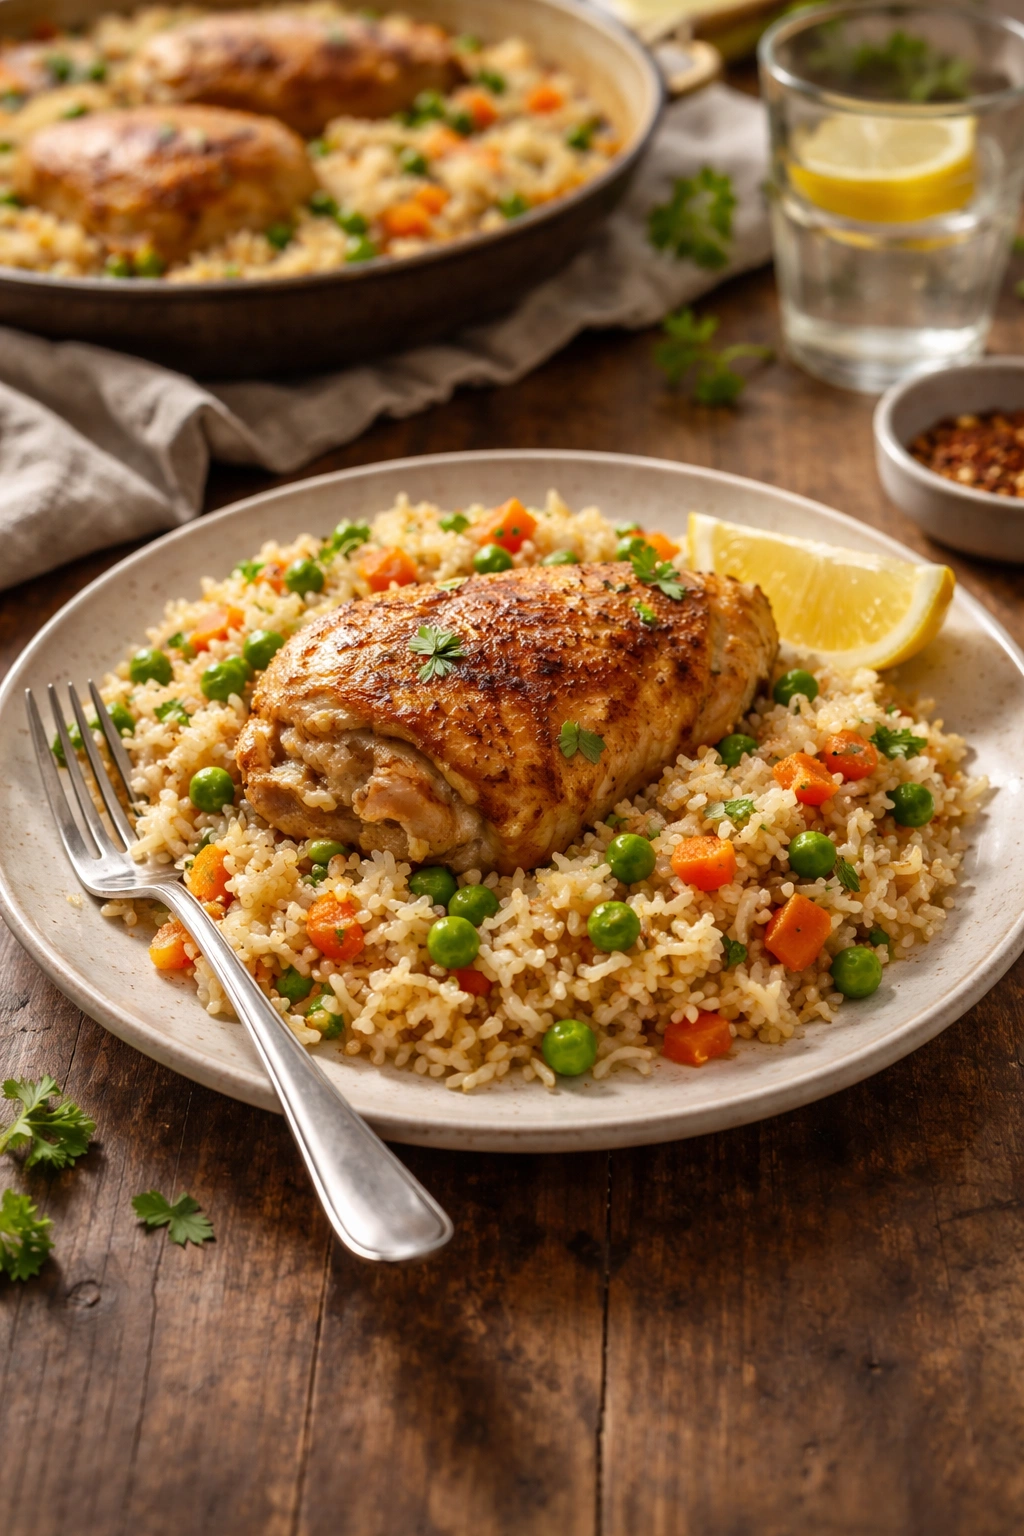
-
Garnish generously with fresh parsley and serve immediately while hot.
Pro Tips for Perfect Results Every Time
Rinsing your rice truly matters. Those white particles washing off are excess starch. If you skip this step, you end up with rice that’s gluey rather than fluffy. It takes two minutes and completely changes the final texture, so it’s worth doing.
Don’t skip the searing step. Some recipes suggest skipping it to save time, but those golden-brown bits on the chicken and the flavorful fond left in the pot are worth the five minutes they add. This is where half the depth of flavor comes from.
The tomato paste is non-negotiable. A tablespoon of tomato paste adds a savory complexity that makes people say “wow, this is really good” without being able to identify what makes it taste special. That’s umami at work. It’s not detectable as “tomato taste”—it just makes everything taste richer and more developed.
Invest in a proper lid. A loose or ill-fitting lid is the number-one reason rice doesn’t cook evenly. If steam is escaping, the rice won’t absorb liquid properly and you’ll end up with some grains tender and some crunchy. A good tight-fitting lid—whether glass or metal—transforms your results.
Don’t lift the lid while cooking. This isn’t superstition; it’s chemistry. Steam needs to recirculate inside the covered pot for the rice to cook evenly. Every time you lift the lid out of curiosity, you disrupt that process. Trust your timer and resist the urge to peek.
If you’re worried about the chicken being undercooked, cut the largest piece in half with your spoon to check it. You don’t need to drag pieces out—just cut one right there in the pot. If it’s still slightly pink inside, cover and cook for 2 more minutes. Chicken breasts are safely cooked when they reach 165°F internally, but in practice, once the rice is tender, the chicken has almost always finished cooking.
Taste and season before serving, not after. Rice is forgiving about seasoning, but you want to catch it while the dish is hot and you can taste properly. Your taste buds work better with hot food, and it’s easier to adjust at this stage than trying to fix an underseasoned or overseasoned bowl at the table.
Common Mistakes and How to Avoid Them
The rice turns out mushy. This almost always means either the rice-to-liquid ratio was off, or the pot was left on heat too long after the liquid was absorbed. Use the exact ratio of 1 part rice to 2 parts liquid. Set a timer and stick to it. If there’s still liquid when the timer goes off but the rice tastes tender, drain it. You want tender rice, not mushy rice.
The rice is still crunchy when everything else is done. The opposite problem usually means the heat wasn’t high enough when you brought the liquid to a boil, so the cooking time was too short. Or you used brown rice instead of white rice without adjusting the time. Make sure you bring the liquid to a full boil before reducing the heat. If this happens once, just cover and cook for another few minutes—the pot’s still hot.
The chicken is tough and dry. This happens when pieces are cut too large, or the heat stays too high during cooking. Bite-sized pieces cook through before they dry out. And that drop to low heat immediately after boiling is crucial. Medium or medium-high heat causes tough, stringy chicken. Go low, cover it, and leave it alone.
The dish tastes bland or one-dimensional. You probably skipped the tomato paste, used really weak broth, or didn’t season enough. Taste the liquid before adding the rice and make sure it tastes like good broth. Taste again after everything is cooked and adjust seasoning generously. Salt isn’t optional here—it’s how you bring out all the other flavors.
Everything tastes too salty. Use low-sodium broth and add your own salt gradually rather than using regular-salted broth. You can always add more salt, but you can’t remove it. Err on the side of less when seasoning, then taste and adjust.
Some of the rice sticks to the bottom and burns. This means your heat was too high during cooking. It needs to be low enough that you see gentle steam rising, not vigorous boiling. If you hear a sizzling sound coming from under the pot, your heat is too high—turn it down immediately.
Variations and Flavor Adaptations
The foundation of this recipe is rock-solid, which makes it perfect for experimentation. Here’s where you can genuinely make it your own.
Spicy version: Add ½ to 1 teaspoon of cayenne pepper or red pepper flakes to your spice mixture. Or stir in a tablespoon of hot sauce with the tomato paste. Or add diced fresh jalapeño along with the bell peppers for fresh heat.
Mediterranean style: Skip the paprika and add 1 teaspoon of dried oregano and ½ teaspoon of dried thyme to your spice mix. Add a squeeze of lemon juice at the end and finish with fresh dill instead of parsley. Sun-dried tomatoes stirred in with the regular tomatoes are also wonderful.
Cajun version: Replace the paprika with 1 to 2 teaspoons of Cajun seasoning. Add the bell peppers and a diced onion as written, and consider throwing in ½ cup of frozen okra or corn. The result is almost a one-pot jambalaya without the sausage.
Creamy version: Once the rice is cooked, stir in ½ cup of heavy cream or half-and-half along with a handful of grated Parmesan cheese. This transforms it into something almost like a risotto but without all the stirring.
Veggie-loaded version: Add more vegetables throughout cooking. Frozen peas or corn can be stirred in when you add the rice. Diced carrots cook at the same rate as bell peppers. Handfuls of fresh spinach or kale wilt in beautifully at the very end—just stir them in right before serving and they’ll be perfect.
Asian-inspired: Use a mix of soy sauce and broth instead of straight broth. Add minced fresh ginger along with the garlic. Use a mix of white and brown rice if you want, adjusting the cooking time accordingly. Top with sesame seeds and sliced green onions instead of parsley.
Spanish style with saffron: Add a generous pinch of saffron threads to your broth—this is a traditional touch. Use smoked paprika instead of regular paprika. This version feels restaurant-worthy but uses the exact same method.
Lemon and herb: Skip the tomato paste entirely. Add 1 teaspoon of dried Italian seasoning and the zest of a lemon to your spice mixture. Squeeze fresh lemon juice over everything at the end and use both parsley and fresh basil as garnish.
Storage, Reheating, and Make-Ahead Tips
This dish keeps beautifully, which makes it even more valuable for meal planning and busy schedules.
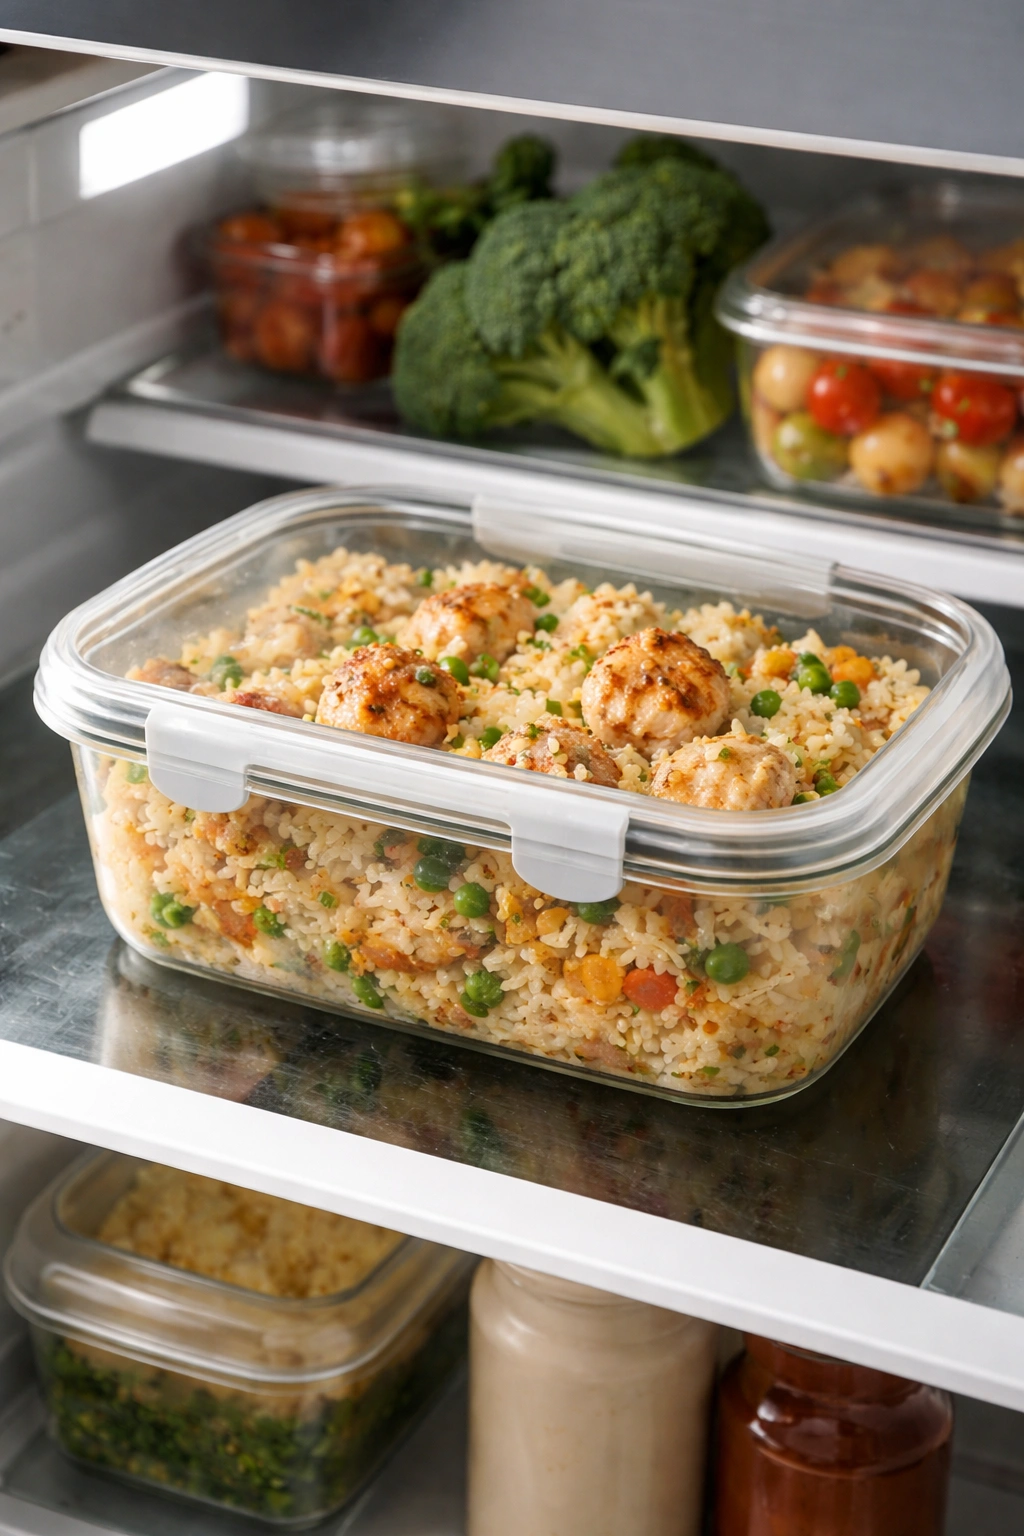
For refrigerator storage, let the rice cool to room temperature, then transfer it to an airtight container. It’ll keep for 3 to 4 days. The rice will firm up as it cools, which is perfect for reheating because it won’t fall apart.
To reheat, you can use a few different methods depending on what you’re in the mood for. In the microwave, transfer a portion to a microwave-safe bowl, add a tablespoon of water or broth to prevent drying, cover loosely with a lid or damp paper towel, and heat for 2 to 3 minutes, stirring halfway through. On the stovetop, heat a skillet over medium heat, add your portion with a splash of broth or water, and warm through, stirring occasionally, until heated through—this method is actually my favorite because you can get a little light crisping on the bottom if you want that texture.
Freezing works, though the texture of the rice changes slightly. Cooked rice tends to get slightly mushier when frozen and thawed. If you want to freeze this dish, let it cool completely first, then transfer to a freezer-safe container or even a freezer bag if you’re short on space. It’ll keep for up to 2 months. Thaw it overnight in the refrigerator before reheating, rather than thawing at room temperature.
For make-ahead cooking, you can do most of the prep the night before. Chop your vegetables and chicken, store them in separate containers, and prepare your spice mixture. In the morning or the night before, you can even cook the whole dish and refrigerate it, then simply reheat before eating.
A note on freezing and texture: Honestly, this dish is so quick to make that I rarely freeze it. If you’re planning to freeze chicken and rice, it’s often worth just making it fresh—it takes only 30 minutes anyway. But if you do end up with leftovers and want to preserve them, freezing works fine.
Serving Suggestions and Pairings
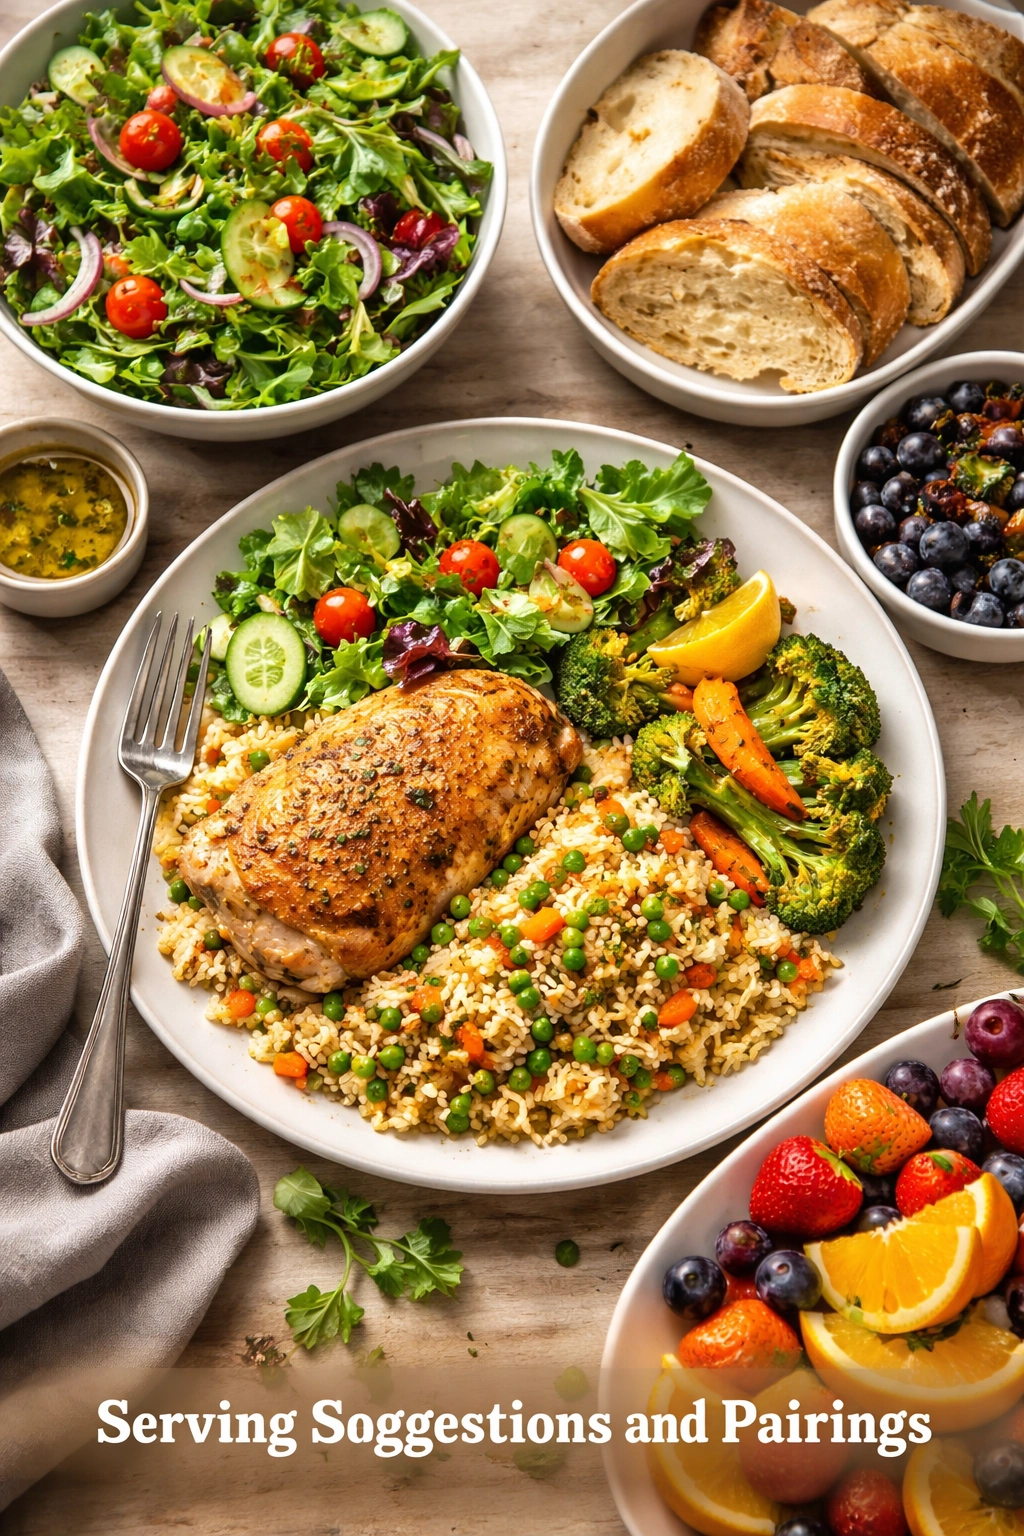
This dish is genuinely complete on its own. You’ve got protein, starch, and vegetables all in one pot, which means you could happily serve it with just a napkin and call it dinner. But if you want to build a meal around it, here are some options.
A simple green salad is classic alongside chicken and rice. A peppery arugula salad, a Mediterranean salad with cucumber and tomatoes, or even just dressed greens with a lemon vinaigrette all provide freshness and acidity that complements the warm, savory rice.
Roasted vegetables add color and another texture. Roasted broccoli, sautéed green beans, roasted asparagus, or even roasted Brussels sprouts all pair beautifully. You can roast these while the rice cooks, so they’re ready at the same time.
Crusty bread for soaking up any liquid that remains in the pot is always appreciated. A simple garlic bread or even just toasted slices of a good baguette give people something to do with their hands and add another element to the meal.
Fresh fruit if you’re looking for something refreshing. A citrus salad, sliced fresh pineapple, or even watermelon on a warm evening provides brightness and sweetness that balances the savory rice.
Yogurt sauce is wonderful on the side. A simple Greek yogurt mixed with fresh lemon juice, minced garlic, and fresh herbs (dill or parsley both work) can be drizzled over individual servings for richness and tang.
Soup or broth on the side—this might sound odd, but in many cultures, a small bowl of warm broth is served alongside rice dishes. It’s not necessary, but it’s a lovely traditional touch.
For special occasions or dinner parties, I’ll often serve this with a cheese board or some crusty bread and a simple salad. For weeknight family dinner, just the rice with some roasted vegetables on the side is perfect. The beauty is that this recipe is humble enough for Tuesday night but impressive enough for company.
Troubleshooting Guide
Help—my rice is only halfway cooked and the chicken seems done. Remove the chicken to a plate and continue cooking the rice covered. The chicken can rest while the rice finishes. Once the rice is done, return the chicken just to warm through. It’ll stay tender.
The pot is boiling over. Lower the heat immediately and leave the lid off for 30 seconds to let the steam escape, then reduce the heat further to low and replace the lid. The heat was too high. This shouldn’t happen if you drop to low immediately after boiling, but if it does, you’ve caught it in time.
Everything looks watery at 20 minutes but the rice feels mushy. Stop cooking immediately. Drain off the excess liquid. You either had too much broth or cooked it a few minutes too long. It’s salvageable—just drain and serve. Next time, reduce the broth by ¼ cup.
The chicken pieces separated and are floating around loose. That’s actually fine—it means they cooked through completely. Just stir it all together before serving. This happens sometimes with smaller pieces, and it doesn’t affect the final dish at all.
The bottom of the rice has brown bits stuck to the pot. If it’s light brown and smells toasty, that’s beautiful—that’s the crispy bottom layer (called “tahdig” in Persian cooking) that many people actually love. If it’s dark brown or smells burnt, immediately add a cup of water to the pot, remove it from heat, and let it sit for 10 minutes while you soak the burnt bits off. The dish is still fine to eat; just scoop from the top layers.
It’s been 25 minutes and there’s still a lot of liquid. Check that your lid is on tight. If it is, you might have more liquid than your rice can absorb in 25 minutes. This is usually because the heat wasn’t high enough to bring it to a boil initially, or you added too much liquid. No worries—just leave the lid off for another 2 to 3 minutes and the excess will evaporate.
The garlic tastes bitter and burnt. You cooked it too long. Next time, add it, cook for exactly 1 minute, then immediately add the tomato paste. If it’s already happened, a squeeze of lemon juice at the end helps mask the bitter taste.
Final Thoughts
This one-pot chicken and rice recipe does something genuinely valuable. It proves that you don’t need fancy techniques, expensive ingredients, or hours of time to create a meal that tastes like you actually tried. It’s possible to be a busy person and still eat well. It’s possible to be tired and still have dinner ready quickly. It’s possible to minimize cleanup and maximize flavor.
What makes this recipe special isn’t any single technique or ingredient—it’s that everything works together. The seared chicken, the toasted rice, the tomato paste, the proper liquid ratio, the low heat, the covered pot—each element serves a purpose, and together they create something that tastes far more complex than its simplicity would suggest.
Keep this recipe in regular rotation, and I guarantee two things will happen. First, you’ll stop dreading dinnertime. Second, you’ll start experimenting with variations because you’ll trust that the foundation is strong enough to support your creativity. Make it three nights a week if you want—it’s versatile enough that it won’t feel repetitive. Make it once and freeze portions. Make it on Sunday and eat it all week. Or make it fresh on a random Tuesday when you need something comforting and quick.
This is the kind of recipe that earns a permanent spot in your kitchen because it works. It’s not complicated, it’s not fussy, and it genuinely delivers. That’s everything you need in a weeknight dinner.