There’s nothing worse than eating a big breakfast only to feel your energy crash two hours later. Your stomach’s growling, your focus is fading, and suddenly that stack of regular pancakes looks like a bad choice. The problem isn’t that pancakes taste amazing — it’s that they’re mostly refined carbs and sugar, which spike your blood glucose, trigger an insulin response, and leave you hungrier than before you ate.
Protein pancakes flip this problem on its head. By swapping in protein powder, eggs, and strategic ingredient choices, you can create pancakes that taste just as decadent as the regular kind but keep you genuinely satisfied until lunch. The protein content slows down how quickly your body absorbs carbs, stabilizes your blood sugar, and builds the muscle tissue that gives your metabolism a real boost. Real talk: once you dial in the technique, these pancakes become the breakfast that actually delivers on the promise of keeping you full.
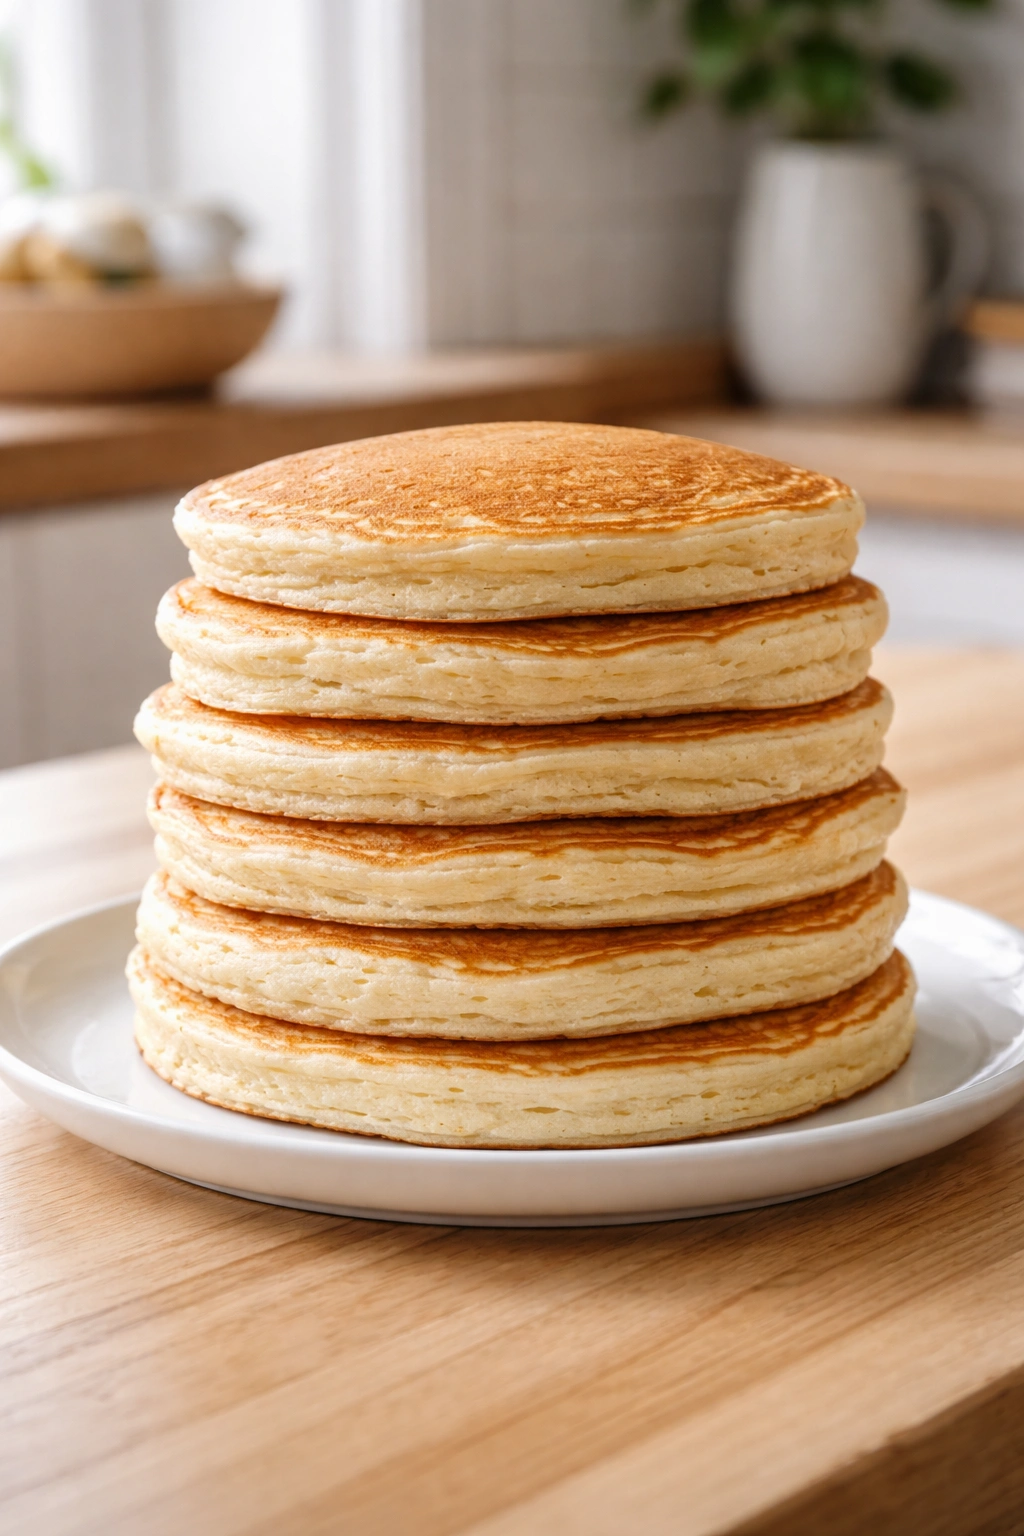
The secret isn’t just dumping protein powder into your batter and hoping for the best. Most people who try that end up with dense, rubbery pancakes that feel like eating a protein bar — not exactly the fluffy stack you’re craving. The real technique involves understanding how protein powder behaves in pancake batter, how to adjust liquid ratios, and how to cook them at the right temperature so the outside gets golden and crispy while the inside stays light and airy. I’m going to walk you through exactly how to make protein pancakes that taste indistinguishable from the real thing, plus the strategies that keep them from becoming a dense, disappointing mess.
Why Protein Pancakes Keep You Satisfied So Much Longer
Regular pancakes are almost pure carbohydrates — flour, sugar, milk, and syrup add up to a blood sugar roller coaster that crashes hard. Your body digests them in about 90 minutes, leaving you ravenous by mid-morning despite having eaten what felt like a substantial meal. Protein pancakes work differently because they’re built on a foundation of actual muscle-building protein instead of empty carbs.
When you eat 25-35 grams of protein at breakfast, your body enters a fed state that suppresses ghrelin, the hunger hormone. Protein takes longer to digest than carbs — roughly 2.5 to 3 hours for most complete proteins — so it keeps your blood sugar stable and prevents the insulin spike-and-crash cycle. This extended satiety isn’t just about feeling fuller; it’s about your brain receiving consistent fuel signals so you don’t experience that urgent, desperate hunger that has you raiding the office snack drawer at 10:30 am.
The amino acids in protein also trigger the release of peptide YY, a hormone that signals fullness directly to your brain. Add fiber from the right carbohydrate sources — like oats or whole grain additions — and you’ve created a breakfast that literally keeps your appetite hormones in check for hours. Studies on protein intake at breakfast consistently show that people who eat high-protein morning meals eat significantly fewer calories over the entire day without feeling deprived, which is why this approach works better than willpower alone.
The Secret to Fluffy Pancakes That Don’t Go Heavy
The biggest fear people have about protein pancakes is texture. Add too much protein powder and the batter becomes dense, the pancakes feel rubbery, and you end up with the aftertaste of a gym milkshake. The solution is understanding that protein powder is not flour — it absorbs and binds differently, so you can’t use it as a 1:1 swap.
The real trick is proportion. You want protein powder to make up no more than 25-30% of your dry ingredients by weight. If you use the full amount all at once without adjusting other ingredients, you’ll end up with a heavy, grainy texture. The protein powder also requires slightly more liquid than regular flour because it absorbs moisture aggressively. When you account for this in your batter ratios, suddenly the pancakes become light and fluffy again — the protein powder is working for you instead of against you.
The other secret is not overmixing. Overmixing flour develops gluten, which makes pancakes tough and dense. This is true for regular pancakes too, but it’s even more critical with protein pancakes because the protein powder particles are smaller and pack more tightly when agitated. You want to mix your dry ingredients separately, whisk your wet ingredients separately, then combine them with just 10-15 gentle folds until the streaks of dry mix barely disappear. Some lumps are completely fine — in fact, they’re a sign you’ve done it right.
Temperature control matters more with protein pancakes as well. High heat will cause the edges to brown and set before the inside has time to cook through, leaving you with cooked edges and a raw, rubbery center. Medium to medium-low heat lets the inside cook gently while the bottom gets golden. You’ll spend about 30 seconds longer per side, but the result is pancakes with a tender interior and crispy edges every single time.
Understanding Protein Powder Types for Pancakes
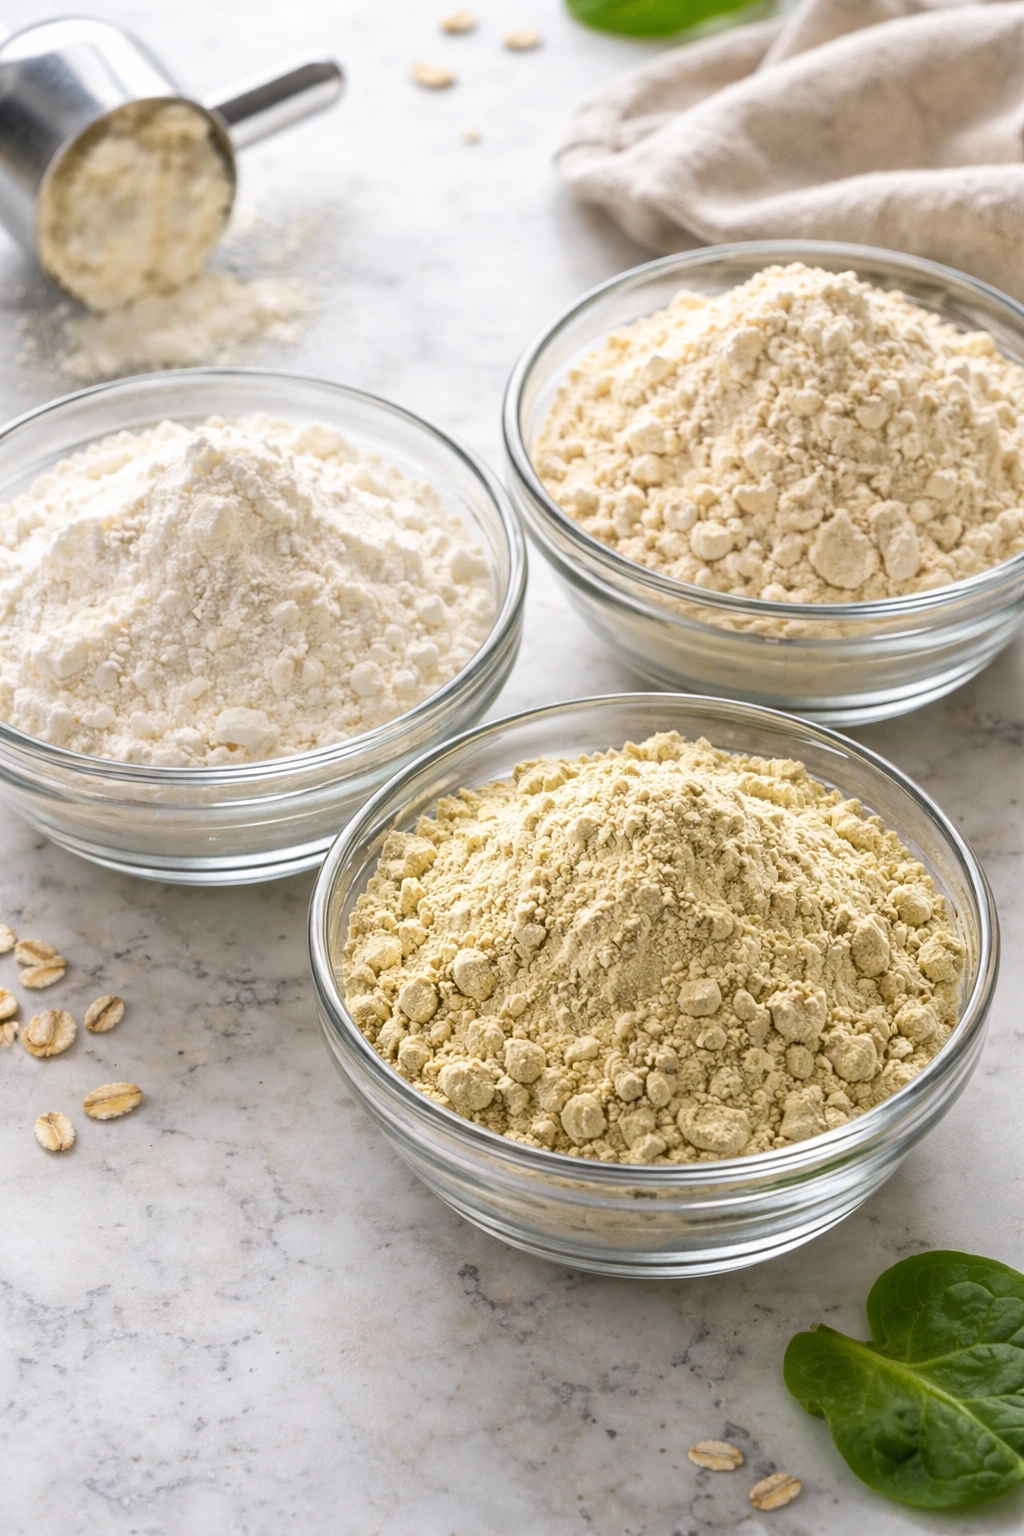
Not all protein powders work equally well in pancakes. The type you choose directly affects taste, texture, and how the pancakes cook. Whey protein isolate is the gold standard because it has a neutral flavor, mixes smoothly, and doesn’t add grittiness. Whey protein concentrate works fine too but can sometimes taste a bit more “protein-y” depending on the brand.
Casein protein, which digests slower than whey, creates a denser crumb because of how it binds with liquid. If you use casein, reduce the amount slightly and increase your liquid just a touch — it tends to absorb more moisture. Plant-based proteins like pea or rice protein tend to be grittier and sometimes leave a slightly earthy aftertaste, so choose a brand specifically designed for baking if you’re using plant-based. Avoid flavored protein powders in most cases — vanilla, chocolate, or strawberry powder can overpower the delicate pancake flavor and leave that artificial taste nobody wants.
The best move is to use unflavored whey isolate, which gives you control over the final flavor through your other ingredients. You add vanilla extract for vanilla flavor, cocoa powder for chocolate, or just keep it plain and let the toppings do the talking. If your protein powder comes in a flavor, taste-test in small batches first. Some brands have added sugar, sweeteners, and ingredients that affect how the batter behaves, so knowing what you’re working with matters.
Essential Ingredients You’ll Need
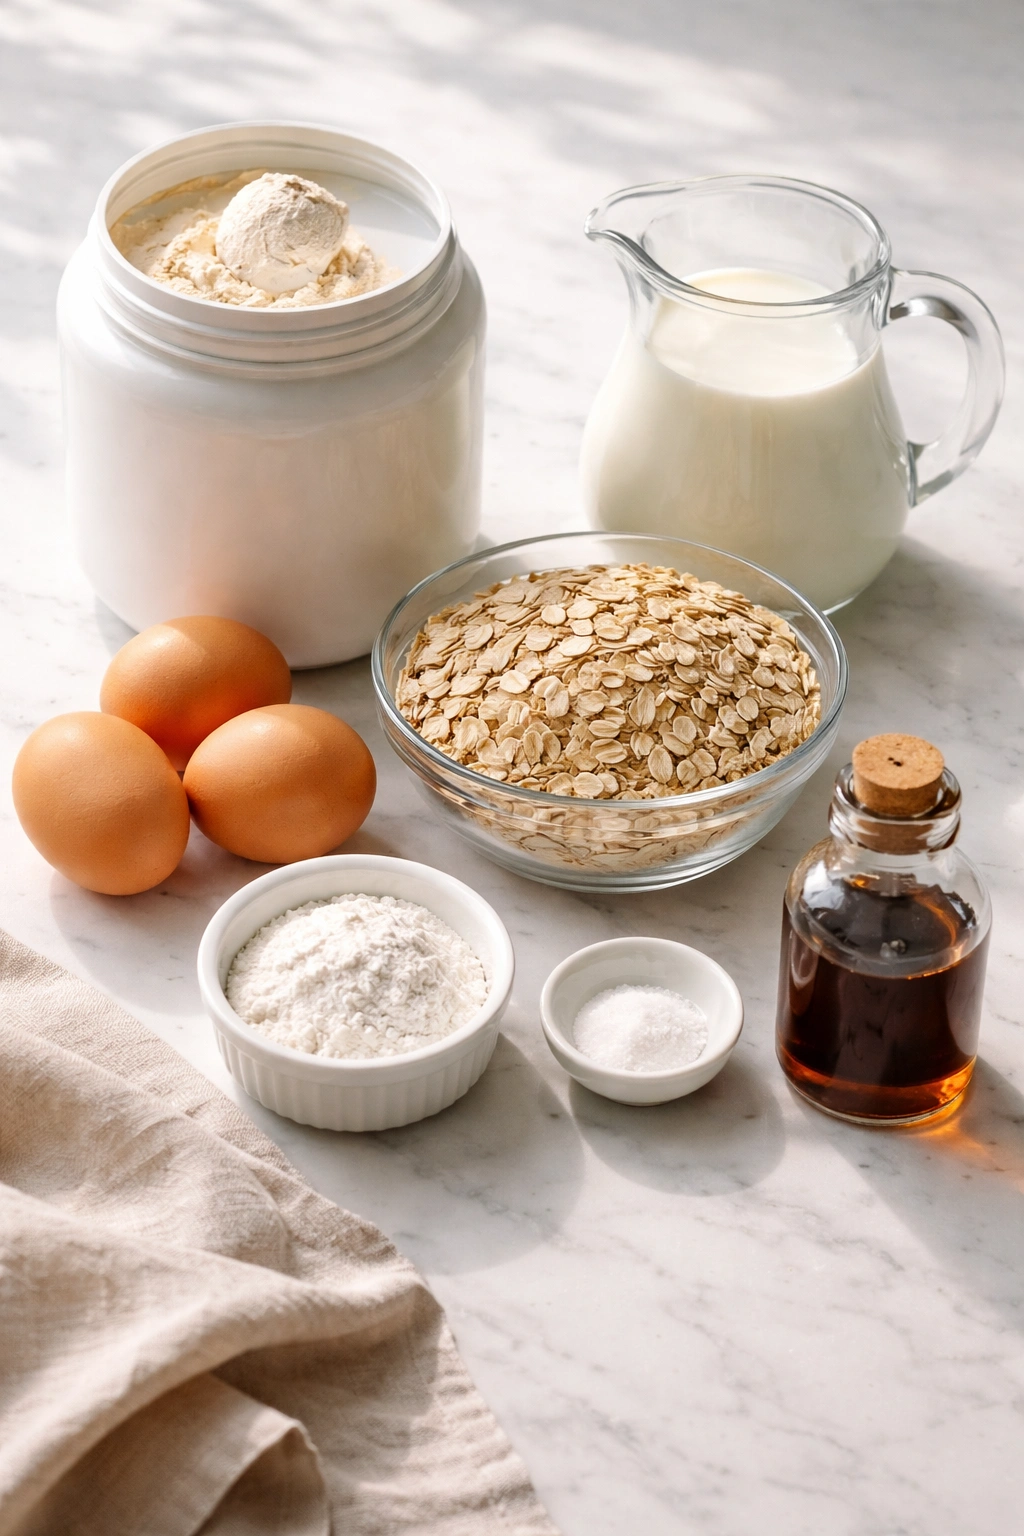
Before we talk through the full recipe, let’s establish what actually goes into a good protein pancake batter. You’re going to need protein powder (whey isolate recommended), eggs, oats, milk, baking powder, a pinch of salt, and vanilla extract at minimum. Butter or oil provides fat for flavor and richness. Sweetener — honey, maple syrup, or a sugar substitute — gives you the sweetness without making the batter unstable.
Some optional additions that genuinely help: Greek yogurt adds both protein and a subtle tang that makes the pancakes taste richer. A tablespoon of almond butter or peanut butter adds creaminess and extra staying power. A handful of mashed banana (about ¼ cup) provides natural sweetness and helps bind the batter without extra egg. If you’re using frozen or fresh berries, toss them in flour before folding them in — this prevents them from sinking to the bottom and creating wet spots.
Avoid additions that you think might help but actually create problems: don’t add extra protein powder to boost protein further unless you adjust other ingredients accordingly, don’t use milk alternatives like almond milk (which is mostly water and doesn’t provide the fat and emulsification that dairy milk does), and don’t use pancake mix or self-rising flour as your base because they often contain sugar and additives that change the texture unpredictably.
Classic High-Protein Pancake Recipe
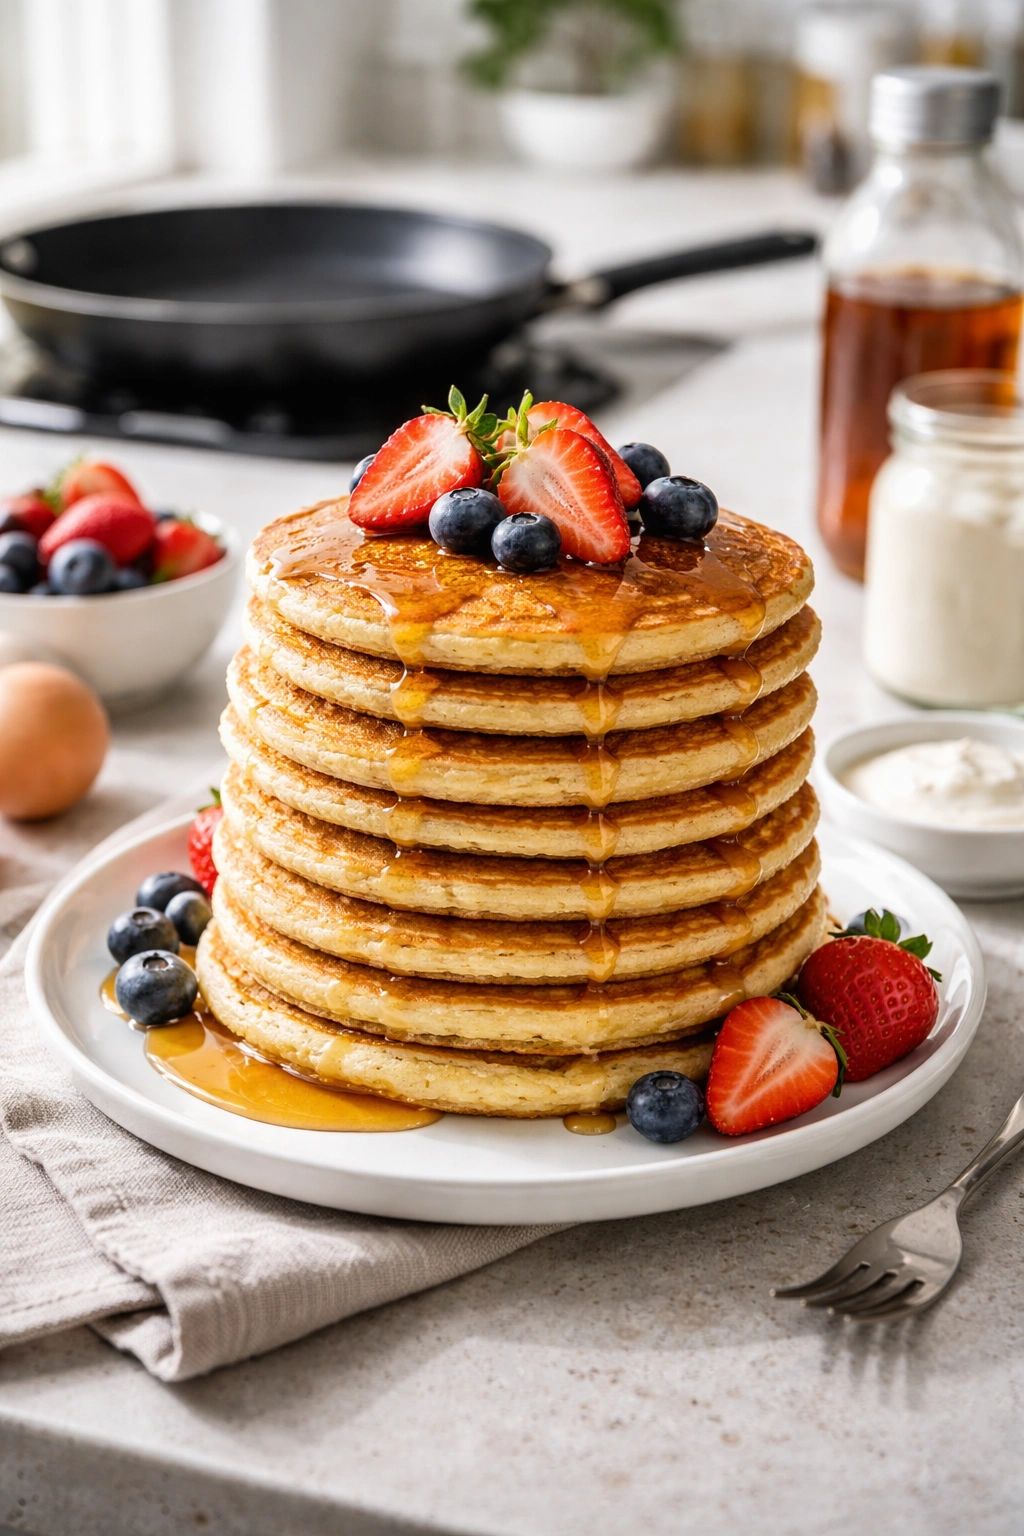
Yield: Serves 2 (makes 8 to 10 pancakes) | Prep Time: 10 minutes | Cook Time: 12 to 15 minutes | Total Time: 22 to 25 minutes | Difficulty: Beginner — the steps are straightforward and the ingredient ratios are forgiving even if this is your first time making protein pancakes.
For the Pancake Batter:
- ½ cup old-fashioned rolled oats (not instant)
- ¼ cup unflavored whey protein isolate powder
- 1 teaspoon baking powder
- ¼ teaspoon fine sea salt
- 2 large eggs, room temperature
- ¼ cup whole milk (dairy milk works best)
- 2 tablespoons plain Greek yogurt
- ½ teaspoon pure vanilla extract
- 1 tablespoon raw honey or maple syrup
- 1 tablespoon unsalted butter, melted, plus more for cooking
- Optional: 1 tablespoon natural peanut or almond butter for extra richness
For Serving:
- Unsalted butter
- Pure maple syrup, honey, or your preferred topping
- Fresh berries, sliced bananas, or other toppings of your choice
Prepare Your Cooking Station:
-
Preheat a nonstick skillet or griddle to medium heat. Let it warm for about 2 to 3 minutes — you want it hot enough that a drop of water sizzles gently (not aggressively) when it hits the surface. The goal is medium to medium-low, not high heat.
-
Line a plate with a clean kitchen towel and place it near your cooking station. As pancakes finish cooking, you’ll transfer them here to stay warm and crispy while you cook the remaining batter. If you stack pancakes directly on top of each other, steam gets trapped and they become soft and rubbery — the towel-lined plate prevents this.
-
Gather all your ingredients and tools so you’re not hunting for things mid-cooking. Have your spatula, a ladle or ¼-cup measure for portioning batter, and a timer within arm’s reach.
Make the Batter:
-
In a blender or food processor, pulse the rolled oats until they break down into a fine flour-like texture. This takes about 30 to 45 seconds. You want mostly fine oat flour with just a few visible flecks of oat left — not a complete powder, but not chunky either.
-
Transfer the pulsed oats to a medium bowl. Add the protein powder, baking powder, and salt. Whisk these dry ingredients together for about 30 seconds until they’re evenly distributed. This step matters more than most people think — it ensures the baking powder and salt distribute evenly throughout the batter.
-
In another bowl, whisk together the room-temperature eggs until the whites and yolks are fully combined. Add the milk, Greek yogurt, vanilla extract, honey, melted butter, and optional nut butter if using. Whisk this mixture for about 45 seconds until everything is smooth and emulsified — the eggs will break down the Greek yogurt and incorporate the butter.
-
Pour the wet ingredients into the dry ingredients. Using a spatula or wooden spoon, gently fold them together. This is critical: fold, don’t stir. Flip the dry ingredients up and over the wet ingredients repeatedly, rotating the bowl slightly with each fold. Stop as soon as you see just barely a few streaks of dry mix remaining — this takes about 10 to 15 gentle folds. Do not overmix. Some small lumps in the batter are completely fine and actually sign you’ve done it correctly. Lumps will smooth out slightly as the batter rests.
-
Let the batter rest for 2 to 3 minutes. This gives the baking powder time to start its reaction and allows the oat flour to fully hydrate, which results in fluffier pancakes. While you wait, check your skillet temperature — it should be evenly preheated.
Cook the Pancakes:
-
Lightly butter your hot skillet or griddle. Use just enough so the surface glistens — too much butter burns, too little causes sticking. You can use a butter wrapper or a paper towel dipped in melted butter to apply it evenly.
-
Pour the batter onto the skillet using a ¼-cup measure or a ladle. For standard pancakes, you want a circle about 4 inches in diameter. Space them so they don’t touch — you need room to flip them. If your skillet isn’t that large, cook fewer pancakes at once rather than crowding them.
-
Cook the first side for 2 to 3 minutes. You’ll see bubbles form on the surface and around the edges. When you notice 4 to 6 bubbles on the top surface and the edges look slightly set and opaque (not glossy), that’s your signal to flip. This is not the time to flip yet, even though you’re impatient. If you flip too early, you’ll deflate the pancakes.
-
Flip the pancakes gently with a thin spatula. A thin edge lets you slide under the pancake cleanly without folding it. Cook the second side for 1.5 to 2 minutes. The bottom should be golden brown and the pancake will feel more structured when you touch the edge lightly with your finger.
-
Transfer finished pancakes to the towel-lined plate. If you’re cooking in batches, keep the cooked pancakes in a warm oven (170°F / 77°C) while you finish cooking the rest.
-
Repeat the cooking process with the remaining batter. You’ll get 8 to 10 pancakes depending on exact portion size.
Serve and Enjoy:
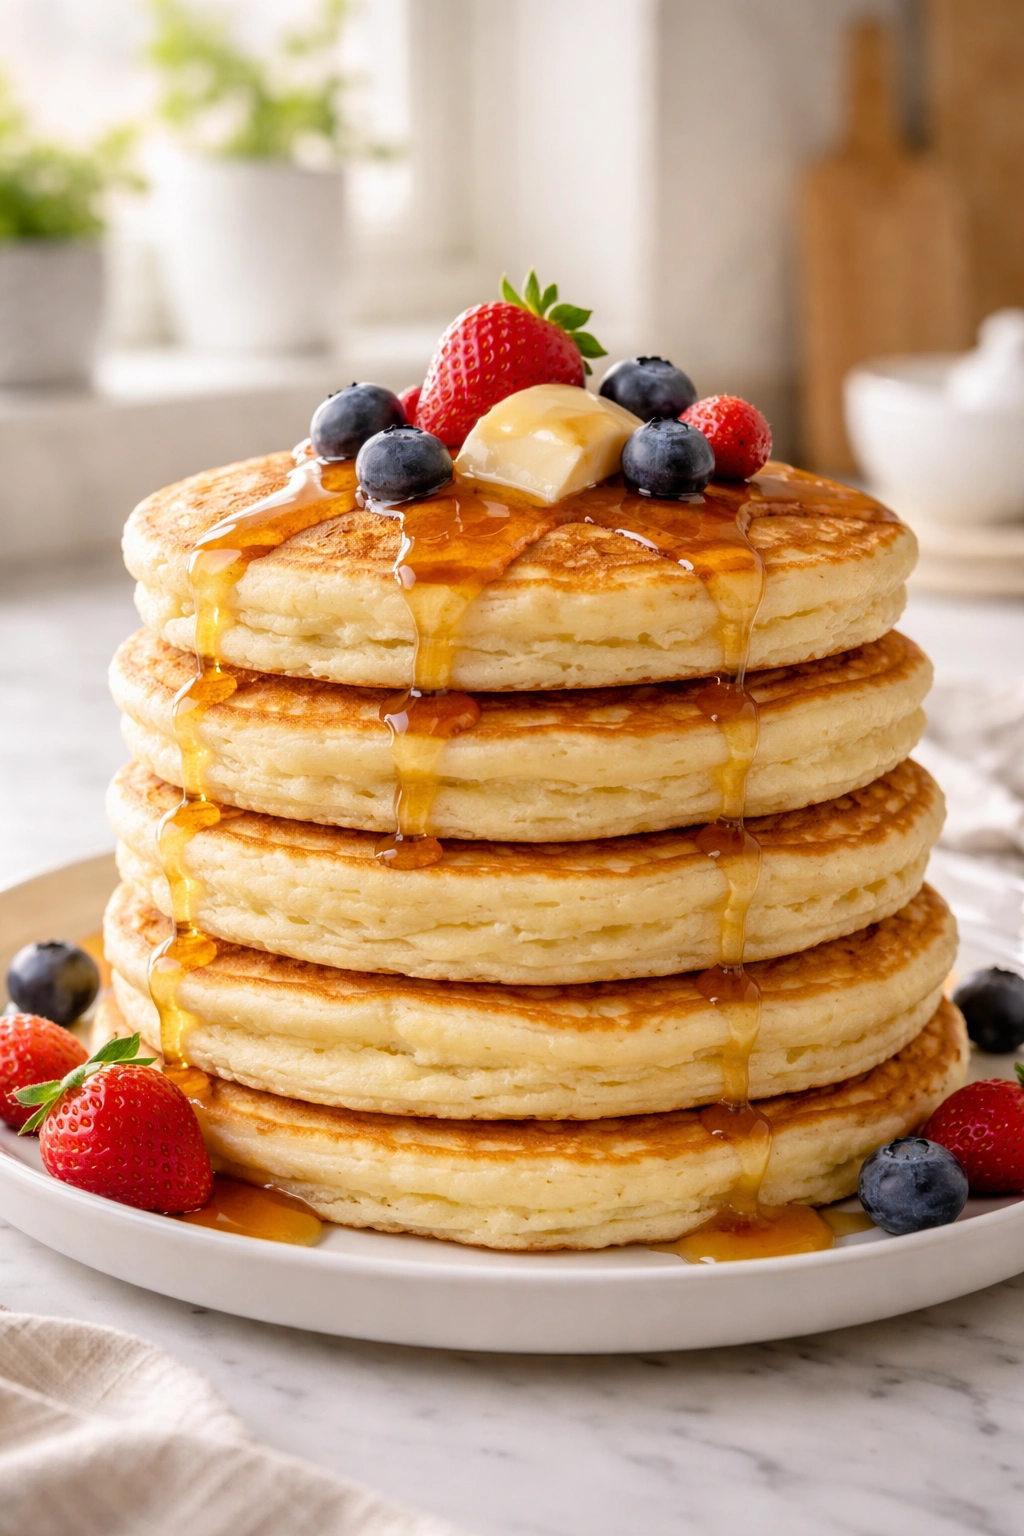
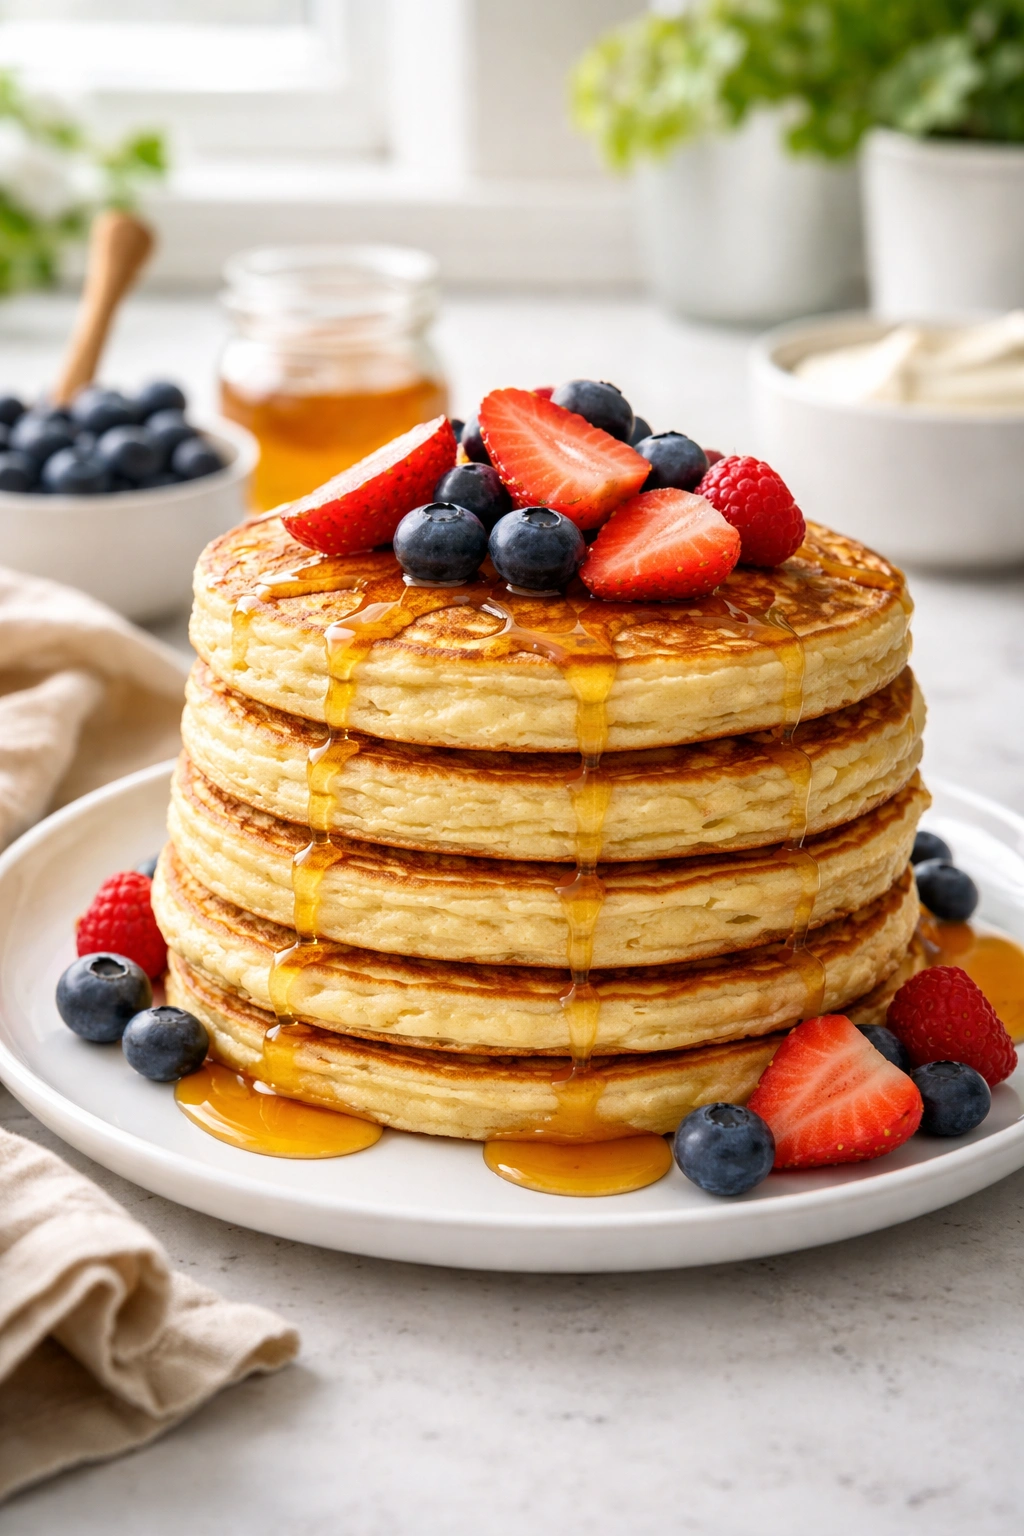
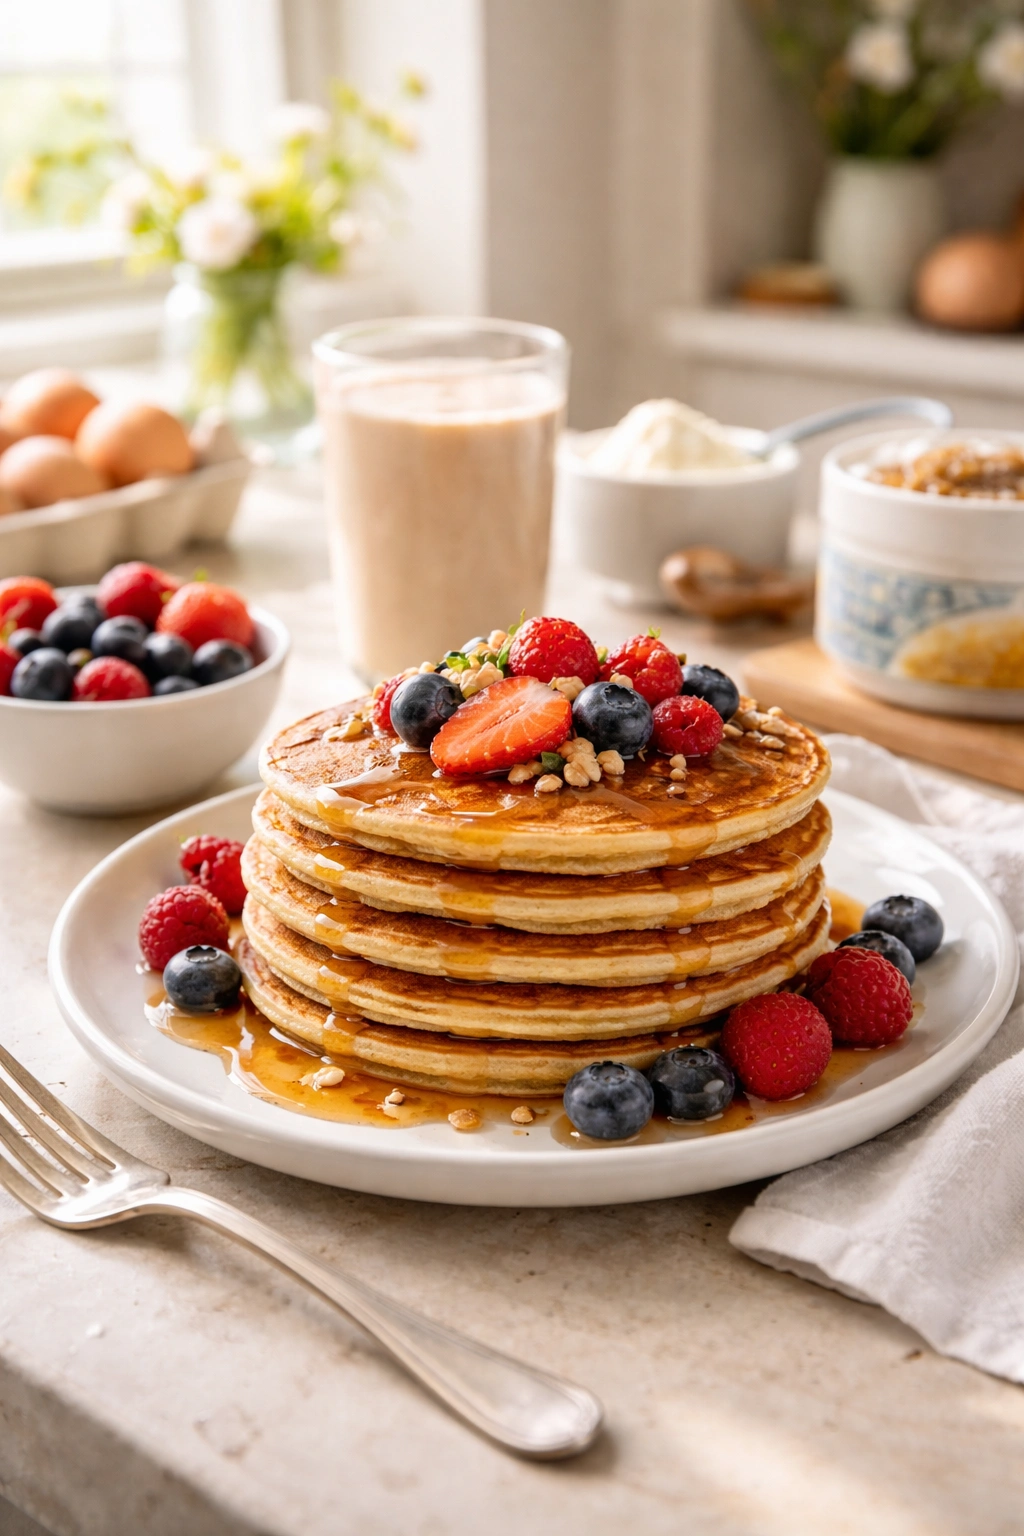
- Stack the warm pancakes on a plate. Top with a pat of butter (which will melt into the warm pancakes), a drizzle of maple syrup or honey, and your chosen toppings. Fresh berries, sliced bananas, nuts, or a dollop of Greek yogurt all work beautifully.
Common Pancake Mistakes and How to Fix Them
The most common mistake is using too much protein powder, which results in dense, rubbery pancakes that feel chalky. The fix is remembering that protein powder is not interchangeable with flour. Keep it to about ¼ cup per cup of dry ingredients, and if you want more protein, add an extra egg or some Greek yogurt instead.
Another frequent problem is mixing the batter too much. When you overwork the batter, you develop gluten in the oat flour and you compress the protein powder particles, both of which create dense, tough pancakes. The solution is simple: fold gently until you barely see streaks of dry ingredients, then stop immediately. Lumps are fine. They’ll smooth out as the batter cooks.
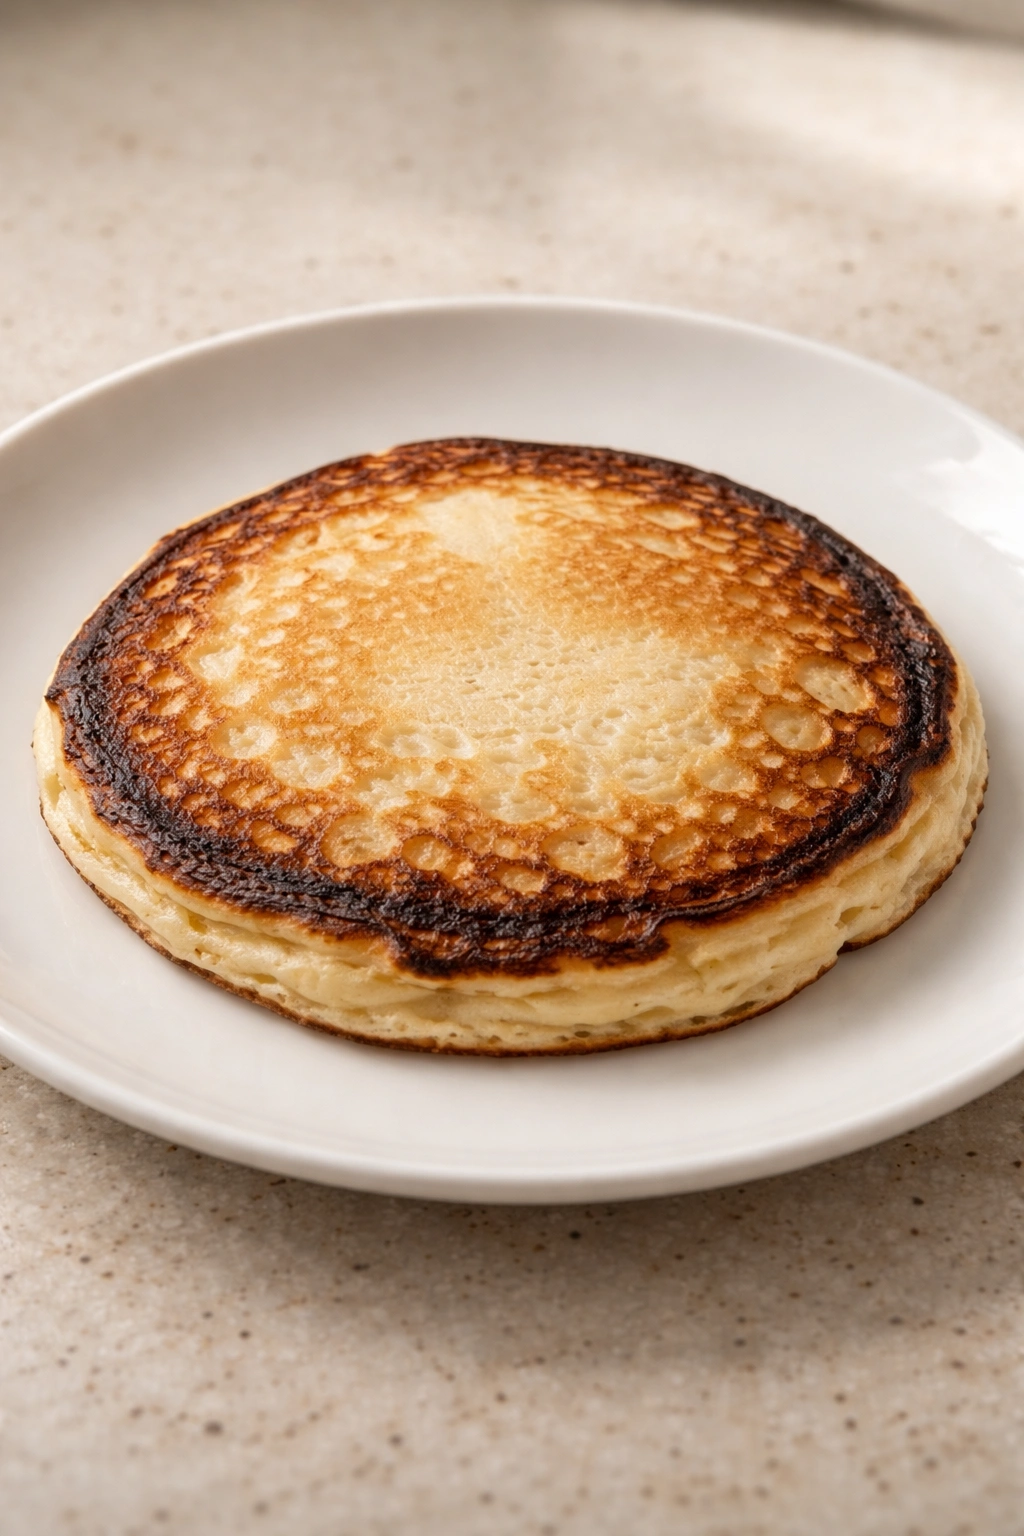
People often cook protein pancakes on too high heat because they’re impatient. High heat burns the outside before the inside cooks through, leaving you with a crispy burnt edge and a gummy, undercooked center. Medium to medium-low heat takes longer, but it creates evenly cooked pancakes with a tender interior. If your first pancake turns out burnt on the outside but raw inside, lower the heat and wait for the skillet to cool slightly before cooking the next batch.
Flipping too early is another trap. If you flip before the bubbles set and the edges look done, you collapse the air pockets and get flat, dense pancakes. Wait until you see bubbles on the surface and the edges look opaque before flipping. It feels longer than it is, but it’s the difference between fluffy and disappointing.
Some people skip resting the batter, which means the baking powder doesn’t have time to start reacting and the oat flour isn’t fully hydrated. A 2-3 minute rest seems unnecessary but makes a genuine difference in fluffiness. Build this into your routine: make the batter, let it rest, then start cooking while it’s resting.
Pro Tips for Perfect Protein Pancakes Every Time
Use room-temperature eggs. Cold eggs don’t emulsify smoothly with the other ingredients, and you end up with a slightly curdled-looking batter that can result in uneven cooking. Pull your eggs out of the fridge 10 minutes before you start cooking.
Invest in a good nonstick skillet. Cheap nonstick coatings flake off easily and make sticking more likely. A quality nonstick skillet is the single best investment for consistent pancake results. You’ll notice the difference immediately in how easily the pancakes cook and flip.
Test your skillet temperature with water, not batter. If a drop of water sizzles gently and sits on the surface briefly before evaporating, your heat is right. If it sizzles aggressively and evaporates instantly, it’s too hot. If it just sits there, it’s too cool.
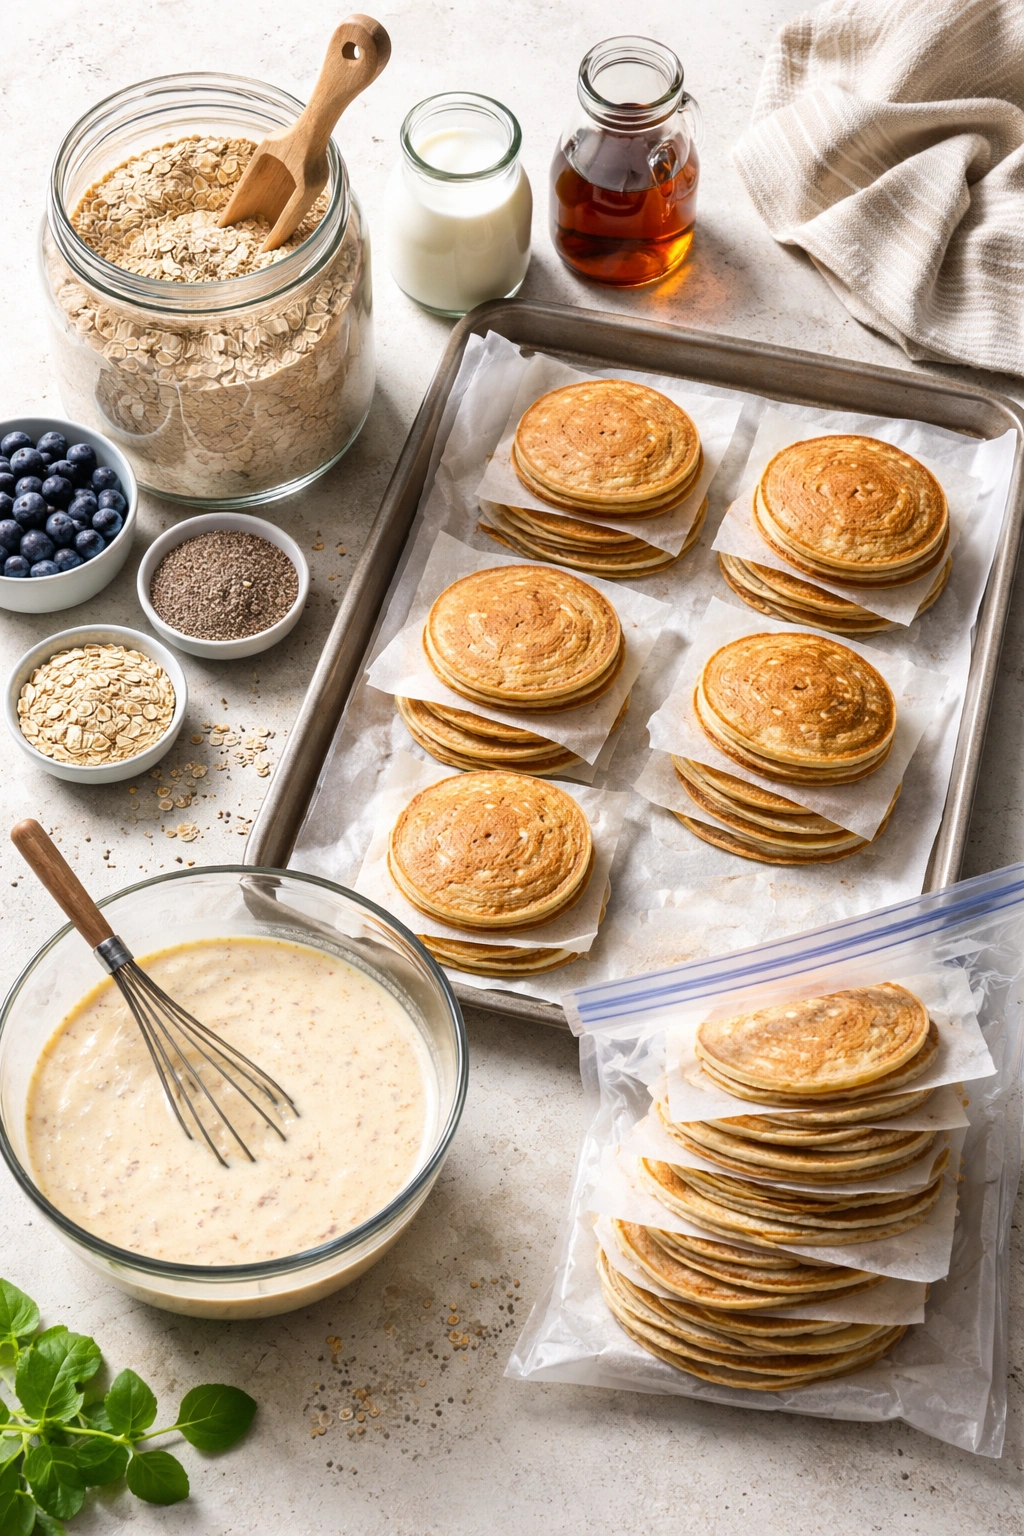
Make a batch and freeze them. Once you’ve made a batch and let them cool completely, stack them between parchment paper, place them in a freezer bag, and freeze for up to a month. Toast them in the toaster or oven when you’re ready to eat. They taste better than you’d expect and save you 10 minutes on busy mornings.
Don’t skip the Greek yogurt. Some recipes use cottage cheese or skip dairy proteins entirely. Greek yogurt is the move because it adds protein, creates a tangier flavor that tastes richer, and keeps the pancakes moist without making them heavy. It’s a small addition that genuinely transforms the result.
Let cooked pancakes rest on a warm plate for 30 seconds. This stops the cooking process on the inside and lets the structure set, so they don’t collapse when you cut into them. It sounds fussy but it matters, especially with protein pancakes.
Flavor Variations You Can Make
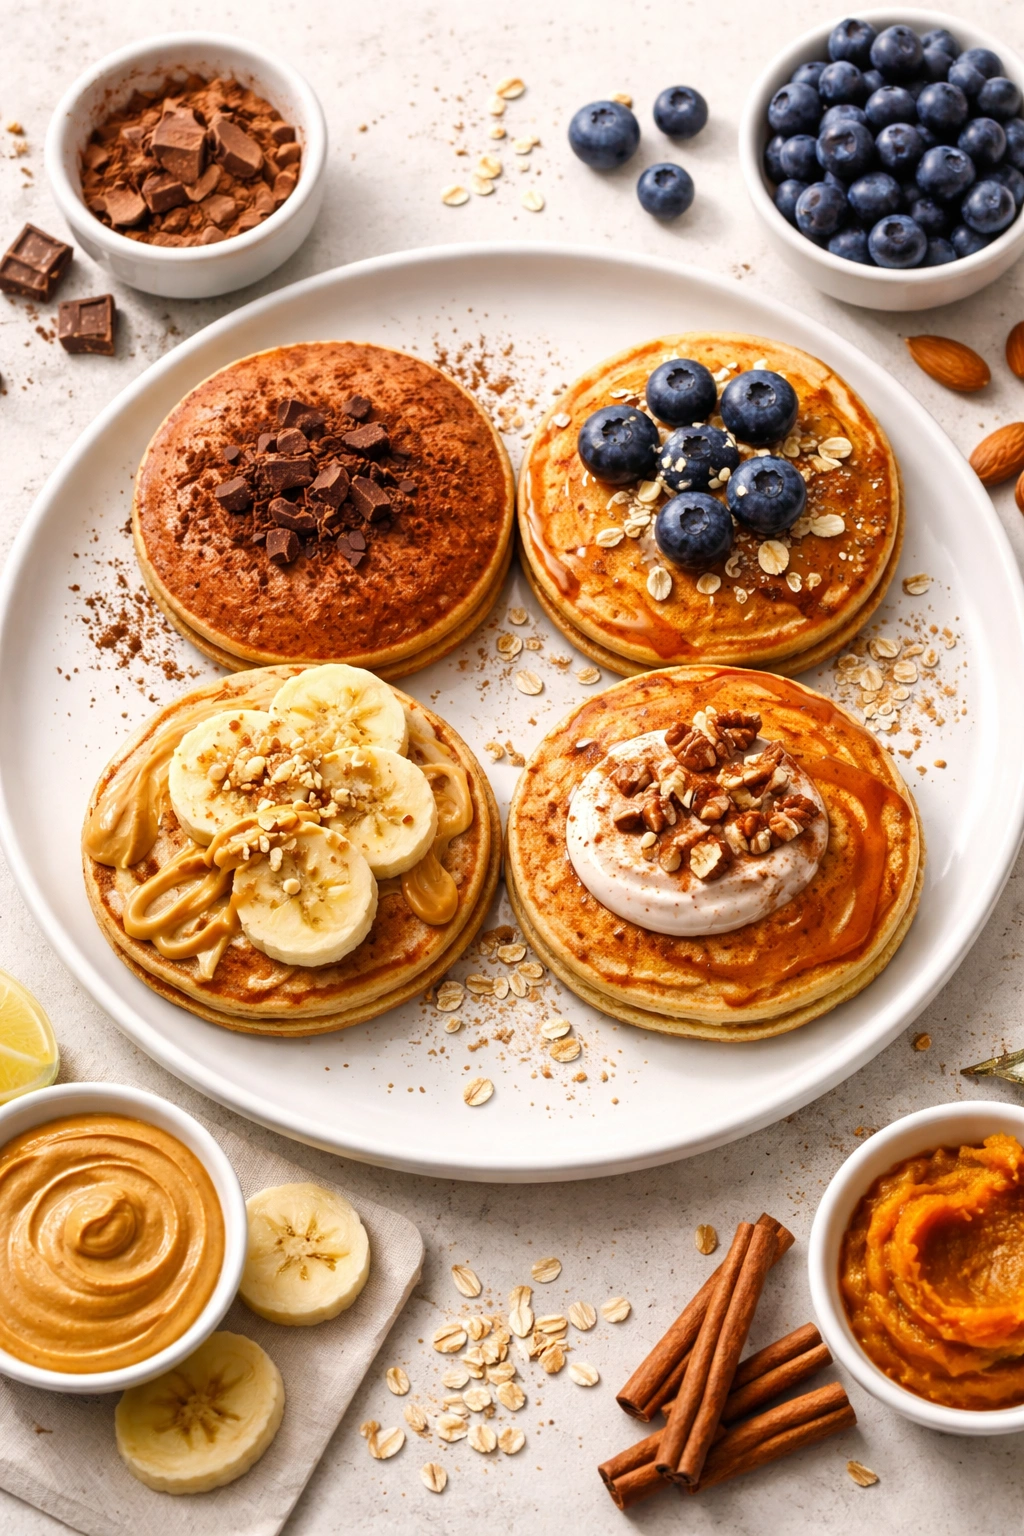
Chocolate Protein Pancakes: Replace 1 tablespoon of the oat flour with unsweetened cocoa powder. Use 2 tablespoons honey instead of 1 for slight extra sweetness to balance the cocoa. Top with berries and a dollop of Greek yogurt for contrast.
Peanut Butter Banana: Add 1 tablespoon natural peanut butter to the wet ingredients and fold in 2 tablespoons mashed banana (about half a small banana). Reduce the honey to 1 teaspoon since the banana provides natural sweetness. Top with sliced banana and a drizzle of peanut butter.
Blueberry Almond: Fold in ½ cup fresh or frozen blueberries after the batter comes together. Replace the vanilla with ½ teaspoon almond extract. Top with more fresh blueberries and sliced almonds.
Pumpkin Spice: Add 2 tablespoons pumpkin puree to the wet ingredients and ½ teaspoon pumpkin pie spice (or a blend of cinnamon, ginger, and nutmeg) to the dry ingredients. Increase the honey to 2 tablespoons. Top with Greek yogurt and a cinnamon drizzle.
Strawberry Vanilla: Fold in ½ cup diced fresh strawberries. Keep the vanilla at ½ teaspoon for emphasis on the berry flavor. Top with whole or sliced strawberries and a touch of honey.
Chocolate Chip: Fold in ⅓ cup dark chocolate chips after mixing the batter. Use 1 tablespoon chocolate chips on top of each pancake while it’s cooking on the first side so they slightly melt into the surface. Serve with a light dusting of powdered sugar.
The key with any variation is not adding so much extra ingredient that you change the fundamental batter ratios. Berries and chocolate chips are fine in the amounts listed. If you’re adding something wet like mashed fruit, slightly reduce the milk to compensate.
Topping Ideas That Add More Satiety
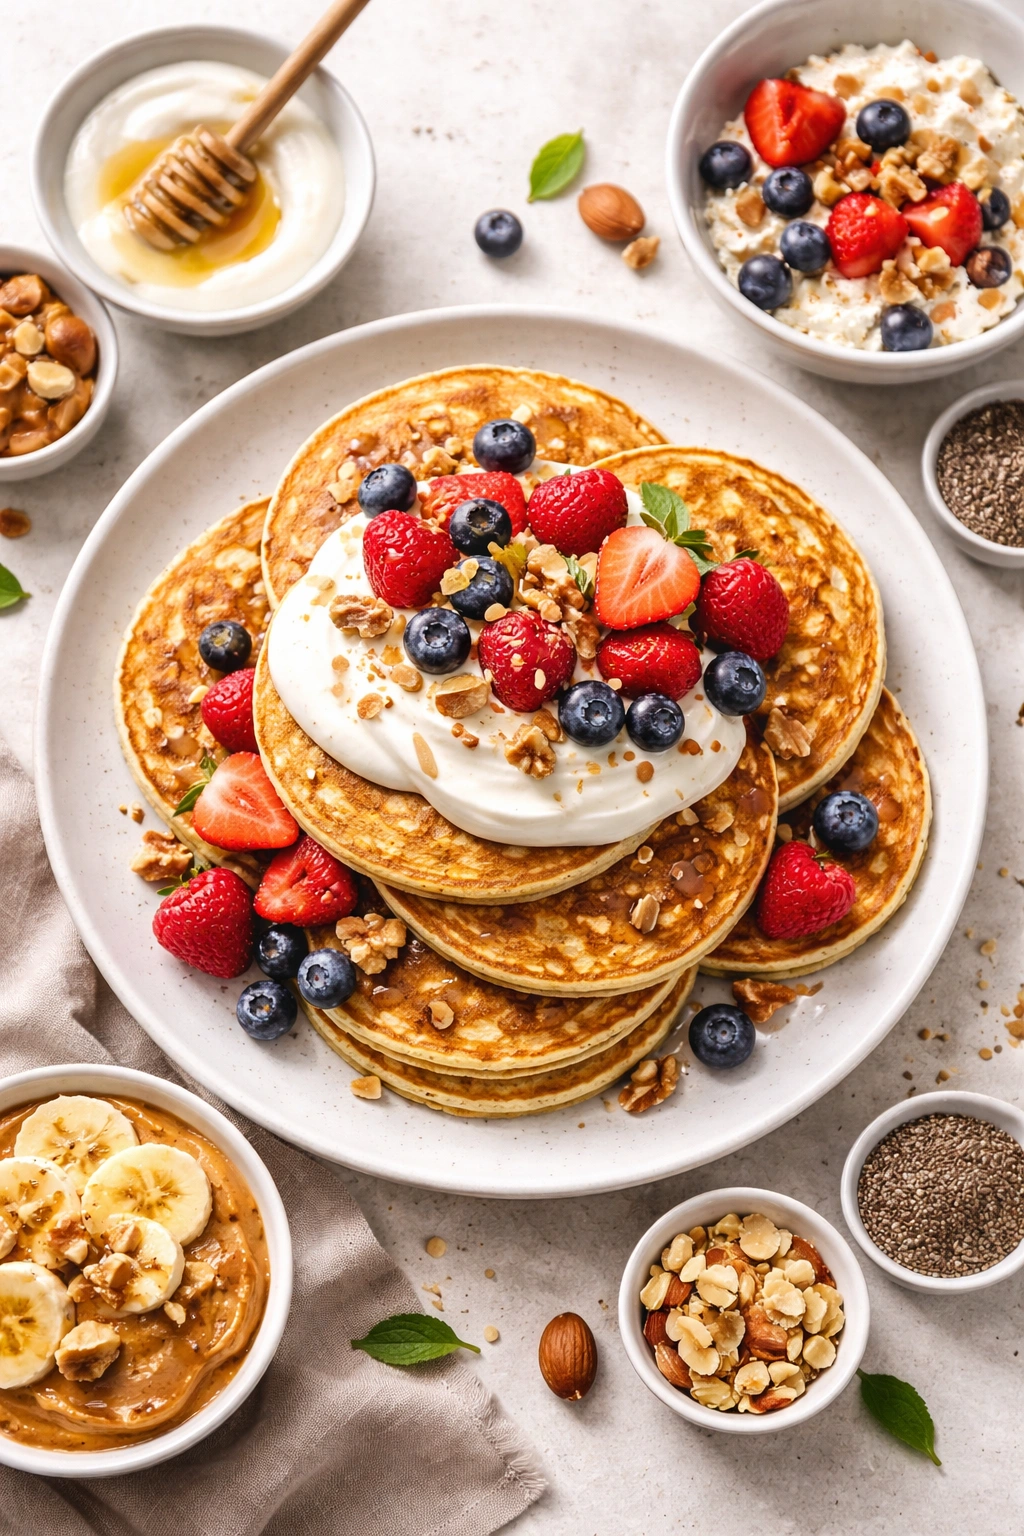
Butter and maple syrup are classic, but there are strategic topping combinations that keep your pancakes satiating even longer. Greek yogurt plus berries plus honey is my go-to because you’re adding extra protein from the yogurt, fiber and antioxidants from the berries, and a touch of honey for sweetness without excess sugar. The yogurt makes the pancakes feel more indulgent than they are.
Nut butter plus sliced banana creates a combination that feels like you’re eating dessert for breakfast but is actually genuinely nourishing. The fat from the nut butter slows digestion further, and the banana provides potassium and carbs that feed your muscles after a workout.
Cottage cheese plus fruit plus nuts is underrated but fantastic. Cottage cheese has an even higher protein content than Greek yogurt, about 14 grams per ½ cup. Mix it with a touch of honey, pile it on your pancakes, and top with berries and almonds or walnuts. It’s unconventional but absolutely works.
Cinnamon sugar plus a drizzle of almond butter keeps things simple while adding warmth and richness. Sprinkle a mix of cinnamon and a small amount of sugar on the pancakes while they’re still warm, then drizzle melted almond butter over the top.
Whipped cream plus berries plus dark chocolate shavings is the indulgent option that still keeps protein high. Use full-fat whipped cream because the fat adds satiety. Keep chocolate shavings light — you want them to enhance rather than dominate.
Avoid adding tons of sugar-filled syrup or jam because it spikes your blood sugar and defeats the whole point of eating high-protein pancakes in the first place. The toppings should work with the protein, not against it.
Make-Ahead and Storage Strategies
You can make the batter up to 24 hours in advance by combining your dry ingredients in one container and your wet ingredients in another, then storing both separately in the fridge. When you’re ready to cook, fold them together and proceed as normal. This works beautifully for busy mornings because the time-consuming part is already done.
Cooked pancakes last 3 to 4 days in an airtight container in the fridge. They’ll firm up slightly when cold, which is why toasting or reheating them is essential. Place them on a baking sheet and reheat at 350°F (175°C) for 5 to 7 minutes until they’re warm and slightly crispy again. Avoid the microwave if possible because it makes them rubbery.
Freezing is the best option for longer storage. Stack cooled pancakes between sheets of parchment paper, place them in a freezer bag, remove as much air as possible, and freeze for up to one month. You can toast them directly from frozen — they’ll take about 1 minute longer than refrigerated pancakes. Or thaw them overnight in the fridge and toast in the morning.
Make-ahead tip: if you’re cooking pancakes for a crowd or making extras to freeze, double or triple this recipe. The batter follows the same ratios, so you can scale it easily. Just make sure not to overmix when combining larger batches of wet and dry ingredients.
Pairing Your Protein Pancakes With Other Foods
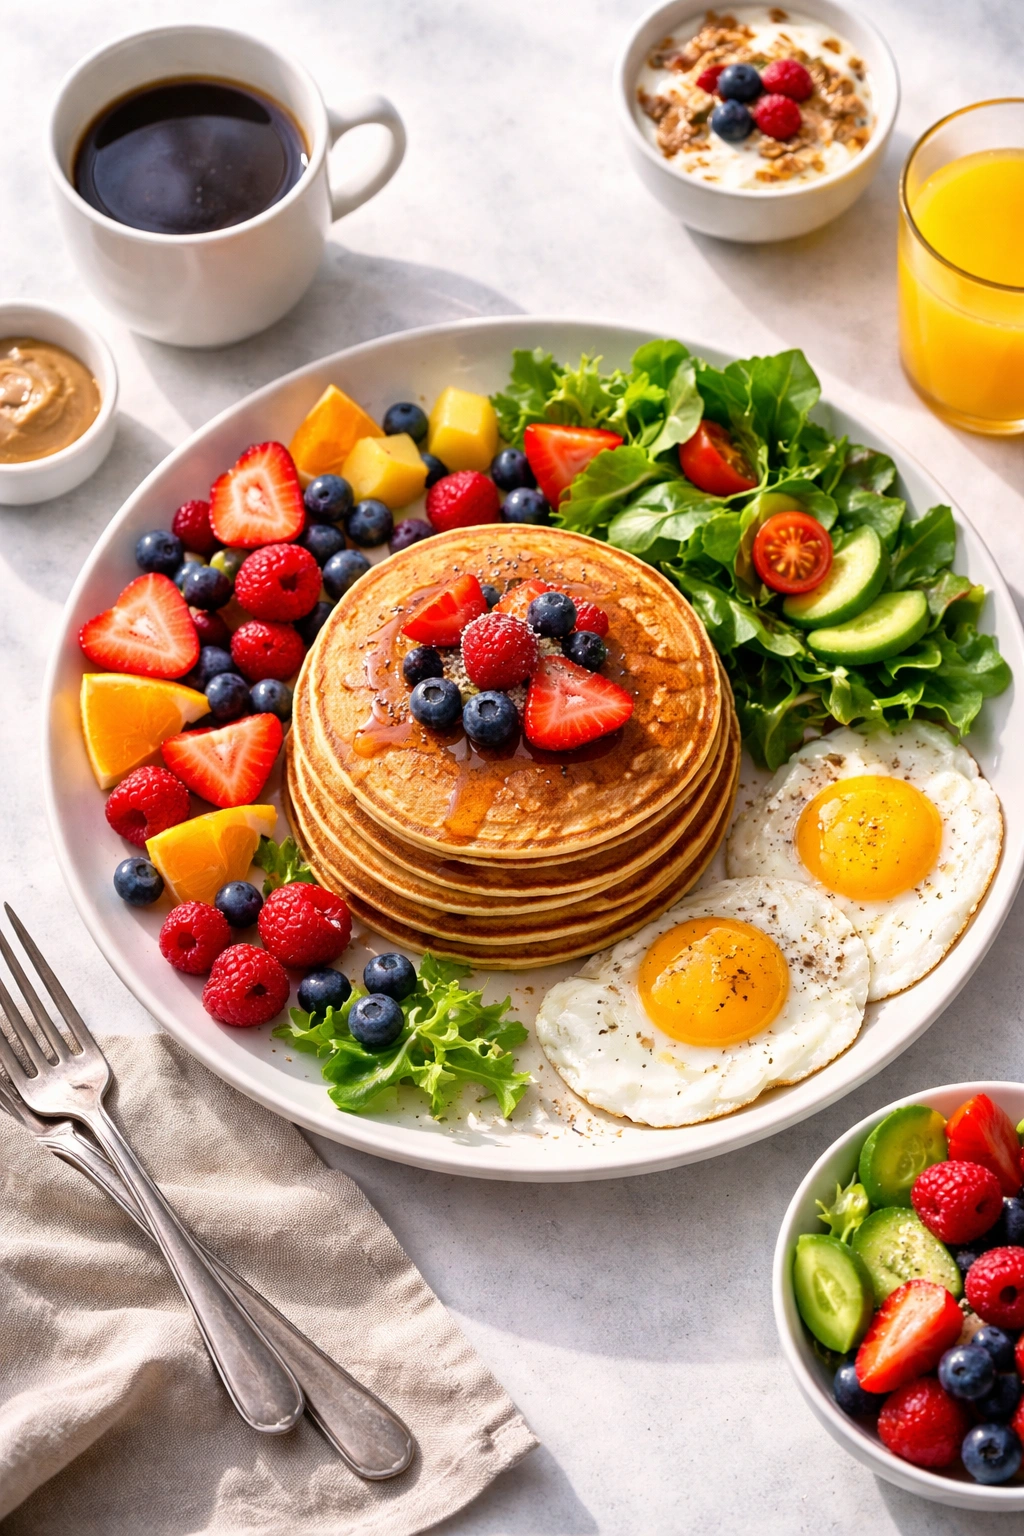
Pancakes alone make a complete meal because of the protein content, but strategic pairings create a more complete breakfast from a micronutrient standpoint. Pancakes plus a serving of whole fruit (an apple, an orange, or a handful of berries alongside) adds fiber and micronutrients that keep your energy stable even longer.
Pancakes plus a vegetable or salad sounds weird but works beautifully, especially for lunch. A simple arugula salad with lemon dressing, a side of roasted asparagus, or even raw veggies with hummus creates a more balanced plate. Protein pancakes are versatile enough that this works surprisingly well.
Pancakes plus eggs feels redundant since the pancakes already contain eggs, but some people enjoy having their pancakes alongside a scrambled or fried egg for extra richness and satiety. If you’re very active or working out hard, the extra protein genuinely helps with recovery.
Pancakes plus coffee with a splash of cream is the classic pairing and works perfectly. The fat in the cream pairs well with the pancake texture, and the warmth of coffee complements the warm pancakes.
Pancakes plus green tea or herbal tea is the lighter option if you’re not a coffee person. The slight astringency of tea balances the richness of the pancakes.
Avoid pairing pancakes with sugary beverages or desserts because you’ve worked hard to create a balanced, satiating breakfast — sugary additions undermine that effort. Stick with beverages and sides that complement the nutritional profile you’ve built.
When to Eat Them and Best Practices
Protein pancakes are most effective for satiety when eaten within the first two hours after waking. Eating breakfast earlier rather than later prevents you from getting desperately hungry by late morning and making poor food choices out of desperation.
If you work out in the morning, eating protein pancakes within 30 minutes after your workout provides the amino acids your muscles need to recover. The carbs from the oats replenish your glycogen stores and provide energy for your next training session. This is the optimal time for the protein and carb combination.
If you’re not a breakfast person or you practice intermittent fasting, protein pancakes make an ideal first meal when you do break your fast because the protein content prevents the blood sugar spike and subsequent crash that comes from eating refined carbs alone. You’ll feel satisfied for hours instead of getting hungry 90 minutes later.
Avoid eating protein pancakes late in the evening as a snack because the combination of protein and calories can interfere with sleep quality. Lighter snacks in the evening are generally the better call. But for breakfast, brunch, or even an early lunch, these pancakes are absolutely the move.
If you eat protein pancakes before a workout or an intense training session, eat them 1-2 hours beforehand to allow digestion time. You don’t want to run or lift hard on a completely full stomach, but you also want the fuel available. The carbs from the oats will still be available in your bloodstream when you start exercising.
Final Thoughts
Protein pancakes work because they’re not trying to be a health food disguised as breakfast — they’re genuinely good pancakes that happen to keep you full. The technique doesn’t require special equipment, the ingredients are affordable and accessible, and the flavors are endlessly customizable. Once you nail the basic ratio and cooking method, you’ve got a breakfast weapon that solves the real problem most people face: eating enough to feel satisfied without constantly chasing your next meal.
The key is respecting the process: don’t overmix, don’t skip the rest, don’t cook too hot, and don’t overcomplicate the toppings. Those four things matter infinitely more than any special ingredient or elaborate technique. A simple stack of protein pancakes made with the basics beats a complicated recipe made carelessly every single time.
Start with the classic recipe, make it a few times until you understand how the batter feels and behaves, then play with flavors and variations once you’re confident. Your future self — the one who isn’t starving at 11 am because breakfast fell apart — will thank you for investing this attention to detail now.