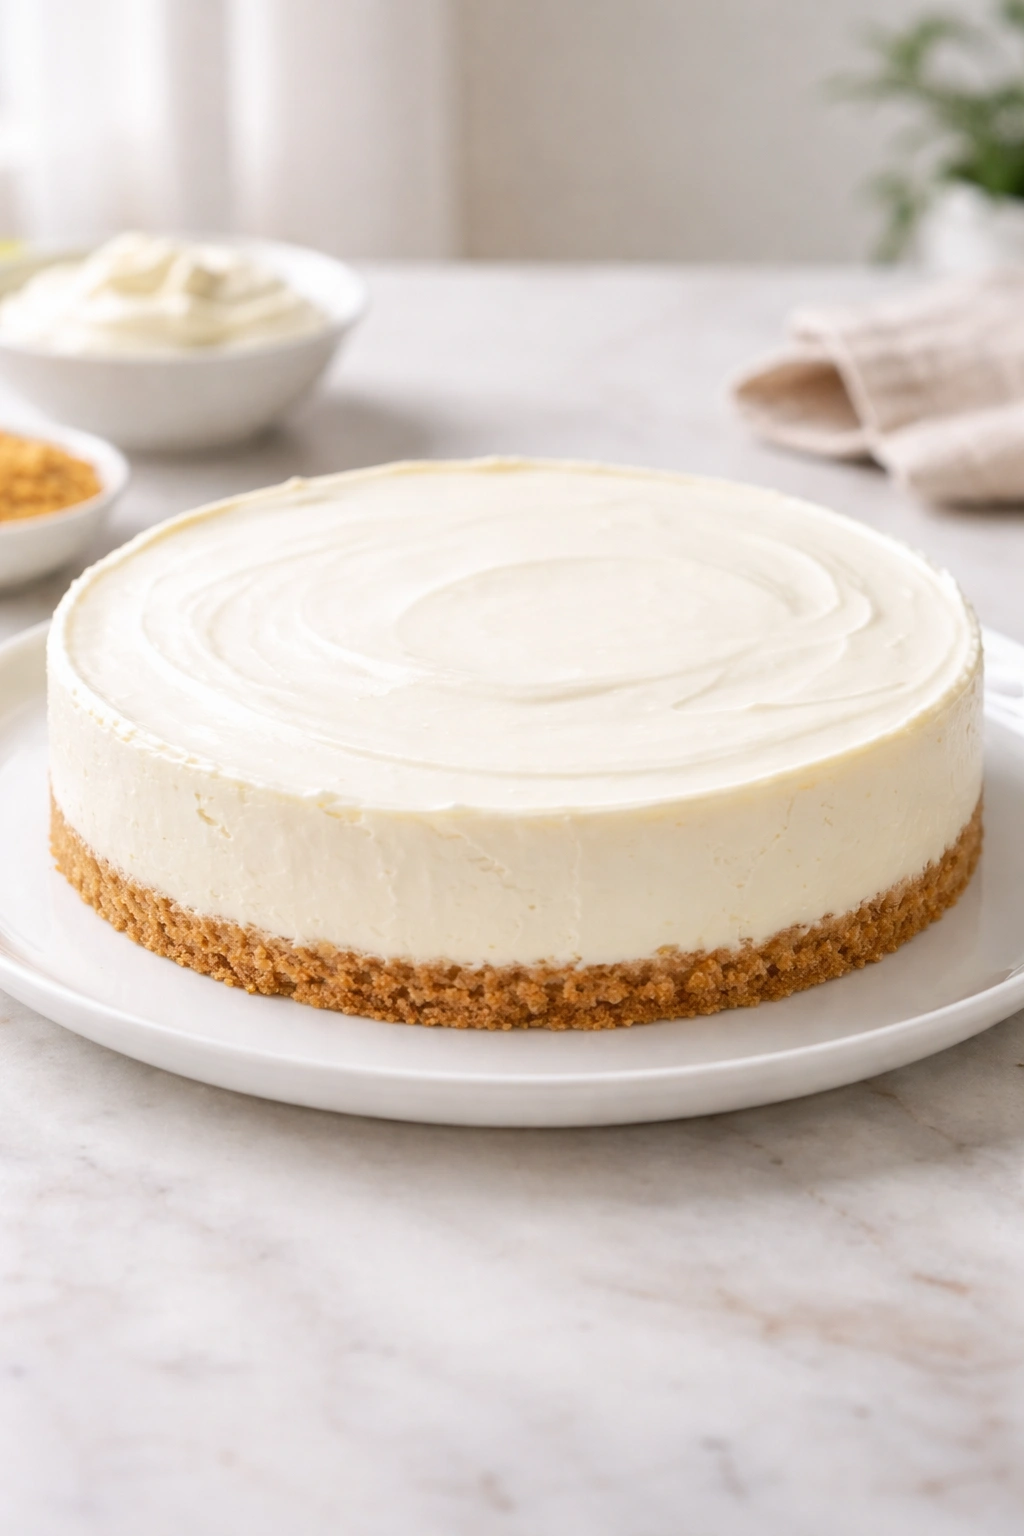
When you’re craving cheesecake but the thought of turning on the oven feels like too much, this three-ingredient no-bake version delivers the creamy, tangy reality you’re after without any of the baking stress. And yes, it actually works — this isn’t a compromise dessert that tastes thin or watery. You’re getting a genuine cheesecake with real structure, rich flavor, and that signature dense-but-creamy texture that makes people ask what bakery you ordered from.
The secret isn’t some chemistry hack or clever substitution. It’s working with three incredibly high-quality, complementary ingredients that honestly don’t need anything else. Most no-bake cheesecake recipes add fillers, cornstarch, or gelatin to compensate for missing eggs and heat. This one doesn’t. The combination of heavy cream, cream cheese, and sweetener creates a naturally stable, delicious filling that sets properly and tastes like real cheesecake, not a whipped mousse pretending to be one.
This recipe has saved countless dinner parties and last-minute dessert emergencies because it comes together in less than 15 minutes of actual hands-on work. You’re not waiting around whisking egg whites or worrying about water baths. And because it needs chilling time anyway, you can make it a full day ahead, which means zero stress when guests arrive. The longer it sits in the fridge, the better it tastes as the flavors continue to meld and deepen.
Why This No-Bake Cheesecake Works
The biggest reason most no-bake cheesecakes disappoint is that they’re either too fluffy (closer to whipped cream than cheesecake) or too hard (almost mousse-like and artificial-tasting when gelatin-based). This recipe avoids both traps by relying entirely on the natural behavior of whipped heavy cream and cream cheese when combined properly.
Heavy cream, when whipped, traps tiny air bubbles that create an airy structure. Cream cheese is already dense and rich with a slight tang that defines what cheesecake should taste like. When you fold whipped cream into softened cream cheese, you’re not diluting the flavor — you’re creating volume without sacrificing the dense, luxurious mouthfeel that makes cheesecake feel like an indulgence. The two ingredients actually complement each other’s texture naturally.
What makes this different from mousse is the ratio and the technique. This recipe uses equal parts whipped cream and cream cheese (roughly speaking), which keeps the cream cheese flavor dominant rather than becoming a supporting note. You’re not whipping the final mixture into clouds; you’re gently folding to maintain some of that density. The result sets up in the refrigerator without any gelatin because cold temperatures naturally tighten the structure of both ingredients.
The sweetener (whether sugar, honey, or condensed milk — options coming up) serves as both sweetness and a structural element. It helps stabilize the whipped cream and keeps everything cohesive as it chills. You end up with a dessert that’s genuinely creamy and sliceable, not something that melts into pudding the second it sits on a warm plate.
Essential Ingredients Explained
Understanding what each of these three ingredients does is the entire foundation of success with this recipe. When you know why you’re using them, you can adapt confidently.
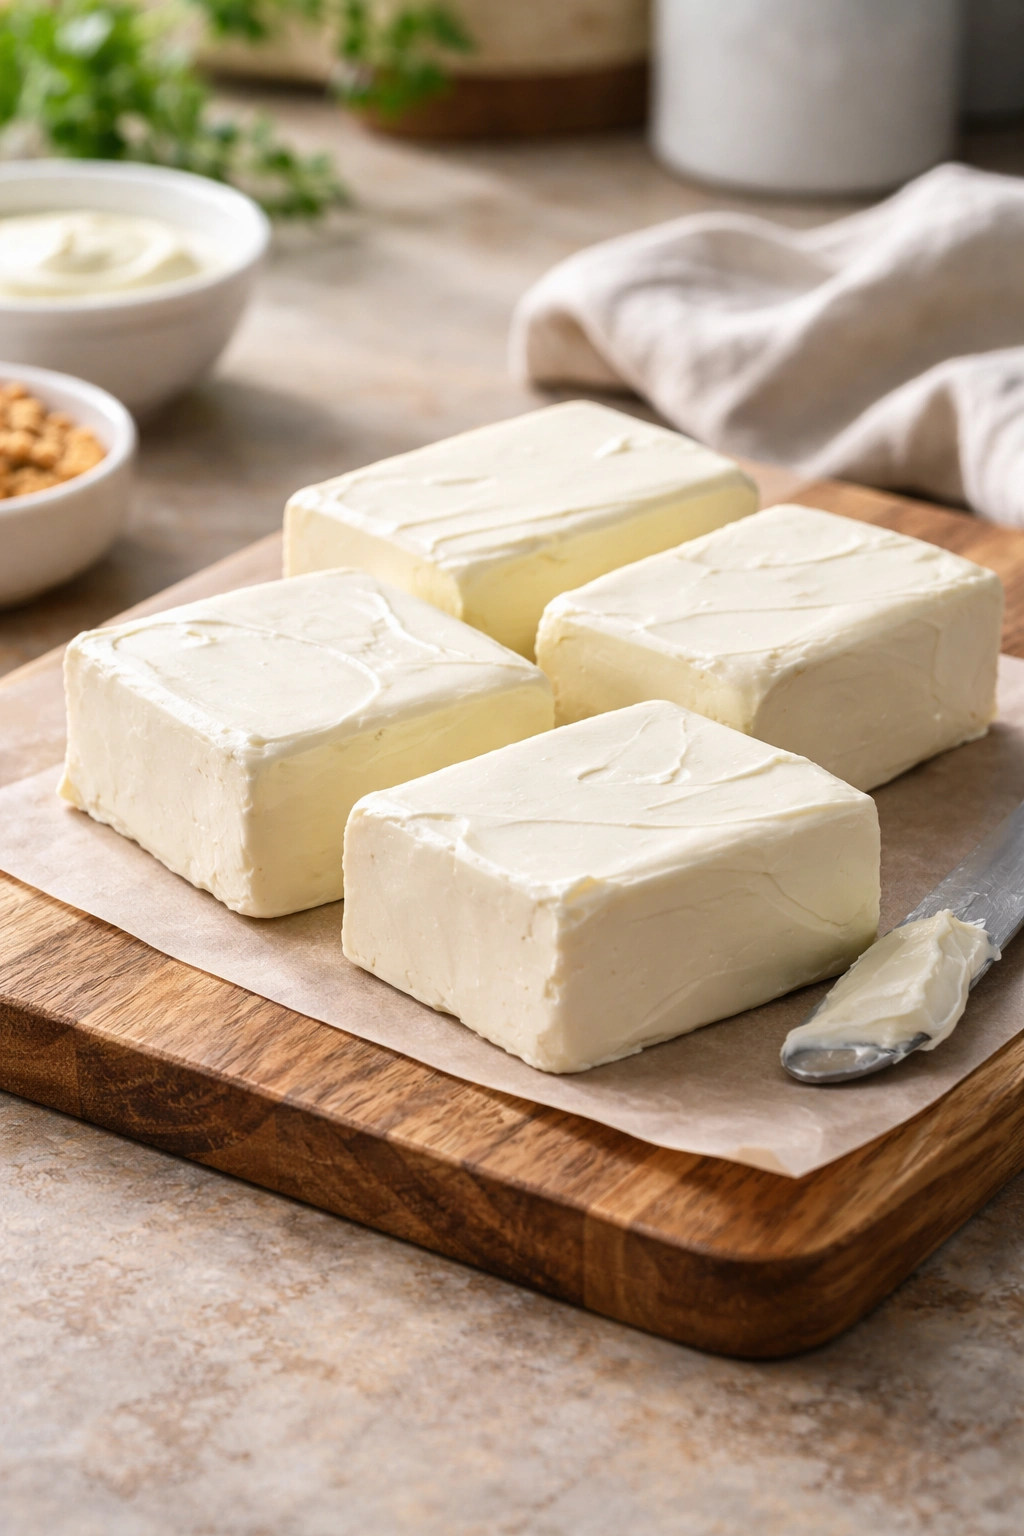
Cream cheese is the cheesecake. It provides the tang, the richness, the dense texture, and the structural integrity. This must be softened to room temperature before you start — no exceptions. Cold cream cheese won’t combine smoothly with the whipped cream, and you’ll end up with lumps no matter how much you fold. Room-temperature cream cheese becomes almost fluffy when beaten, which is exactly what you want. It also means it’ll incorporate beautifully with the airy whipped cream without being overworked.
Heavy cream is what you’re whipping into stiff peaks. This creates the volume and lightness while the cream cheese anchors the flavor and density. The cream must be very cold when you start whipping — keep it in the fridge until the moment you use it. Cold cream whips faster and holds peaks better. If your kitchen is warm, chill the bowl and beaters too. Whip it to stiff peaks — that stage where peaks stand up straight when you lift the beaters — but don’t go too far or you’re on your way to making butter.
Sweetener is your third ingredient, and here’s where you have flexibility. Regular granulated sugar works perfectly fine, but dissolve it into the cream cheese first rather than adding it to whipped cream. Superfine sugar dissolves faster than granulated, so if you have it, use it. Honey adds its own flavor dimension and contributes slight natural thickness. Condensed milk — if you want to go that direction — brings sweetness, slight thickness, and a subtle caramel note all at once. Each changes the final flavor slightly, and all three work beautifully.
Serving and Timing Block
Yield: Makes one 8-inch cheesecake | Serves 8 to 12
Prep Time: 15 minutes (hands-on)
Chill Time: 4 hours minimum (overnight is better)
Total Time: 15 minutes active + 4 to 12 hours chilling
Difficulty: Beginner — no special equipment required, straightforward mixing, and nothing can really go wrong if you follow the steps.
Complete Ingredient List
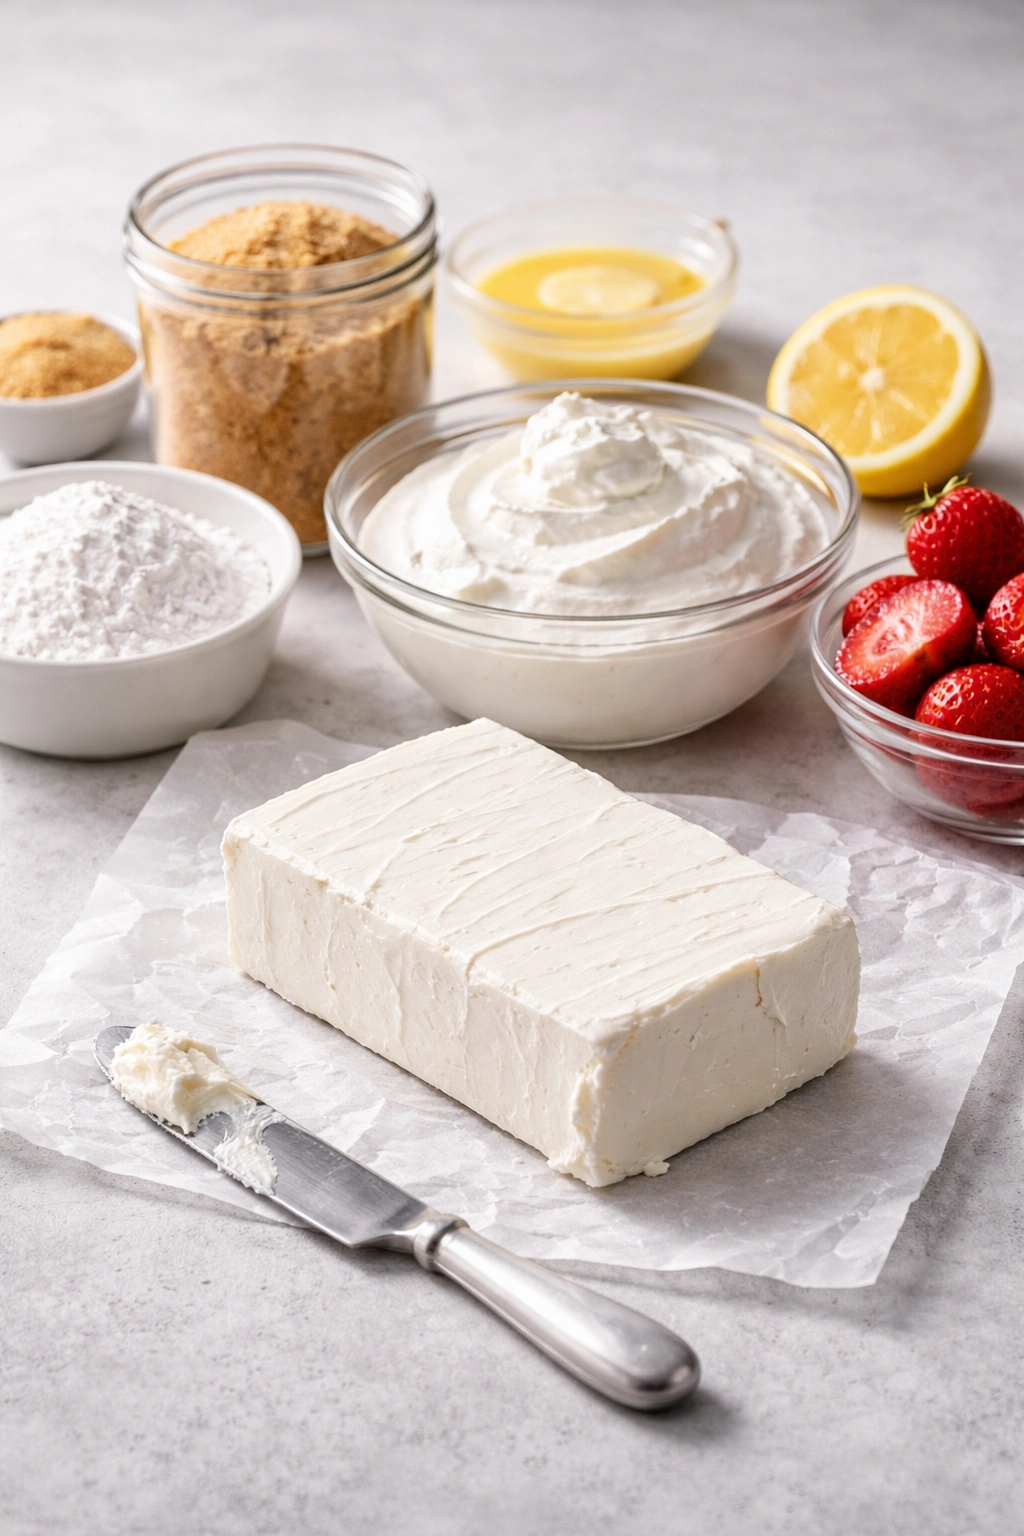
For the Cheesecake:
- 16 ounces (two 8-ounce packages) cream cheese, softened to room temperature
- 1 cup heavy cream, very cold
- ½ cup granulated sugar (or ⅓ cup honey, or one 14-ounce can sweetened condensed milk)
- 1 teaspoon pure vanilla extract (optional but recommended)
For the Crust (Optional but Recommended):
- 1½ cups graham cracker crumbs (about 10-12 full crackers, crushed)
- 4 tablespoons unsalted butter, melted
- 1 tablespoon granulated sugar
- Pinch of fine sea salt
For Topping (Choose One or Combine):
- Fresh berries (raspberries, strawberries, blueberries)
- Fruit coulis or homemade berry sauce
- Chocolate ganache
- Dulce de leche drizzle
- Fresh lemon curd
- Caramel sauce
Step-by-Step Instructions
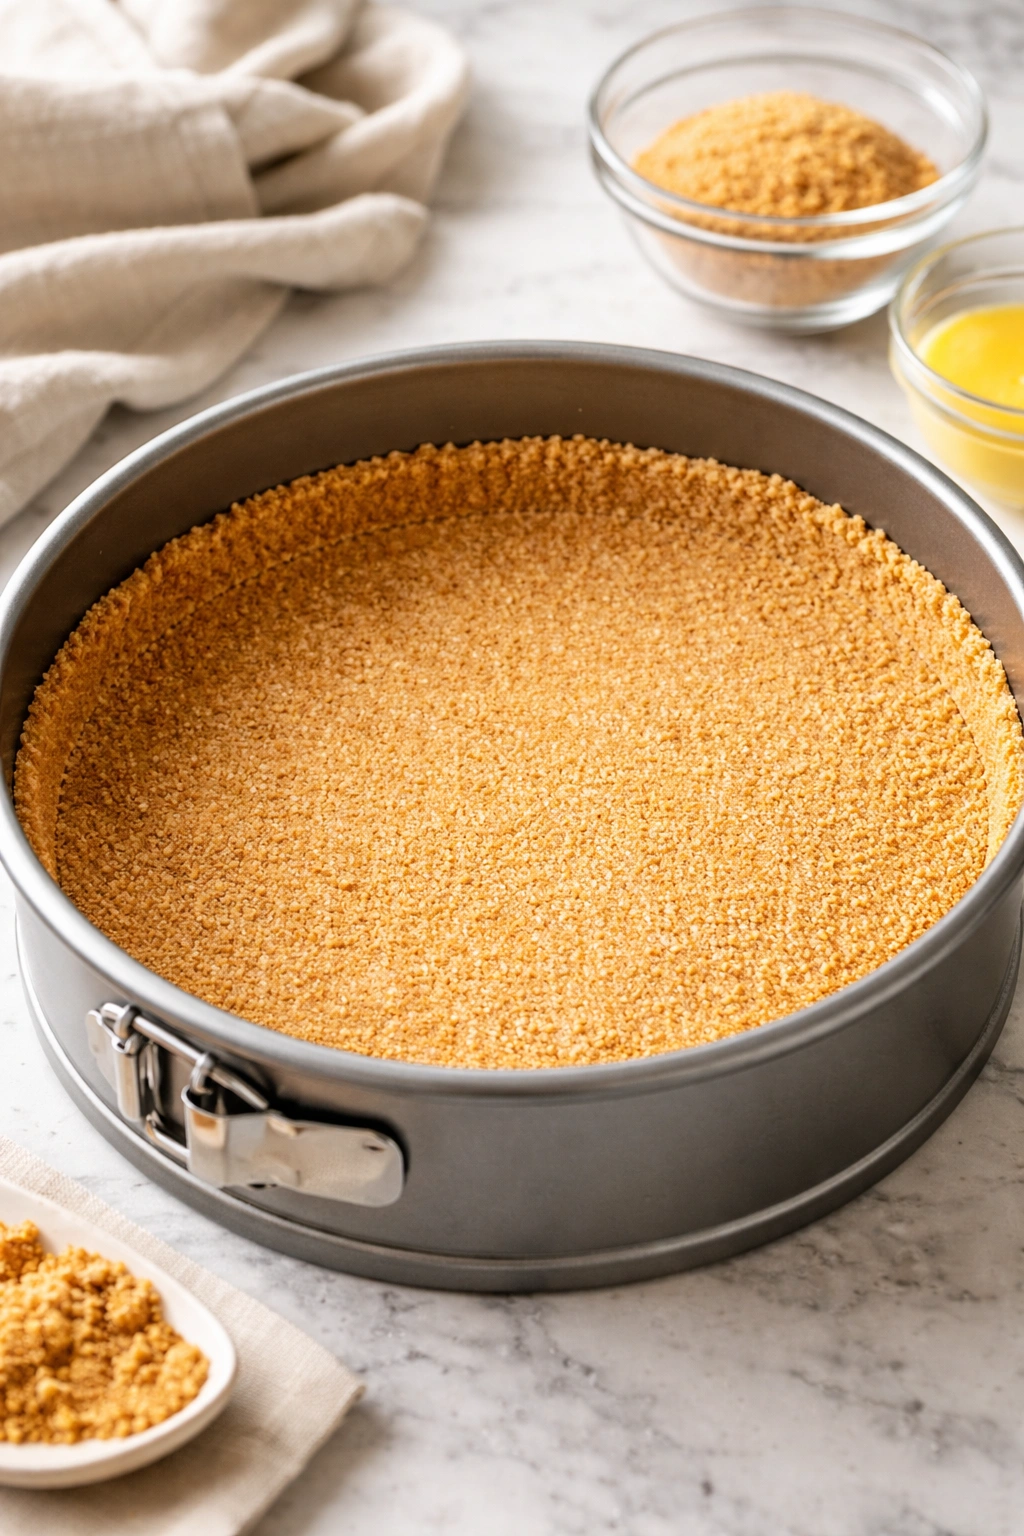
Prepare the Crust (if using):
-
Combine the graham cracker crumbs, melted butter, sugar, and salt in a small bowl, stirring until the mixture resembles wet sand. Every crumb should be coated with melted butter.
-
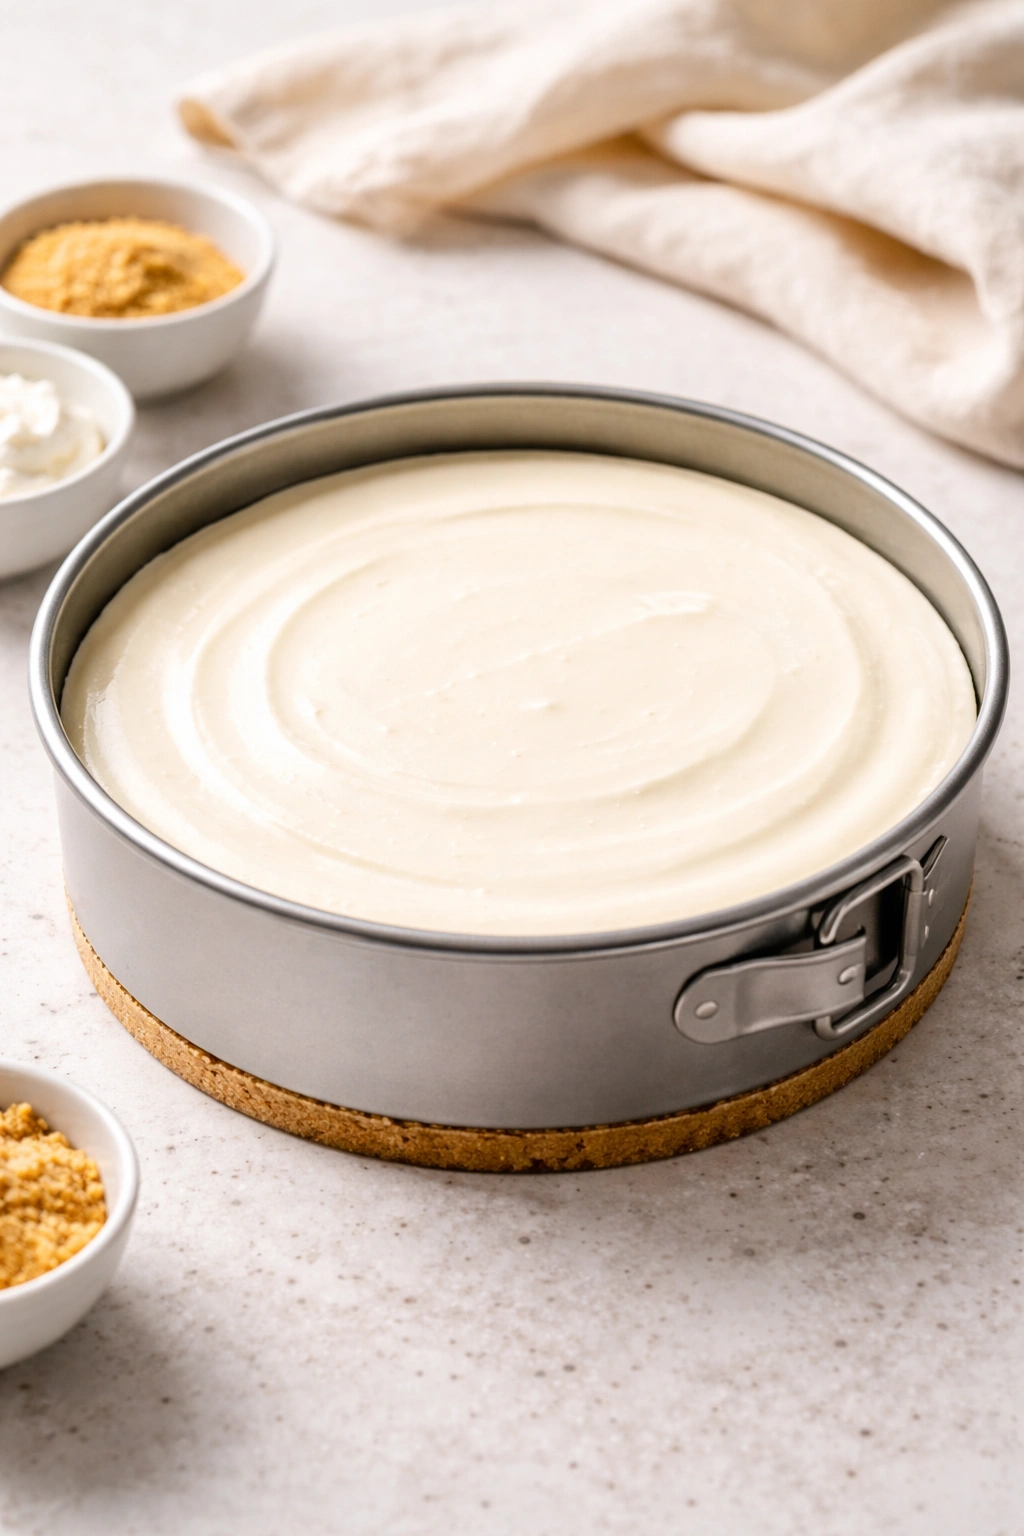
Press the mixture firmly and evenly into the bottom of an 8-inch springform pan, using the bottom of a measuring cup to create an even, compact layer. The crust should come about ¼ inch up the sides of the pan.
-
Refrigerate the crust while you prepare the filling — at least 10 minutes. Do not skip this step. A chilled crust will hold together better and won’t mix into your filling.
Prepare the Filling:
-
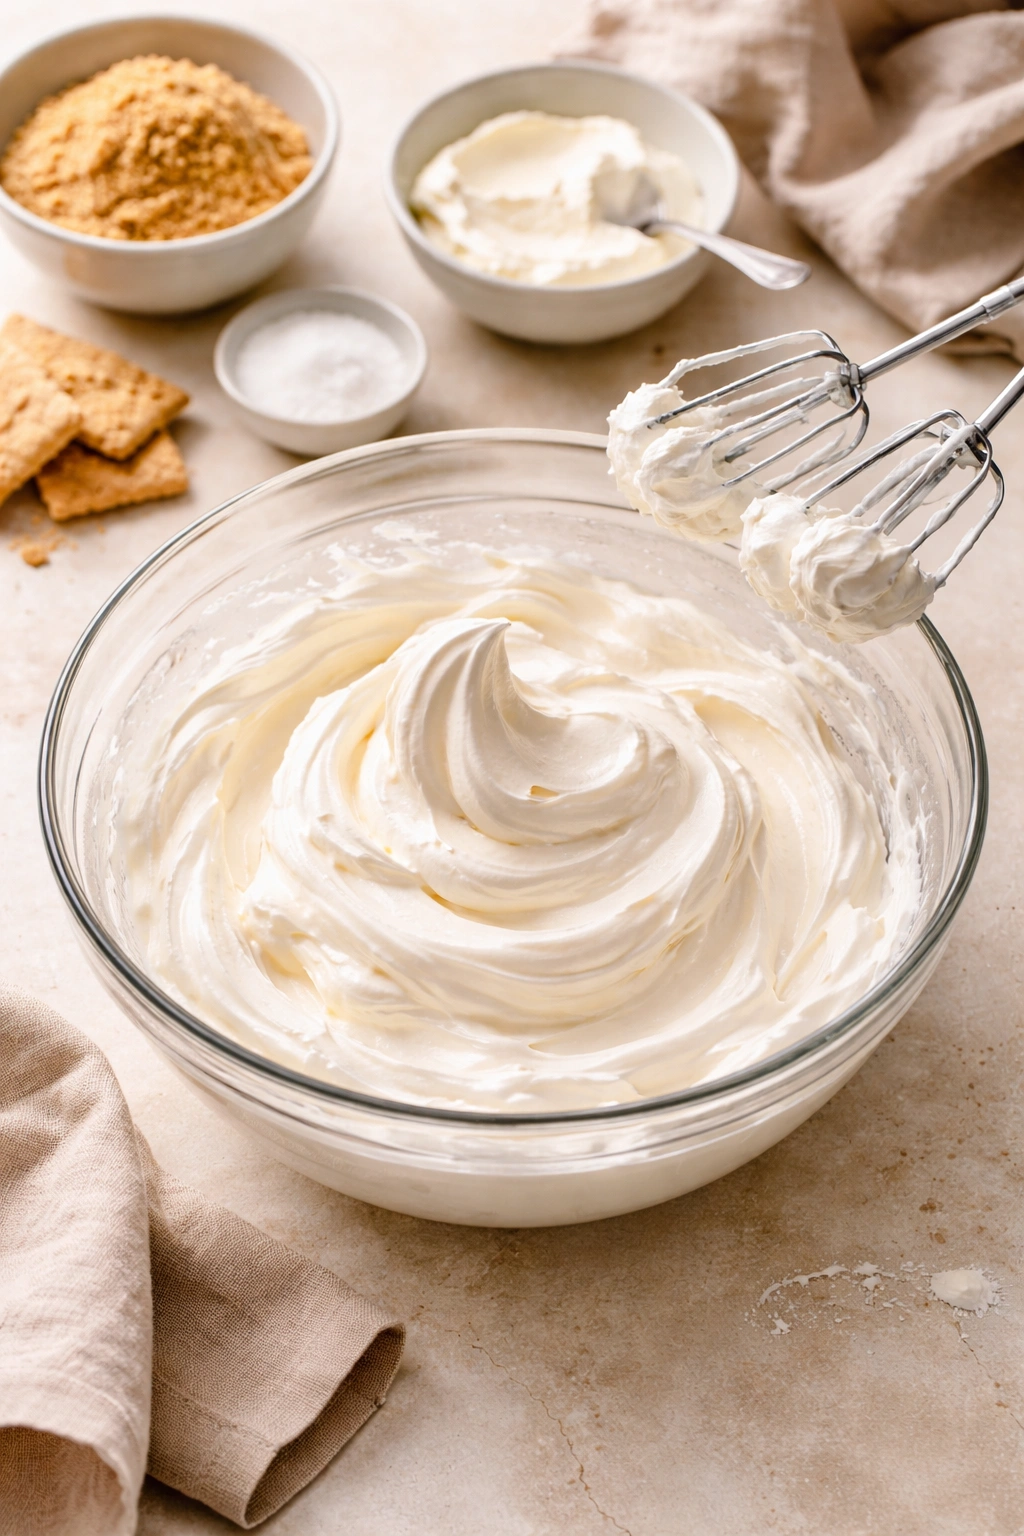
Pour the heavy cream into a large bowl and beat it with an electric mixer on high speed for 2 to 3 minutes, until it reaches stiff peaks. This means the cream should stand straight up when you lift the beaters from the bowl. Immediately transfer the whipped cream to a separate, clean bowl and set it aside. Do not overmix past this point or you will begin making butter.
-
In the same bowl you used for the cream (no need to wash it), beat the softened cream cheese on medium speed for 1 to 2 minutes, until it becomes noticeably fluffy and lighter in color — almost pale. Scrape down the sides of the bowl frequently.
-
Add the sugar (or your sweetener of choice) and vanilla extract to the cream cheese, and continue beating on medium speed for 1 to 2 minutes more, until the mixture is completely combined and smooth. If using honey or condensed milk instead of granulated sugar, beat slightly longer — about 2 to 3 minutes — until the sweetener is fully incorporated and the mixture is uniform in color.
-
Using a silicone spatula, fold the whipped cream into the sweetened cream cheese in two additions. Start with half the whipped cream. Use a gentle folding motion — don’t stir or beat. Slice the spatula down the center, across the bottom, and up one side of the bowl, rotating the bowl a quarter turn after each fold. Continue until the first batch is almost fully incorporated — a few white streaks are okay.
-
Add the remaining whipped cream and fold gently until just combined. Again, aim for “just combined” — a few white streaks that disappear with another fold or two are fine. The more you fold, the more you lose that airy lightness, so err on the side of undermixing slightly rather than overmixing. The final texture should be light, fluffy, and cloud-like.
Assemble and Chill:
-
Pour the filling into the prepared crust, smoothing the top with an offset spatula or the back of a spoon for an even surface. If you didn’t make a crust, pour the filling directly into a parchment-lined 8-inch springform pan, or simply press it into the bottom and sides of an 8-inch cake pan.
-
Refrigerate the cheesecake for at least 4 hours, but ideally overnight. The longer it chills, the more set and sliceable it becomes. An overnight chill allows the flavors to meld beautifully and the texture to firm up to exactly the right consistency.
-
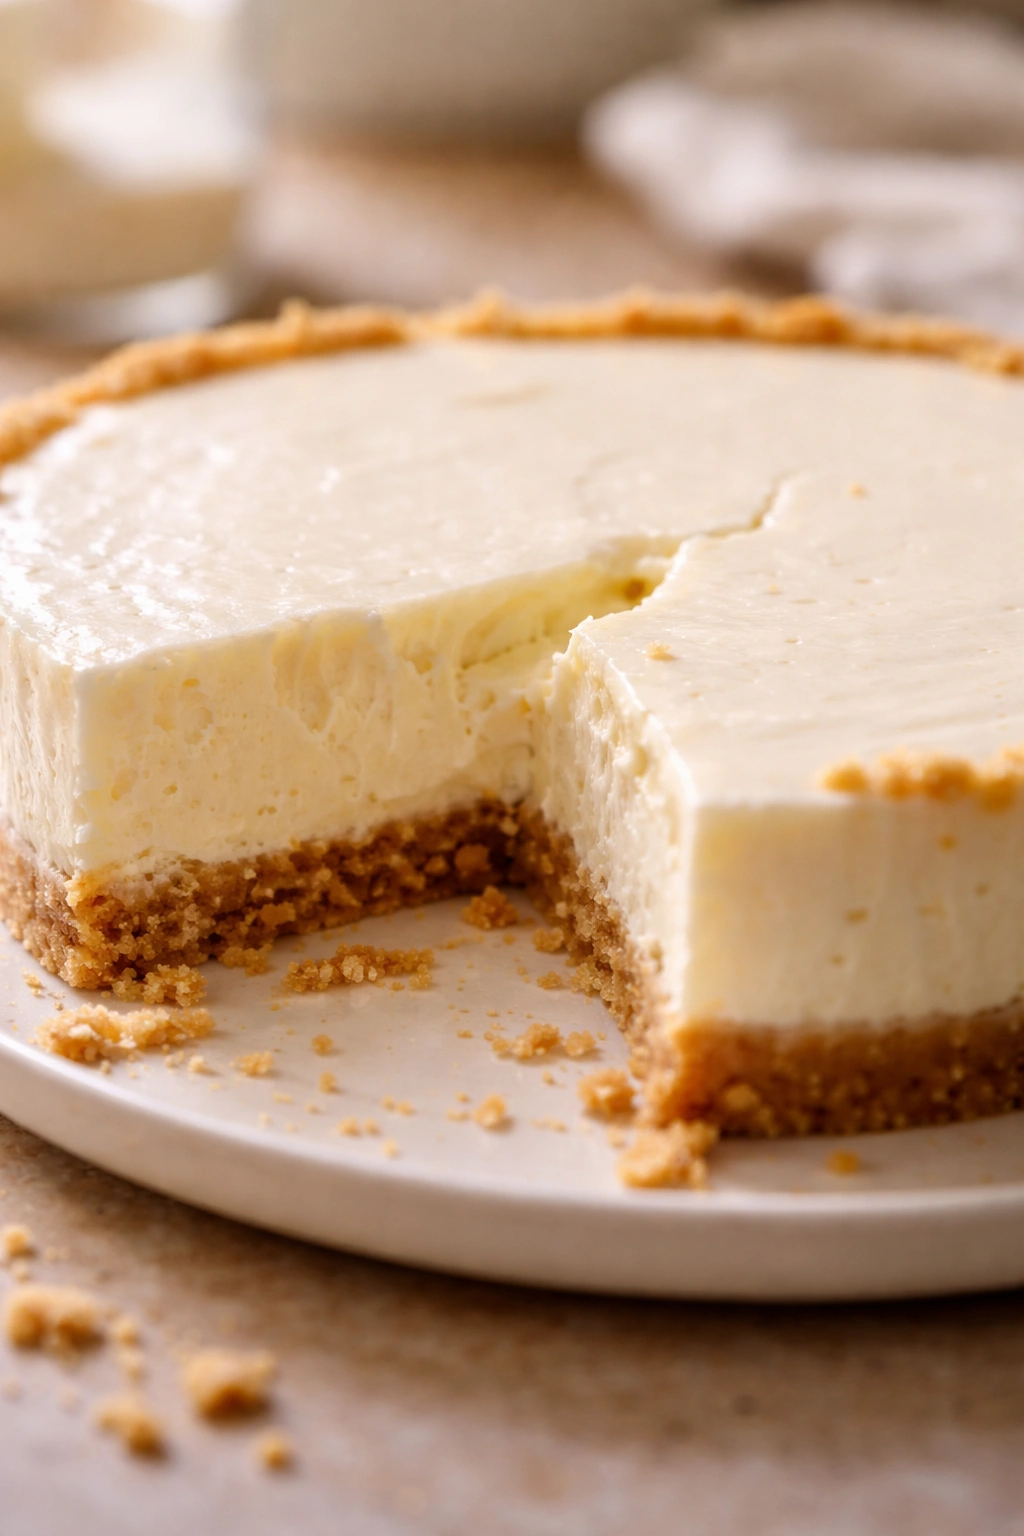
When ready to serve, run a thin, warm knife around the edge of the pan to loosen the cheesecake from the sides (this prevents cracking when you remove it). If using a springform pan, release the sides and transfer to a serving plate. If using a regular pan, invert onto a plate, give it a gentle shake, and lift the pan away.
-
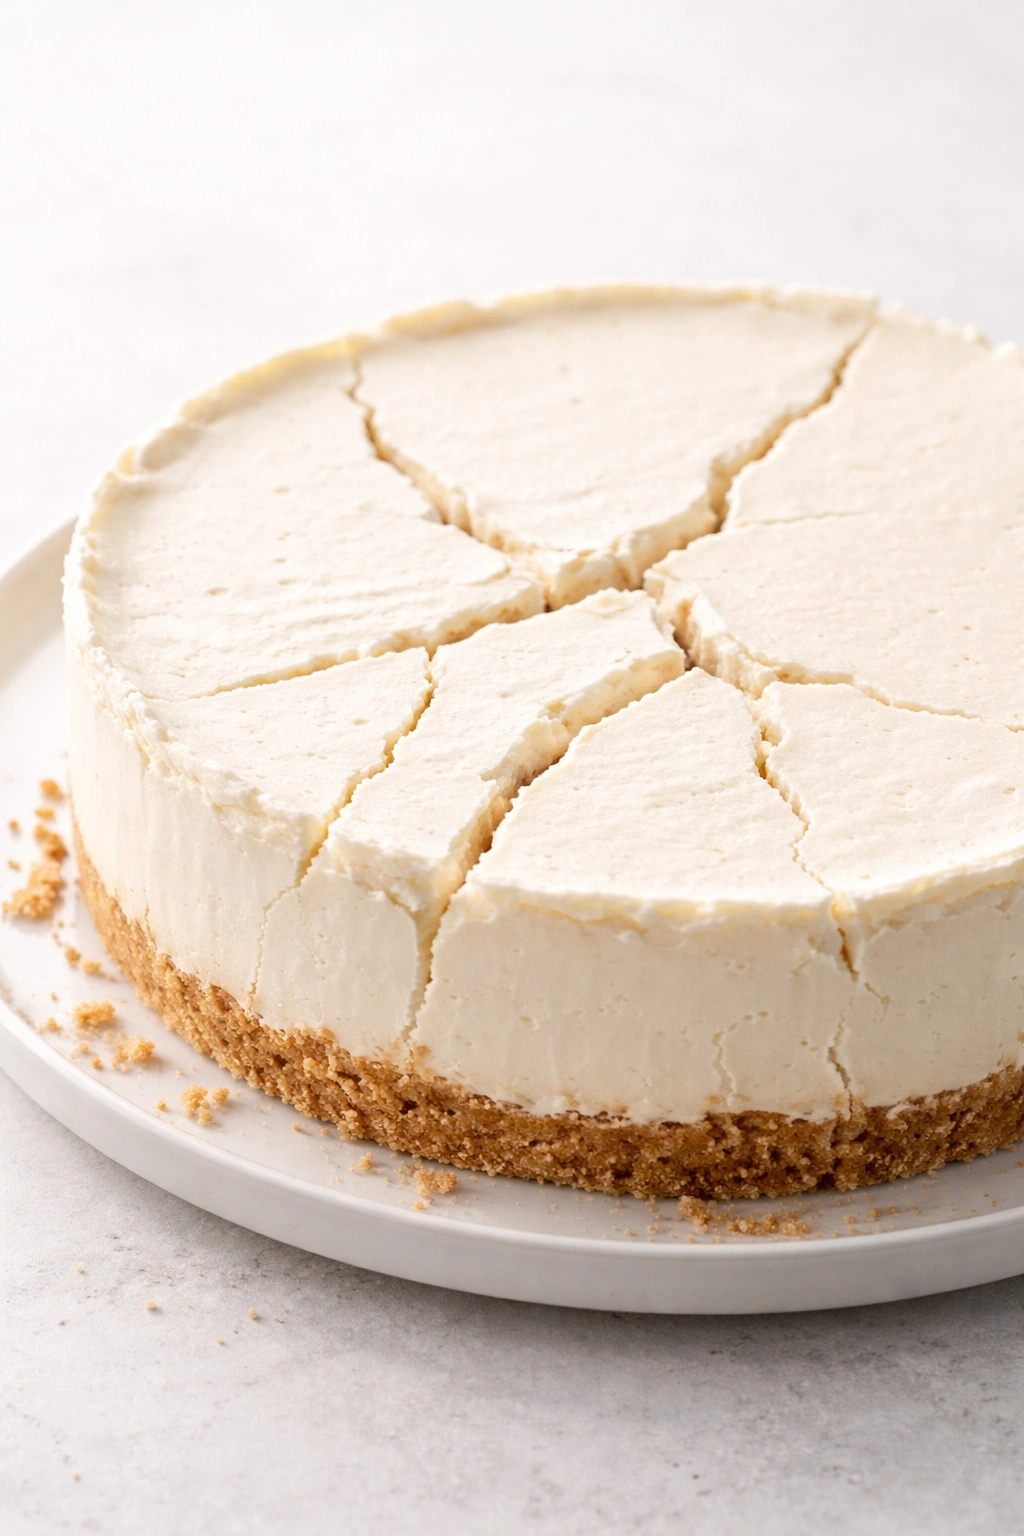
Slice with a thin, sharp knife, wiping the blade clean between slices for neat edges. A hot knife works beautifully for this — run it under hot water, dry it, make your slice, then repeat. Top with your chosen garnish just before serving.
Critical Tips for Success
The difference between a cheesecake that turns out perfectly and one that disappoints often comes down to three non-negotiable details that most recipes gloss over.
Temperature matters everywhere. Cream cheese must be fully softened to room temperature before you start, or you’ll end up with lumps that no amount of mixing will fix. If you forget to pull it out ahead of time, cut it into chunks and let it sit for 20 minutes — it’ll soften much faster. Heavy cream must be very cold when you start whipping; if your kitchen is warm or you’re making this on a hot day, chill your bowl and beaters for 5 minutes first. This isn’t overcomplicated; it’s just working with the ingredients instead of against them.
Whip the cream to stiff peaks and stop. Most people either under-whip (resulting in a softer, less structured final texture) or over-whip without realizing it (beginning the journey to butter). Stiff peaks means when you lift the beaters, the cream stands straight up and doesn’t droop. If the peaks curl over even slightly, you need another 30 seconds. If the mixture looks grainy or has visible liquid separating, you’ve gone too far — toss it and start over with fresh cream.
Fold gently and stop folding. This is where impatience creates problems. You’re trying to combine two very different textures: dense cream cheese and airy whipped cream. The folding motion gently deflates the air bubbles while distributing the cream cheese throughout. Once you can’t see distinct streaks of white, you’re done. Continuing to fold will only deflate the mixture further, and you lose volume. A few white streaks will disappear on their own as the mixture sets in the fridge.
Chill overnight if possible. Yes, you can slice it after 4 hours, but overnight chilling transforms the texture into something genuinely luxurious. The flavors integrate more fully, the texture becomes more uniform, and the cheesecake slices cleanly without any creaminess falling apart. If you’re making this for an important occasion, do yourself a favor and make it the day before. You’ll be glad you did.
Common Mistakes to Avoid
These are the specific issues that people encounter when making this recipe for the first time, and exactly how to prevent them.
“My cheesecake is too soft and won’t hold together when I slice it.” This happens when the cream cheese wasn’t softened enough, or when you over-folded and deflated all the whipped cream. The cheesecake relies on the stability that whipped cream provides; if you work it too much, you lose that structure. Make sure you’re folding gently, and that you started with cream cheese that was actually soft (not just “not cold”). Also, make sure you’re chilling for the full time — 4 hours minimum, but overnight is genuinely better. Some recipes claim 2 hours is enough; they’re wrong.
“There are lumps in my filling that won’t go away.” This is almost always because the cream cheese wasn’t at room temperature when you started beating it. Cold cream cheese simply doesn’t incorporate smoothly. If this happens, you can try warming the entire mixture gently in a warm water bath while stirring, then re-whipping the cream and folding it back in, but it’s easier to prevent it the first time. Plan ahead.
“My filling looks separated or curdled.” You’ve likely over-whipped the cream or used cream that’s been sitting for a while. Heavy cream naturally separates if you go too far — you’ll see it start to get grainy and then liquid appears. Start over with fresh cream. This is a rare issue, but it’s usually operator-related rather than ingredient-related.
“It’s not sweet enough” or “It’s way too sweet.” This depends entirely on your sweetener choice and personal preference. Start with the amount specified and taste the raw filling before you fold in the whipped cream — if it’s not sweet enough, add another tablespoon of sugar and re-whip the cream cheese. If it’s too sweet, you’ve learned for next time. Some people prefer less sweetness and let the tartness of the cream cheese shine; others want it very sweet. Adjust to your taste.
“My cheesecake is grainy or has a weird texture.” This usually means either the cream wasn’t whipped properly, or you over-folded. Whipped cream should be smooth and fluffy, not grainy. Over-folding breaks down the whipped cream’s structure and creates a dense, sometimes grainy texture. Be gentle with your folding motion, and stop as soon as the mixture is combined.
Flavor Variations and Adaptations
The beauty of this recipe is how easily it adapts to different flavor directions. You’re not locked into plain vanilla cheesecake — these variations are genuinely delicious and require only minimal changes.
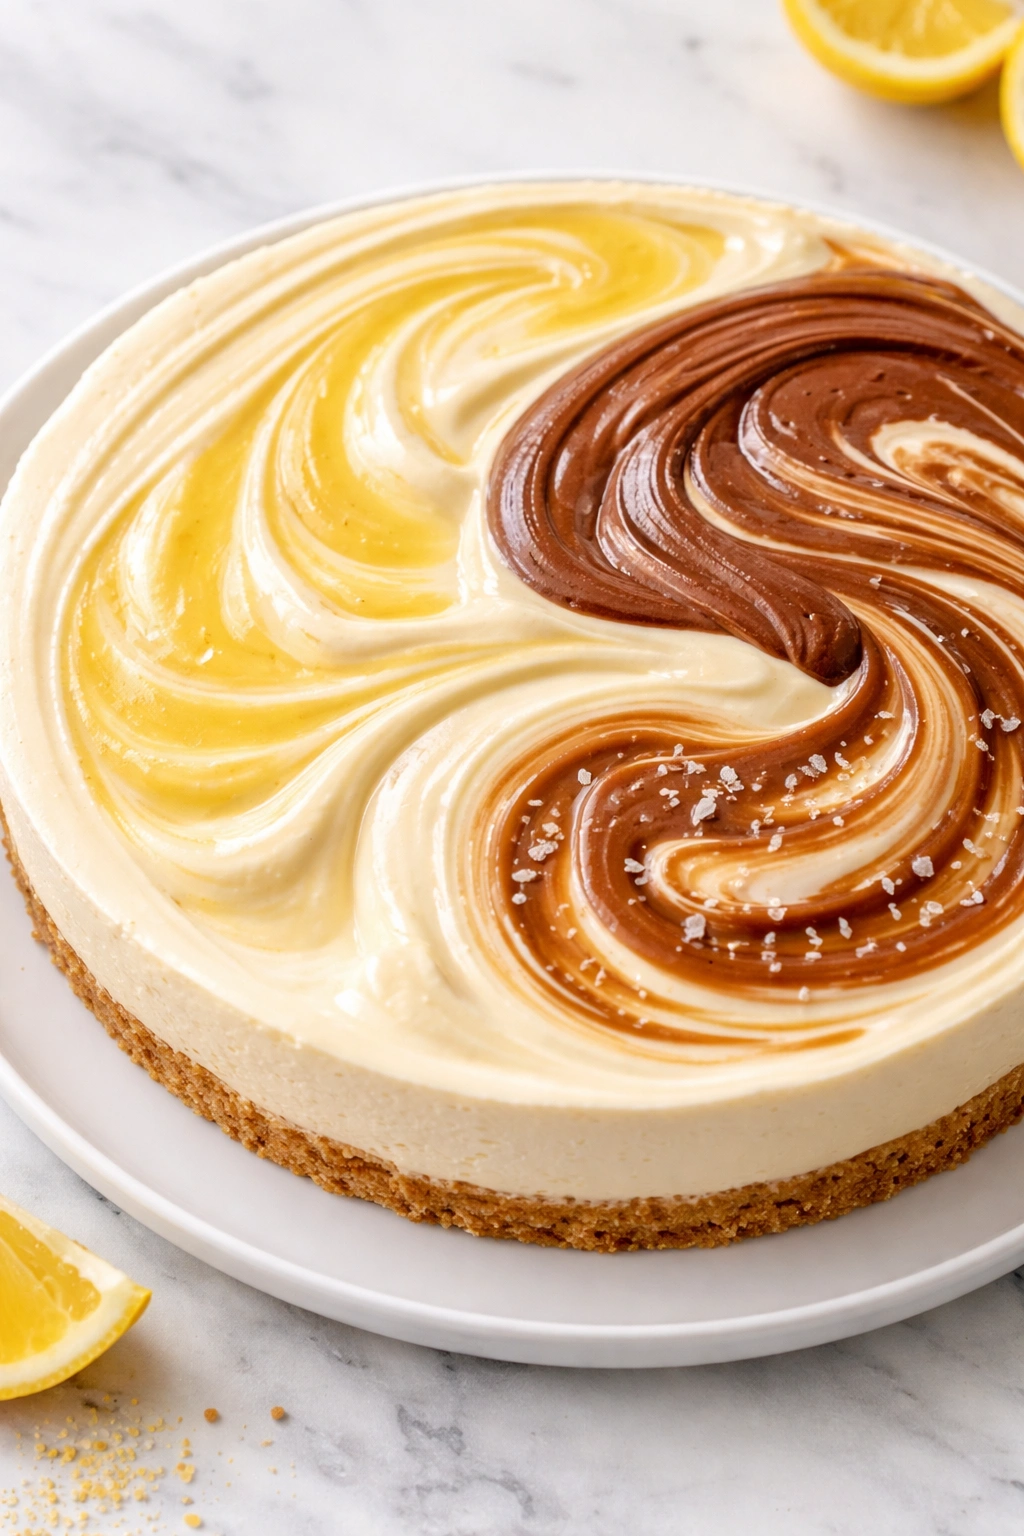
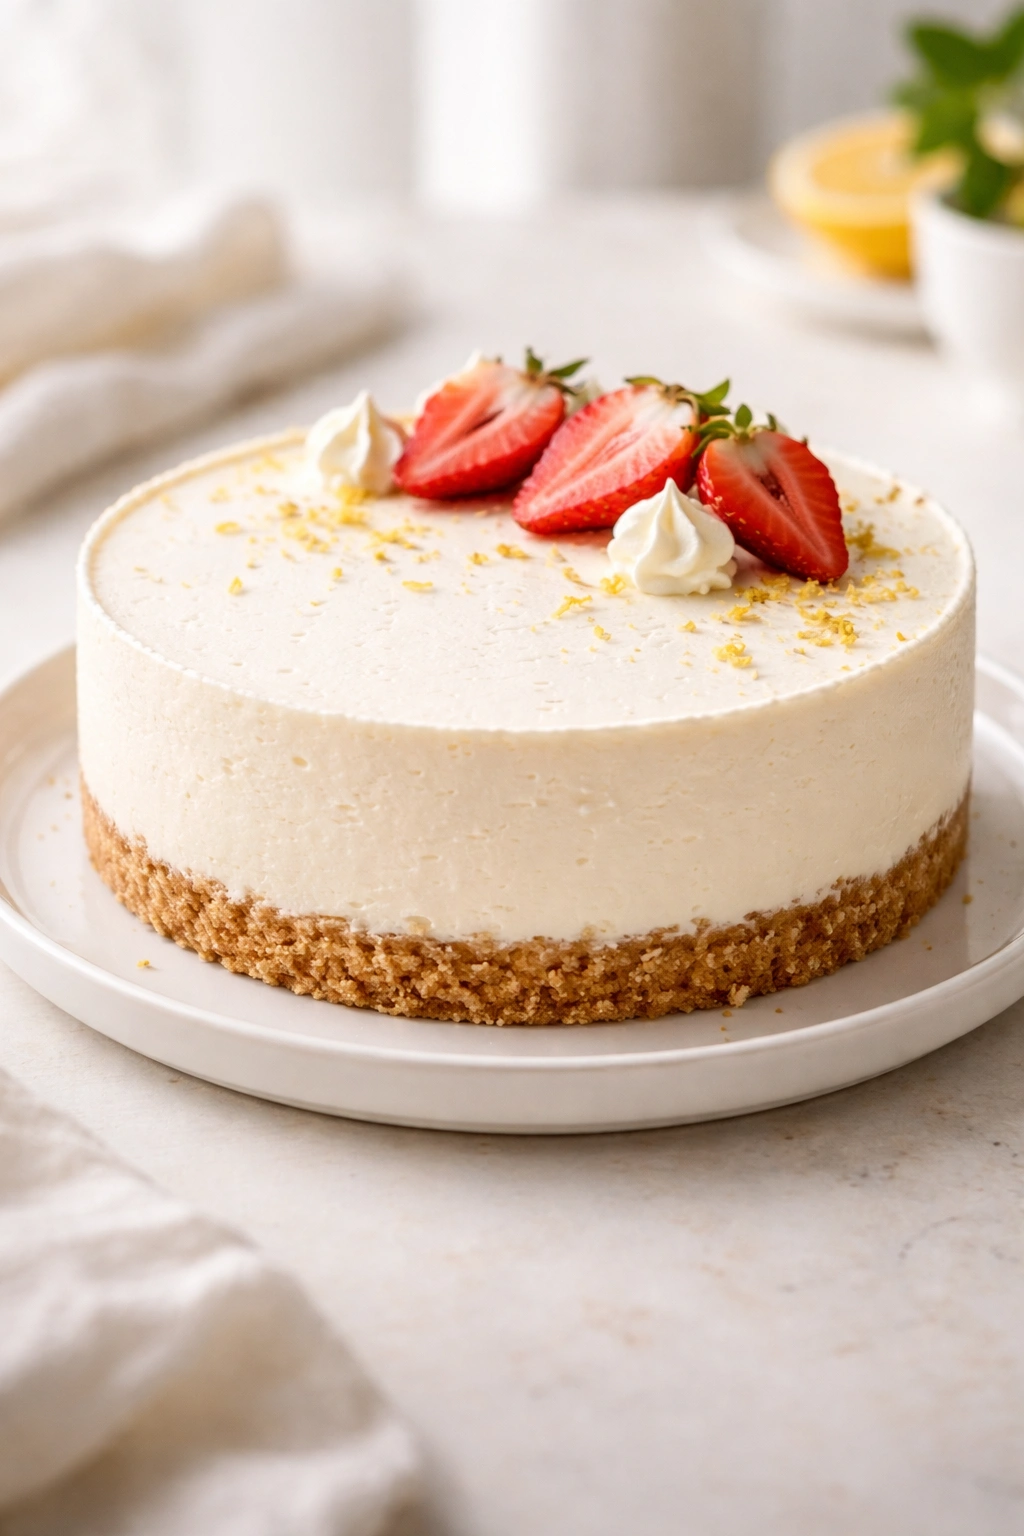
Lemon cheesecake: Add 2 tablespoons fresh lemon juice and 1 tablespoon lemon zest to the cream cheese mixture during the beating stage. The tartness intensifies the cheesecake flavor beautifully. Top with fresh berries or a drizzle of lemon curd.
New York-style with sour cream tang: Replace ½ cup of the heavy cream with sour cream. Beat the sour cream with the cream cheese before folding in the remaining whipped cream. This creates a more authentic, slightly tangier cheesecake that tastes more like traditional baked cheesecake.
Chocolate cheesecake: Add 3 tablespoons unsweetened cocoa powder to the cream cheese mixture, sifting it in first to avoid lumps, and increase the sugar by 1 tablespoon to balance the bitter notes. Or, melt 3 ounces of dark chocolate and let it cool slightly before folding it into the finished mixture. Each approach creates a different chocolate intensity.
Salted caramel: Add 2 tablespoons dulce de leche or caramel sauce to the cream cheese mixture, and top the finished cheesecake with a generous caramel drizzle and a sprinkle of fleur de sel. The salt brings out the caramel’s depth.
Vanilla bean: Use the seeds scraped from 1 vanilla bean instead of vanilla extract, or use 2 teaspoons vanilla bean paste instead. Real vanilla bean creates a more sophisticated, complex flavor than extract alone.
Pumpkin spice: Add ½ cup pure pumpkin puree, 1 teaspoon pumpkin pie spice, and increase the sugar to ¾ cup. The pumpkin adds structural thickness that makes this variation slightly more sturdy than the plain version.
Coffee: Dissolve 2 tablespoons instant espresso powder in 1 tablespoon boiling water, let it cool, then fold it into the finished mixture. For a stronger coffee flavor, use 3 tablespoons espresso powder dissolved in 2 tablespoons water.
Maple bourbon: Add 2 tablespoons pure maple syrup and 1 tablespoon bourbon to the cream cheese mixture. The maple brings a warm sweetness, and the bourbon adds subtle complexity without making it taste alcoholic.
Dairy-free and vegan: This is possible but requires two substitutions. Use dairy-free cream cheese alternative (brands like Kite Hill work well) and replace heavy cream with full-fat coconut cream, whipped to stiff peaks. The texture will be slightly different — slightly denser — but still very good. Use agave nectar or maple syrup as your sweetener.
Gluten-free crust: Use crushed gluten-free graham crackers or substitute with crushed almond-based cookies, vanilla wafers, or even digestive biscuits (which are naturally gluten-free depending on brand). The ratio stays the same.
Storage and Make-Ahead Guide

This cheesecake is one of the easiest make-ahead desserts because it actually improves the longer it sits.
In the refrigerator: The cheesecake keeps beautifully for up to 4 days in the fridge, covered loosely with plastic wrap or stored in an airtight container. The flavor deepens and becomes more complex on day two and three. The texture remains creamy and perfect. After day 4, the cream cheese and whipped cream begin to separate slightly, and it’s best eaten before that point.
Freezing: You can freeze an unbaked cheesecake (in its pan, well-wrapped in plastic wrap) for up to 3 weeks. When you want to serve it, simply thaw it in the refrigerator overnight and proceed as usual. The texture remains nearly identical to freshly made. Do not freeze a topped cheesecake — freeze the plain cheesecake and add toppings only after thawing.
Made-ahead approach for entertaining: Make the cheesecake up to 2 days ahead (without the topping), cover it well, and refrigerate. On the day you’re serving, add your chosen topping 30 minutes to 2 hours before guests arrive. This removes almost all the work from the day-of and gives you the best possible cheesecake.
Transportation: If you need to transport it somewhere, keep it in the springform pan (with the sides secured tightly) and store it in a cooler for short trips. The cheesecake is very stable and can handle reasonable jostling, unlike a delicate mousse or custard.
Leftover slices: Wrap individual slices tightly in plastic wrap and store in an airtight container in the fridge for up to 4 days. You can also freeze leftover slices wrapped well for up to 3 weeks; thaw them in the fridge before serving.
Serving Suggestions and Pairings
How you present and serve this cheesecake dramatically impacts the experience, and there are many directions to take it.
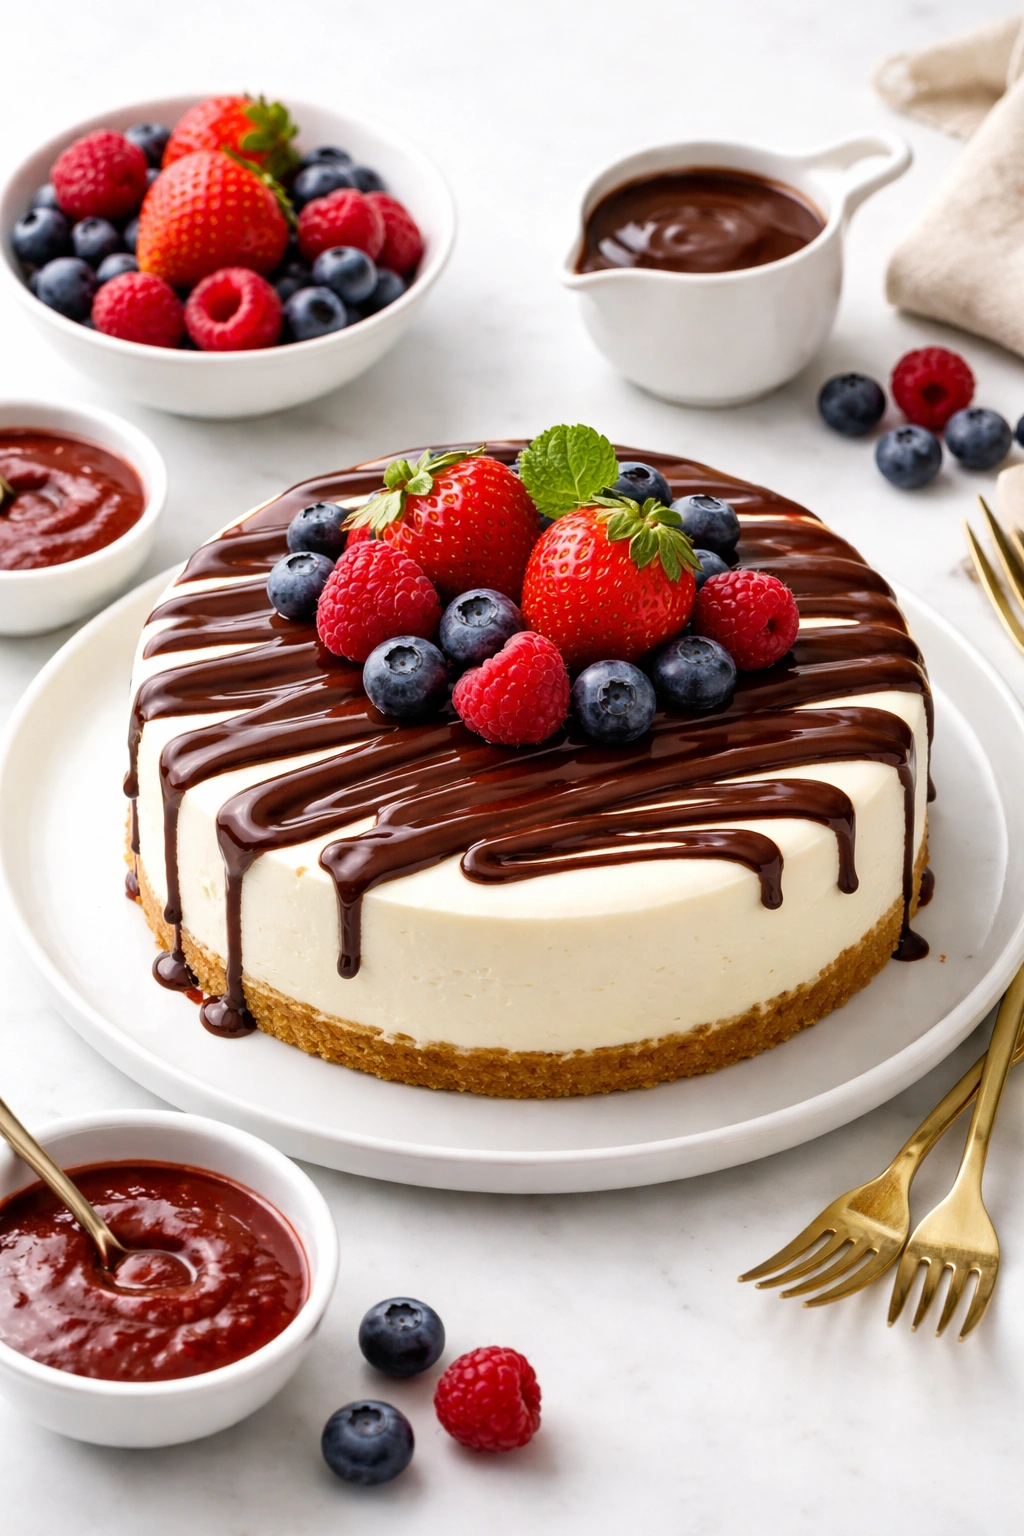
With berries fresh or as a coulis: Fresh raspberries, strawberries, or blueberries scattered on top add brightness and tartness that cuts through the richness. Or, make a quick berry coulis by simmering fresh or frozen berries with a touch of sugar and lemon juice, then straining and cooling — drizzle it over slices for a more elegant presentation.
With chocolate: A dark chocolate ganache drizzle (dark chocolate melted with heavy cream in a 1:1 ratio) adds sophistication. Let it cool to room temperature before drizzling so it sets into ribbons rather than running everywhere. A simple chocolate curl shaving or cocoa powder dusted on top works too.
With fruit curd or compote: Lemon curd, passion fruit curd, or a quick strawberry compote made by simmering berries with sugar creates a flavor complement that elevates the cheesecake into restaurant territory.
Café pairing: Serve with strong espresso or cappuccino. The slight bitterness of coffee balances the sweetness of the cheesecake beautifully, and the warmth of coffee against cold cheesecake creates a pleasant temperature contrast.
Dessert wine pairing: This cheesecake pairs beautifully with fortified wines like Moscato d’Asti (slightly sweet and effervescent), Tawny Port (rich and warming), or a light Sauternes. The sweetness and richness of these wines complement the creamy texture.
Plating presentation: A simple presentation is often the most elegant. Place the slice on a small plate, add a few fresh berries or a sauce drizzle to the side, and perhaps a small mint leaf for a color pop. You don’t need to over-complicate it — the cheesecake speaks for itself.
Serving temperature: Serve straight from the refrigerator. The cold, creamy texture is part of what makes this dessert so satisfying. If your kitchen is very warm, keep the cheesecake in the coldest part of the fridge and slice it just before serving.
Portion size: This cheesecake is rich and satisfying — slice it into 8 to 12 slices depending on your guests. A smaller slice (8 servings) feels more luxurious and satiating; a larger slice (12 servings) works better for a light menu or when you’re serving it alongside other desserts.
Troubleshooting Guide
Even with careful attention, things sometimes don’t go exactly as planned. Here’s what to do when they don’t.
The filling broke and looks curdled while I was mixing. This usually means you over-whipped the cream to the point where it started separating, or the cream cheese was genuinely cold when you mixed it. If this happens, strain off any liquid, discard it, and fold the remaining mixture into a fresh batch of whipped cream. Or, start completely over.
I chilled it for 4 hours and it’s still too soft to slice cleanly. This can happen if you under-whipped the cream, over-folded the mixture, or if your sweetener choice didn’t provide enough structure. Chill it for another few hours or overnight. The longer cold time will firm it up. If it’s still too soft after a full overnight chill, the issue was likely the whipped cream — try again with very cold cream and whip it to very stiff peaks.
The crust is too hard and tastes burnt. You likely used too much butter relative to crumbs, or your graham crackers were very fine (almost a powder). Next time, use slightly less butter and make sure your crumbs are still somewhat chunky, not powdery. If this happened this time, it’s still edible — just acknowledge the mistake and move on.
I can taste the sweetness but not the tang of cream cheese. You probably over-sweetened it or used sweetened condensed milk as your sweetener (which adds a lot of sweetness). Next time, dial back the sugar slightly and taste the raw filling before adding the whipped cream. The tartness of cream cheese is part of what makes cheesecake taste like cheesecake; you want to taste both elements.
The cheesecake has a grainy texture that’s unpleasant. This typically means either the cream cheese had small lumps that didn’t fully incorporate, or the cream wasn’t whipped properly. The fix for next time: make sure cream cheese is very soft, and whip the cream very slowly and carefully, watching for that stiff-peak stage. If this happened, it’s still fine to eat, just note it for next time.
It’s completely melted into soup after sitting out for 30 minutes. Your kitchen is genuinely warm. Keep this cheesecake in the coldest part of your fridge until the moment of serving, and serve it on chilled plates. You might also want to eat it more quickly or make a smaller portion to serve while keeping the rest cold.
Final Thoughts
This three-ingredient cheesecake exists as proof that you don’t need a long ingredient list or complicated technique to create a genuinely impressive dessert. The magic isn’t in hidden tricks or special equipment — it’s in understanding how simple, quality ingredients behave and then respecting that behavior.
What makes this version work is honesty: you’re not pretending whipped cream and cream cheese create something they don’t, and you’re not hiding behind gelatin or other stabilizers. The lightness comes from the cream, the richness comes from the cheese, the sweetness comes from one simple sweetener, and the structure comes from cold time. It’s straightforward, which is exactly why it works so reliably.
The best part? You can make this cheesecake confident that it will turn out beautifully, especially if you follow the core guidance: soft cream cheese, very cold whipped cream, gentle folding, and patience during chilling. Serve it with whatever toppings call to you, adjust the flavor to match your mood, and enjoy knowing you created something genuinely special with almost no effort. That’s the whole point of this recipe — impressive results, minimal stress, maximum gratification.