Kids coming home from school with a rumbling stomach is practically inevitable. That post-class energy crash hits hard, and suddenly your kitchen becomes ground zero for snack emergencies. But here’s the thing — instead of defaulting to whatever packaged option is easiest, you can teach your kids to make their own snacks. Not only does it solve the problem faster, but it also builds confidence, teaches basic kitchen skills, and gives them ownership over what they’re eating. The best part? Most of these snacks are simple enough that even elementary-school kids can handle them with minimal supervision.
These eight snack ideas are specifically designed to be kid-friendly in terms of ingredients, equipment, and technique. They don’t require sharp knives, heat management beyond a microwave, or complicated timing. Your kids will feel genuinely accomplished when they’ve made something delicious all by themselves — and you’ll appreciate having hungry kids occupied productively in the kitchen.
1. Yogurt Parfait Bar
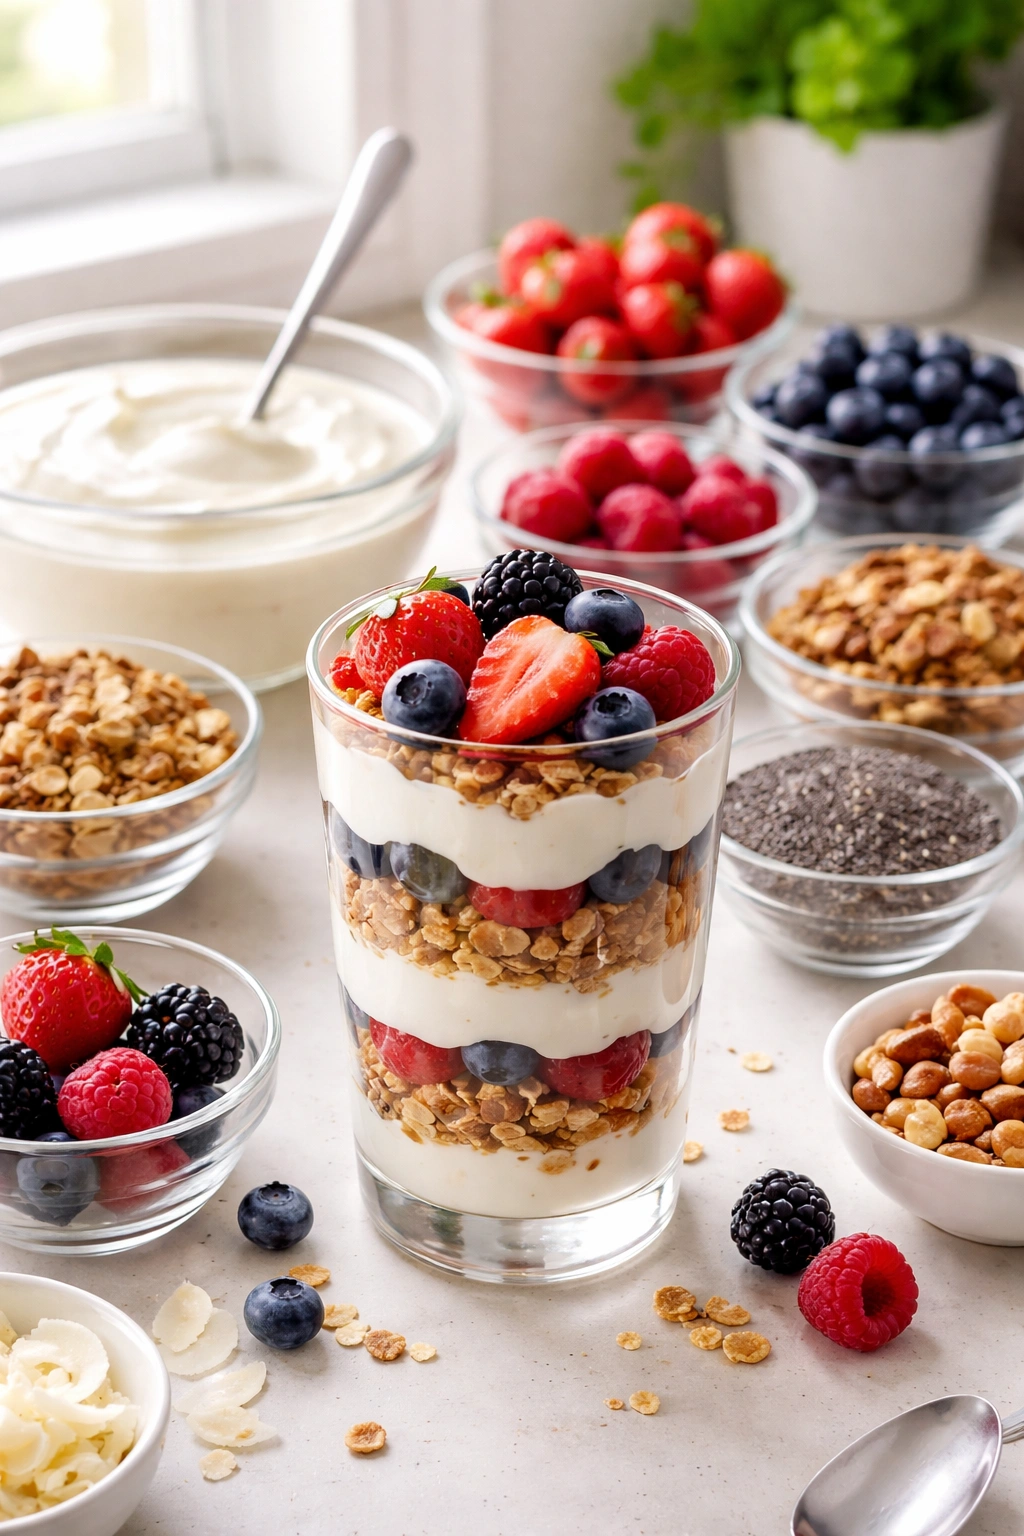
A yogurt parfait is less about following exact instructions and more about layering whatever the kid likes into a bowl or glass. The simplicity makes it ideal for independent snack creation, and kids get to customize every element. All the components are no-cook, require no special equipment beyond a spoon, and come together in about three minutes.
Pour a layer of yogurt into the bottom of a clear bowl or cup (this visibility element makes it extra appealing). Top it with a handful of granola, then add another yogurt layer, then another granola layer. Finish with a sprinkle of fresh berries — blueberries, raspberries, or sliced strawberries all work perfectly. Some kids love adding a drizzle of honey, a tablespoon of peanut butter, or a dusting of cinnamon on top.
Why Parfaits Are Perfect for Kids Making Their Own Snacks
Yogurt parfaits teach layering and composition without any risk of kitchen mishaps. There’s literally no way to mess it up — everything is just stacked in a cup. The visual appeal of the layers actually makes the snack feel more special and restaurant-quality, which makes kids more excited to eat it. Plus, the combination of creamy, crunchy, and fruity textures keeps it interesting bite after bite.
What to Stock for a Parfait Station
- Plain, vanilla, or Greek yogurt (Greek yogurt has more staying power and keeps kids satisfied longer)
- Granola (store-bought is perfectly fine for this purpose)
- Fresh berries in season, or frozen berries thawed
- Honey for drizzling
- Chopped nuts (if no allergies in the household)
- Coconut flakes, chocolate chips, or dried fruit as optional mix-ins
Pro tip: Keep a dedicated “snack cup” section in your fridge with pre-portioned yogurt cups your kids can grab, which saves them the step of measuring and makes the snack come together even faster.
2. Nachos with Cheese
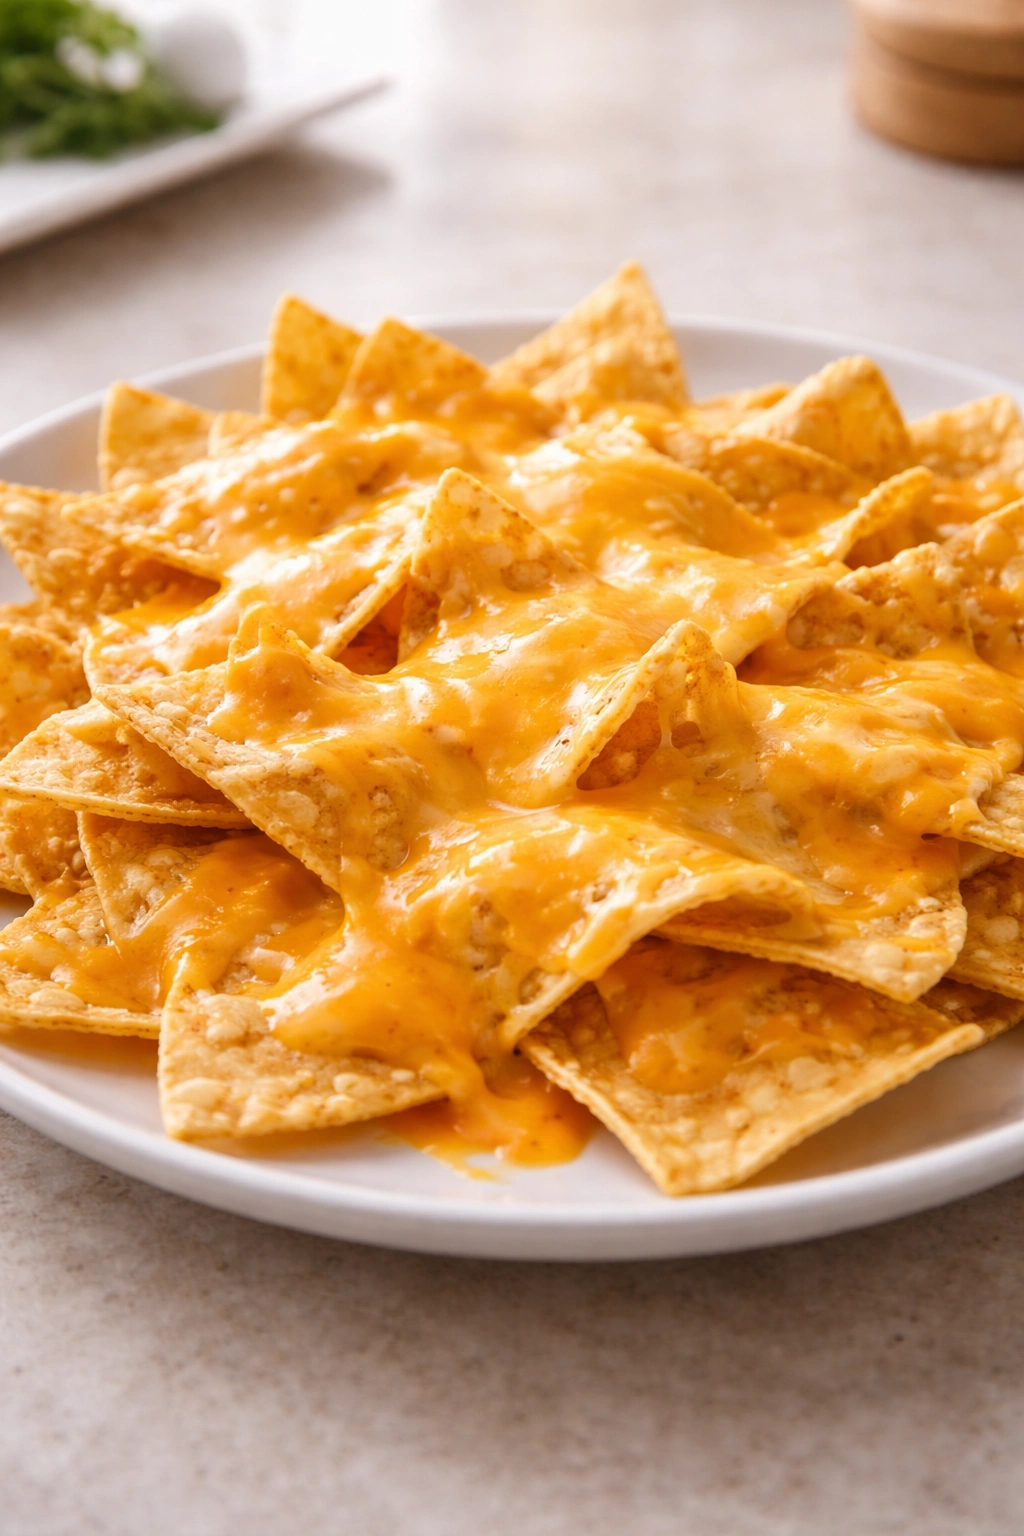
Nachos hit differently for hungry kids because they feel indulgent but come together in minutes. This is the snack that makes a kid feel like they’ve made something genuinely impressive. The best part is that nachos require almost no technique — just layering and waiting for the cheese to melt.
Spread a handful of tortilla chips on a microwave-safe plate in a single layer. Sprinkle shredded cheese (cheddar, Monterey Jack, or a blend) generously over the chips — don’t hold back, the cheese is what makes them special. Microwave on high for 45 to 60 seconds, just until the cheese starts to bubble and look glossy. Stop before it gets too dark, which happens faster than you’d think. Top with whatever additions sound good: diced tomatoes, sliced jalapeños, a dollop of sour cream, guacamole, or salsa.
Why Nachos Feel Like a Big Achievement
Even though nachos are genuinely simple, they look and taste impressive, which makes kids feel like actual chefs. The contrast of warm melted cheese against crispy chips, plus the ability to customize with toppings, gives each kid the chance to make nachos exactly how they like them. Most kids find the microwave process satisfying to watch, and there’s an element of excitement about how quickly the whole thing happens.
Nacho Build Strategy
- Use sturdy tortilla chips that won’t break under the weight of cheese and toppings
- Don’t overload the cheese or it won’t melt evenly (go for coverage, not mountains of cheese)
- Refrigerate any fresh toppings before adding so they don’t wilt from the hot cheese
- Have at least three different topping options so kids feel they’re customizing their own creation
- Set a microwave timer so they don’t accidentally overcook and burn the cheese
Worth knowing: If your kids like these nachos, teach them to make a batch for guests or family — it’s a snack that impresses and requires zero embarrassing moments.
3. Peanut Butter Energy Balls
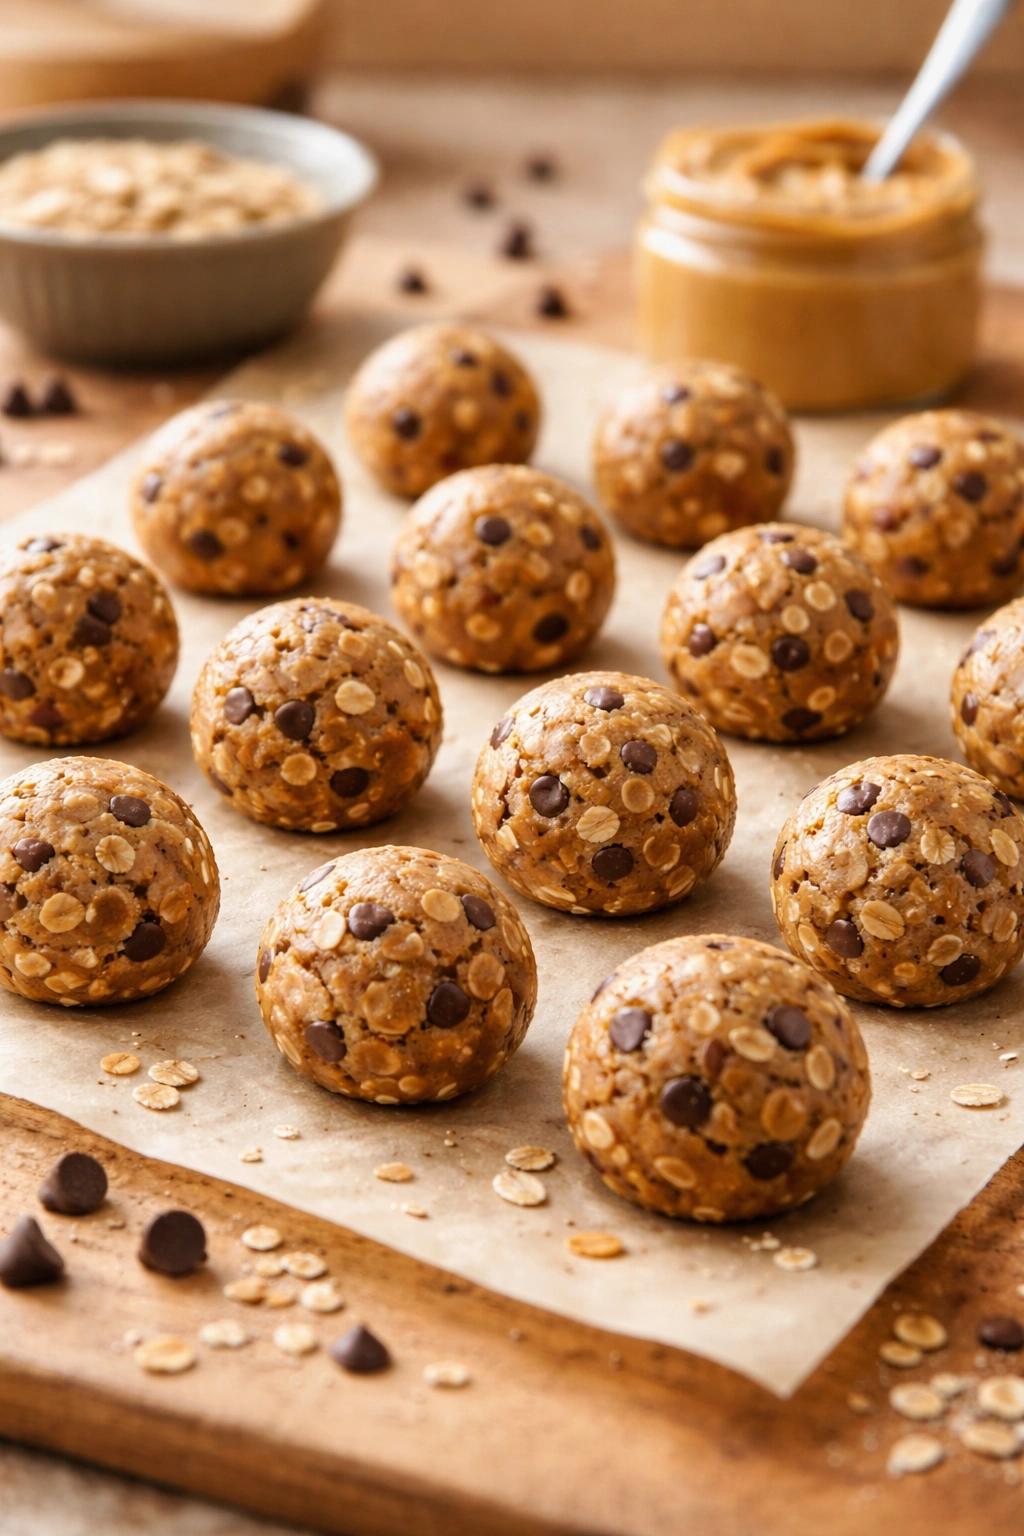
These no-bake bites are pure magic for an after-school snack because they come together in about ten minutes, require one bowl, and taste like a treat even though they’re legitimately nutritious. The satisfaction of rolling a dozen little balls by hand is genuinely appealing to kids, and the result tastes sophisticated enough that kids feel proud serving them to friends.
Mix together one cup of peanut butter (creamy or chunky, whichever the kid prefers), one cup of powdered sugar, and two tablespoons of honey in a bowl. Stir until everything is combined and the mixture holds together when squeezed. Roll tablespoon-sized portions into balls between your palms — they don’t need to be perfectly round, just cohesive. For extra appeal, roll the balls in chocolate chips, sprinkles, or shredded coconut. Refrigerate for 15 to 20 minutes before eating so they set up and hold their shape better.
Why Energy Balls Are a Smart Snack-Making Project
Peanut butter energy balls introduce kids to the concept of combining ingredients to create texture and flavor without any heat or fancy equipment. The rolling process is tactile and calming, and kids can see the immediate result of their work. They’re sweet enough to satisfy a sugar craving but have real protein from the peanut butter, so they actually quiet a hungry kid’s stomach instead of just feeding an energy spike.
Energy Ball Variables to Experiment With
- Substitute almond butter, sunflower seed butter, or tahini for the peanut butter
- Mix in a tablespoon of unsweetened cocoa powder for chocolate flavor
- Add a quarter-teaspoon of vanilla extract or cinnamon for warmth
- Roll in melted chocolate that hardens into a shell
- Mix crushed graham crackers into the peanut butter base for texture variation
- Refrigerate or freeze (they keep up to a week in the fridge, longer in the freezer)
Insider note: Make a double batch and freeze extras in a container so your kid has grab-and-go protein snacks available for an entire week.
4. Fruit Smoothie
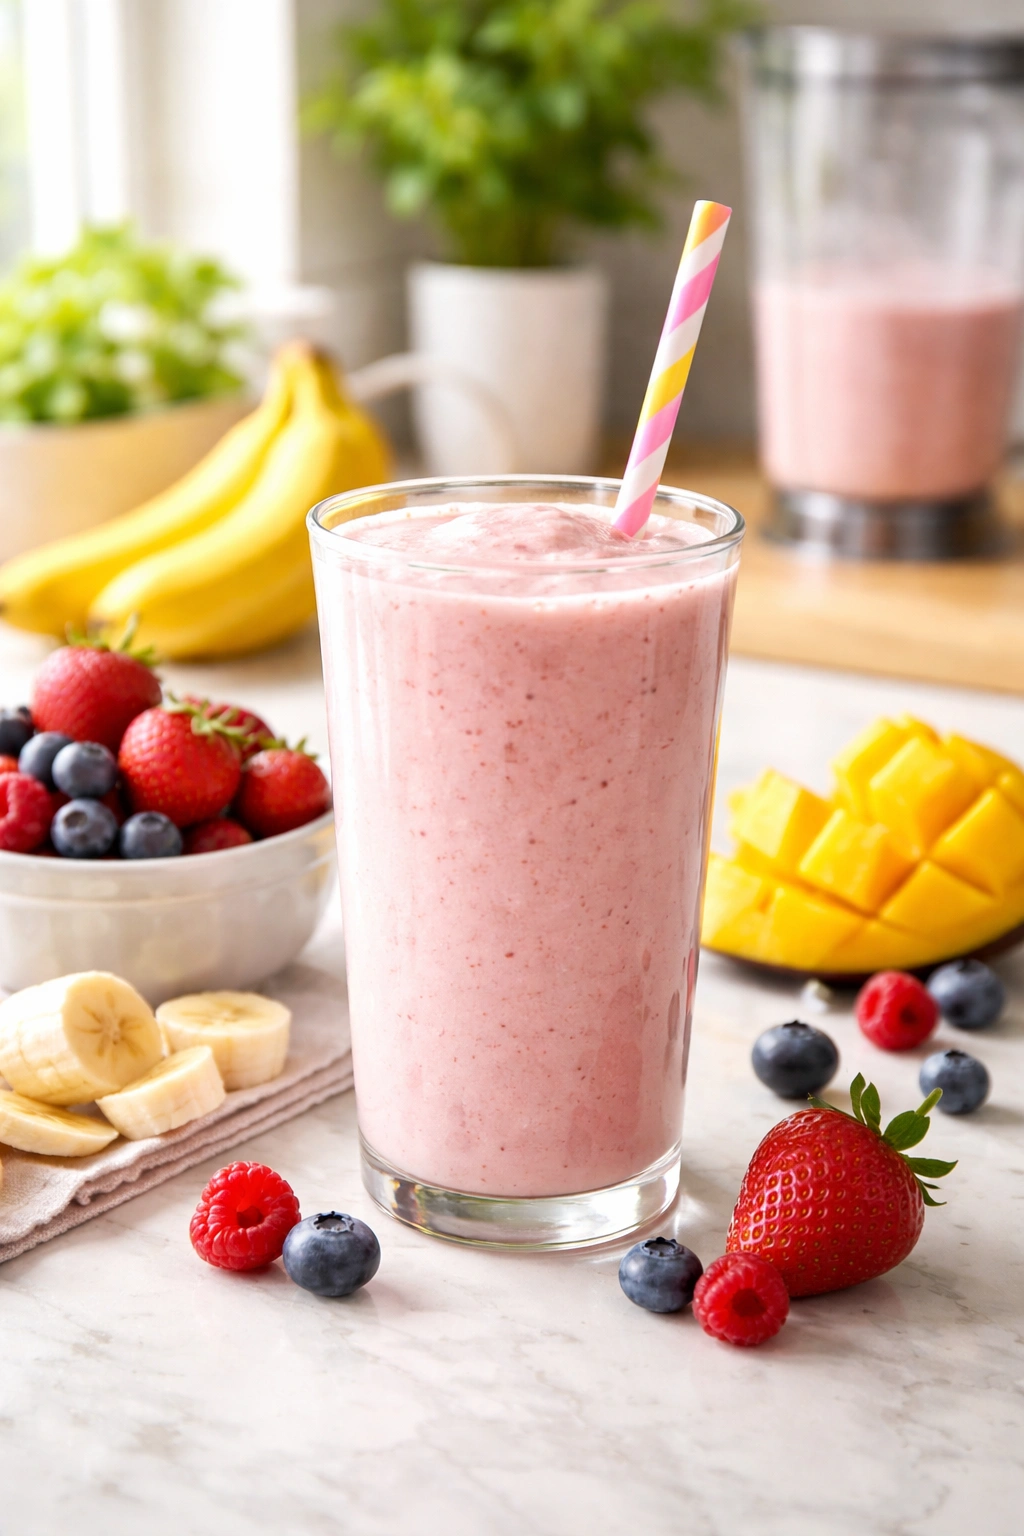
A smoothie requires a blender, which means it needs to be a supervised snack, but most kids over age eight can handle blending with basic safety reminders. The appeal is that smoothies feel like a treat (because they’re cold, sweet, and creamy) while delivering serious nutrition. Plus, making a smoothie teaches cause-and-effect — understanding how ingredients transform when blended.
Add one frozen banana (sliced), one cup of milk or yogurt, one cup of frozen or fresh fruit (berries, mango, or pineapple work great), and optional add-ins like a tablespoon of peanut butter, a handful of spinach, or a splash of honey. Blend on high for 30 to 45 seconds until everything is completely smooth and creamy. If the smoothie is too thick, add more milk a splash at a time. If it’s too thin, add more frozen fruit.
Why Smoothies Build Kitchen Confidence
Blending requires problem-solving: if it’s too thick, how do you thin it? If it’s too sweet, what could balance that? Kids learn that they can adjust a recipe to their preference. They also discover that frozen fruit makes a smoothie thicker and creamier than fresh fruit, which is a genuine insight. The speed of the blender and the immediate transformation of whole ingredients into something completely new feels almost magical.
Smoothie Combinations That Actually Work
- Banana, strawberry, and yogurt (classic, can’t miss)
- Mango, pineapple, and coconut milk (tropical and refreshing)
- Banana, cocoa powder, and peanut butter (tastes like chocolate mousse)
- Blueberry, spinach, and banana (the spinach is invisible, so kids eat their greens without noticing)
- Strawberry, banana, and orange juice (bright and vitamin-rich)
Pro tip: Freeze banana slices in advance so your kid can grab them easily, and keep frozen berries in the freezer as emergency smoothie ingredients — they thaw minimally by the time the smoothie is blended.
5. Homemade Trail Mix
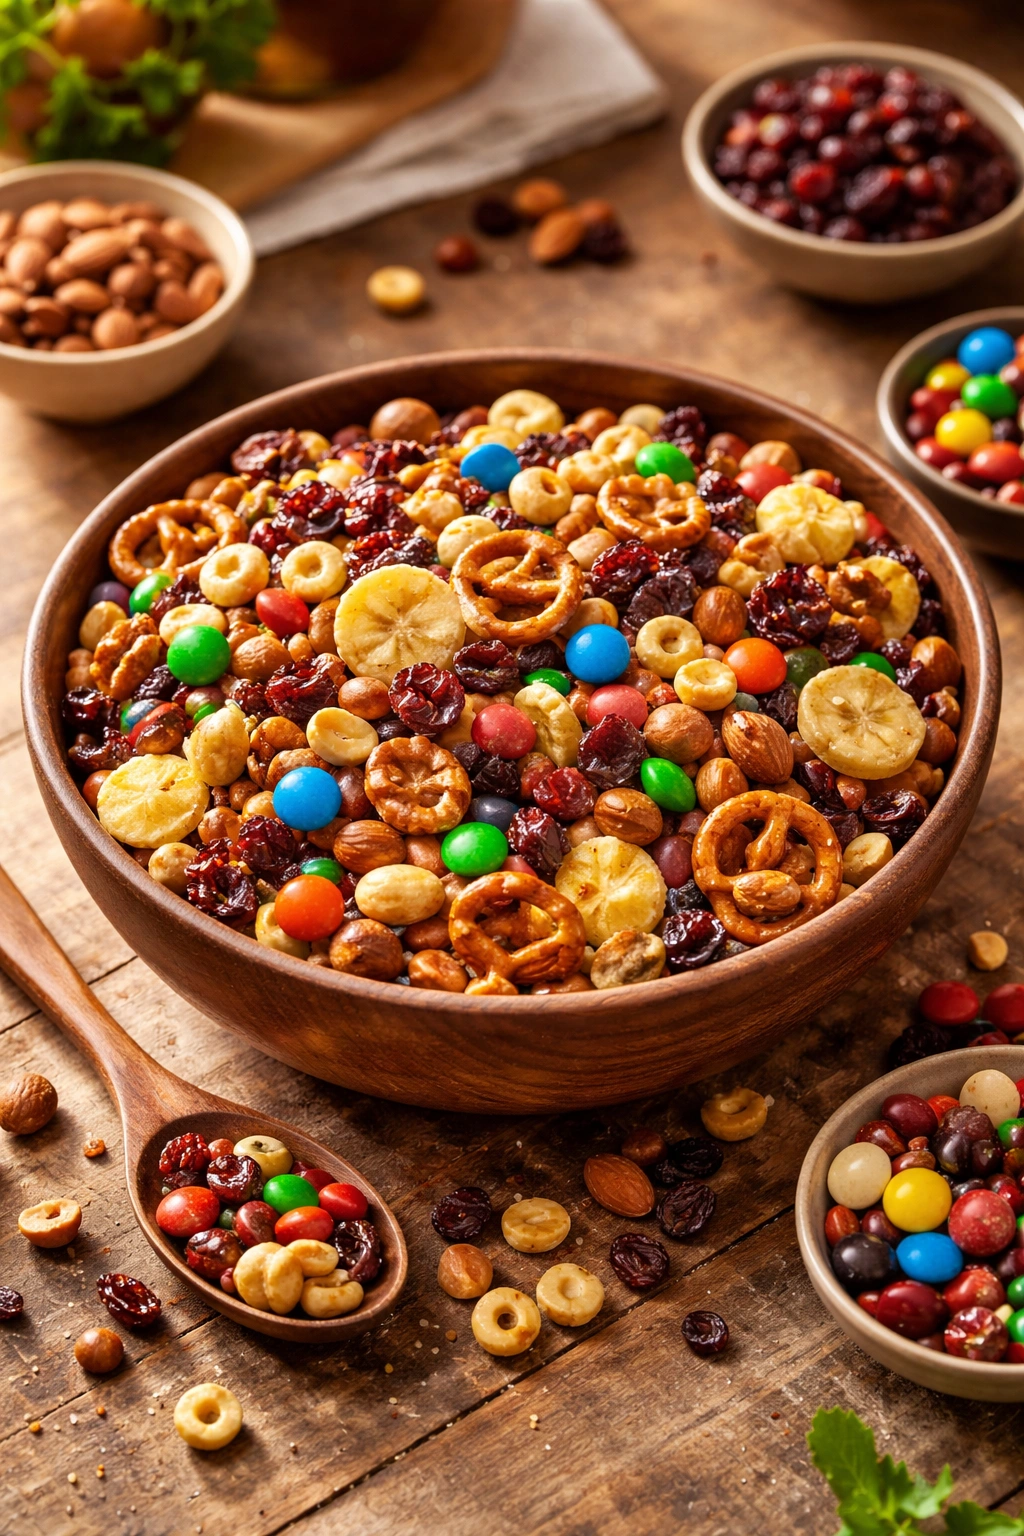
Making trail mix is one of the most flexible snack projects because it’s pure customization. Literally every kid will make something slightly different based on what they like, and that ownership makes them way more likely to actually eat it. The best part is that trail mix requires no tools beyond a bowl and a spoon for stirring.
Grab a mixing bowl and start with a base: one cup of dry cereal (Cheerios, Chex, or granola clusters all work), one cup of unsalted or lightly salted nuts (cashews, almonds, or peanuts), and half a cup of dried fruit (raisins, cranberries, banana chips, or chopped dates). Stir everything together, then taste and adjust. Want it sweeter? Add chocolate chips or more dried fruit. Want it crunchier? Add seeds or pretzels. Want it healthier? Skip the chocolate and add more nuts.
Why Trail Mix Is the Ultimate Customization Snack
Every kid’s trail mix ends up being different because their preferences are different, and that’s literally the whole point. They’re creating something uniquely theirs, which builds investment in the final product. Trail mix is also one of the few snacks where there’s genuinely no wrong answer — even if the combination seems weird, if the kid likes it, it’s perfect. The snack teaches decision-making and confidence in personal preferences.
Trail Mix Ingredient Categories to Explore
- Base cereals: Cheerios, Corn Chex, rice cereal, Honey Nut Chex, granola clusters
- Nuts and seeds: Almonds, cashews, peanuts, sunflower seeds, pumpkin seeds, walnuts
- Dried fruits: Raisins, dried cranberries, dried blueberries, banana chips, chopped dates, apricots, coconut flakes
- Sweet add-ins: Dark chocolate chips, white chocolate chips, M&Ms, candy-coated peanuts
- Savory add-ins: Pretzel pieces, wasabi peas, roasted chickpeas, seaweed snacks
- Texture boosters: Granola pieces, toasted coconut flakes, sunflower seed kernels
Worth knowing: Store trail mix in an airtight container so it stays fresh and crunchy, and keep ingredients separate in jars so kids can remix throughout the week.
6. Quesadillas
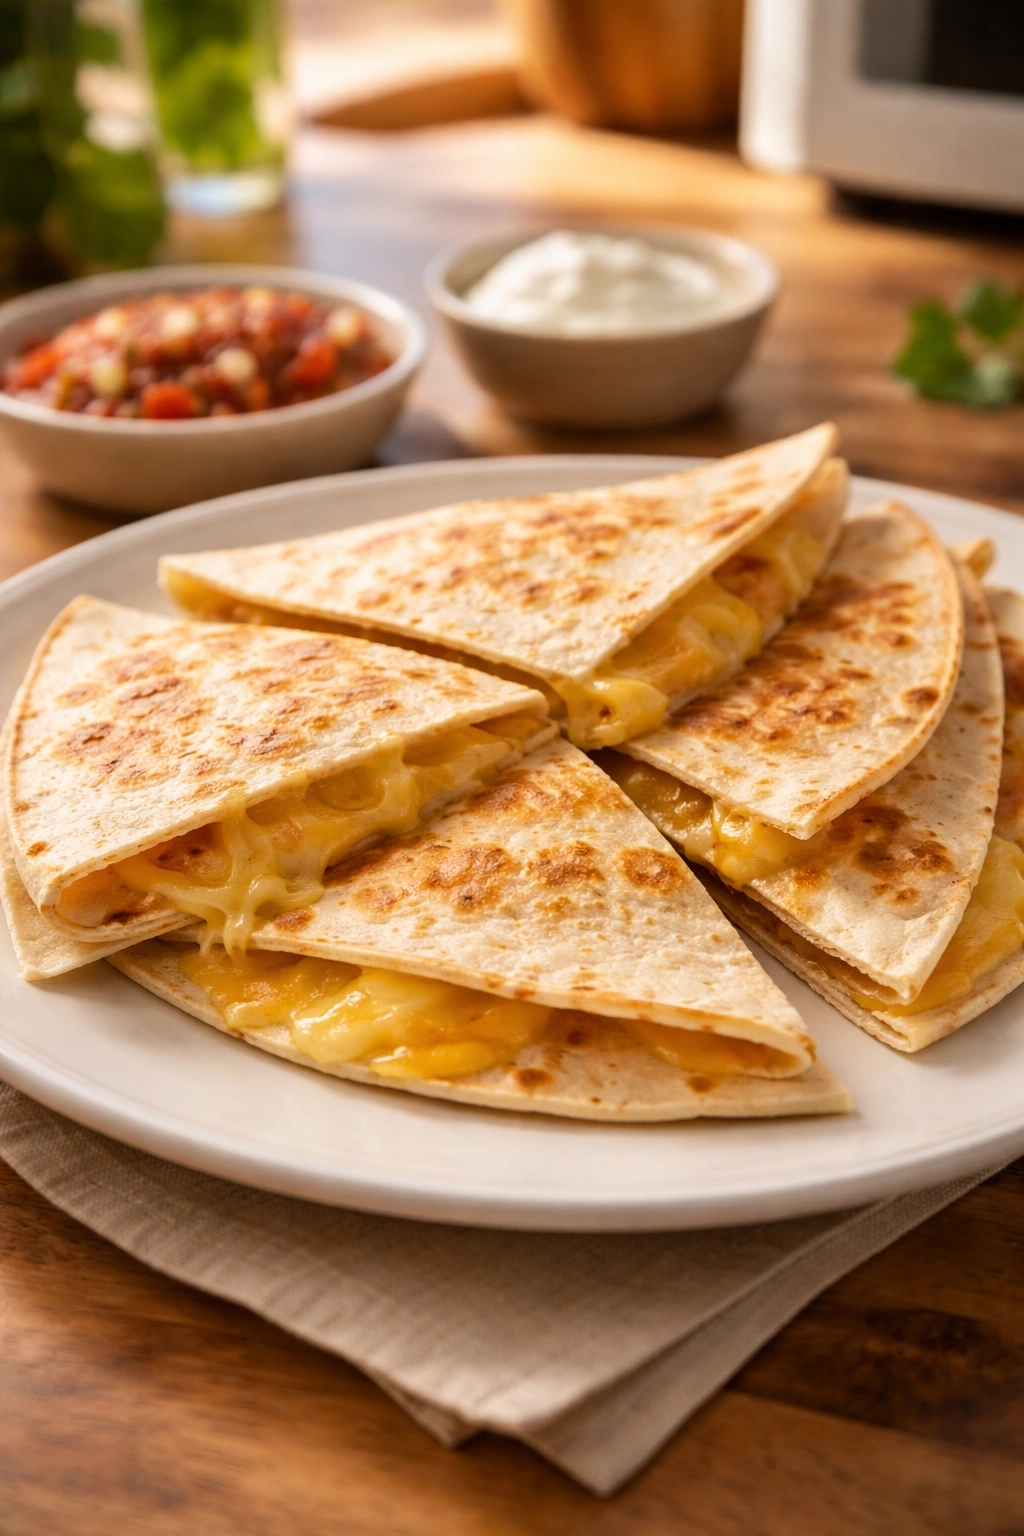
A quesadilla is technically a warm snack that requires supervised stove or microwave use, but it’s one of the fastest snacks possible, and the results feel genuinely impressive to a kid who just made it. The satisfaction of flipping a perfectly melted quesadilla is real. Microwave quesadillas are completely doable for kids eight and up with basic reminders about hot plates.
Place a flour tortilla on a microwave-safe plate. Sprinkle shredded cheese on half of the tortilla, then fold the tortilla in half to create a half-moon shape. Microwave on high for 30 to 45 seconds, until the cheese is completely melted and the tortilla is warm. Slide the quesadilla onto a cutting board, let it cool for 30 seconds, then slice it into triangles. Serve with salsa, sour cream, guacamole, or hot sauce for dipping.
Why Quesadillas Teach Microwave Confidence
Quesadillas are the perfect introductory warm snack for kids learning basic microwave use. The timing is short and forgiving — even if they go a few seconds over, the quesadilla is fine. The results are immediately visible (you can see the cheese melting), which makes the cause-and-effect clear. Plus, folding the tortilla and cutting it into triangles gives the kid multiple steps to feel accomplished about, even though the whole process takes five minutes.
Quesadilla Filling Ideas Beyond Just Cheese
- Cheese with diced tomatoes and fresh cilantro
- Cheese with cooked chicken or ground beef
- Cheese with black beans and corn
- Cheese with sliced jalapeños and a drizzle of honey
- Cheese with pesto and sun-dried tomatoes
- Cheese with caramelized onions and a tiny sprinkle of balsamic vinegar
Pro tip: If your kid wants to make quesadillas on the stove (medium heat, about 2-3 minutes per side in a dry skillet or with a light coating of butter), they should ask an adult to supervise, but the quesadilla still comes together in under five minutes and tastes even more impressive when it’s made on the stove.
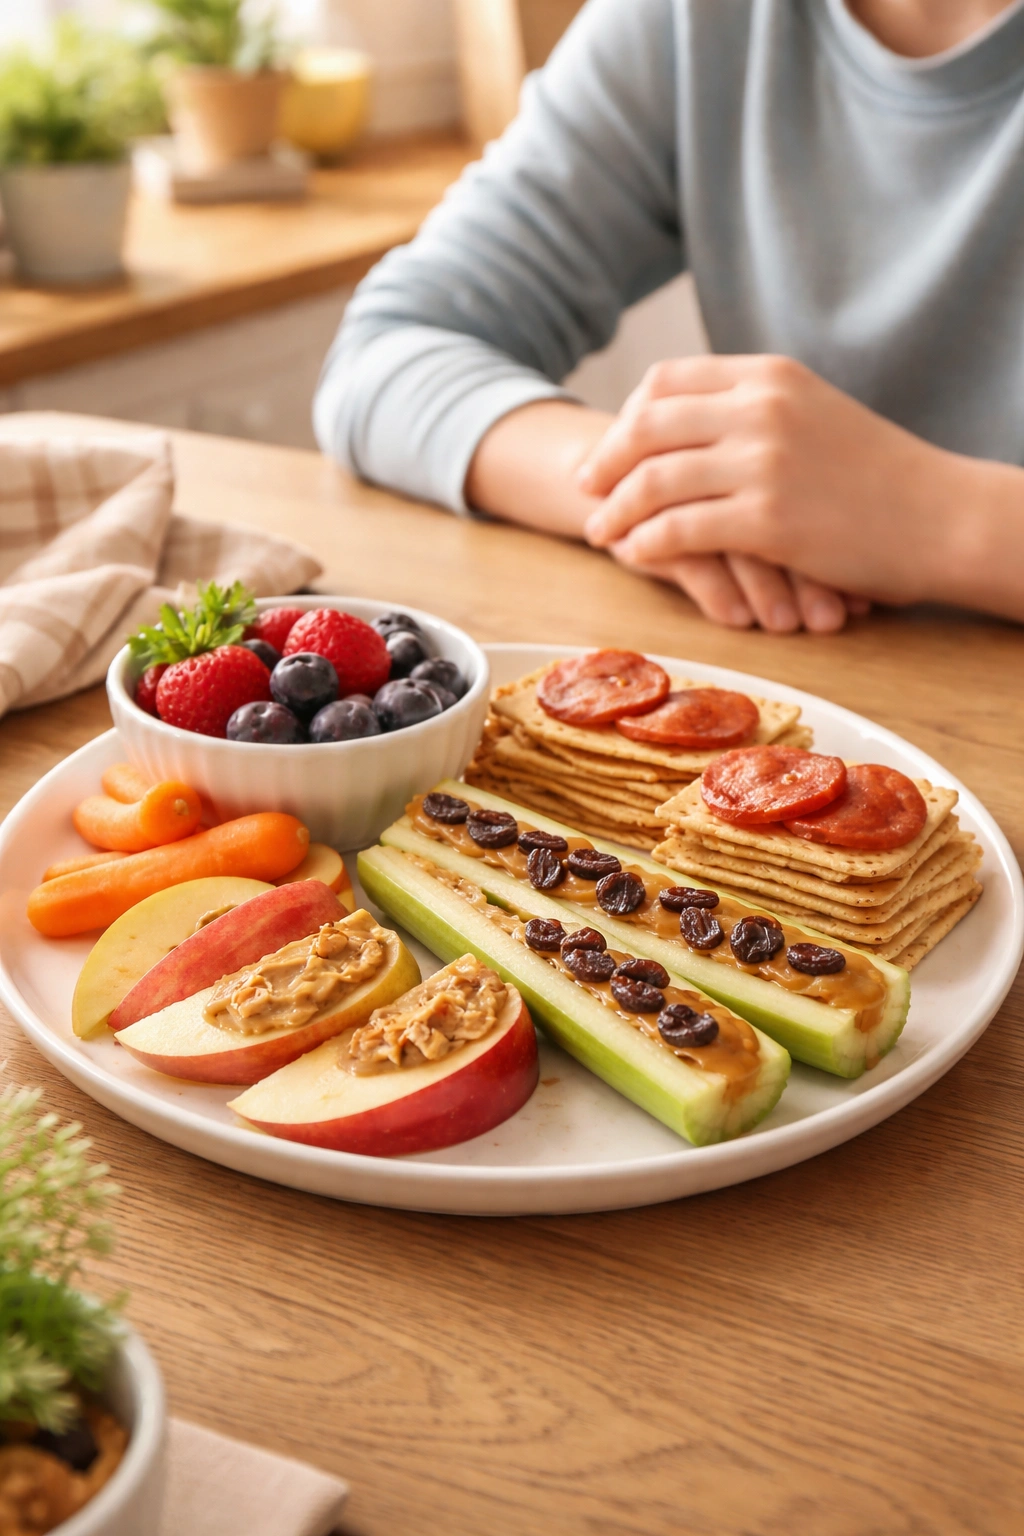
7. Ants on a Log
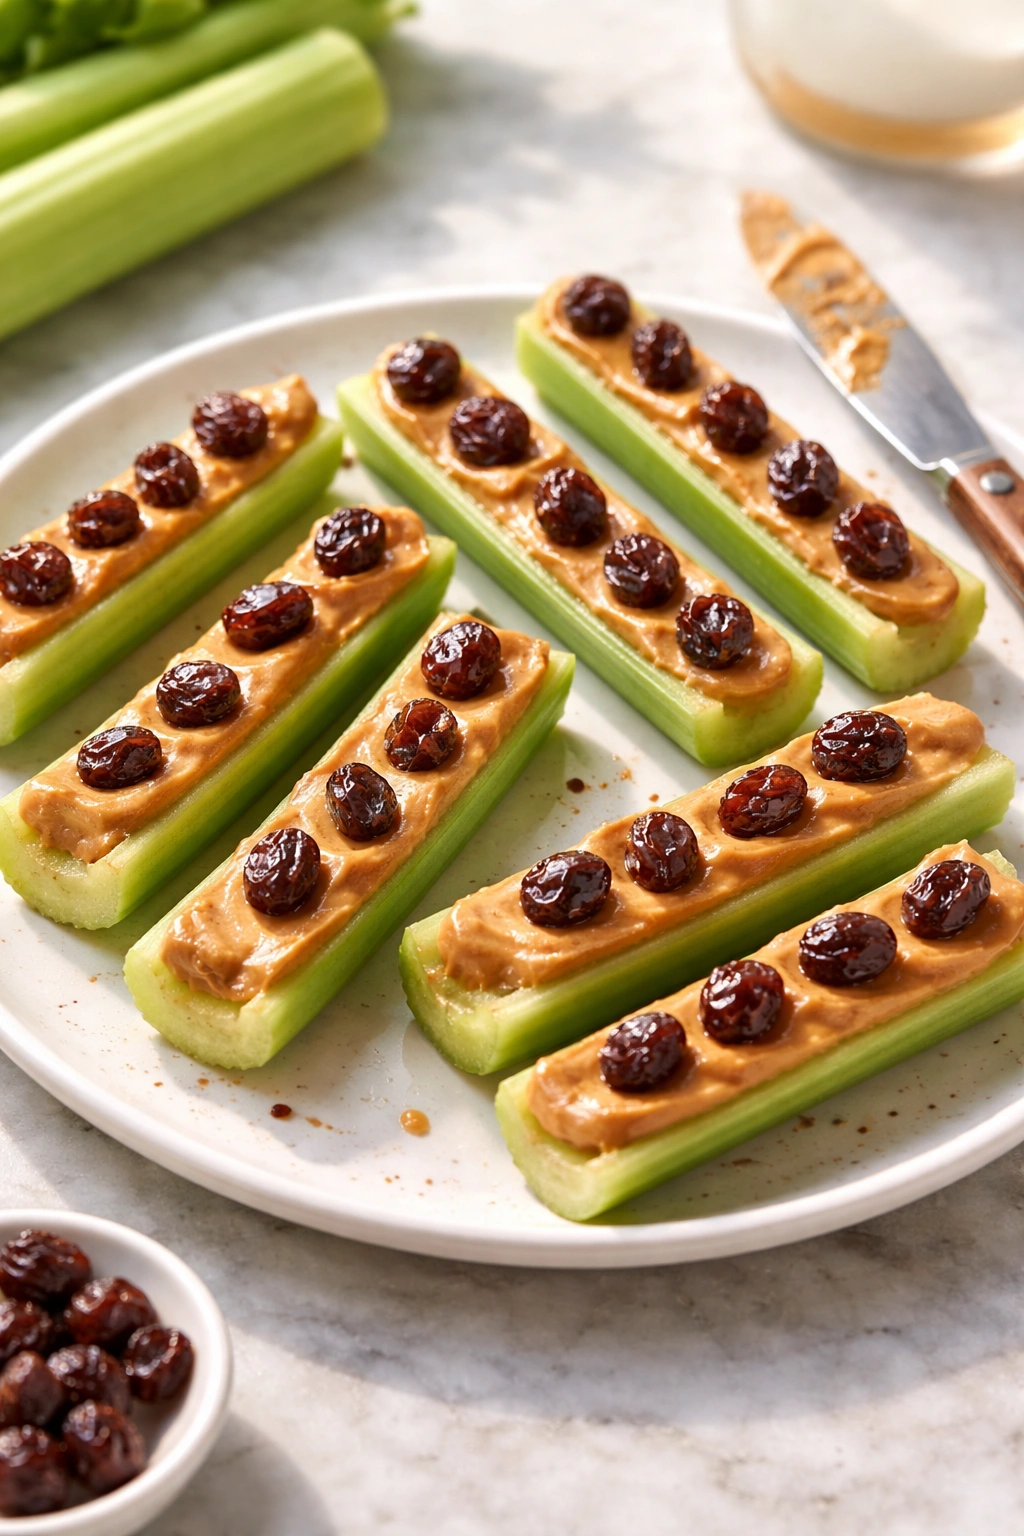
This snack has probably the most charming name of any food on earth, which alone makes kids excited to make it. It’s genuinely silly but delicious, and it’s one of the fastest snacks possible — literally three minutes from conception to eating. The only equipment needed is a butter knife and a plate.
Spread a generous layer of peanut butter or almond butter along a celery stick (cut into 3-inch segments for easier handling). Press raisins, chocolate chips, or a combination of both firmly into the peanut butter along the entire length of the celery. Eat immediately, or refrigerate for up to a day.
Why Ants on a Log Creates Snack Joy
The appeal is almost entirely in the name and the silly concept, which means kids find it genuinely delightful to make and eat. The combination of crunchy celery, creamy peanut butter, and chewy raisins is actually excellent texturally, but the novelty of the name gets them interested first. It’s also a snack where kids are legitimately building something, pressing the “ants” into place, which gives them a sense of creation.
Ants on a Log Variations
- Replace peanut butter with almond butter, sunflower seed butter, or cream cheese
- Use banana slices instead of celery as the base
- Swap raisins for dried cranberries, dried blueberries, or chopped dried apricots
- Use mini chocolate chips for smaller “ants”
- Add a drizzle of honey to the peanut butter before pressing in the raisins
- Mix raisins and chocolate chips for a combination that’s sweet and chewy
Insider note: Cut celery sticks in advance and store them in water in the fridge so your kid can grab them anytime and assemble an ants-on-a-log snack in literally two minutes.
8. Granola and Yogurt Cups
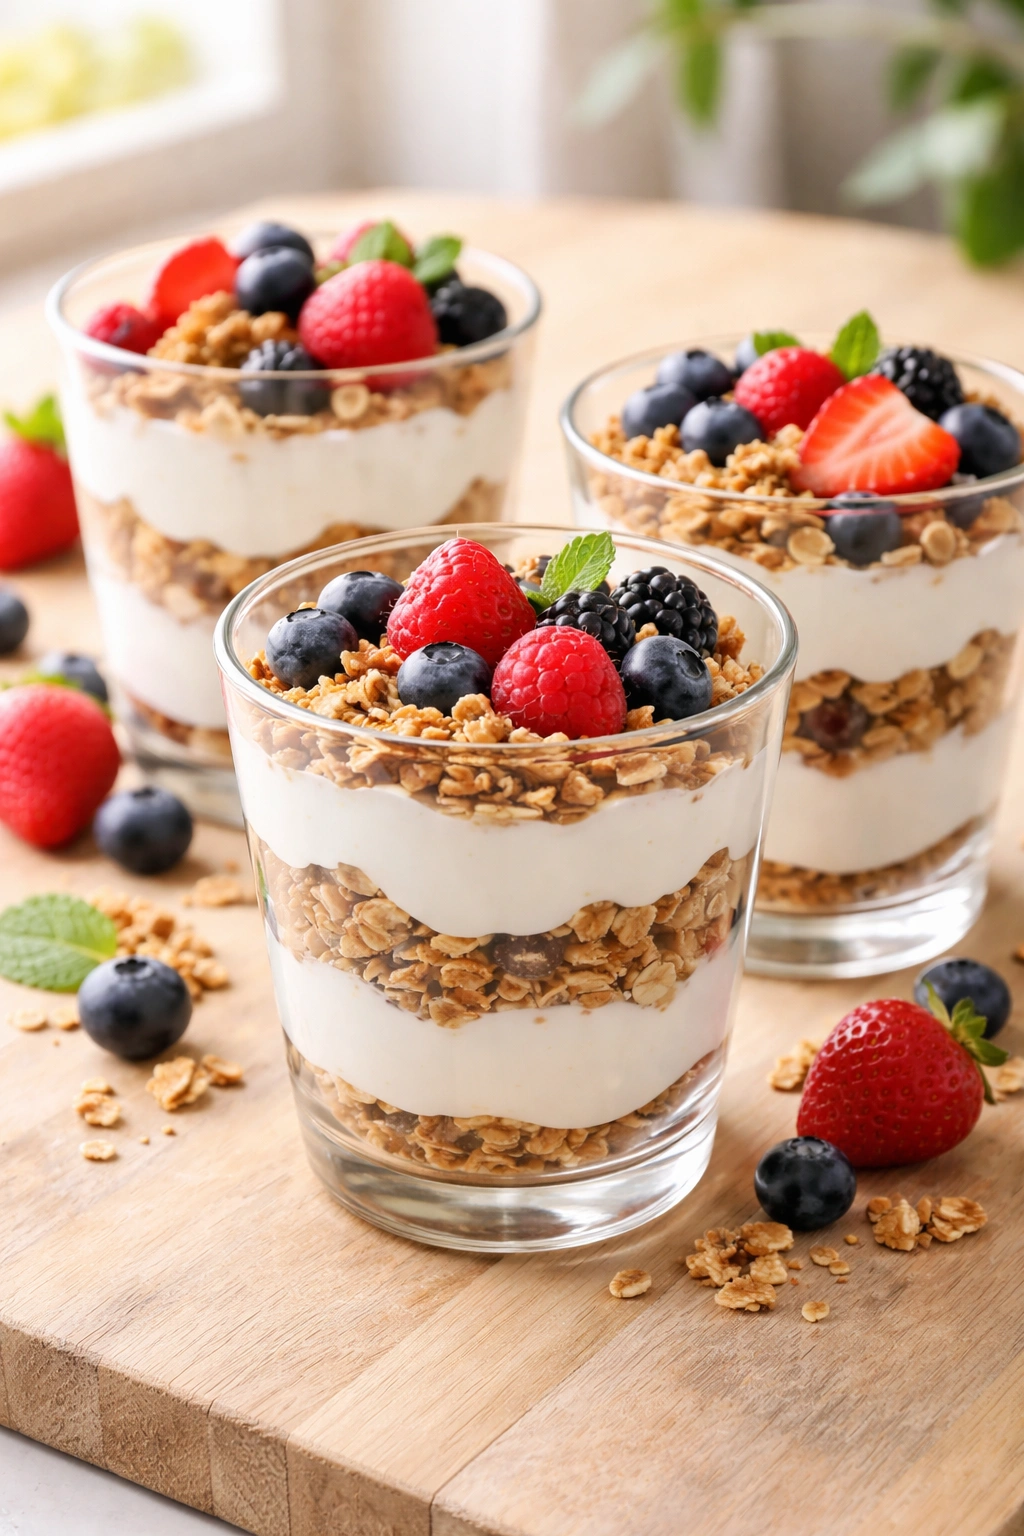
Yogurt cups with granola are more sophisticated than a simple yogurt parfait but just as easy to assemble. They feel like a special snack, partly because they can be made in a cute glass or mason jar, which makes even the simplest combination feel intentional. These cups hold up well in a lunchbox or in the fridge for the next day, which makes them practical for kids who want to prep a snack ahead.
Pour a base layer of Greek yogurt (about three-quarters of a cup) into a clear cup or small mason jar. Top with a handful of granola, then add another yogurt layer, then finish with another granola layer. Top with fresh berries, a drizzle of honey, or a sprinkle of cinnamon. These keep in the fridge for up to two days before the granola starts to soften from the yogurt moisture, but honestly, most kids finish them within an hour.
Why Layered Yogurt Cups Feel Restaurant-Quality
Even though they’re fundamentally simple, the act of layering in a clear container makes the snack feel intentional and impressive. Clear cups or mason jars show off all the layers, which is visually appealing. Kids also appreciate that they can make these ahead and grab them when hungry, which builds a sense of preparation and maturity.
Building a Better Yogurt Cup
- Use thick Greek yogurt so the layers stay distinct and the cup doesn’t turn into a mush of yogurt
- Add granola just before eating if possible, but if that’s not practical, add it immediately before refrigerating so it stays crunchier
- Layer the granola between yogurt sections instead of just on top to distribute the crunch throughout
- Add fresh berries on top so they’re visible and look appetizing
- Experiment with flavor combinations: vanilla yogurt with blueberries and almond granola, honey yogurt with strawberries and coconut granola, Greek yogurt with mango and plain granola
Pro tip: Make three or four of these cups at once on a Sunday and store them in the fridge for grab-and-go snacks throughout the week. They’re perfect for kids who are in a rush or who need a snack to take to an activity.
Final Thoughts
Teaching your kids to make their own after-school snacks does more than just solve the hunger problem — it builds real confidence and gives them genuine kitchen skills they’ll carry into adulthood. These eight snacks are specifically designed so that kids from about age six up through the teen years can make them independently or with minimal help. Start with the no-cook options (yogurt parfaits, trail mix, peanut butter energy balls) and gradually introduce the ones that need a microwave or blender as they get more comfortable.
The real magic happens when you stock your kitchen with the basic ingredients and let your kids experiment. They’ll discover flavor combinations you never would have thought of, develop preferences about what they actually like to eat (versus what you assume they like), and gain the confidence that comes from making something delicious with their own hands. Plus, a hungry kid occupied in the kitchen is a happy kid, and that’s worth its weight in gold during the after-school snack hours.