There’s a moment in every snacker’s life when you’re standing in front of the pantry at 3 p.m., scrolling through options, knowing that you want something crunchy and satisfying—but you’re tired of the same old chip routine. You’re not alone. This is where roasted chickpeas come in. They’re the snack that tastes indulgent, delivers genuine crunch, and somehow feels less like a guilty pleasure and more like you’re genuinely nourishing your body at the same time. Once you’ve made a batch, you’ll understand why this simple legume has become an obsession for home cooks everywhere.
Crispy roasted chickpeas are one of those magical foods that bridges the gap between “snack you crave” and “snack that actually serves your body well.” Unlike most packaged snacks that leave your fingers greasy and your taste buds temporarily satisfied before hunger creeps back, roasted chickpeas deliver a protein-rich, fiber-packed crunch that keeps you satisfied for hours. The process is deceptively simple—just chickpeas, a touch of oil, seasonings, and an oven—yet the results feel luxurious and restaurant-quality. They’re completely customizable, endlessly craveable, and once you master the technique, you’ll find yourself making batch after batch.
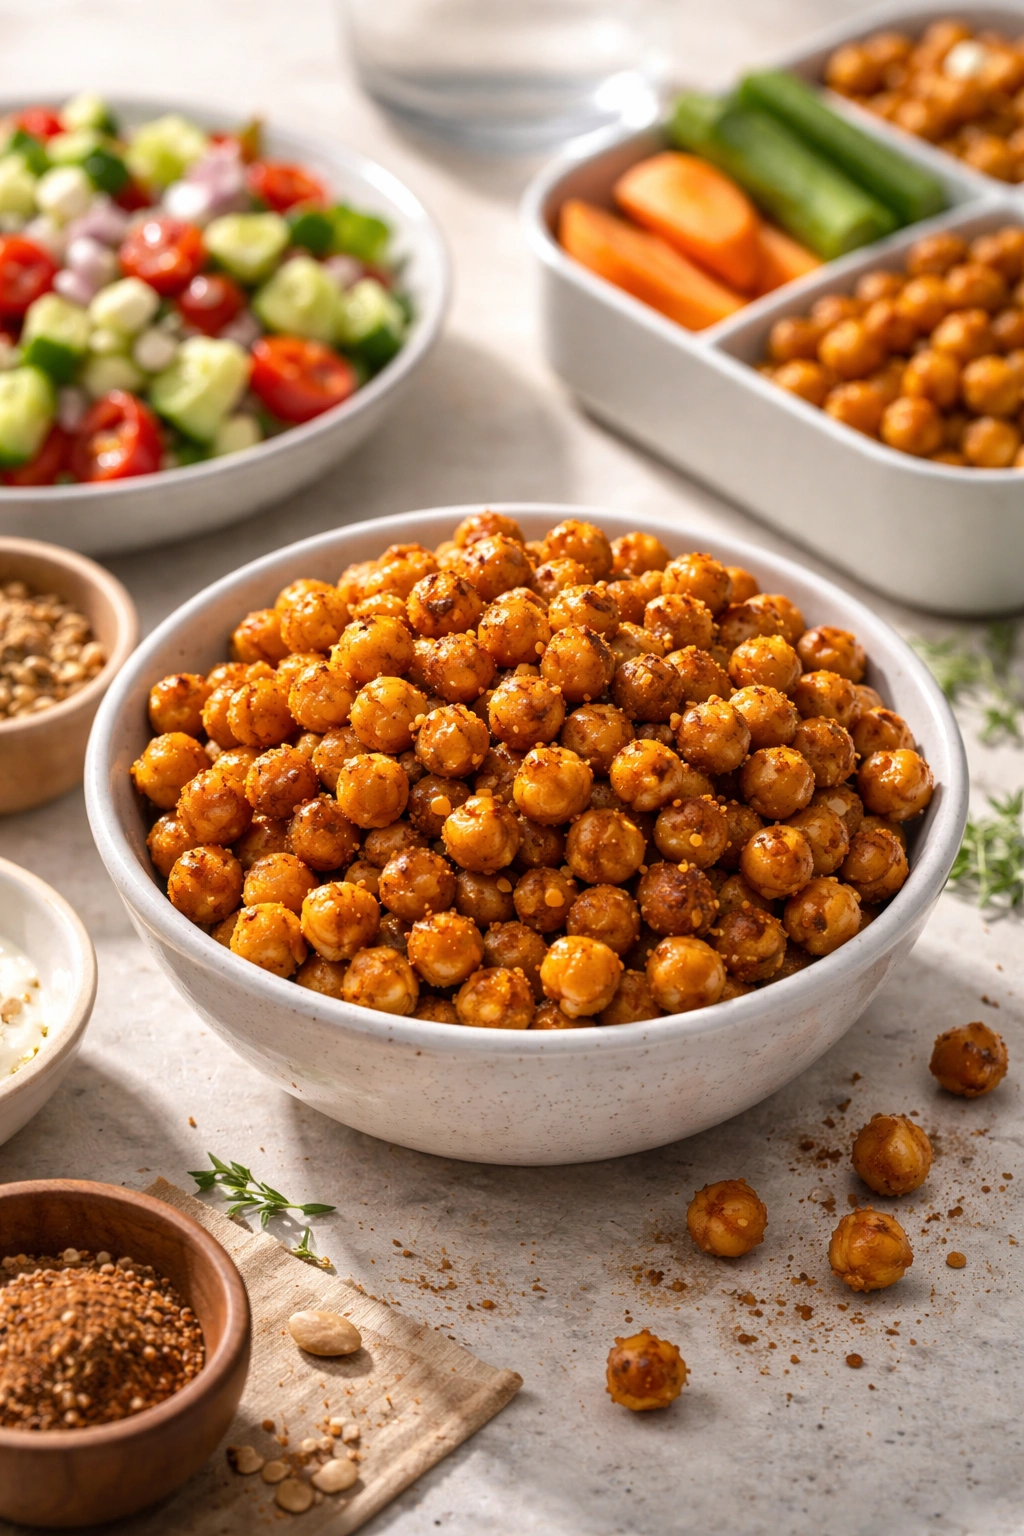
What makes this snack genuinely special is that you’re not sacrificing anything to enjoy it. These aren’t some wellness trend that tastes like cardboard in the name of health. They’re actually delicious—the kind of snack you’d serve to guests without apology, knowing they’ll be reaching for more. The crispy exterior gives way to a slightly creamy interior, and depending on your seasoning choice, you can swing from savory and spiced to sweet and smoky or even Asian-inspired flavors. Best of all, there’s no complicated technique to master, no special equipment required, and no mystery ingredients hiding in a factory somewhere.
Why Roasted Chickpeas Are the Snack You’ve Been Missing
Most people discover roasted chickpeas by accident—maybe at a trendy café, maybe at a friend’s house—and then immediately wonder why they never knew about them before. The answer is simple: they’ve been living in the shadow of more established snacks, quietly doing their job without much fanfare. But once you understand what makes them so special, you’ll realize they deserve a permanent place in your snacking rotation.
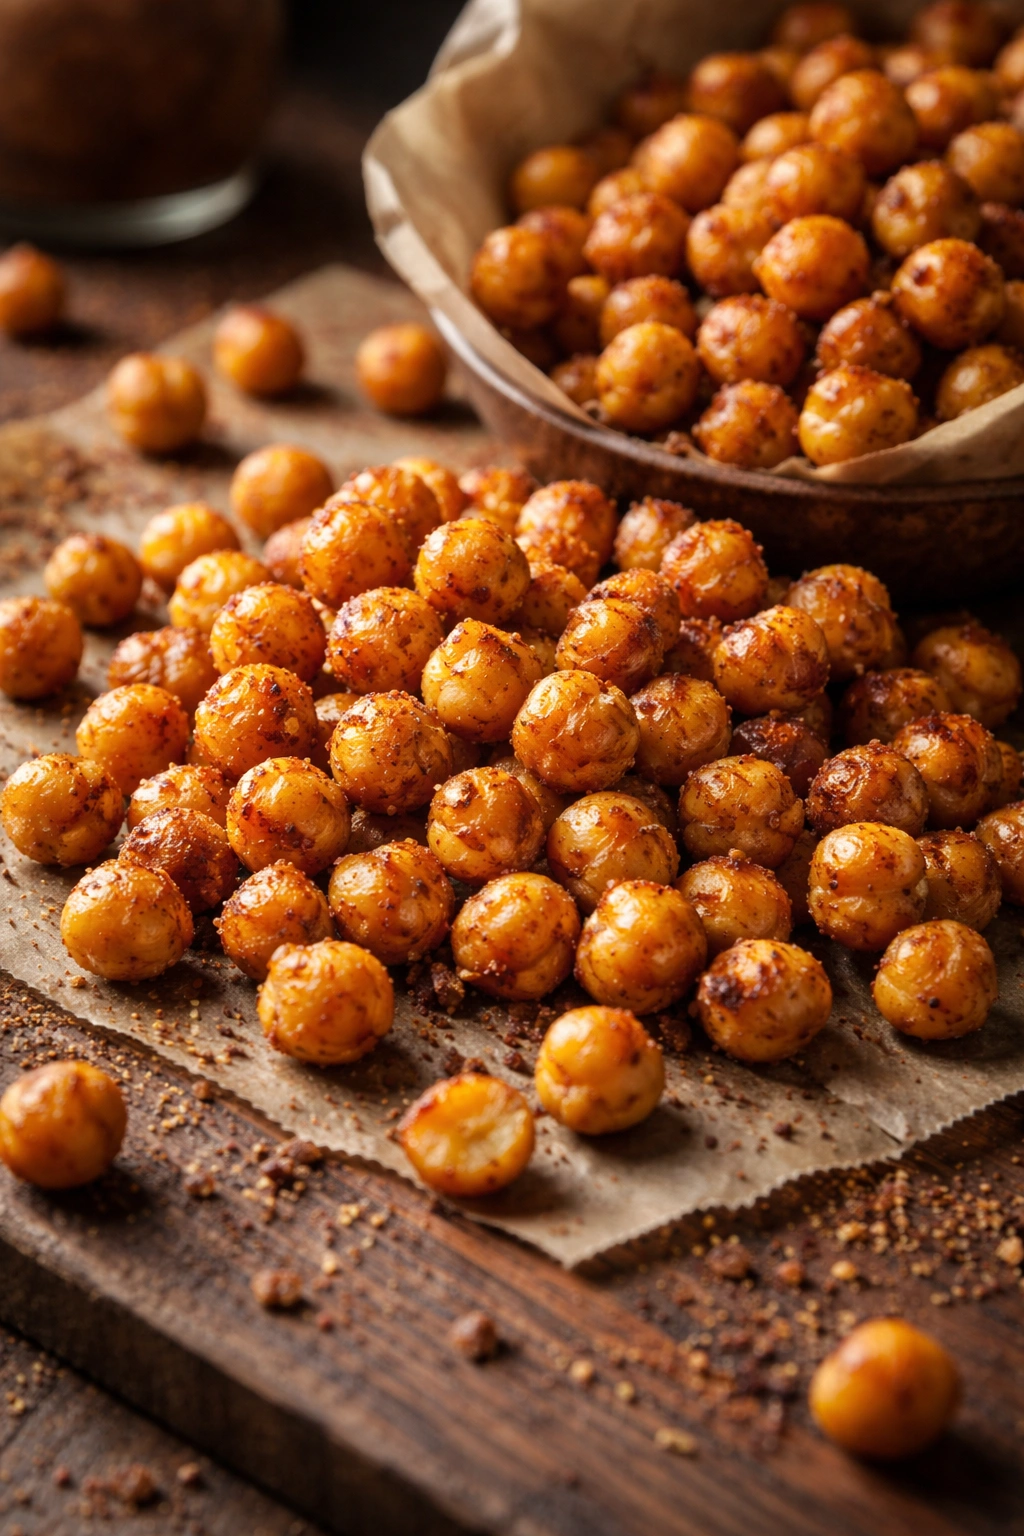
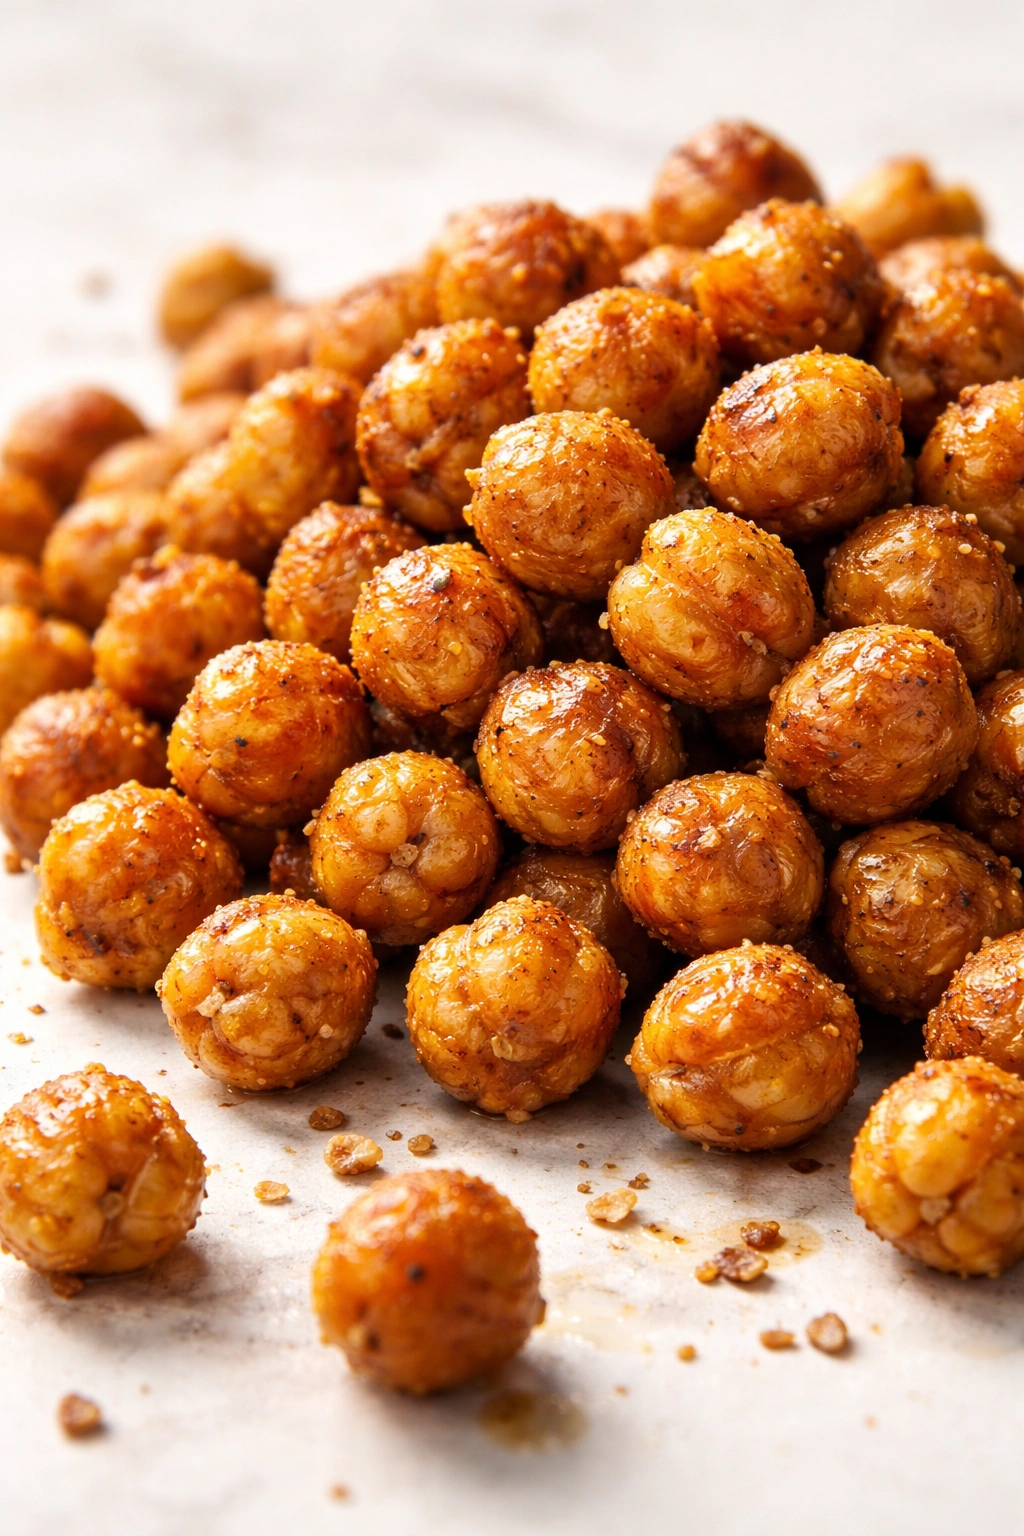
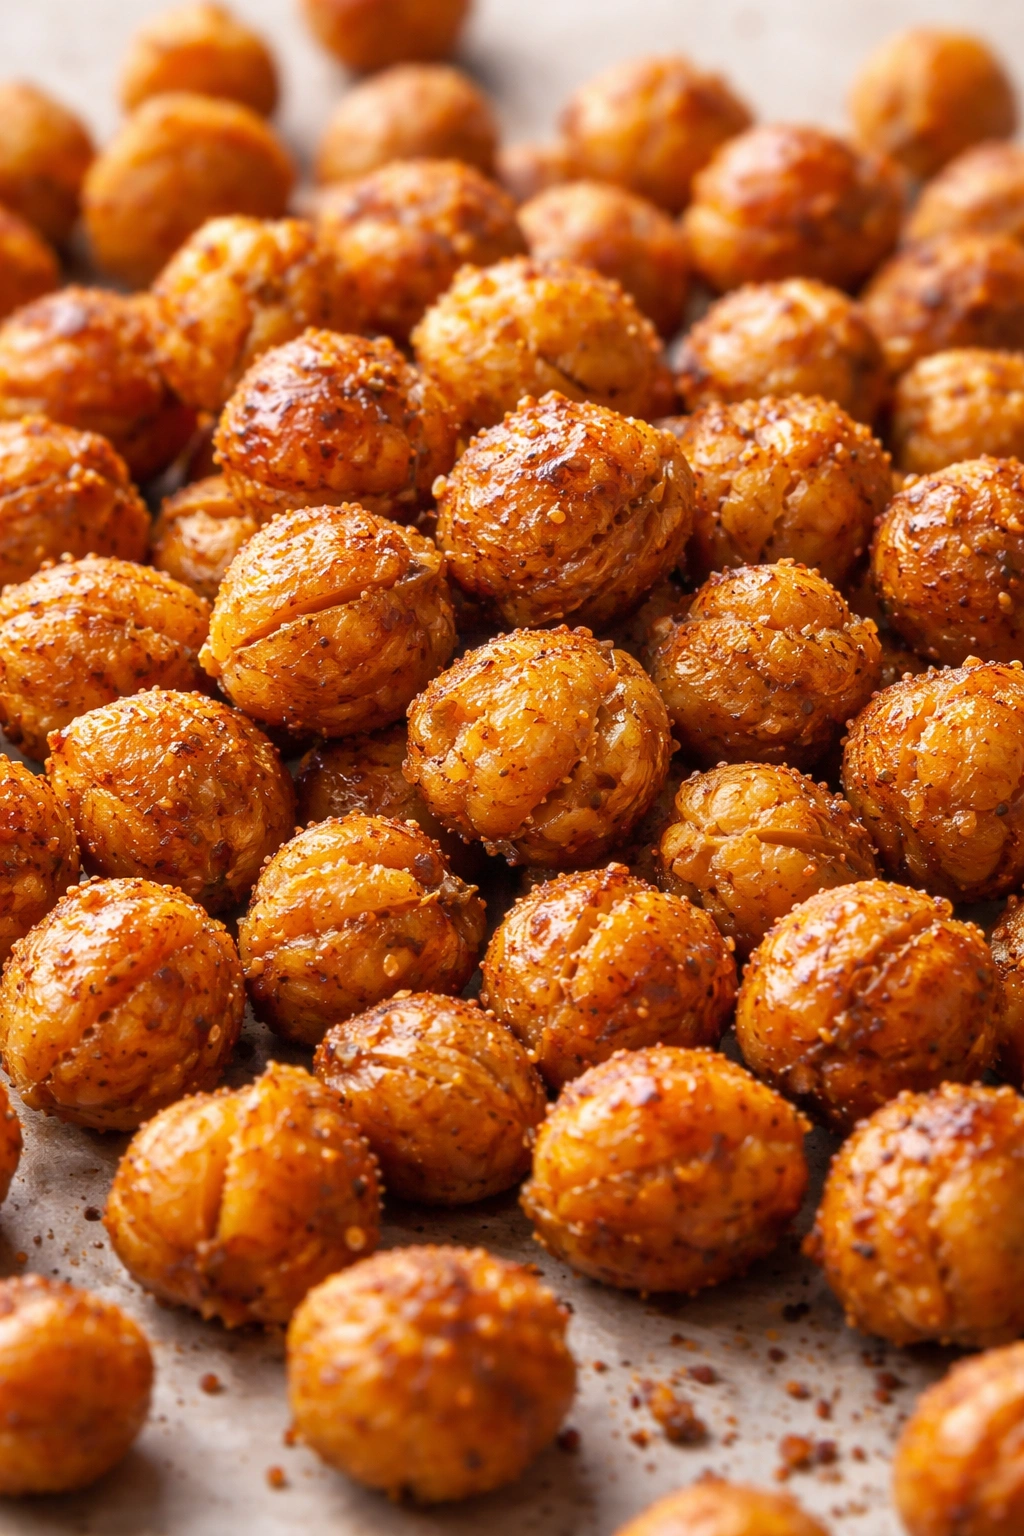
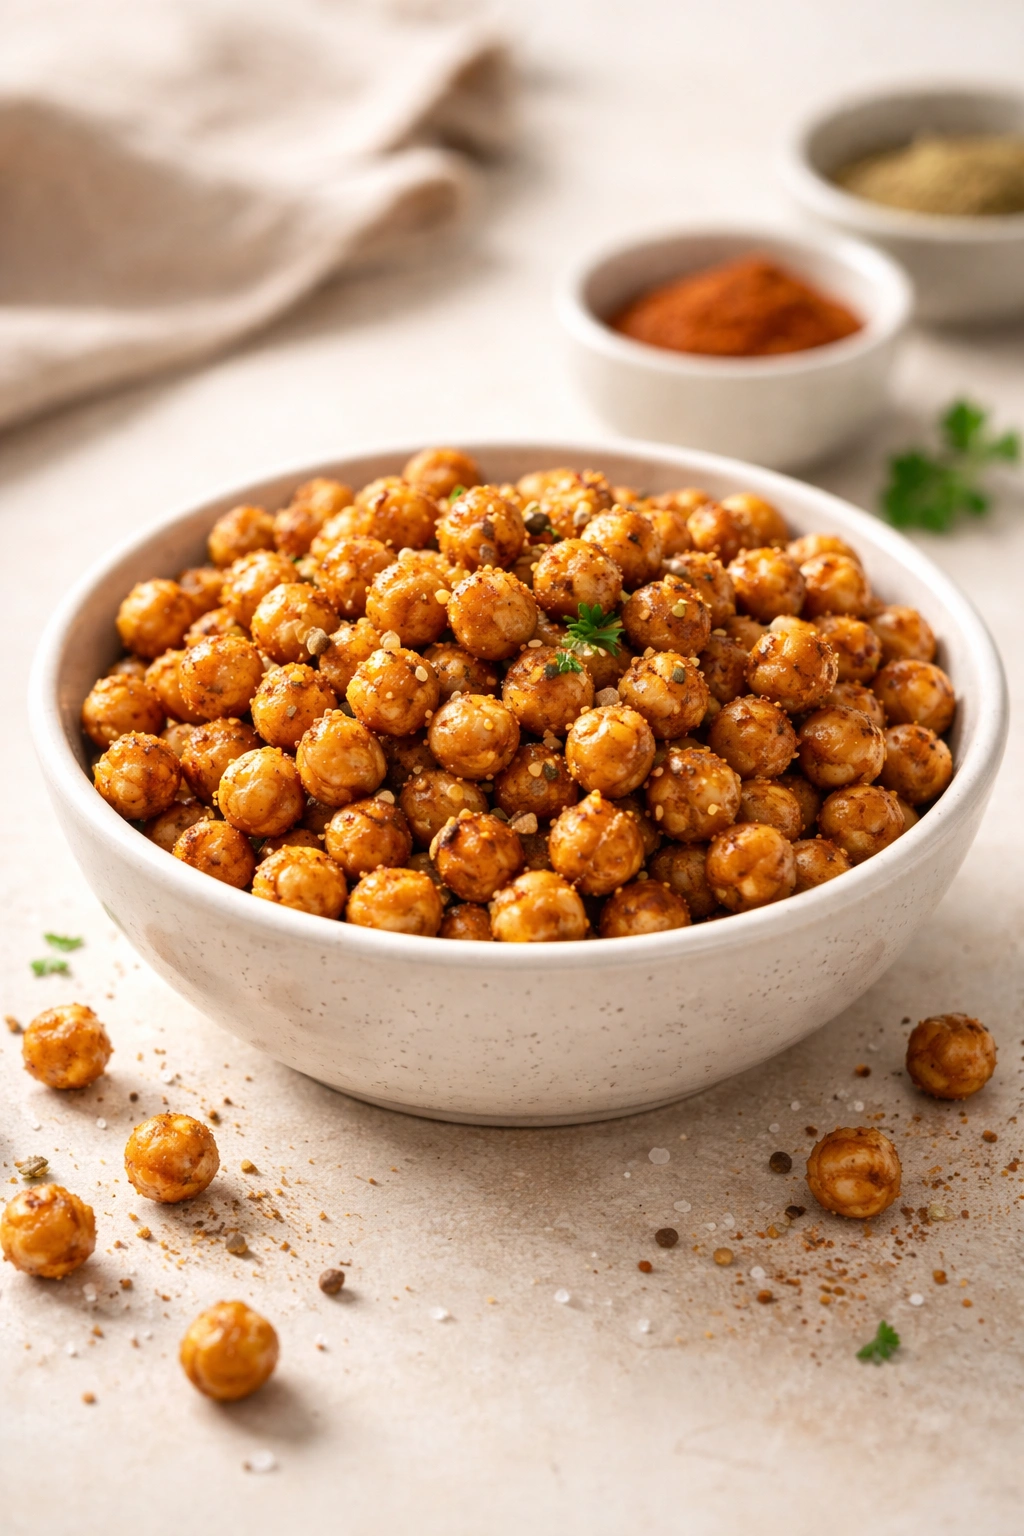
The primary appeal is texture. Roasted chickpeas deliver a satisfying crunch that’s completely different from the soft, mushy chickpeas you might know from hummus or curry. When cooked properly, the outer skin becomes paper-thin and shatters between your teeth, while the interior stays just tender enough to give that pleasurable bite-through sensation. This texture combination—crispy exterior, slightly creamy center—is what makes them addictive.
The second draw is pure nutrition. A single ounce of roasted chickpeas contains roughly 4 grams of protein, 3 grams of fiber, and only about 130 calories. Compare that to potato chips, which deliver essentially empty calories with minimal nutritional value, and you’re looking at a genuinely better choice. The fiber content means they actually keep you full longer, preventing the blood-sugar crash that comes with refined snacks. You’re not eating something that’s less bad—you’re eating something that’s legitimately good for you.
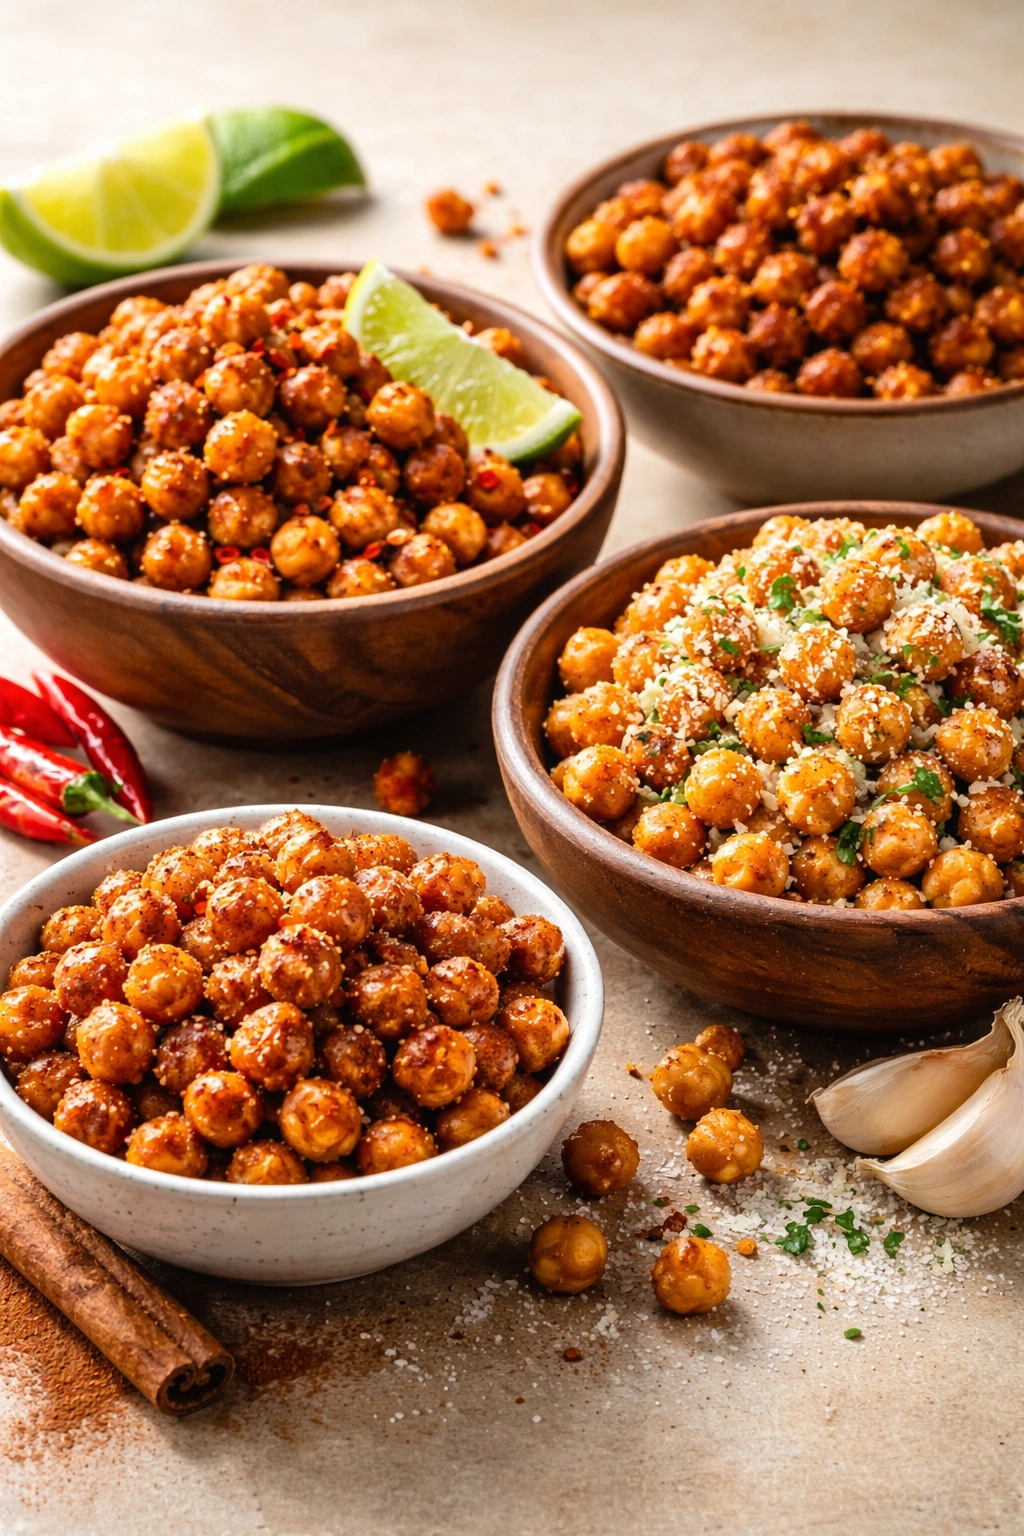
Finally, there’s the customization factor. A plain roasted chickpea is already delicious with just a tiny bit of oil and salt. But add some smoked paprika and cumin, and suddenly you’ve got a Spanish-inspired snack. Swap in everything bagel seasoning, and you’ve got something totally different. Add cinnamon and a touch of maple, and you’ve created a completely new snack experience. This versatility means you never get bored, and you’re never stuck with just one flavor profile.
The Magic Behind the Crunch: How They Get So Crispy
The science of creating a truly crispy roasted chickpea is straightforward but requires understanding what’s actually happening inside the oven. When you cook chickpeas, you’re essentially drying them out at a low enough temperature that they don’t burn but high enough that the moisture inside evaporates completely. This is what creates the critical difference between crunchy roasted chickpeas and soft, chewy ones.
The moisture in a cooked chickpea is your enemy when it comes to crispiness. A drained, rinsed canned chickpea still contains significant internal moisture, and if you roast it without removing as much of this moisture as possible, that interior water will steam during cooking rather than evaporate, leaving you with a soft center instead of a crispy bite all the way through.
This is why the drying step is absolutely critical. After draining and rinsing your chickpeas, you need to pat them thoroughly dry with a clean kitchen towel or paper towels. Don’t be gentle about it—roll them around in the towel, press gently but firmly, and make sure you’re removing as much surface moisture as possible. Some people spread them on a towel for 5-10 minutes before tossing to give any excess moisture time to evaporate into the air.
The second key is the oil-to-chickpea ratio. You need enough oil to coat every chickpea lightly, but not so much that they’re swimming in it. About ½ to ¾ teaspoon of oil per ¼ cup of dried chickpeas is the sweet spot. Too little oil and you’ll get some dry, tough pieces; too much and you’ll end up with crunchy exteriors but greasy interiors instead of that ideal semi-creamy texture. The oil also helps the seasonings adhere evenly across all the chickpeas.
Temperature is the third crucial factor. Most roasted chickpea recipes call for temperatures between 350°F and 425°F (175°C to 220°C). The lower end produces crunchier, more evenly cooked chickpeas; the higher end gives you faster cooking but risks burning the seasonings or creating inconsistent texture. For most home ovens, 400°F (200°C) is the reliable sweet spot—hot enough to evaporate moisture efficiently without requiring constant stirring, yet cool enough to allow the interiors to fully crisp up.
Equipment and Ingredients You’ll Need
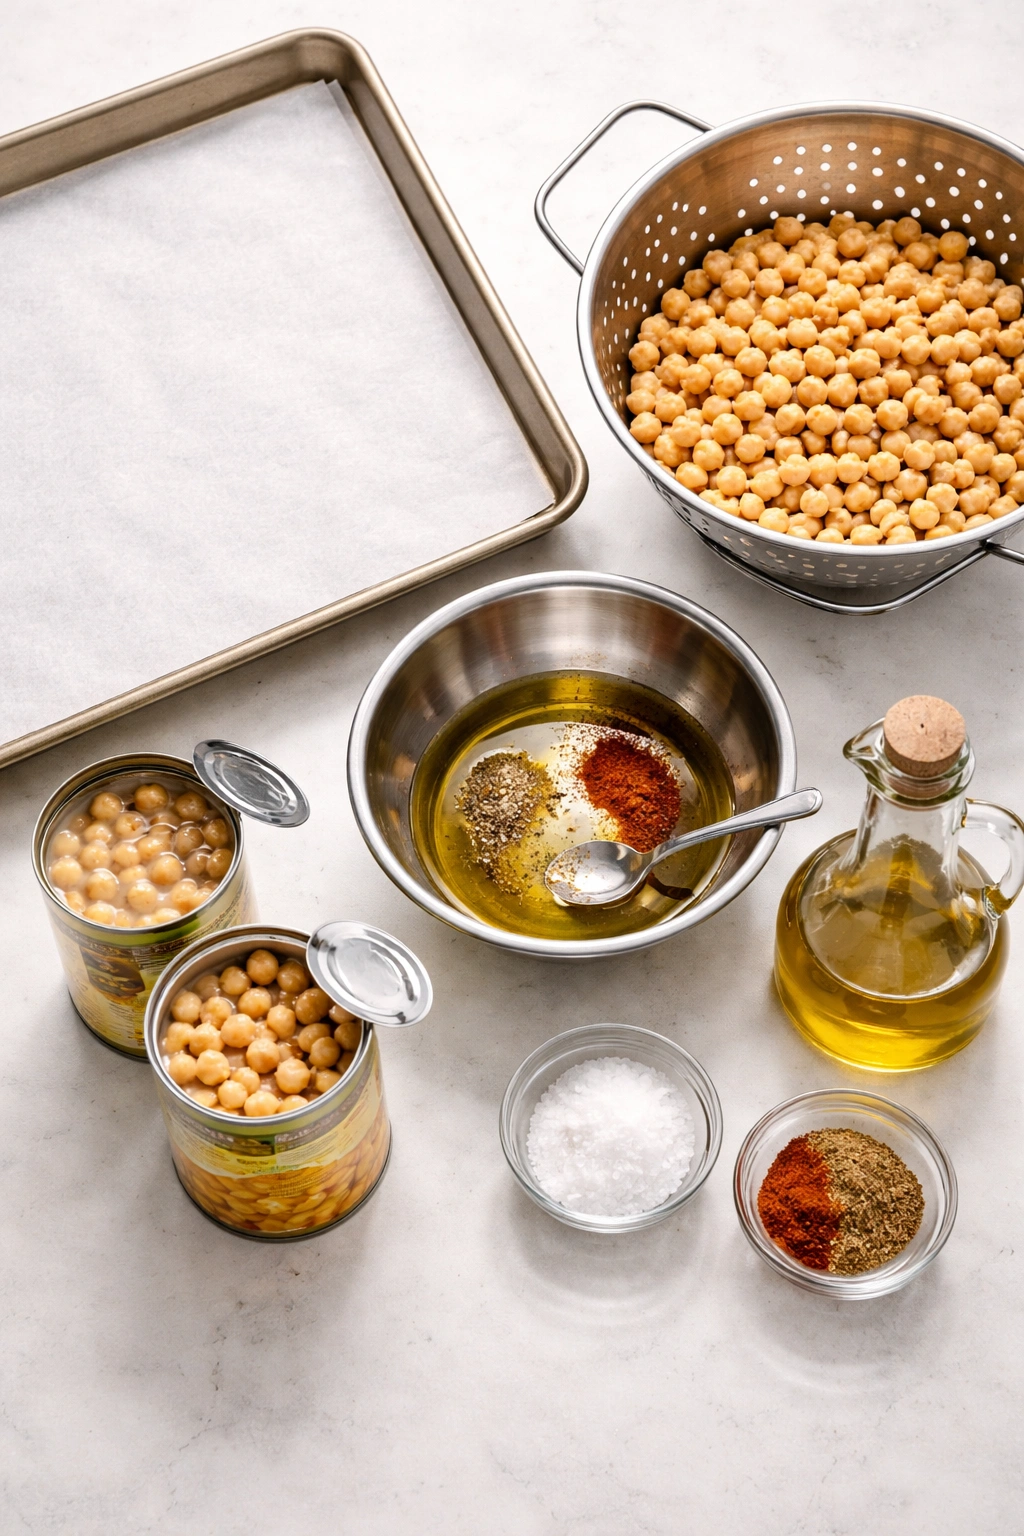
Before you start, gather your tools. You’ll need a sturdy baking sheet (a rimmed sheet pan is ideal so seasonings don’t spill off the sides), a small bowl for mixing your oil and seasonings, and a spoon for tossing. A colander is essential for draining and rinsing the chickpeas properly. Beyond that, you probably already have everything you need in your kitchen.
The beauty of this snack is how few ingredients it requires. One or two cans of chickpeas form the base. Olive oil (or any neutral high-heat oil) coats and crisps them. Salt brings out the natural flavors. From there, your seasonings are completely up to you—this is where the fun begins. You might keep a few go-to flavor combinations on hand: something smoky and warm, something brightly spiced, something savory and garlic-forward. Many people find themselves making a different batch weekly because the variations feel totally fresh each time.
For the cleanest results and easiest cooking, I prefer regular canned chickpeas over dried ones that you’ve cooked yourself. Canned chickpeas are already fully cooked, which means they just need the moisture removed and then crisping in the oven—no complicated pre-cooking stage. If you do use home-cooked dried chickpeas, make sure they’re fully cooked and completely cooled before you proceed, then follow the same drying process.
Yield: Serves 4 to 6 as a snack | Makes about 2½ cups | About 1 ounce per serving Prep Time: 10 minutes (mostly drying time) Cook Time: 35 to 45 minutes Total Time: 45 to 55 minutes Difficulty: Beginner — simply drain, dry, toss with oil and seasonings, and roast. No special skills required; even first-time cooks achieve crispy, delicious results consistently.
Complete Recipe: Crispy Roasted Chickpeas with Basic Spiced Coating
Base Ingredients:
- 2 cans (14 ounces each) chickpeas, drained and thoroughly rinsed
- 1 tablespoon olive oil (or other neutral high-heat oil)
- ¾ teaspoon fine sea salt
- ¼ teaspoon freshly ground black pepper
Optional Seasoning Add-Ons (choose one combination below):
Smoky Paprika Version:
- ½ teaspoon smoked paprika
- ¼ teaspoon garlic powder
- ¼ teaspoon cumin
- Pinch of cayenne pepper (optional)
Everything Bagel Version:
- 1 teaspoon everything bagel seasoning
- ¼ teaspoon garlic powder
Spanish Spiced Version:
- ½ teaspoon smoked paprika
- ¼ teaspoon cumin
- ¼ teaspoon dried oregano
- ⅛ teaspoon black pepper (in addition to the base pepper listed above)
Prepare the Chickpeas:
- Drain the canned chickpeas in a colander and rinse thoroughly under cool running water, gently rubbing them with your hands to remove any starchy coating. This rinsing step removes excess sodium and prepares the surface for proper seasoning adhesion.
- Spread the rinsed chickpeas on a clean kitchen towel or several layers of paper towels and pat them dry very thoroughly. The goal is to remove as much surface moisture as possible—this is non-negotiable for achieving maximum crispiness. You can gently roll them in the towel or press them lightly; don’t crush them, but do ensure each one is no longer wet to the touch. If you have time, let them sit on the towel uncovered for 5 minutes before proceeding; this allows any remaining surface moisture to evaporate naturally.
- Preheat your oven to 400°F (200°C) and position the rack in the center of the oven. A centered rack ensures the most even heat circulation and helps prevent burning on the bottom while the tops remain pale.
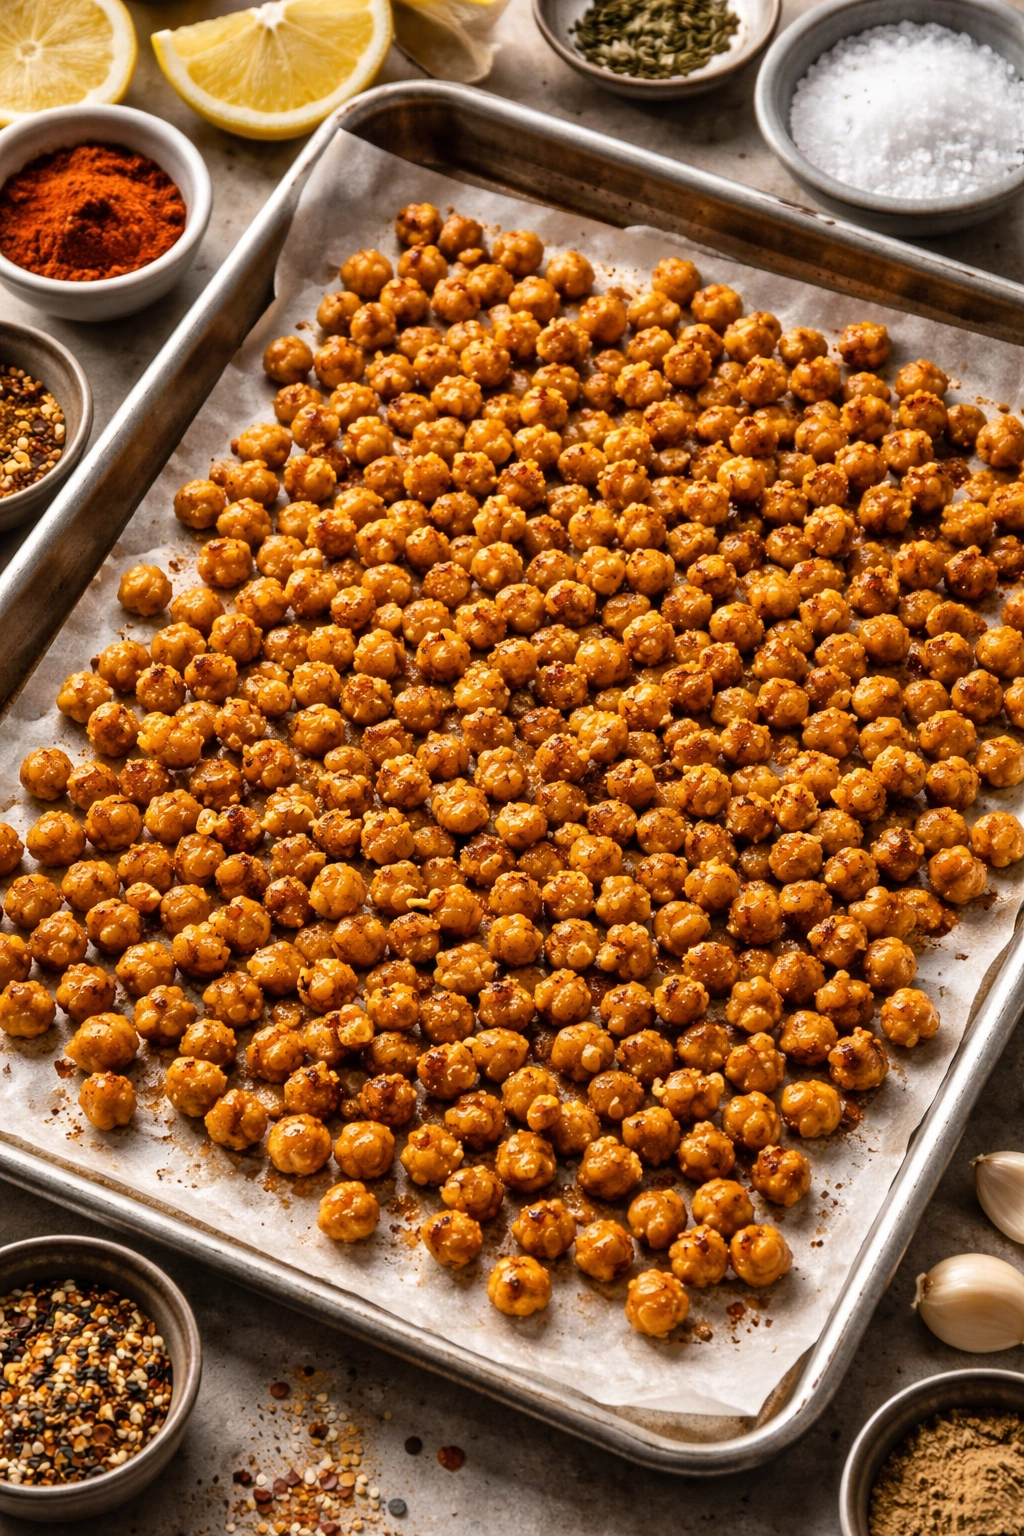
Season and Roast: 4. In a small bowl, combine the olive oil with the salt, pepper, and any additional seasonings you’ve chosen (select one of the optional combinations above, or create your own). 5. Place the dried chickpeas in a medium bowl and pour the seasoned oil over them. Using a spoon or your hands (clean hands work best), toss the chickpeas gently but thoroughly until each one is lightly and evenly coated with the oil and seasonings. This usually takes 30 seconds to 1 minute. Important: Make sure every chickpea is coated; any uncoated ones will remain soft instead of crisping up. 6. Spread the seasoned chickpeas in a single layer on a rimmed baking sheet, distributing them as evenly as possible. They should sit in a mostly single layer with minimal overlap; don’t pile them high. 7. Roast for 20 minutes, then open the oven and give the baking sheet a good shake or use a spoon to stir the chickpeas, moving the ones on the edges toward the center and vice versa. This ensures even cooking and prevents any from burning. 8. Return the chickpeas to the oven and roast for an additional 15 to 25 minutes. Start checking at the 15-minute mark. The chickpeas are done when they’re deeply golden brown, feel completely hard to the touch (not at all squishy), and shatter easily between your teeth. The exact timing depends on your oven’s actual temperature, humidity, and how dried out your chickpeas were to begin with. Important warning: Undercooked chickpeas will soften as they cool; slightly overcooked ones are far superior to underdone ones, so err on the side of longer cooking if you’re uncertain. 9. Remove the baking sheet from the oven and let the chickpeas cool on the pan for at least 5 minutes. Do not eat them immediately—they will be extremely hot and can burn your mouth. Additionally, they continue to crisp up as they cool, so patience here actually improves the final result. After 5 minutes, you can transfer them to a serving bowl or storage container.
Pro Tips for Maximum Crispiness
The difference between good roasted chickpeas and absolutely perfect ones often comes down to small technical details that many recipes gloss over. Here are the insider tricks that separate mediocre batches from the ones people can’t stop eating.
Invest in a reliable oven thermometer. Many home ovens run hotter or cooler than their dial indicates, which significantly affects cooking time and crispiness. A simple oven thermometer costs just a few dollars and solves this problem instantly. If your oven runs hot, you might need to reduce the temperature to 375°F (190°C); if it runs cool, 425°F (220°C) might work better. Once you know your oven’s actual temperature, you’ll achieve consistent results every single time.
Don’t skip the final cool-down. Roasted chickpeas continue to crisp up for a full 10-15 minutes after they come out of the oven, even though they feel done. This happens as residual internal moisture continues to evaporate. If you transfer them to a sealed container immediately, you trap that moisture and end up with softer chickpeas by the next day. A 10-minute cool period on the open baking sheet before transferring to storage makes an enormous difference in how long they stay crispy.
Shake or stir halfway through cooking. This is genuinely important. Chickpeas don’t brown evenly on their own—the ones on the bottom of the pan will cook faster than the ones on top, and the ones on the edges will crisp up differently than the ones in the center. A good shake or thorough stir at the halfway mark ensures that every single chickpea gets exposed to the heat evenly and finishes at the same crispiness level.
Use parchment paper to prevent sticking. While not strictly necessary, lining your baking sheet with parchment paper makes cleanup easier and slightly prevents the bottoms from browning too quickly. If your chickpeas start browning on the bottom before the insides have fully crisped, the parchment provides a small thermal barrier that helps.
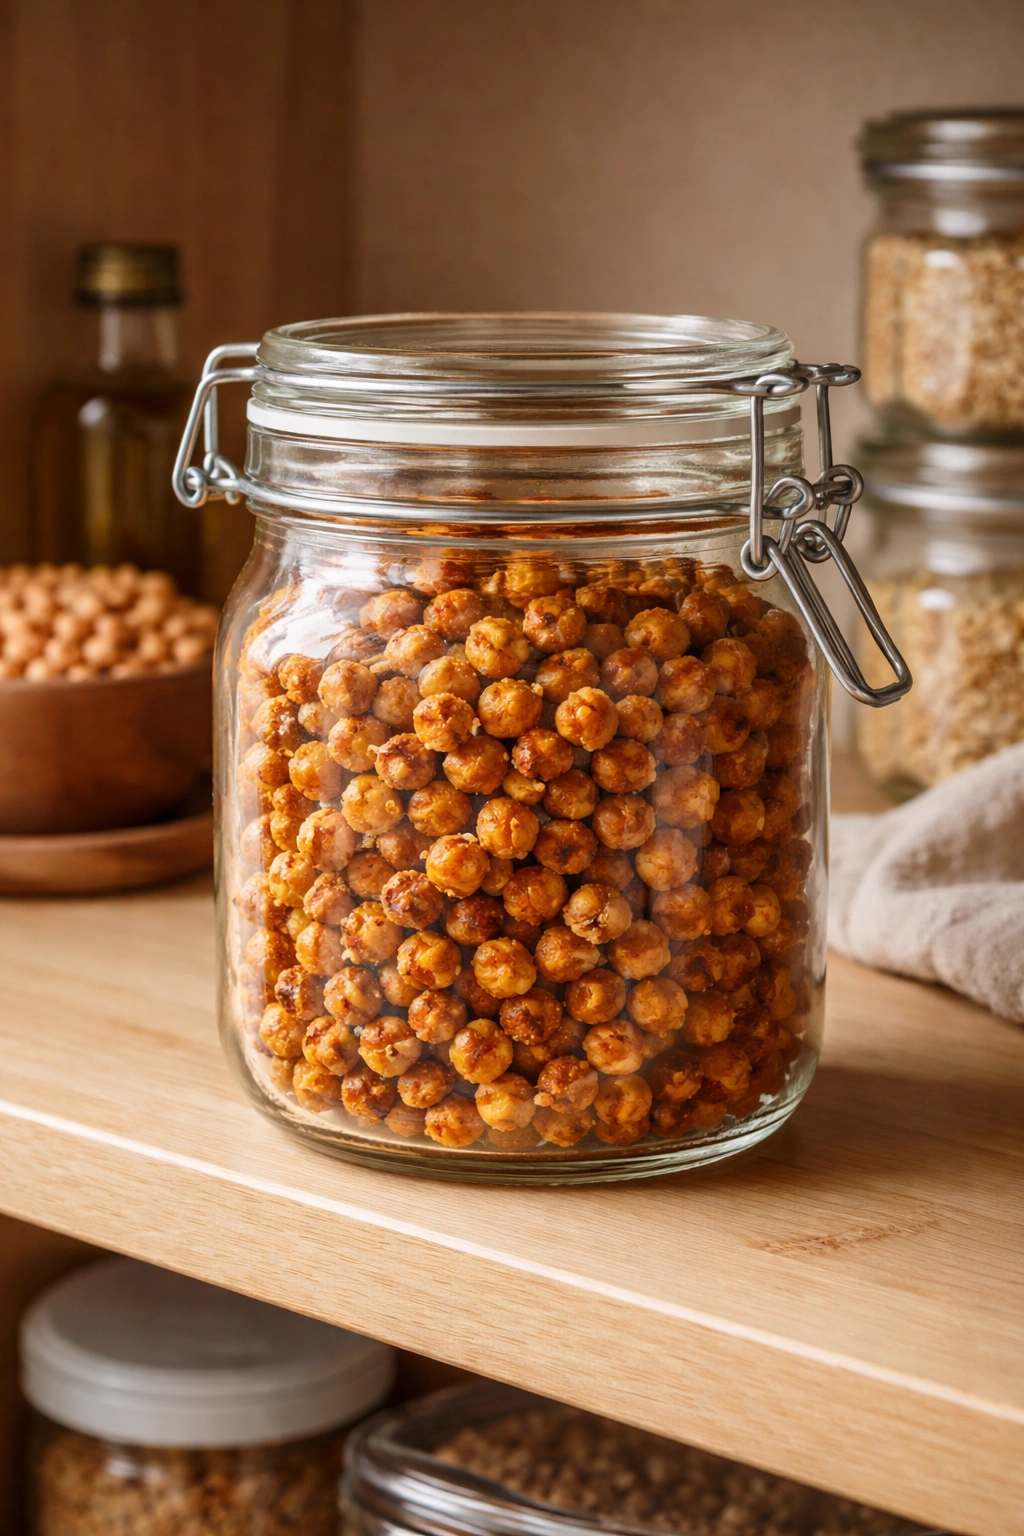
Store them correctly to maintain crispiness. Once cooled completely, transfer roasted chickpeas to an airtight container, but don’t seal it right away. Leave it uncovered for 30 minutes to allow any final moisture to escape. Then seal it tightly. Stored this way, they’ll stay crispy for about 4-5 days at room temperature. After that, they’ll gradually soften as they absorb moisture from the air, which is still delicious but not quite the same textural experience.
Flavor Variations to Keep Things Interesting
The base recipe is just the beginning. Once you’ve mastered the technique, the seasoning possibilities become truly endless. Here are some combinations I’ve tested thoroughly and return to regularly, plus the framework for creating your own.
Spicy Chili Lime Version delivers bright, heat-forward flavors that work beautifully as a summer snack. Add ½ teaspoon chili powder, ¼ teaspoon cumin, ¼ teaspoon garlic powder, and the zest of one lime to your oil before coating. The acid in the lime zest adds a tangy complexity that regular salt can’t achieve alone. This version pairs wonderfully with cold drinks and feels especially craveable in warmer months.
Sweet and Savory Cinnamon takes roasted chickpeas into dessert-snack territory without being overly sweet. Combine the base oil with ¾ teaspoon salt as usual, then add ¼ teaspoon cinnamon, ⅛ teaspoon nutmeg, and 1 teaspoon of maple syrup mixed into the oil. The maple should be stirred into the oil first so it distributes evenly rather than clumping. These are beautiful served alongside herbal tea and feel like a genuinely sophisticated snack.
Garlic Parmesan feels indulgent and savory without any heat. Use the base oil and salt, add ½ teaspoon garlic powder and ¼ teaspoon dried Italian herbs, then toss the roasted chickpeas with 2 tablespoons of freshly grated Parmesan cheese after they come out of the oven and while they’re still warm. The heat of the chickpeas melts the cheese slightly so it adheres beautifully, and the cheese continues to crisp as they cool.
Curry-Spiced Version brings warm, complex spice notes. Mix ½ teaspoon curry powder (adjust based on your preferred heat level), ¼ teaspoon turmeric, ¼ teaspoon ginger powder, and ⅛ teaspoon black pepper into your oil. If you have curry paste, you can use ¼ teaspoon mixed into the oil for even more complexity. The ginger adds warmth without being directly spicy, and the turmeric contributes an earthy depth.
Dill and Lemon suits people who love fresh, bright flavors. After the chickpeas come out of the oven and cool for a minute, toss them with 1 teaspoon of fresh lemon zest and ½ teaspoon of dried dill (or 1 teaspoon fresh dill if you have it). The fresh zest adds brightness that dried citrus can never quite replicate, and dill’s subtle anise notes give an unexpected flavor dimension.
Ranch Seasoning recreates the flavor of ranch dip but in crunchy form. Mix your base oil with salt and ¾ teaspoon of ranch seasoning powder. Look for a version that’s just the seasoning mix, not a complete ranch dip mix that contains dairy components. This version satisfies serious savory-snack cravings.
Create Your Own Combinations by understanding a few basic principles. Aim for a total of ¾ to 1 teaspoon of dry seasonings (beyond the base salt and pepper). Start with a base flavor—something warm like paprika or cumin, or something savory like garlic or onion powder. Add complexity with something bright—dried herbs like oregano or thyme, heat elements like cayenne, or something unexpected like a pinch of nutmeg or cinnamon. Finish with a balancing note—a little extra salt, a pinch of sugar if you went spicy, or fresh zest if you want brightness.
Storage and Make-Ahead Guidance
One of the best things about roasted chickpeas is that they store beautifully, making them perfect for meal prep or batch cooking. Understanding the best storage methods and timeline means you can always have a ready-to-eat snack on hand.
Room temperature storage works perfectly for the first 3-4 days. Once completely cooled, transfer the chickpeas to an airtight container and seal it tightly. They’ll stay crispy and delicious throughout this window. After day 4, they’ll begin to soften gradually as they absorb ambient moisture, but they’re still completely edible—just slightly less crispy than ideal. Some people actually prefer this softer texture for eating straight from the container while at a desk or while reading.
Refrigeration extends their life slightly but can make them soften more quickly if the container isn’t extremely airtight. If you do refrigerate them, use a glass container with an airtight seal rather than a loosely covered bowl. In the fridge, they’ll stay crispy for about 5-6 days, but checking on them after day 4 is wise—texture can degrade quickly once they start absorbing refrigerator moisture.
Freezing is actually a brilliant option if you want to extend storage further. Let the chickpeas cool completely, then spread them on a baking sheet in the freezer for 1-2 hours until they’re solid. Transfer the frozen chickpeas to a freezer bag or airtight freezer container. They’ll keep frozen for up to 3 months. When you want to eat them, simply pull out whatever amount you need—no thawing required. They come back to crispiness almost perfectly when left at room temperature for 15 minutes or quickly reheated in a 350°F (175°C) oven for 5 minutes.
Make-ahead strategy works beautifully with roasted chickpeas. Many people make a triple batch on Sunday afternoon, using three different seasonings. This gives them variety throughout the week and takes minimal additional effort compared to making a single batch. The time investment is barely different—you’re still using the same baking sheet and the same oven; you’re just roasting three separate batches in sequence.
Reheating crispy roasted chickpeas is only occasionally necessary, since they’re great at room temperature. If they’ve softened over a few days and you want to restore crispness, a 5-minute spin in a 350°F (175°C) oven brings them back beautifully. Avoid the microwave, which will make them steam and become soft rather than restoring crispiness. The oven is your friend here.
Nutritional Benefits and Why They’re Genuinely Guilt-Free
The phrase “guilt-free snacking” gets thrown around so often that it’s become almost meaningless. But with roasted chickpeas, you’re actually looking at a snack that delivers legitimate nutritional value, not just lower calories than the alternative. Understanding what you’re actually getting makes the choice feel genuinely good rather than like a compromise.
A typical serving of roasted chickpeas—about ¼ cup or roughly 1 ounce—contains approximately 4 grams of plant-based protein. For perspective, that matches the protein in one egg or one tablespoon of peanut butter, making chickpeas a legitimately effective protein source. The protein content is what gives roasted chickpeas their unique staying power; it’s why eating them actually keeps you satisfied for hours rather than just providing temporary crunch.
The fiber content is equally impressive. That same serving contains roughly 3 grams of dietary fiber, which represents about 10% of the recommended daily intake. Fiber does two crucial things: it slows down the absorption of nutrients, creating a steadier blood-sugar response that prevents the energy crashes associated with refined snacks, and it feeds beneficial bacteria in your gut. Beyond the physiological benefits, fiber contributes to that satisfying “full” feeling that keeps you from reaching for a second handful 20 minutes later.
Chickpeas are also rich in micronutrients that many people don’t get enough of. They contain meaningful amounts of folate (important for cell division and DNA synthesis), manganese (essential for bone health and metabolic function), iron (especially important for plant-based eaters), and magnesium (crucial for muscle and nerve function and often depleted in modern diets). While you’re not eating huge quantities of chickpeas—they’re a snack, not a meal—these micronutrients add up over time, particularly if you’re snacking on roasted chickpeas regularly.
The calorie count is genuinely reasonable: roughly 130 calories per ounce. Compare that to potato chips (roughly 150 calories per ounce with minimal nutritional value), peanuts (roughly 160 calories per ounce), or granola (often 150+ calories per ounce with added sugars). For the calorie investment, roasted chickpeas deliver more nutritional bang for your buck than almost any other convenient snack.
One often-overlooked benefit is that roasted chickpeas won’t cause the blood-sugar spike that comes with refined-carbohydrate snacks. Because they contain significant protein and fiber, the carbohydrates in chickpeas are absorbed slowly, creating a gentle, sustained energy boost rather than the sharp spike-and-crash of processed snacks. This means you feel better while eating them and don’t experience the energy slump and sugar cravings that follow processed snacks.
Finally, there’s the psychological benefit of eating something that feels genuinely healthy. Unlike “diet snacks” that taste punishing or fake, roasted chickpeas taste delicious and satisfying. Your brain registers that you’re eating something good for you and that you’re genuinely enjoying it. This removes the sense of deprivation or guilt that often accompanies diet-conscious snacking, replacing it with the confidence that you’ve made a choice that serves both your taste buds and your health.
Serving Ideas and Flavor Pairings
Roasted chickpeas work in surprisingly diverse contexts beyond just eating them straight from a bowl. Understanding different serving scenarios helps you appreciate just how versatile this snack really is.
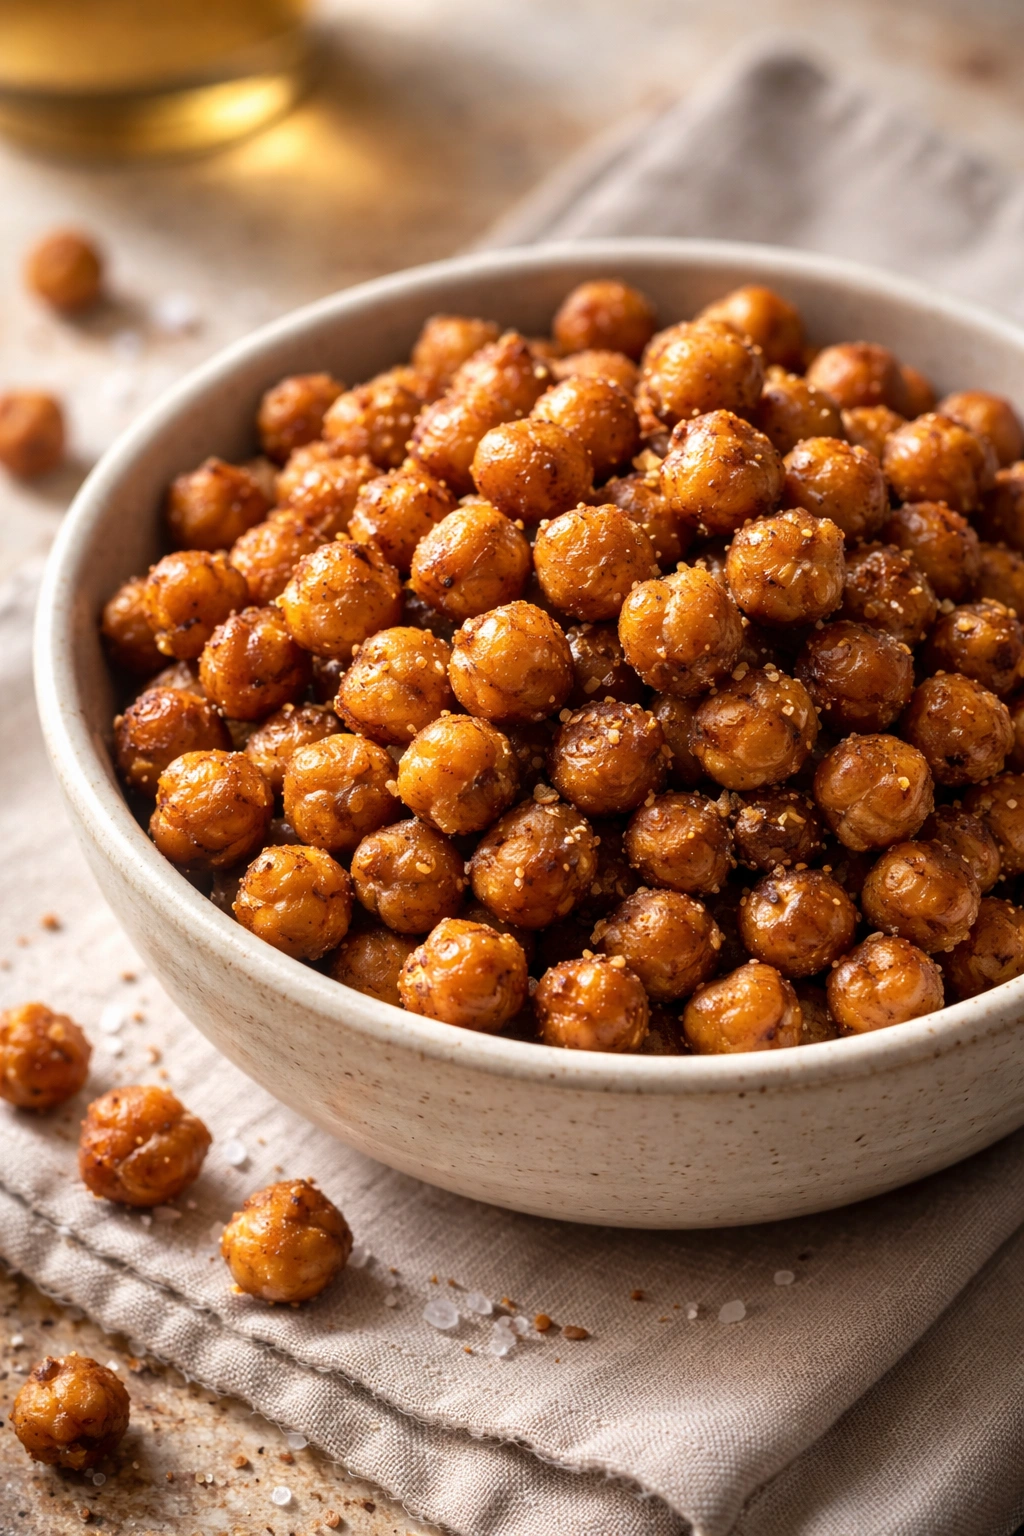
As a standalone snack is the most obvious application, but the context matters. Roasted chickpeas are perfect for afternoon snacking at work—they’re not messy, they don’t leave grease on your hands or keyboard, and they pair well with a cup of tea or coffee. They’re equally excellent as an airplane snack or road-trip companion; they travel beautifully in an airtight container and don’t require refrigeration. They’re great for kids’ lunchboxes because they’re crunchy, fun to eat, and genuinely nutritious.
Added to salads transforms a simple green salad into something with real substance. Warm roasted chickpeas tossed into a bed of greens will slightly wilt the leaves and create a warm-cool contrast that’s genuinely lovely. Use the savory versions—everything bagel or garlic parmesan work beautifully—rather than sweet ones. A simple olive oil and lemon vinaigrette underneath becomes more interesting when you have that crunchy, protein-rich element.
Mixed into trail mix creates a completely customizable snacking blend. Combine roasted chickpeas with raw almonds, dried cranberries, dark chocolate chips, and perhaps some coconut flakes. The ratio should be roughly one part chickpeas to one part other ingredients, depending on your preferences. Store-bought trail mixes often contain way too much sugar and insufficient protein; making your own ensures you’re getting exactly what you want.
As a soup topper adds texture and substance to smooth soups. A creamy vegetable soup becomes far more interesting with a handful of crispy chickpeas scattered on top just before serving. The contrast between the warm, smooth soup and the cold, crispy topping is genuinely delightful. This works especially well with curried soups or tomato-based soups.
Paired with dips turns roasted chickpeas into something resembling fancy appetizers. Set out a bowl of your roasted chickpeas alongside hummus, guacamole, or a yogurt-based dip. People will snack on them exactly as they would crackers or chips, but the nutritional profile is completely different. The chickpea-paired-with-creamy-dip combination has a lovely textural contrast.
For entertaining, roasted chickpeas work beautifully as an offering on a snack board or appetizer spread. Arrange them in a small bowl alongside nuts, dried fruit, cheese, and cured meats. They add visual interest, nutritional diversity, and a unique flavor that elevates the spread beyond standard offerings. Label them so guests know what they’re eating and can avoid if they have allergies.
Beverage pairings matter more than you might think. Savory versions pair beautifully with cold iced tea, coffee, or mineral water. Sweet versions work wonderfully with herbal teas—chamomile, peppermint, or rooibos all complement the warm spice notes. They’re also excellent with sparkling wine or light beer if you’re snacking in an evening context.
Troubleshooting Common Issues

Even with clear instructions, roasted chickpeas don’t always turn out perfectly on the first try. Understanding what can go wrong and how to fix it means you’ll improve with every batch.
Soft, chewy chickpeas instead of crispy ones almost always indicates insufficient drying or cooking. The solution: dry your chickpeas more thoroughly before roasting, and roast them longer next time. If they still feel slightly squishy after 45 minutes at 400°F, your oven may be running cool—invest in an oven thermometer and adjust the temperature accordingly. Another possibility is that you’re pulling them out too early; truly crispy chickpeas should be completely hard to the bite, not just firm on the outside.
Burned or overly dark chickpeas suggests your oven is running hotter than the recipe accounts for, or you’re cooking them too long. Reduce the oven temperature to 375°F (190°C) next time and check them a few minutes earlier. Burned seasonings taste bitter and unpleasant, so if this is your issue, it’s worth fixing. An oven thermometer is genuinely helpful here.
Inconsistent texture—some crispy, some soft almost always means insufficient stirring or shaking halfway through cooking. Make sure you’re giving the pan a really thorough shake or stir at the midpoint, moving the chickpeas so the ones that were on the edges are now more central. This is more important than many recipes make it sound.
Seasonings not adhering properly indicates that your chickpeas weren’t dried well enough. If there’s still surface moisture, the seasonings slide off rather than sticking. Dry them more aggressively next time, rolling them in the towel and really pressing to remove moisture.
The snack becoming soft after just 1-2 days means your storage isn’t airtight enough or you’re storing them somewhere with high humidity. Use a truly airtight container, seal it promptly after they’ve cooled, and store them in your most temperature-stable location—not above the stove or in a humid kitchen if possible. In very humid climates, the freezer might be your best option for extended storage.
Chickpeas exploding or shattering dramatically in the oven is actually not a problem; it’s a sign that you’ve succeeded. Some chickpeas naturally burst from internal pressure as they dry, creating shells that are incredibly crispy. This is fine—just try to be more gentle when stirring next time to preserve whole chickpeas if you prefer them intact. The exploded pieces are still delicious.
Key Takeaways
Roasted chickpeas deserve their growing reputation as one of the best snacks you can make at home. The technique is genuinely simple—drain, dry, coat with oil and seasonings, roast until crispy—yet produces results that rival anything you can buy at a store. The nutrition is legitimately impressive: protein and fiber that keep you satisfied, micronutrients your body actually uses, and a reasonable calorie count that doesn’t require guilt.
The real magic is in the customization. Once you’ve made a basic batch, you’ll start experimenting with different seasonings and suddenly discover that you have an endless supply of flavor ideas. One week you’re making smoky paprika-spiced chickpeas; the next you’re trying curry powder or everything bagel seasoning. This variety means you never get bored, and you’re never stuck with a snack that feels like a compromise.
Make your first batch this week. Follow the instructions precisely, pay attention to the drying step, don’t skip the halfway stir, and give them enough time in the oven to get genuinely crispy. Once you taste what perfectly roasted chickpeas should be like, you’ll understand why people get so excited about them. Then experiment with seasonings until you find your favorite. Within a few batches, you’ll have a go-to snack that you’re actually excited to eat—not because it’s “healthy,” but because it’s genuinely delicious and satisfying. That’s the difference roasted chickpeas make.