You know that moment when someone invites you to a potluck and you panic about what to bring? Or you’ve got unexpected guests arriving in an hour and you need something homemade? Cookies solve both problems beautifully—they’re forgiving, impressive, and somehow always appreciated. The recipes here aren’t fussy pastries requiring temperature-controlled kitchens or exotic ingredients. These are eight cookie styles that work for literally any situation: casual family gatherings, holiday gift boxes, afternoon snacks, bake sales, or just because you want something warm from the oven on a Tuesday.
The beauty of these eight recipes is their versatility. Each one can be dressed up or dressed down depending on what you have on hand. You can make them from pantry staples, customize flavors to match your mood, and have finished cookies in under an hour from start to finish. Whether you’re a beginner baker or someone who bakes regularly, these recipes are designed to be reliable, delicious, and flexible enough to adapt to nearly any craving or occasion.
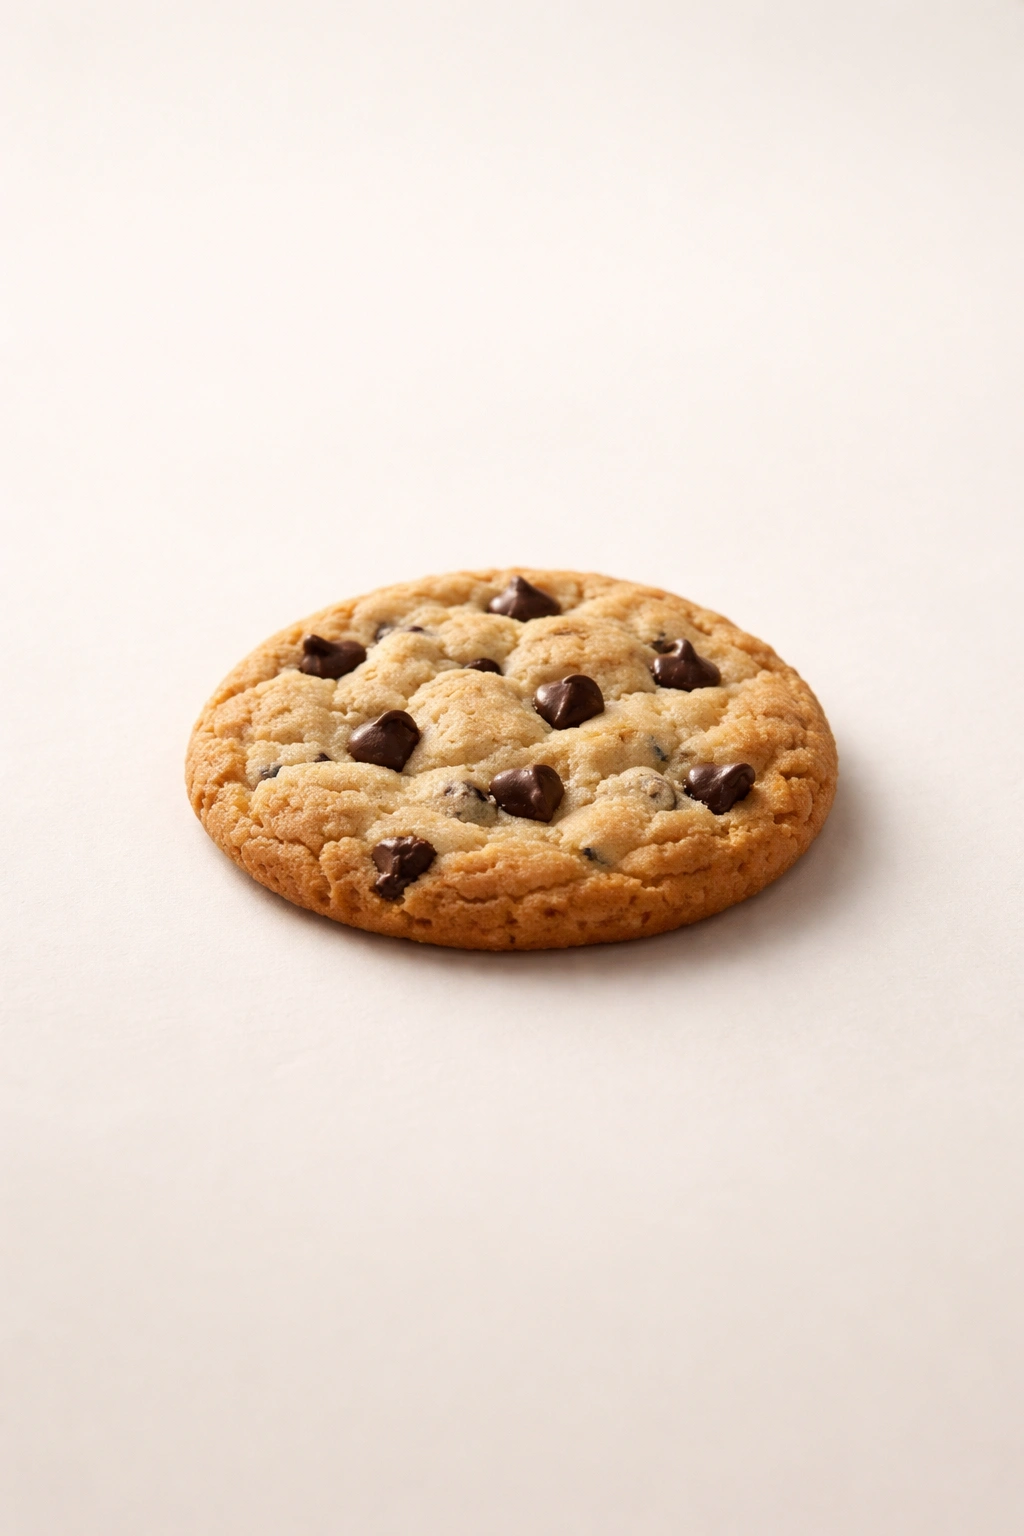
1. Classic Chocolate Chip Cookies
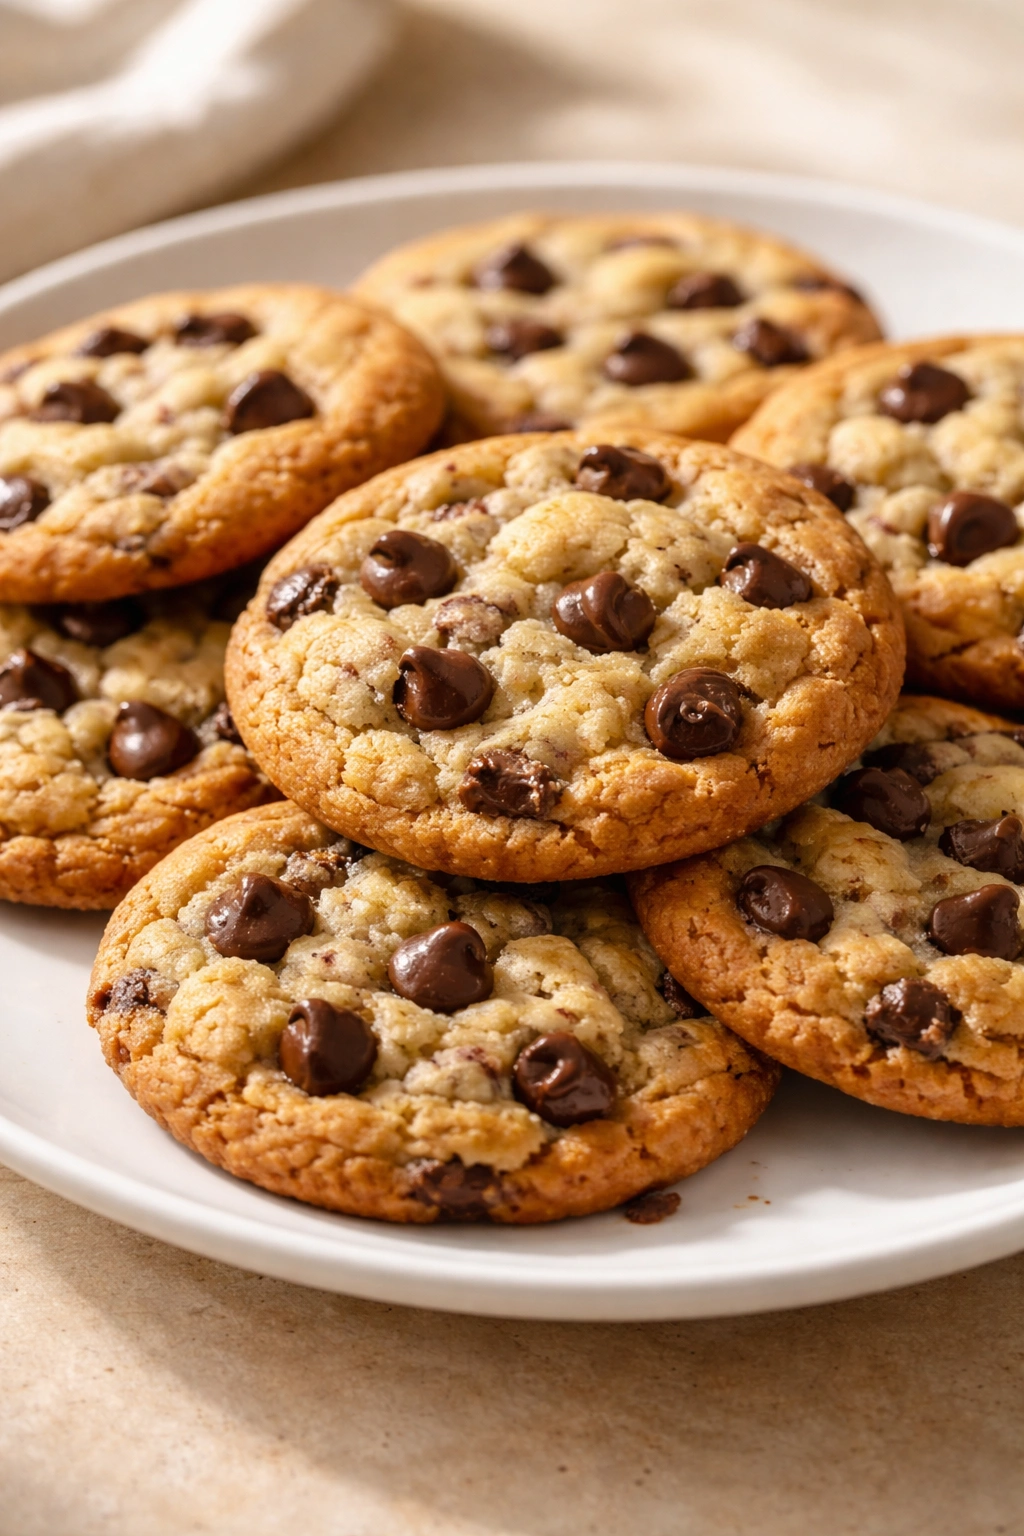
These are the cookies that made everyone fall in love with baking in the first place. When you bite into a properly made chocolate chip cookie, you get that perfect combination: crispy-chewy edges that yield to a slightly soft center studded with melted chocolate. The secret isn’t complicated—it’s about the right ratio of butter to sugar, the flavor punch from brown sugar, and knowing exactly when to pull them from the oven so they’re set but still tender inside.
This recipe works for everything from packing into a lunch box to layering in a dessert gift box tied with ribbon. They’re familiar enough that nobody will question your baking skills, but personal enough that they taste homemade in the best way possible. These cookies stay fresh for five days at room temperature, making them perfect for baking ahead.
Yield: Makes 24 cookies Prep Time: 15 minutes Cook Time: 11 to 13 minutes Total Time: 26 to 28 minutes Difficulty: Beginner — straightforward mixing method with no special equipment needed.
Ingredients:
- 2¼ cups all-purpose flour
- 1 teaspoon baking soda
- 1 teaspoon fine sea salt
- 1 cup (2 sticks) unsalted butter, softened to room temperature
- ¾ cup granulated sugar
- ¾ cup packed light brown sugar
- 2 large eggs, room temperature
- 2 teaspoons pure vanilla extract
- 2 cups semi-sweet chocolate chips
- ½ cup chopped walnuts or pecans (optional but recommended)
Prepare and Mix:
-
Preheat the oven to 375°F (190°C) and position racks in the upper and lower thirds of the oven. Line two baking sheets with parchment paper.
-
In a medium bowl, whisk together the flour, baking soda, and salt until evenly distributed. Set aside.
-
In a large bowl using a hand mixer or stand mixer fitted with the paddle attachment, beat the softened butter, granulated sugar, and brown sugar on medium speed for 3 to 4 minutes, until the mixture is pale, noticeably fluffy, and increased in volume. This step is crucial—it incorporates air that gives cookies their tender crumb.
Advertisements -
Add the eggs one at a time, beating for 30 seconds after each addition and scraping down the sides of the bowl. Add the vanilla extract and beat briefly to combine.
-
Reduce the mixer to low speed. Add the flour mixture in three additions, mixing only until each addition just disappears into the dough. Do not overmix once the flour goes in—overmixing develops gluten and creates tough, dense cookies.
-
Fold in the chocolate chips and nuts (if using) by hand with a spatula or wooden spoon, stirring only until evenly distributed.
Scoop and Bake:
-
Drop rounded tablespoons of dough onto the prepared baking sheets, spacing them about 2 inches apart. These cookies spread slightly, so don’t crowd them.
-
Bake for 11 to 13 minutes, rotating the baking sheets front to back and switching racks halfway through baking, until the edges are golden brown but the centers still look slightly underdone. The cookies will look a bit soft in the middle—this is intentional and what makes them chewy inside.
-
Remove from the oven and let the cookies cool on the baking sheets for 5 minutes. They’ll firm up slightly as they cool. Transfer them to a wire cooling rack to cool completely.
Tips and Variations:
Room-temperature ingredients really do matter here. Cold eggs and cold butter don’t incorporate as smoothly, which affects both the texture and the final rise. Pull everything out of the fridge about an hour before baking.
For browner, nuttier-tasting cookies, swap half the granulated sugar for packed brown sugar—use ¾ cup brown sugar and ½ cup granulated instead. This creates deeper caramel notes and makes them slightly chewier.
If you want extra decadence, add ½ teaspoon of fleur de sel sprinkled on top of each cookie right after baking, while the chocolate is still slightly warm. The salt brightens the chocolate and adds sophistication without any “salty” taste.
Storage:
Keep these in an airtight container at room temperature for up to five days. Layer them between parchment or wax paper so they don’t stick together. They freeze beautifully for up to three months—baked and cooled, in a freezer-safe container. Thaw at room temperature for about an hour before serving.
2. Brown Butter Snickerdoodles
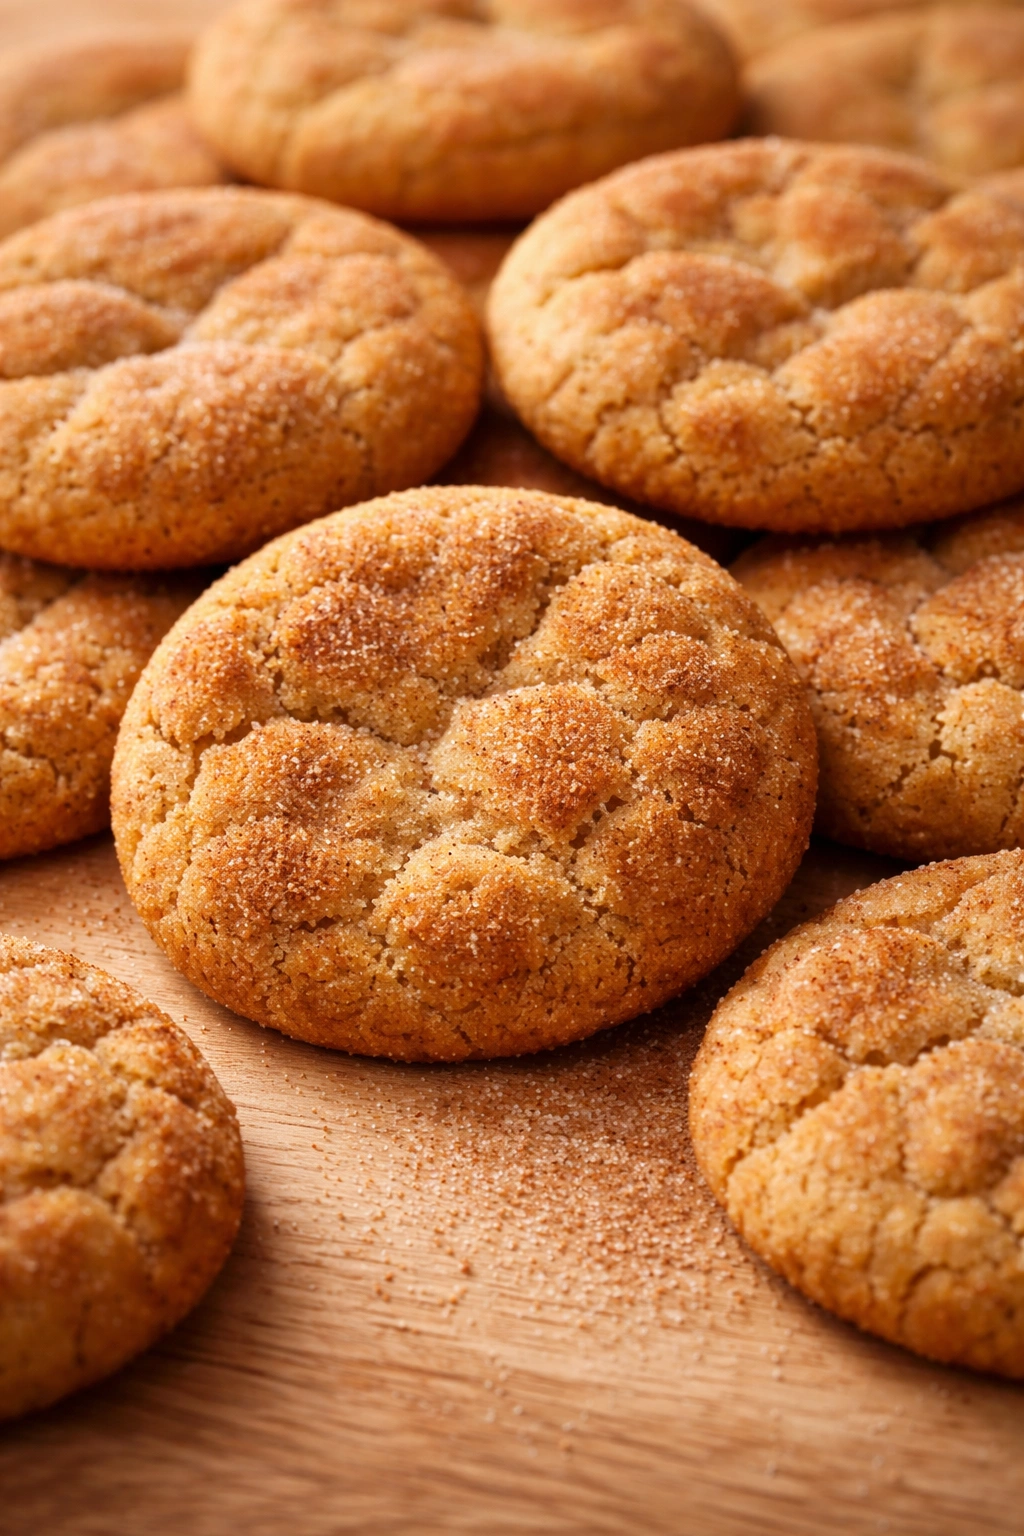
Snickerdoodles are what happens when you take something already delicious and push it toward cinnamon-sugar perfection. But instead of using plain melted butter, browning the butter first adds a subtle nuttiness and toasted depth that elevates them beyond the basic version. These cookies have that signature crackly-topped, chewy-centered texture that makes them impossible to eat just one of.
The brown butter makes them slightly more complex to prepare, but the extra step is worth it—you’ll taste the difference in every bite. They’re perfect for coffee or tea, they pack well for travel, and honestly, they’re just impressive enough that people assume you’re more skilled than you actually are.
Yield: Makes 20 to 24 cookies Prep Time: 20 minutes Cook Time: 10 to 12 minutes Total Time: 30 to 32 minutes plus cooling Difficulty: Intermediate — browning butter requires attention, but the mixing technique is straightforward.
Ingredients:
For the Cookies:
- ¾ cup (1½ sticks) unsalted butter
- ¾ cup granulated sugar
- ½ cup packed light brown sugar
- 1 large egg plus 1 large egg yolk, room temperature
- 1 teaspoon pure vanilla extract
- 1¾ cups all-purpose flour
- ¼ teaspoon baking soda
- ½ teaspoon fine sea salt
- 1½ teaspoons ground cinnamon
For the Cinnamon-Sugar Coating:
- ¼ cup granulated sugar
- 1 tablespoon ground cinnamon
- Pinch of fine sea salt
Brown the Butter and Make the Dough:
-
Cut the butter into tablespoon-sized pieces and add to a small saucepan over medium heat. Let it melt without stirring, watching carefully.
-
Once the butter is melted, increase the heat slightly to medium-high. The butter will begin to foam as the water evaporates. Continue cooking, swirling the pan occasionally (not stirring), for 5 to 7 minutes until the milk solids at the bottom turn golden brown and the whole thing smells wonderfully nutty and toasted. You want a golden-brown color, not dark brown—stop here.
-
Pour the browned butter into a bowl (include the browned bits at the bottom—that’s where the flavor is). Let it cool to room temperature, about 15 minutes. The butter will solidify slightly as it cools.
-
In a small bowl, whisk together the flour, baking soda, salt, and cinnamon until evenly combined. Set aside.
-
In a large bowl, whisk together the cooled brown butter, granulated sugar, and brown sugar until combined. Add the egg, egg yolk, and vanilla extract, whisking until the mixture is smooth.
-
Add the flour mixture to the wet ingredients and fold gently with a spatula until just combined. Do not overmix—the dough should come together without any streaks of flour.
Prepare for Baking:
-
In a small bowl, combine the ¼ cup sugar, 1 tablespoon cinnamon, and pinch of salt. This is your coating.
-
Preheat the oven to 350°F (175°C) and line two baking sheets with parchment paper.
-
Scoop rounded tablespoons of dough and roll each one between your palms into a ball. Roll the ball in the cinnamon-sugar mixture, coating all sides generously, and place on the prepared baking sheets about 2 inches apart.
Advertisements
Bake:
-
Bake for 10 to 12 minutes, rotating the baking sheets halfway through, until the tops are crackled and light golden but the centers still look slightly underdone. These cookies continue cooking on the hot pan after you remove them.
-
Let them cool on the baking sheets for 5 minutes, then transfer to a wire rack to cool completely.
Tips and Variations:
Don’t skip cooling the brown butter—hot butter will cook the eggs in the dough before you want them to cook. Room temperature is the sweet spot.
For extra crackle on top, dip the top of each baked cookie into the cinnamon-sugar mixture while it’s still warm, pressing gently so the sugar adheres to the soft cookie top.
If you want them chewier, use the full amount of brown sugar (⅔ cup) instead of splitting it evenly. If you prefer them crispier, use more granulated sugar (¾ cup) instead.
Storage:
Store in an airtight container at room temperature for up to four days. The cinnamon-sugar coating stays crisp. You can freeze the baked cookies for up to three months—they thaw at room temperature in about an hour.
3. Peanut Butter Cookies with a Crackle Top
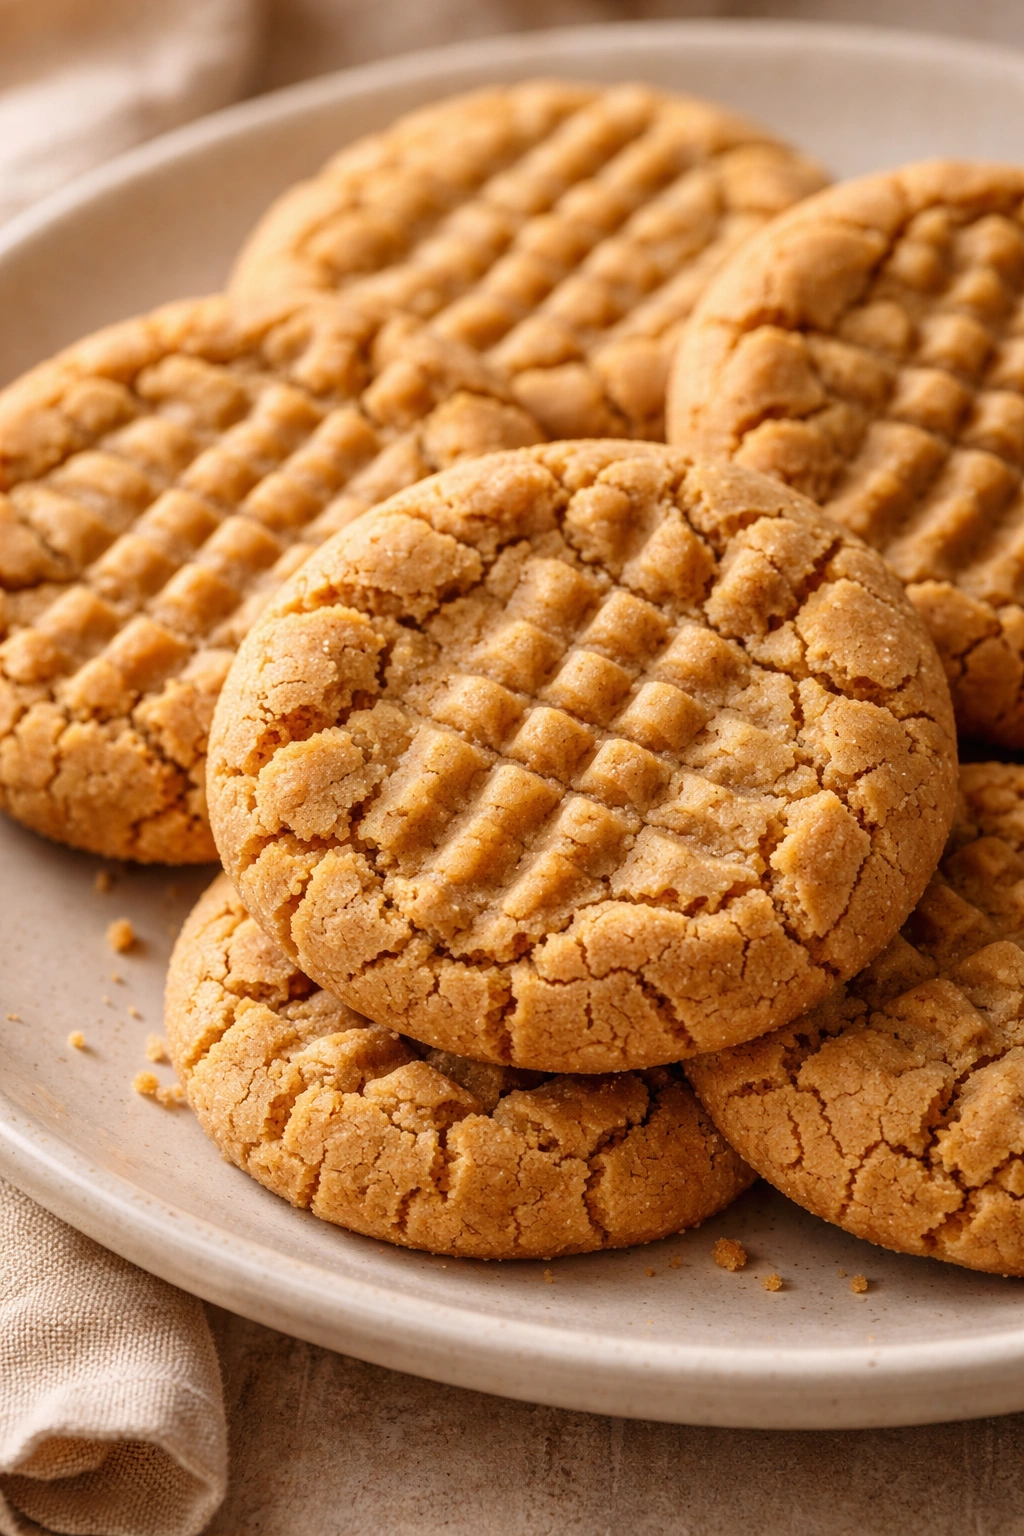
Peanut butter cookies are comfort and nostalgia baked into something you can hold in your hand. This version is densely nutty, slightly soft in the center, and topped with that telltale crosshatch pattern that tells everyone you made them from scratch. The magic is using creamy peanut butter for smoothness and adding a touch of brown sugar so they’re not too sweet or one-dimensional.
These are the cookies that disappear fastest at any gathering. They work for potlucks, lunch boxes, gift exchanges, or the quiet moments when you just need something satisfying. Peanut butter cookies also happen to be naturally sturdy—they transport well and stay fresh longer than many other styles.
Yield: Makes 18 to 20 cookies Prep Time: 12 minutes Cook Time: 10 to 12 minutes Total Time: 22 to 24 minutes Difficulty: Beginner — simple ingredient list and straightforward mixing.
Ingredients:
- 1 cup creamy peanut butter (unsweetened, or natural)
- ½ cup (1 stick) unsalted butter, softened to room temperature
- ½ cup granulated sugar
- ½ cup packed light brown sugar
- 1 large egg, room temperature
- 1 teaspoon pure vanilla extract
- 1¼ cups all-purpose flour
- ½ teaspoon baking soda
- ½ teaspoon fine sea salt
Mix and Shape:
-
Preheat the oven to 350°F (175°C) and line two baking sheets with parchment paper.
-
In a large bowl using a hand mixer or stand mixer, beat together the peanut butter, softened butter, granulated sugar, and brown sugar on medium speed for 2 to 3 minutes until well combined and slightly fluffy.
-
Add the egg and vanilla extract, beating until fully incorporated and the mixture is smooth.
-
In a separate bowl, whisk together the flour, baking soda, and salt.
-
Add the flour mixture to the peanut butter mixture and fold gently with a spatula until just combined. The dough will be slightly thick and stiff—this is correct.
-
Scoop the dough into rounded tablespoons and roll each between your palms into a ball. Place the balls on the prepared baking sheets, spacing them about 2 inches apart.
Advertisements -
Gently flatten each cookie to about ¼-inch thickness with the bottom of a glass or your palm. Using a fork, press down gently across the top in one direction, then rotate the fork 90 degrees and press down again, creating the classic crosshatch pattern.
Bake:
-
Bake for 10 to 12 minutes, until the edges are set and lightly golden but the centers still look soft and slightly underbaked. The cookies will firm up as they cool.
-
Let them cool on the baking sheets for 5 minutes, then transfer to a wire cooling rack.
Tips and Variations:
If your peanut butter is very oily, you can drain some of the oil off the top before measuring. This prevents excessively greasy cookies, though a little oil makes them texture better.
For a chocolate twist, add ½ cup of mini semi-sweet chocolate chips folded into the dough before scooping. Or dip half of each cooled cookie into melted chocolate.
To make them extra special, top each unbaked cookie with a small piece of chocolate or a few sprinkles before baking. Press gently so they adhere.
Storage:
Keep in an airtight container at room temperature for up to five days. These cookies are fairly sturdy and transport well. Freeze baked cookies for up to three months in a freezer-safe container.
4. Oatmeal Raisin Cookies with Cinnamon
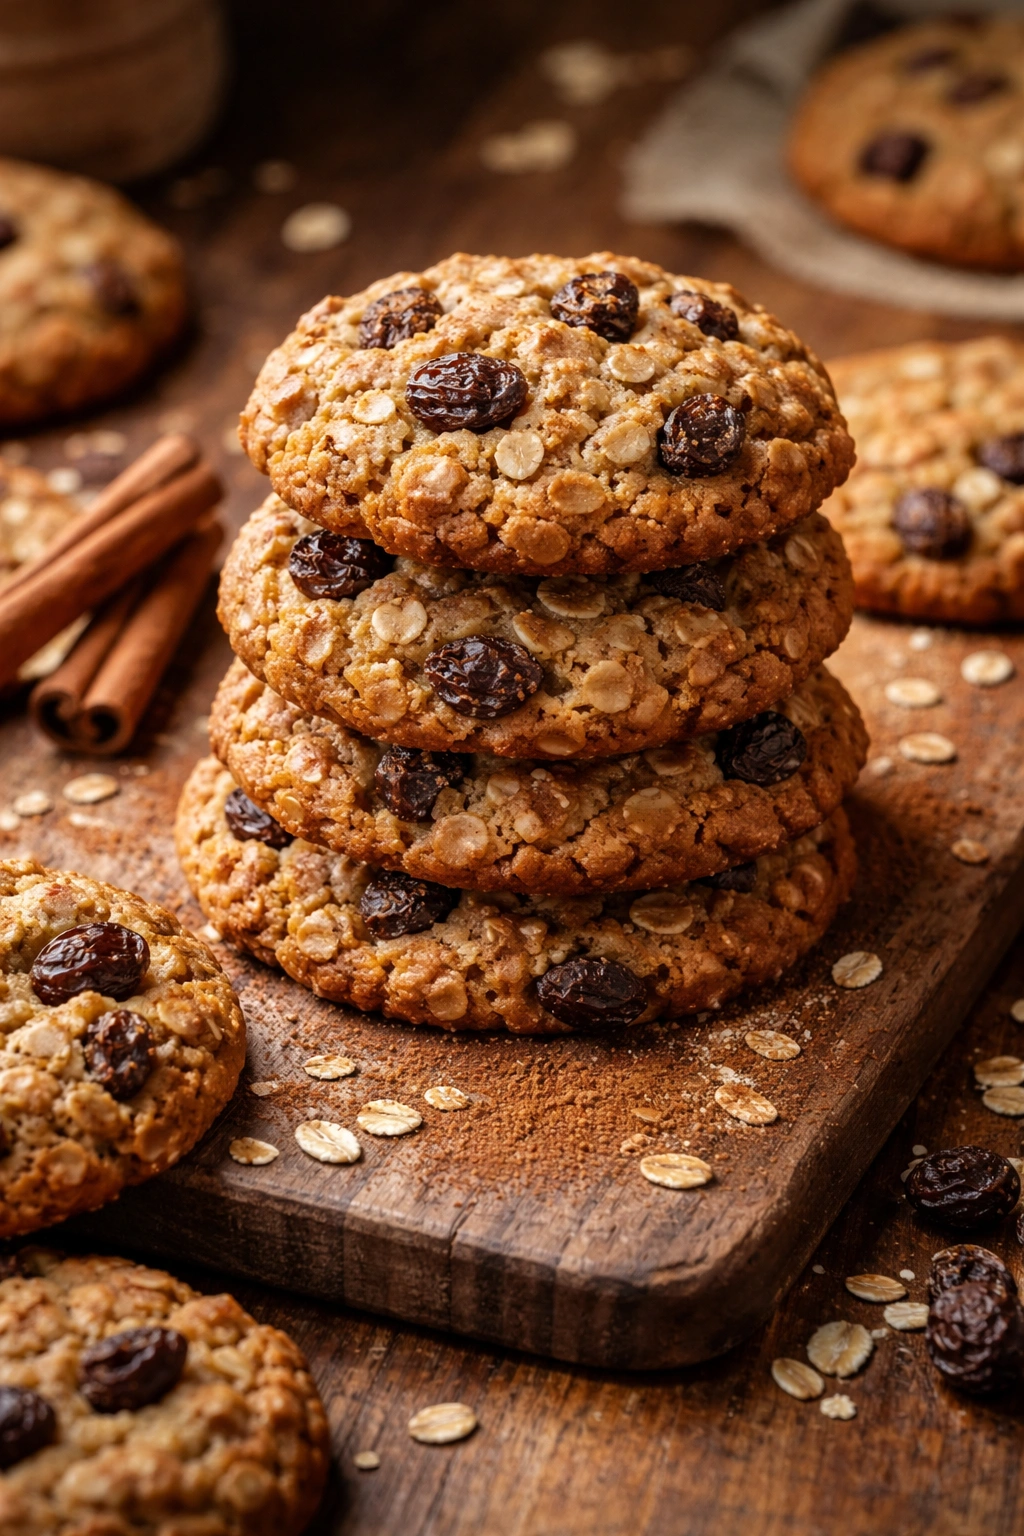
Oatmeal raisin cookies often get unfairly dismissed, but a properly made one is genuinely delicious—hearty, slightly chewy, and full of warm spice notes. The oats provide texture and a subtle nuttiness, while the raisins plump up with moisture and add natural sweetness. Cinnamon ties everything together without being heavy-handed.
These cookies are perfect for situations where you want something that feels substantive—not too sweet, genuinely satisfying, and the kind of thing people enjoy with morning coffee or as an afternoon snack. They’re wholesome enough to pack in a lunch box but delicious enough for company.
Yield: Makes 22 to 24 cookies Prep Time: 15 minutes Cook Time: 12 to 14 minutes Total Time: 27 to 29 minutes Difficulty: Beginner — straightforward technique with easy-to-find ingredients.
Ingredients:
- 1 cup (2 sticks) unsalted butter, softened to room temperature
- ¾ cup granulated sugar
- ¾ cup packed light brown sugar
- 2 large eggs, room temperature
- 1 teaspoon pure vanilla extract
- 1¼ cups all-purpose flour
- 1 teaspoon ground cinnamon
- ½ teaspoon baking soda
- ½ teaspoon fine sea salt
- 3 cups old-fashioned rolled oats
- 1¼ cups raisins
Prepare and Mix:
-
Preheat the oven to 350°F (175°C) and line two baking sheets with parchment paper.
-
In a large bowl using a hand mixer or stand mixer, beat the softened butter, granulated sugar, and brown sugar on medium speed for 3 minutes until pale and fluffy.
-
Add the eggs one at a time, beating for 30 seconds after each addition. Add the vanilla extract and mix until smooth.
-
In a small bowl, whisk together the flour, cinnamon, baking soda, and salt.
-
Add the flour mixture to the butter mixture and fold gently until just combined. Don’t overmix—you want tender cookies, not tough ones.
Advertisements -
Fold in the oats and raisins by hand with a spatula, stirring only until evenly distributed.
Scoop and Bake:
-
Drop rounded tablespoons of dough onto the prepared baking sheets, spacing them about 2 inches apart.
-
Bake for 12 to 14 minutes, rotating the baking sheets halfway through, until the edges are light golden brown but the centers still look slightly soft. They’ll firm up as they cool.
-
Let the cookies cool on the baking sheets for 5 minutes, then transfer to a wire cooling rack to cool completely.
Tips and Variations:
If your raisins are very dried out, soak them in warm water for 10 minutes before adding them to the dough. This plumps them up and makes them more flavorful and tender.
Add a touch of nutmeg (¼ teaspoon) or a sprinkle of ground ginger for extra warmth and complexity.
For a nuttier version, add ½ cup of chopped walnuts or pecans along with the oats. This adds a pleasant crunch and depth.
Storage:
These keep in an airtight container at room temperature for up to five days. The soft centers stay tender. Freeze for up to three months in a freezer-safe container.
5. Lemon Cookies with a Bright Glaze
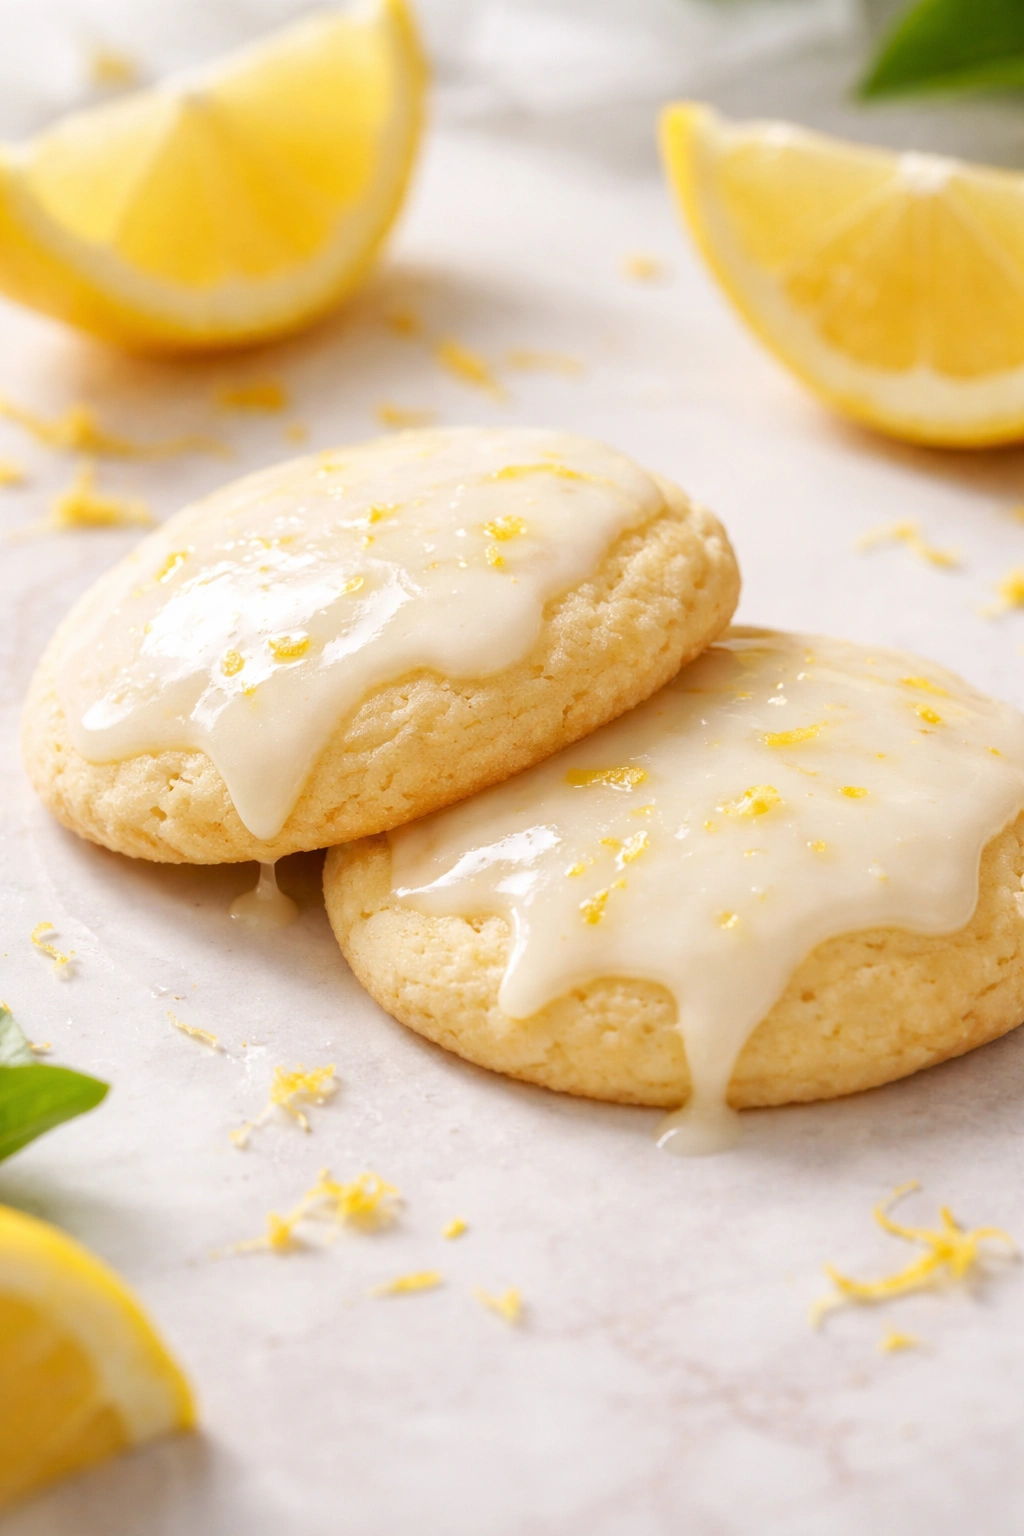
Sometimes you want something that feels fresh and bright instead of heavy and chocolate-laden. Lemon cookies fill that role perfectly, especially when you glaze them with a simple icing that hardens into a glossy shell. These are lemony without being aggressively sour—the sweetness balances the tartness, and the glaze adds visual appeal and extra sweetness on top.
Lemon cookies work for spring gatherings, summer dessert tables, or any time you want something that feels a little bit elegant. They pair beautifully with tea, and they’re light enough that you don’t feel weighed down after eating one.
Yield: Makes 20 to 22 cookies Prep Time: 20 minutes Cook Time: 10 to 12 minutes Total Time: 30 to 32 minutes Difficulty: Beginner — the glaze is just icing sugar and lemon juice, nothing complicated.
Ingredients:
For the Cookies:
- ¾ cup (1½ sticks) unsalted butter, softened to room temperature
- 1 cup granulated sugar
- 1 large egg, room temperature
- Zest of 2 lemons (about 2 tablespoons loosely packed)
- 3 tablespoons fresh lemon juice
- 1 teaspoon pure vanilla extract
- 1¾ cups all-purpose flour
- ½ teaspoon baking powder
- ¼ teaspoon fine sea salt
For the Glaze:
- 1½ cups powdered sugar, sifted
- 3 tablespoons fresh lemon juice
- ½ teaspoon vanilla extract
- Pinch of fine sea salt
Make the Dough:
-
Preheat the oven to 350°F (175°C) and line two baking sheets with parchment paper.
-
In a large bowl using a hand mixer or stand mixer, beat the softened butter and granulated sugar on medium speed for 3 minutes until pale and fluffy.
Advertisements -
Add the egg, lemon zest, and lemon juice, beating until fully incorporated. The mixture may look slightly curdled with the zest pieces visible—this is fine. Add the vanilla extract and beat briefly.
-
In a small bowl, whisk together the flour, baking powder, and salt.
-
Add the flour mixture to the wet ingredients and fold gently until just combined.
Scoop and Bake:
-
Drop rounded tablespoons of dough onto the prepared baking sheets, spacing them about 2 inches apart. These cookies don’t spread much, so you can place them fairly close.
-
Bake for 10 to 12 minutes, until the edges are set and very lightly golden. The centers should look just barely set.
-
Remove from the oven and let the cookies cool on the baking sheets for 5 minutes, then transfer to a wire cooling rack.
Make and Apply the Glaze:
-
In a small bowl, whisk together the powdered sugar, lemon juice, vanilla extract, and salt until smooth. The glaze should be thick but pourable—if it’s too thick, add lemon juice a few drops at a time; if too thin, add more powdered sugar.
-
Once the cookies are completely cooled, dip the top of each cookie into the glaze, allowing excess to drip off. Place back on the cooling rack so the glaze can harden (about 20 minutes). The glaze will set into a thin, slightly crispy shell.
Advertisements
Tips and Variations:
Fresh lemon juice makes an enormous difference here—bottled lemon juice tastes noticeably different and less bright. Use real lemons if you possibly can.
For extra lemon flavor, add ½ teaspoon of lemon extract to the dough along with the vanilla extract.
Skip the glaze entirely and just dust the warm cookies with a mixture of icing sugar and extra lemon zest for a simpler presentation.
Storage:
Keep in an airtight container at room temperature for up to four days. The glaze stays glossy. These don’t freeze as successfully as other cookies because the glaze can crack when frozen, but you can freeze the unglazed baked cookies and glaze them after thawing if you need to.
6. Double Chocolate Cookies with a Fudgy Center
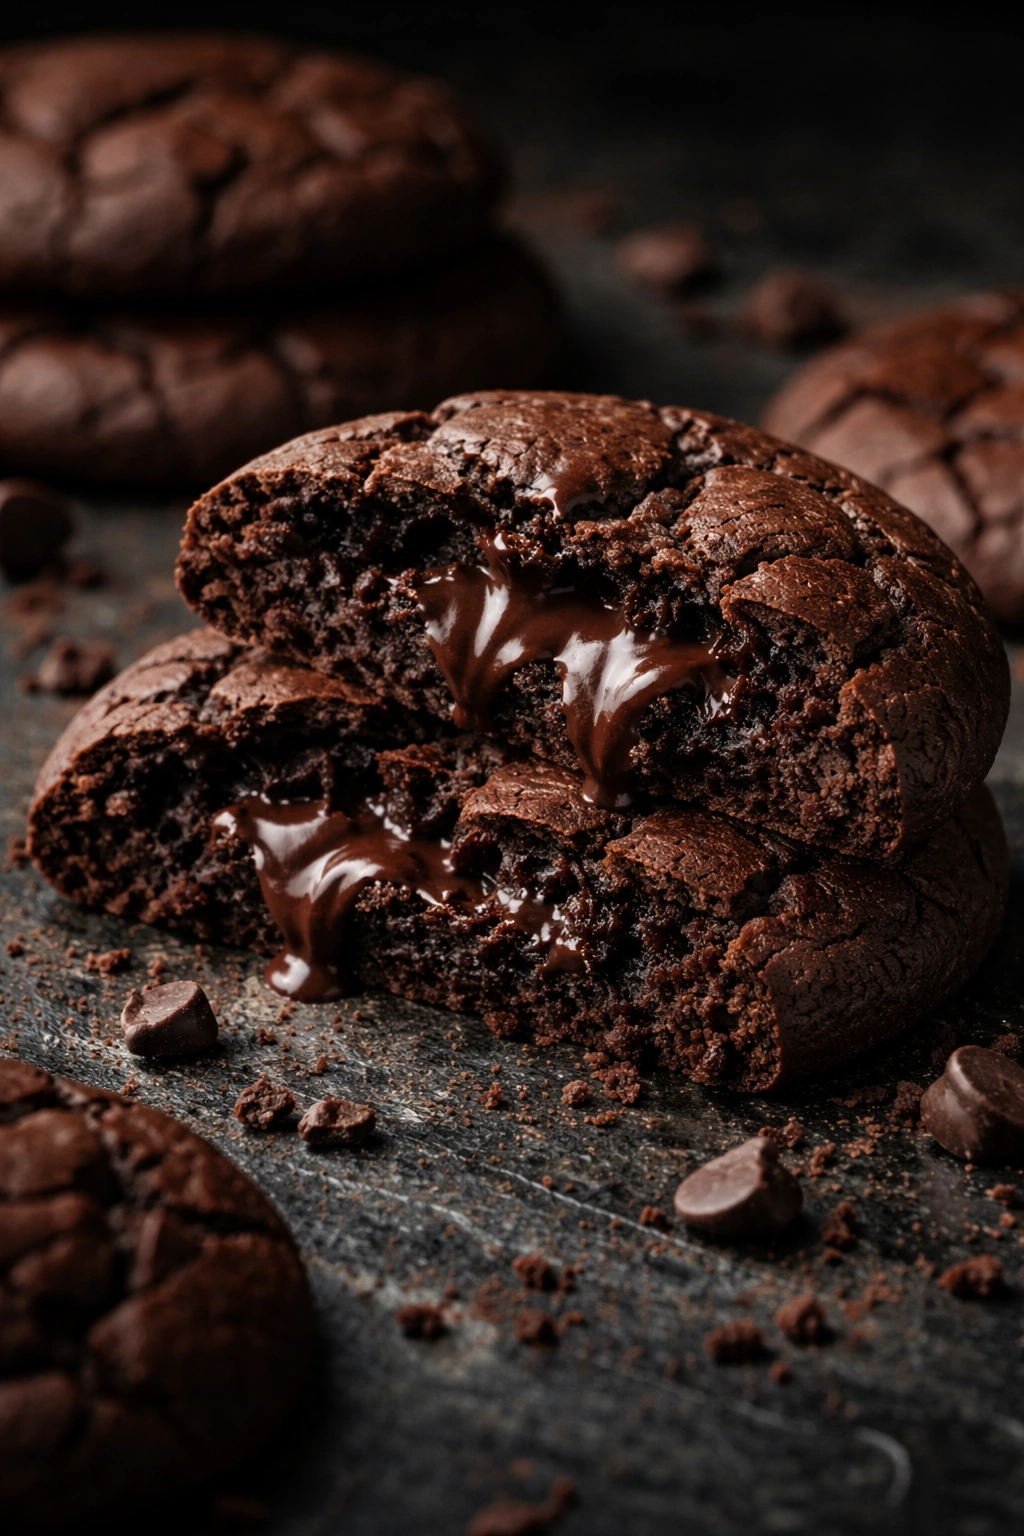
For serious chocolate lovers, these are non-negotiable. They use both cocoa powder in the dough and melted chocolate, giving them an intensely chocolatey flavor and a texture that’s crispy on the outside but fudgy and almost brownie-like in the center. These aren’t light or delicate—they’re indulgent and deeply satisfying.
These work for chocolate cake lovers who also appreciate a good cookie. They’re impressive enough for special occasions but easy enough to make on any random Tuesday when chocolate cravings hit. They pair beautifully with milk, coffee, or espresso.
Yield: Makes 18 to 20 cookies Prep Time: 15 minutes Cook Time: 11 to 13 minutes Total Time: 26 to 28 minutes Difficulty: Beginner — straightforward mixing with melted chocolate handled carefully.
Ingredients:
- 6 ounces semi-sweet or dark chocolate, chopped into small pieces
- ½ cup (1 stick) unsalted butter
- ¾ cup granulated sugar
- ¼ cup unsweetened cocoa powder
- ½ teaspoon fine sea salt
- 1 large egg, room temperature
- 1 teaspoon pure vanilla extract
- ¾ cup all-purpose flour
- ¼ teaspoon baking powder
Melt and Mix:
-
Preheat the oven to 350°F (175°C) and line two baking sheets with parchment paper.
-
In a medium saucepan or microwave-safe bowl, gently melt the chopped chocolate and butter together. If using the stovetop, place the bowl over a pot of simmering water (don’t let the bowl touch the water) and stir occasionally until melted and smooth. If using the microwave, heat in 30-second intervals, stirring between each, until completely melted. Let cool for 5 minutes—you want it cool enough that it won’t cook the egg when you add it.
-
In a large bowl, whisk together the sugar, cocoa powder, and salt until no lumps remain in the cocoa powder.
-
Add the cooled chocolate mixture to the sugar mixture and whisk until smooth and combined.
-
Add the egg and vanilla extract, whisking until the mixture is smooth and glossy.
-
In a small bowl, whisk together the flour and baking powder.
-
Add the flour mixture to the chocolate mixture and fold gently with a spatula until just combined. The dough will be thick and slightly sticky—this is correct and what gives you that fudgy center.
Scoop and Bake:
-
Drop rounded tablespoons of dough onto the prepared baking sheets, spacing them about 2 inches apart.
Advertisements -
Bake for 11 to 13 minutes. Here’s the key: the tops will look crackled and set, but when you gently press the center of a cookie with your finger, it should feel ever-so-slightly soft—not wet, but not completely firm either. This is what creates the fudgy center.
-
Let the cookies cool on the baking sheets for 5 minutes (this is important—they firm up as they cool), then transfer to a wire cooling rack to cool completely.
Tips and Variations:
Don’t overbake these. They look a little underdone when they come out of the oven, but that’s intentional. If you bake them until they feel completely firm, they’ll be cake-like rather than fudgy.
For extra fudginess, add 2 ounces of chopped semi-sweet or dark chocolate to the dough and fold it in at the end. The chocolate pieces will add little pockets of melted chocolate.
A sprinkle of fleur de sel on top of each unbaked cookie adds sophistication and balances the richness.
Storage:
Store in an airtight container at room temperature for up to four days. These actually improve slightly on day two as the flavors meld. Freeze baked cookies for up to three months—they thaw at room temperature in about an hour.
7. Brown Sugar Shortbread Cookies
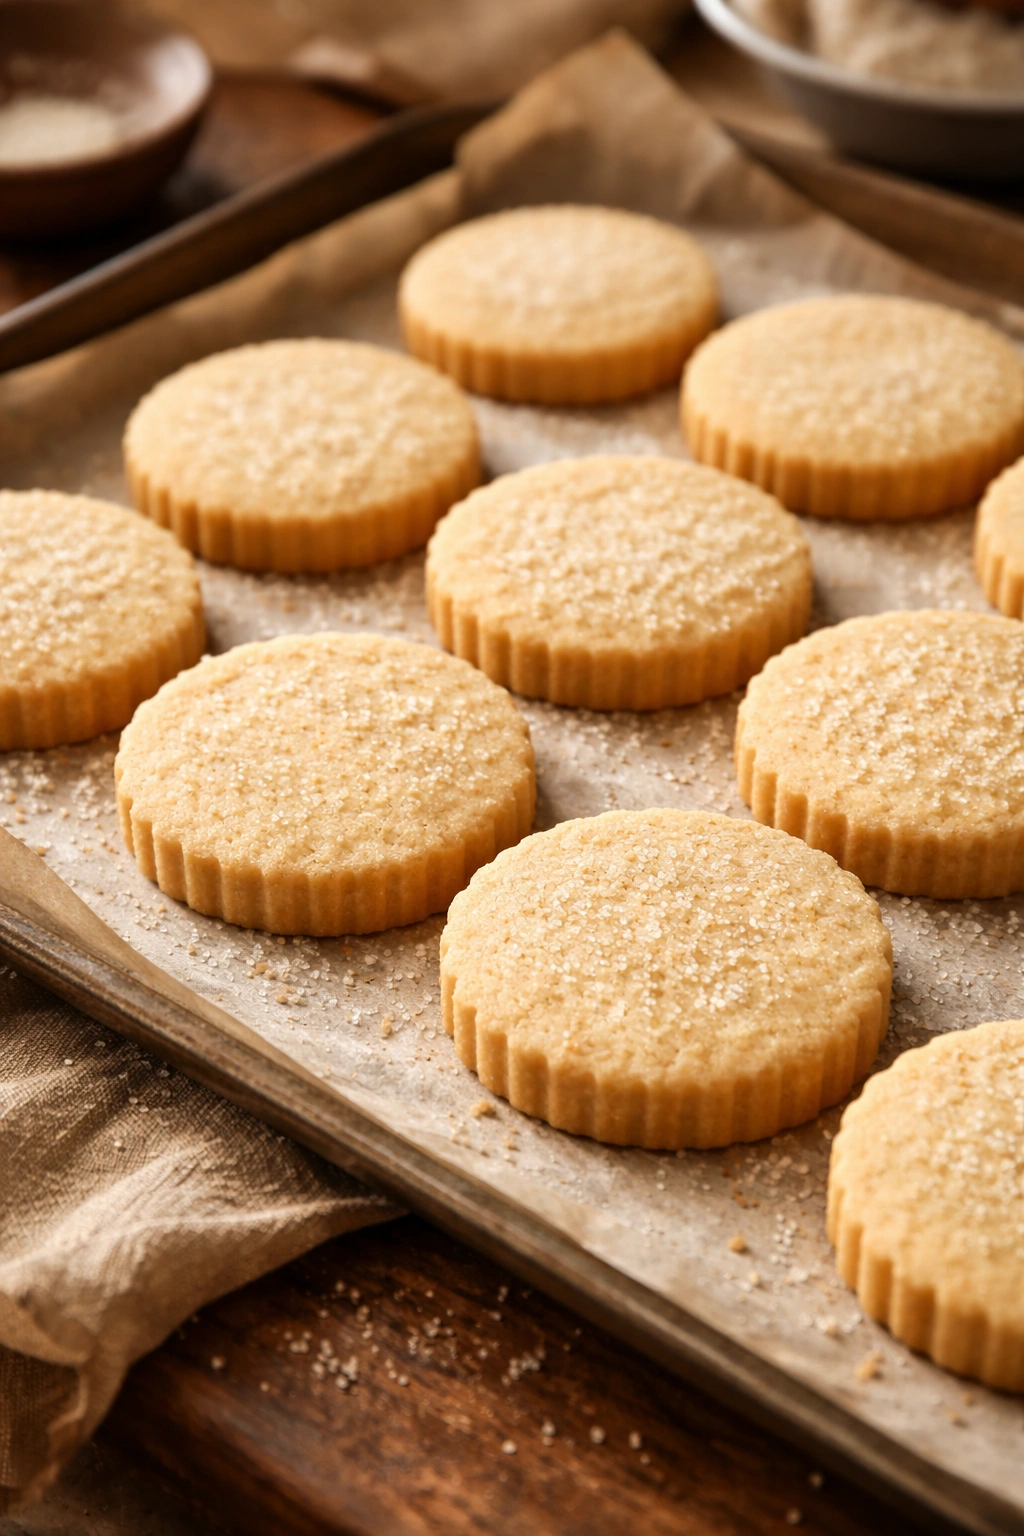
Shortbread is the elegant, understated cousin in the cookie family. It’s all about the butter, the sugar, and the flour—nothing fancy, nothing complex, just the pure flavor of good ingredients handled well. Brown sugar adds a subtle molasses depth that takes basic shortbread somewhere a little more interesting. These are buttery, tender, and melt in your mouth.
Shortbread is perfect for gift boxes, afternoon tea, or any time you want something that feels a little bit refined. They keep well, they’re straightforward to make, and they look more impressive than the effort required warrants.
Yield: Makes 24 to 28 cookies Prep Time: 15 minutes Cook Time: 12 to 15 minutes Total Time: 27 to 30 minutes Difficulty: Beginner — one bowl and basic technique.
Ingredients:
- 1 cup (2 sticks) unsalted butter, softened to room temperature
- ¾ cup packed light brown sugar
- ¼ cup granulated sugar
- ½ teaspoon fine sea salt
- 2 cups all-purpose flour
Mix and Bake:
-
Preheat the oven to 325°F (165°C). Line two baking sheets with parchment paper. Note the lower temperature—shortbread bakes at a gentler heat so the outside doesn’t brown before the inside is set.
-
In a large bowl using a hand mixer or stand mixer, beat the softened butter, brown sugar, granulated sugar, and salt on medium speed for 3 to 4 minutes until the mixture is pale, fluffy, and noticeably increased in volume.
-
Add the flour and mix on low speed until the dough just comes together. The key here is not overmixing—once you can’t see any streaks of flour, stop. Overmixing develops gluten and makes shortbread tough instead of tender.
-
Press the dough evenly into a 9×13-inch baking pan, using your hands or an offset spatula to get it smooth and level. Prick the dough all over with a fork to prevent puffing as it bakes.
-
Bake for 12 to 15 minutes, until the shortbread is pale golden but still quite blonde—it should not be brown. The top should look set and slightly dry.
-
Remove from the oven and let cool in the pan for 10 minutes. While still warm, cut into rectangles or squares with a sharp knife.
-
Transfer the pieces to a wire cooling rack to cool completely.
Advertisements
Tips and Variations:
Room-temperature butter is essential for shortbread. Cold butter won’t incorporate smoothly, and the texture suffers.
For a more decorative look, sprinkle a tiny pinch of fleur de sel or demerara sugar on top of the dough before baking.
Add ½ teaspoon of vanilla extract with the flour for a hint of vanilla flavor, or add the zest of one lemon for a subtle citrus note.
For chocolate-dipped shortbread, melt 4 ounces of semi-sweet or dark chocolate and dip the bottom or edges of each cooled piece.
Storage:
These keep in an airtight container at room temperature for up to a week. The texture actually improves slightly after a day as the flavors mature. Shortbread freezes beautifully for up to three months.
8. Molasses Spice Cookies with a Soft Crumb
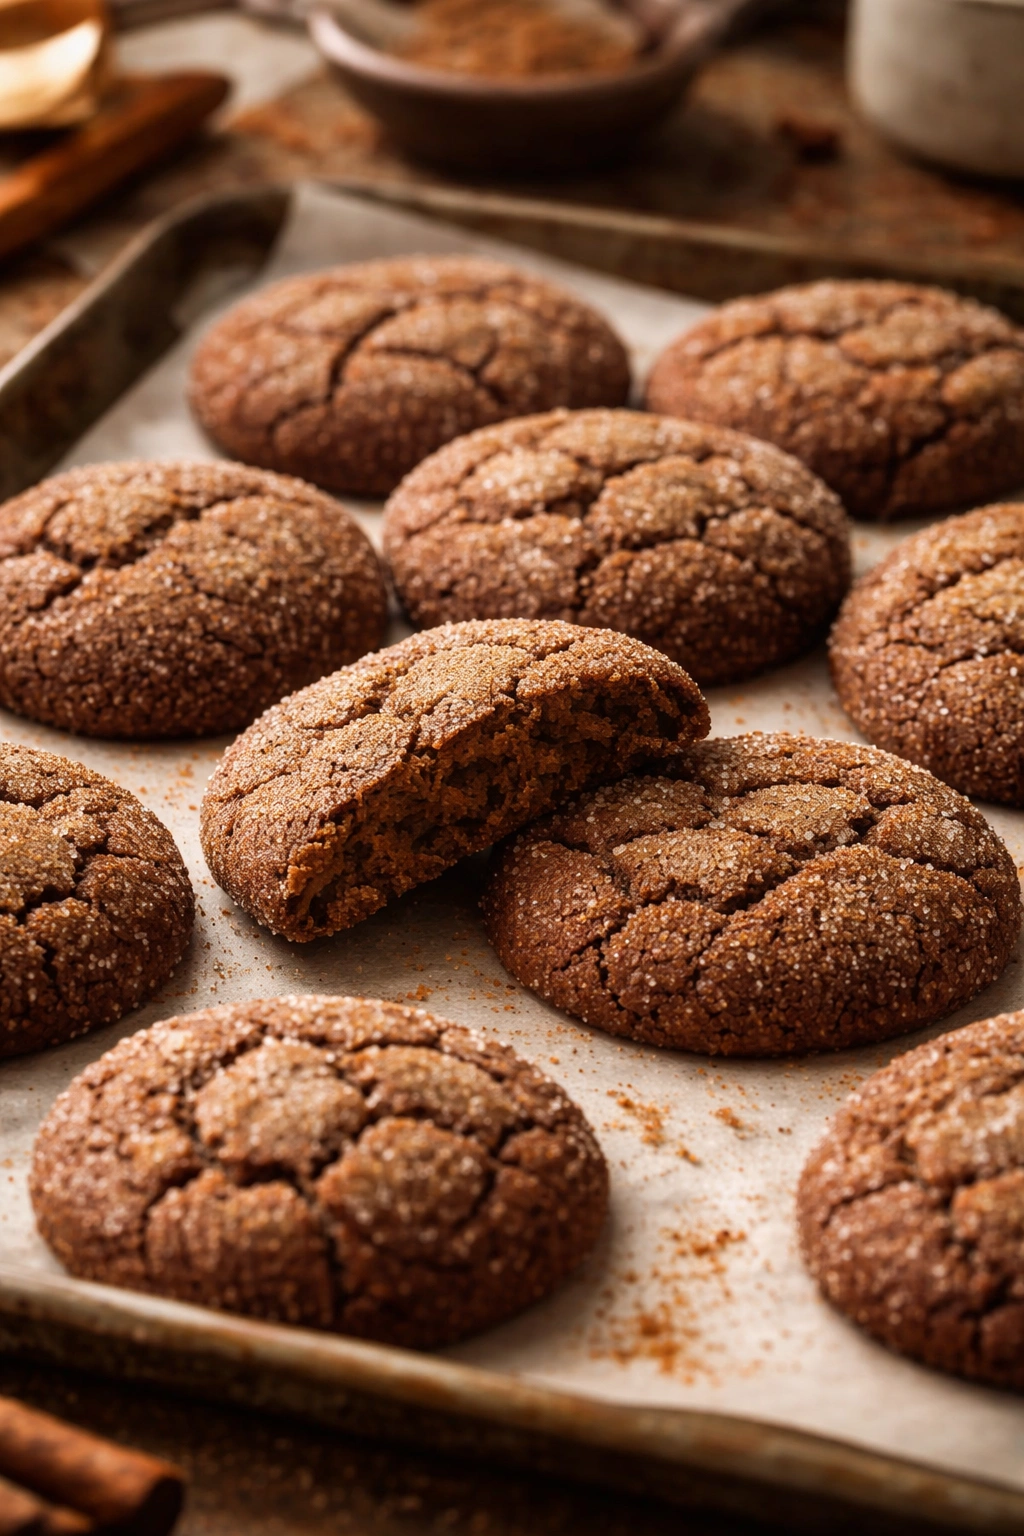
Molasses spice cookies taste like autumn and warmth in the best way possible. They’re soft and almost cake-like in texture, loaded with warm spices, and often rolled in cinnamon sugar before baking so they get a sparkly, crackled top. These aren’t delicate—they’re generous and forgiving, the kind of cookie that makes people immediately reach for a second one.
These are perfect for fall celebrations, holiday gatherings, or any time you want something that feels cozy and comforting. They’re also excellent for shipping if you’re sending baked goods to someone far away, because they’re sturdy enough to travel well.
Yield: Makes 20 to 22 cookies Prep Time: 15 minutes Cook Time: 10 to 12 minutes Total Time: 25 to 27 minutes plus chilling Difficulty: Beginner — simple mixing with a brief chill before baking.
Ingredients:
For the Cookies:
- ¾ cup (1½ sticks) unsalted butter, softened to room temperature
- 1 cup granulated sugar (divided: ¾ cup for mixing, ¼ cup for rolling)
- 1 large egg, room temperature
- ¼ cup unsulphured molasses
- 2 cups all-purpose flour
- 2 teaspoons ground ginger
- 1½ teaspoons ground cinnamon
- ½ teaspoon ground cloves
- ¼ teaspoon fine black pepper (yes, really—it adds depth without tasting peppery)
- ½ teaspoon baking soda
- ¼ teaspoon fine sea salt
For Rolling:
- ¼ cup granulated sugar
- 1 tablespoon ground cinnamon
Mix the Dough:
-
In a large bowl using a hand mixer or stand mixer, beat the softened butter and ¾ cup granulated sugar on medium speed for 3 minutes until pale and fluffy.
-
Add the egg and molasses, beating until fully incorporated and the mixture is smooth and well combined.
-
In a separate bowl, whisk together the flour, ginger, cinnamon, cloves, black pepper, baking soda, and salt.
-
Add the flour mixture to the wet ingredients and fold gently with a spatula until just combined. The dough will be soft and slightly sticky—this is exactly right.
-
Cover the dough and refrigerate for at least 30 minutes. This makes the dough easier to handle and improves the flavor as the spices bloom. You can refrigerate for up to overnight.
Prepare and Bake:
-
Preheat the oven to 350°F (175°C) and line two baking sheets with parchment paper.
-
In a small bowl, mix together the ¼ cup granulated sugar and 1 tablespoon cinnamon.
-
Scoop the chilled dough into rounded tablespoons and roll each into a ball between your palms. Roll each ball in the cinnamon-sugar mixture, coating thoroughly.
-
Place on the prepared baking sheets about 2 inches apart.
-
Bake for 10 to 12 minutes, until the cookies are puffed and the tops are crackled. They’ll look slightly underdone in the very center—this is intentional and keeps them soft inside.
-
Let the cookies cool on the baking sheets for 5 minutes, then transfer to a wire cooling rack.
Tips and Variations:
The small amount of black pepper adds sophistication without any spicy heat—it just deepens the spice profile. Don’t skip it, but if you’re genuinely uncomfortable with it, the cookies are fine without it.
For extra texture, add ½ cup of chopped crystallized ginger along with the spices.
These cookies have a more cake-like crumb than some others in this collection, which makes them satisfying and substantial without being heavy.
Storage:
Store in an airtight container at room temperature for up to five days. These actually taste better on day two once the spices have fully developed and melded together. Freeze for up to three months.
Final Thoughts
The eight recipes here cover an enormous range of flavors, textures, and occasions—chocolate-forward, citrus-bright, butter-rich, spiced-warm, and everything in between. The real gift of having this collection is flexibility. You can pick a recipe based on what you’re craving, what’s in your pantry, or what you’re baking for. Got lemons? Make the lemon cookies. Want something for a dark-and-moody evening? The double chocolate is your answer. Need something you can make ahead and stay fresh for days? Shortbread keeps longer than almost anything else.
The best part about these recipes is that they’re not finicky. They don’t require special techniques or unusual ingredients. They reward good ingredients and attention to detail, but they won’t punish you if you’re slightly off on a measurement or if your kitchen isn’t perfectly temperature-controlled. Each recipe includes variations and tips built in, so you can adapt them to exactly what you need. Swap the nuts, adjust the spices, dip them in chocolate, or frost them—they’re all sturdy enough to handle modifications.
Baking a batch of cookies is one of the quickest ways to transform an ordinary day into something a little bit special. These eight recipes make sure you’ve got an answer for whatever occasion comes your way.