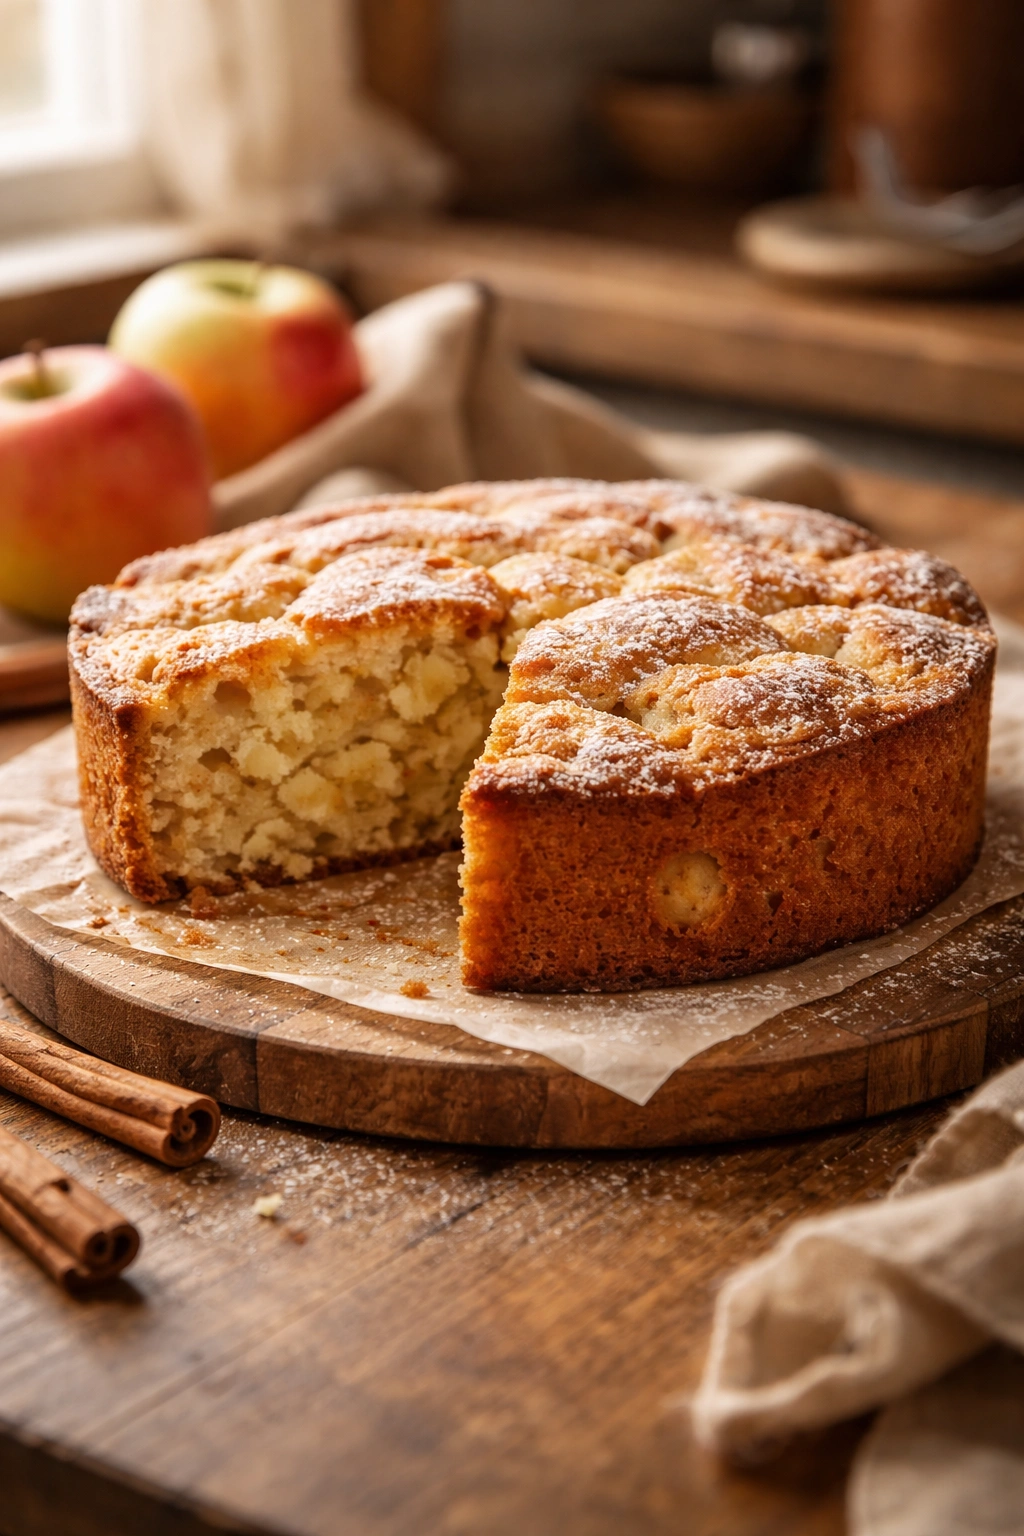
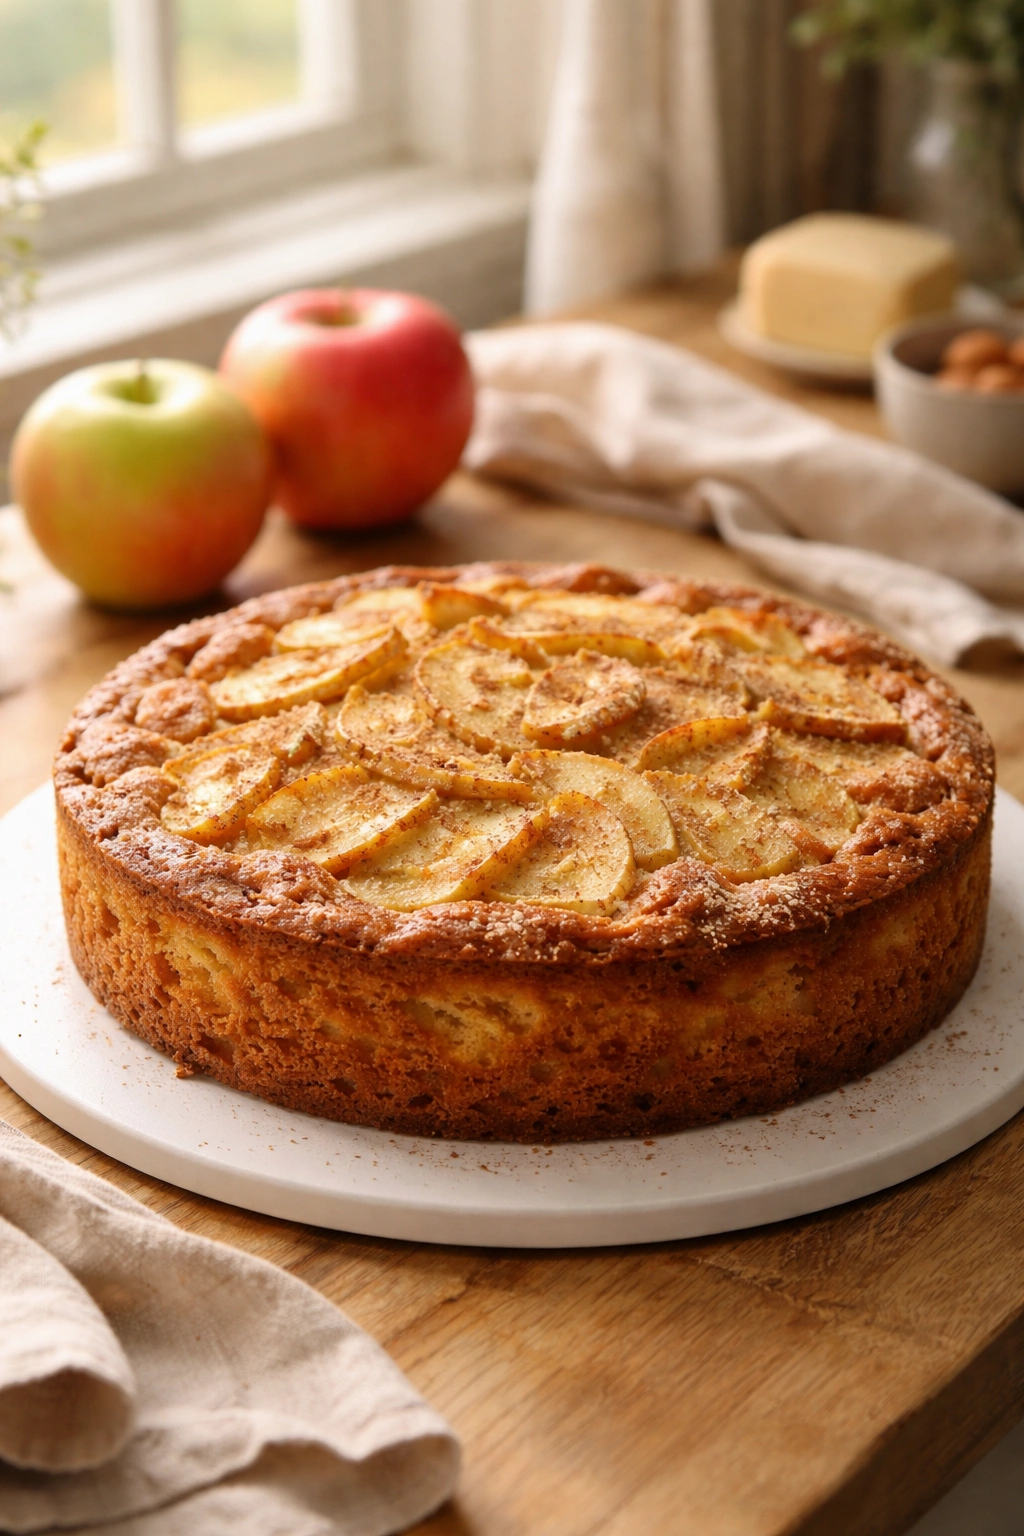
There’s something special about the aroma of apple cake baking in the oven—it fills your entire home with warmth and signals that something genuinely delicious is happening. Unlike many cakes that demand precision and technique, a truly great apple cake is forgiving, straightforward, and delivers impressive results whether you’re a confident baker or someone who hasn’t touched a mixing bowl in years. The best versions walk that beautiful line between moist and tender crumb, sweet cake layers studded with soft apple pieces, and just enough gentle spice to remind you why apples and cinnamon were meant to go together.
What makes this particular apple cake special isn’t any fancy technique or hard-to-find ingredient—it’s the approach of layering your apples throughout the batter rather than just tossing them on top, choosing apples that contribute both flavor and texture, and respecting the baking time enough to get that perfect golden exterior while keeping the inside impossibly moist. This isn’t a delicate assembly that requires a pastry degree. It’s a cake that actually improves slightly when made a day ahead, travels well to potlucks and gatherings, and tastes equally at home on a casual Tuesday breakfast table or as the finale to a dinner party.
The best part? You probably have most of these ingredients in your kitchen right now. No need for specialty flours, exotic spices, or equipment beyond a standard mixing bowl and a 9-inch baking pan. Whether you’re baking this for the first time or you’ve made apple cakes before and want a recipe that genuinely delivers, this one won’t disappoint.
Why Homemade Apple Cake Beats Store-Bought Versions
There’s a noticeable difference between a fresh, homemade apple cake and anything you’ll find in a bakery case or grocery store—and it comes down to one simple fact: texture control. Store-bought versions rely on preservatives and stabilizers that keep them shelf-stable for days or weeks, which inevitably affects the crumb structure and how the apples integrate into the cake. Those apples often taste slightly watered down, and the cake itself tends toward a denser, more uniform texture that doesn’t have the subtle variance you get when you’re baking it yourself just hours before eating it.
When you bake your own apple cake, the apples release their moisture gradually as the cake bakes, creating pockets of tender apple pieces that feel fresh and vibrant rather than reconstituted or mushy. The butter-based crumb has that tender, slightly irregular structure that signals freshness—it’s not perfectly uniform because it was made to be eaten within a day or two, not engineered for a three-week shelf life.
Beyond texture, there’s the flavor dimension. Homemade apple cake allows you to choose which varieties of apples you use, meaning you get to decide the balance of sweetness and tartness. You control exactly how much cinnamon and nutmeg go into the batter. You can use real vanilla extract instead of vanillin, and you decide whether to add a glaze, cream cheese frosting, or to keep it naked and simple. That level of customization is impossible with mass-produced versions, and it’s honestly one of the quieter joys of baking from scratch.
There’s also the psychological element—something genuinely satisfying about serving a cake that you made from actual ingredients. Guests taste the difference, and they feel it too. It changes the whole experience from “I bought dessert” to “I made this for you,” which carries unexpected emotional weight in our modern world of convenience and shortcuts.
Key to Flavor: Choosing the Right Apples
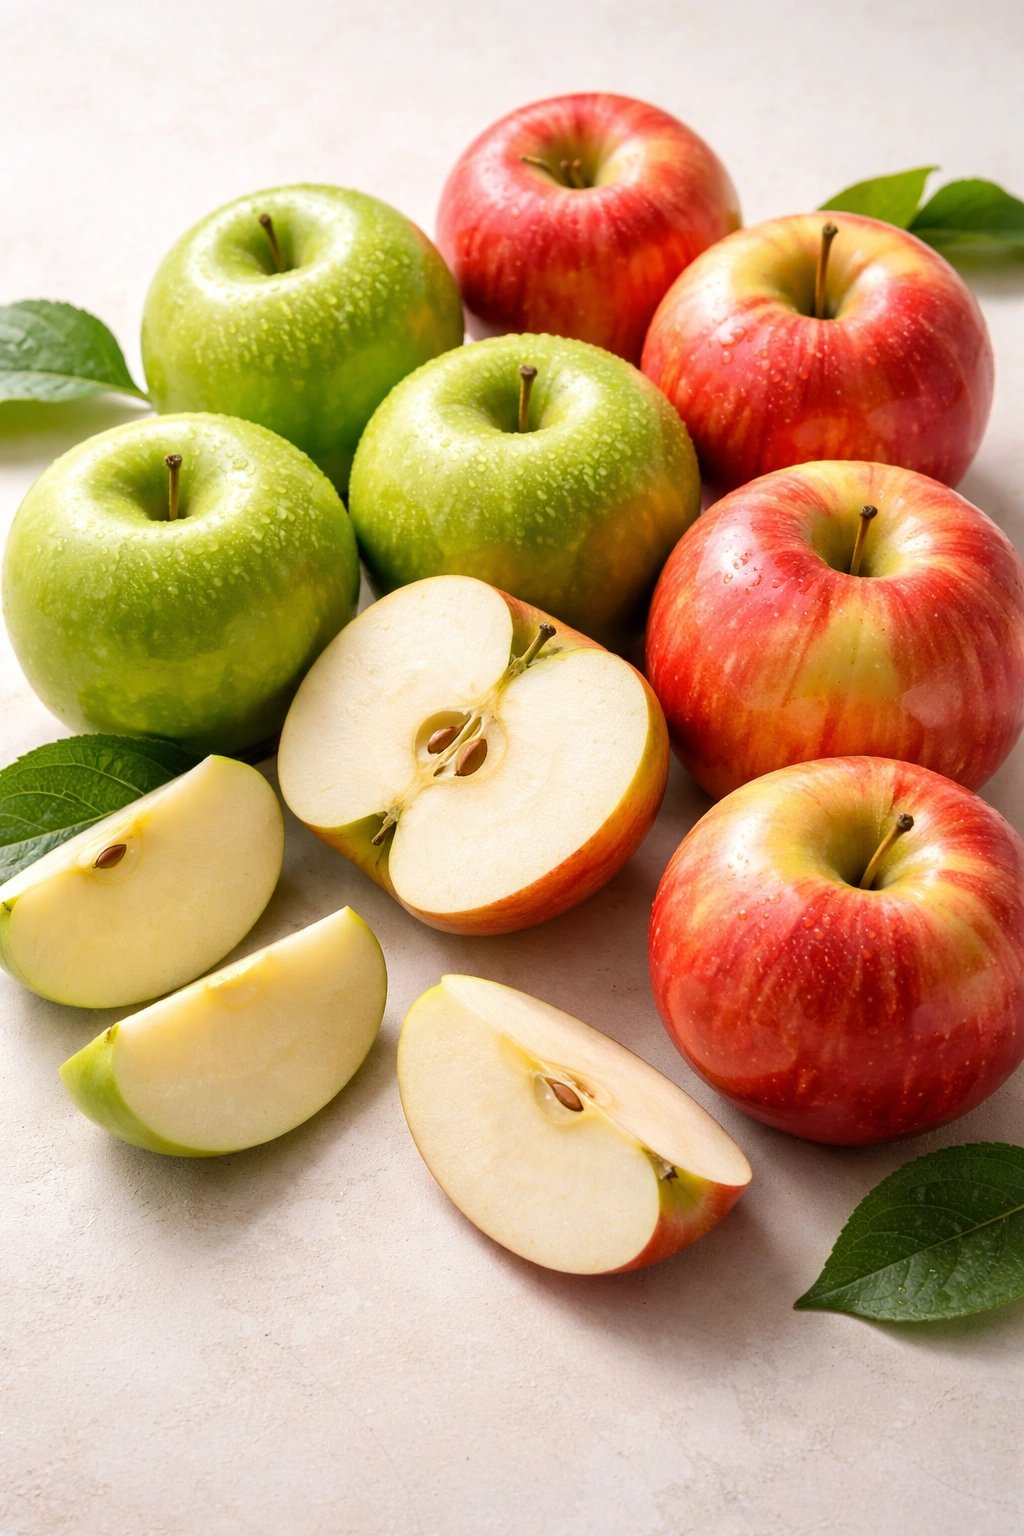
Not all apples are created equal when it comes to baking, and this choice matters far more than most home bakers realize. You want a combination that gives you both flavor complexity and structural integrity—meaning the apples should hold their shape reasonably well during baking rather than turning into applesauce inside the cake.
The ideal apple combination pairs a tart, firm variety with a sweeter, slightly softer one. Granny Smith apples are your reliable tart partner—they’re firm enough that they won’t disintegrate during baking, and their tartness cuts through the cake’s sweetness with real distinction. Pair them with Honeycrisp, Pink Lady, or Braeburn apples, which bring genuine sweetness and a slightly different texture that creates a more interesting eating experience.
If you can only find one variety easily, Granny Smith alone works perfectly well, though you might add an extra tablespoon or two of sugar to balance the tartness. Avoid softer varieties like Red Delicious or Gala for baking—they’ll turn mushy and add a slight mealy quality rather than distinct apple pieces throughout the cake.
The freshness of your apples matters more than you’d think. Old apples that have been stored for months will have less flavor complexity and a drier texture. If possible, use apples that are at their peak—firm to the touch, fragrant when you smell them, and recently purchased. When you peel and slice your apples, do it as close to mixing time as possible, then toss them immediately in a little lemon juice to prevent browning and to add a subtle brightness that enhances the apple flavor.
A simple rule: use about 2.5 to 3 cups of peeled, diced apples—roughly three medium apples. This amount distributes throughout the cake so you get apple pieces in every bite without making the cake so apple-heavy that the cake structure struggles to hold everything together.
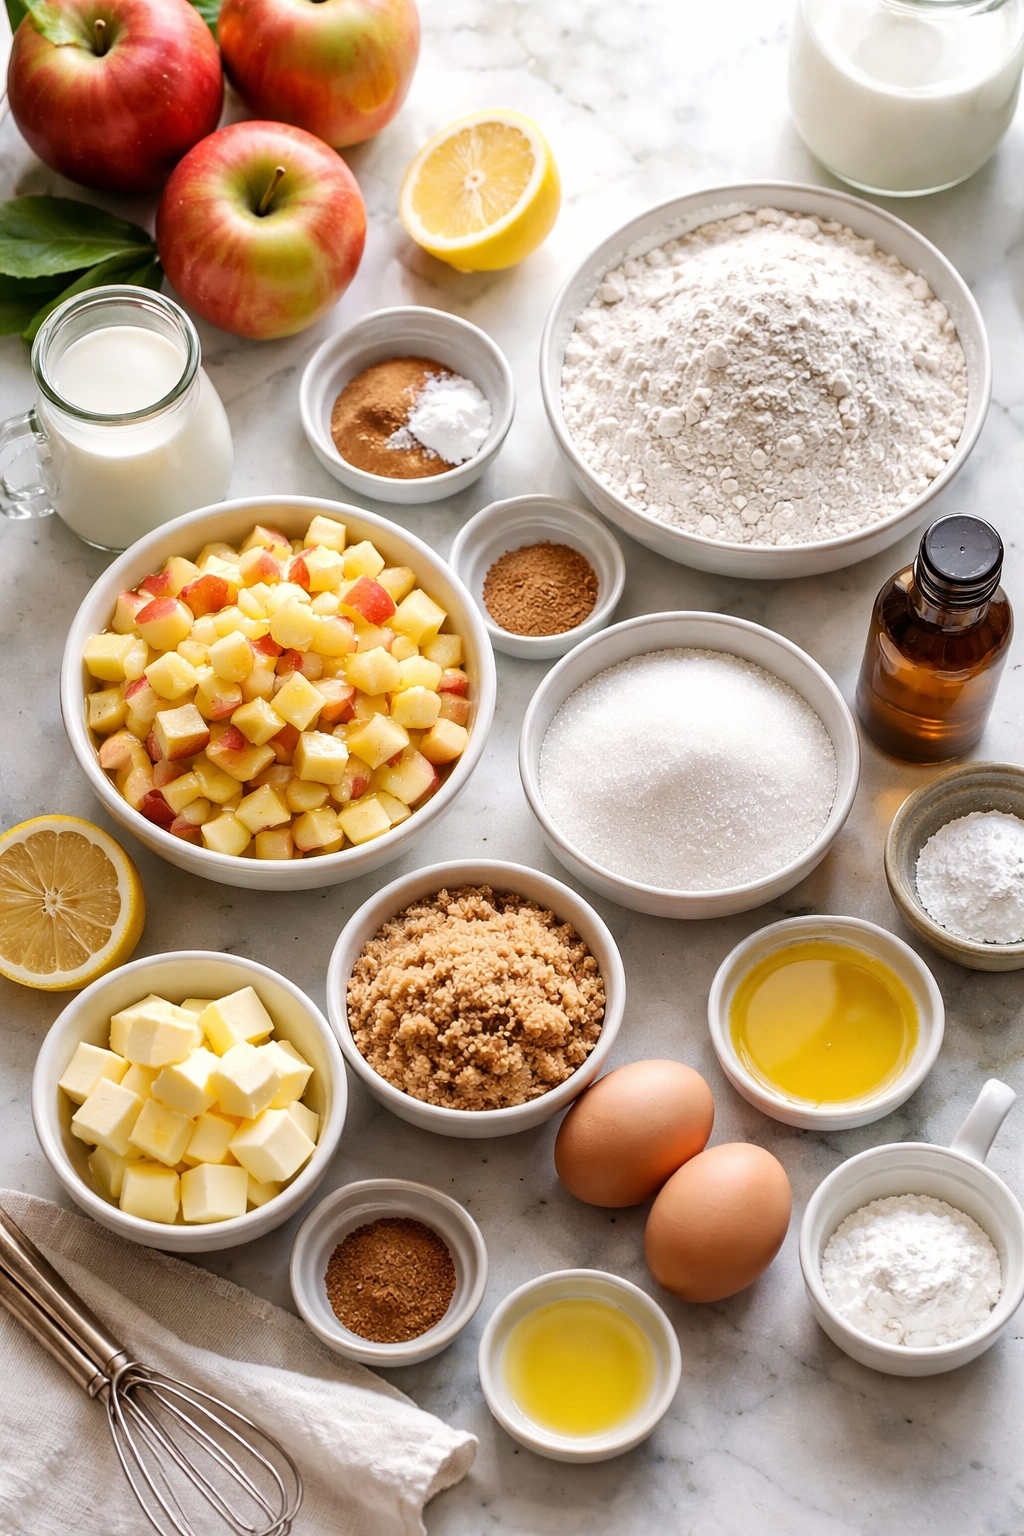
Essential Ingredients and Why They Matter

This apple cake relies on fundamentals done really well rather than a complex ingredient list. Understanding what each component does helps you troubleshoot if something doesn’t work and gives you confidence to make substitutions intelligently.
Butter (unsalted, at room temperature) creates the tender crumb and contributes richness. Room temperature butter incorporates air more efficiently when creamed with sugar, which gives you better rise and a finer crumb. Don’t skip the room temperature step—cold butter simply won’t cream properly, no matter how long you beat it.
Sugar (a combination of granulated and brown) adds sweetness, but brown sugar contributes moisture and a subtle molasses depth that amplifies the spice flavors. Using both gives you the best of both worlds—the structure support of granulated sugar with the complexity of brown.
Eggs bind the batter, provide structure, and add richness. They need to be at room temperature because cold eggs don’t incorporate smoothly into creamed butter and sugar, which can result in a curdled-looking batter and ultimately a denser cake. Plan ahead and pull your eggs out 20 minutes before baking.
All-purpose flour is your structural foundation. Spoon the flour into your measuring cup and level it—don’t scoop directly from the bag, which compacts the flour and gives you too much by weight. This is a surprisingly common source of dense cakes.
Baking powder (not baking soda) is your leavening agent. It creates lift and helps create that tender crumb. Baking powder is a combination of baking soda, an acid (usually cream of tartar), and a starch, which means it works immediately and then again during baking. Make sure yours isn’t expired—old baking powder loses potency and you’ll get flat cakes.
Cinnamon and nutmeg are the spice backbone. Don’t use the pre-mixed “apple pie spice” blends—fresh cinnamon and nutmeg taste noticeably better. Toast your spices lightly in a dry skillet for a minute or two before measuring, and they’ll bloom with extra flavor that makes a real difference.
Vanilla extract (pure, not imitation) adds depth and rounds out the flavors. Imitation vanillin tastes thin and one-dimensional by comparison.
Salt enhances all the other flavors and prevents the cake from tasting flat or sweet without complexity.
Ingredients You’ll Need
Yield: Serves 8 to 10 | Makes one 9-inch round cake Prep Time: 25 minutes Cook Time: 40 to 45 minutes Total Time: 65 to 70 minutes active + 1 hour cooling before serving Difficulty: Beginner — This cake requires only basic mixing techniques and straightforward ingredients. Even if you’ve never baked a cake before, these steps are clear and forgiving.
For the Cake:
- 2 cups (250 grams) all-purpose flour, spooned and leveled
- 1½ teaspoons baking powder
- ½ teaspoon fine sea salt
- 1½ teaspoons ground cinnamon
- ¼ teaspoon freshly grated nutmeg
- ¾ cup (150 grams) granulated sugar
- ½ cup (100 grams) packed light brown sugar
- ¾ cup (170 grams or 12 tablespoons) unsalted butter, softened to room temperature
- 2 large eggs, room temperature
- 1 teaspoon pure vanilla extract
- ½ cup (120 milliliters) whole milk, room temperature
- 2.5 to 3 cups peeled and diced apples (about 3 medium apples, a combination of tart and sweet varieties like Granny Smith and Honeycrisp)
- 1 tablespoon fresh lemon juice
For the Optional Glaze (Makes a simple, elegant finish):
- 1 cup (120 grams) powdered sugar, sifted
- 3 tablespoons heavy cream or whole milk
- ½ teaspoon pure vanilla extract
- Pinch of fine salt
How to Bake Your Apple Cake, Step by Step
Prepare Your Pan and Preheat:
-
Preheat the oven to 350°F (175°C) and position the rack in the center of the oven. This temperature is cool enough to allow the cake to bake through to the center without the top browning too quickly, but warm enough to create that gorgeous golden exterior.
-
Grease a 9-inch round cake pan thoroughly with softened butter, making sure to coat the bottom and all sides evenly. Dust the interior with a thin layer of flour, rotating the pan and tapping out any excess. This combination of butter and flour creates a better non-stick surface than either alone. If you have parchment paper, cut a circle to fit the bottom of the pan—this makes unmolding dramatically easier later on.
Combine Your Dry Ingredients:
- In a medium bowl, whisk together the flour, baking powder, salt, cinnamon, and nutmeg. Whisking rather than just stirring ensures the leavening agent and spices distribute evenly throughout the flour, preventing pockets of concentrated spice or uneven rise. Set this mixture aside.
Prepare Your Apples:
- Peel, core, and dice your apples into pieces roughly ½-inch in size—not too fine (which makes them hard to find in the cake) and not too chunky (which creates uneven baking). Immediately toss the diced apples with the lemon juice. The lemon juice prevents oxidation (browning) and adds a subtle brightness that enhances the apple flavor. This step should happen right before you mix your batter to keep the apples fresh.
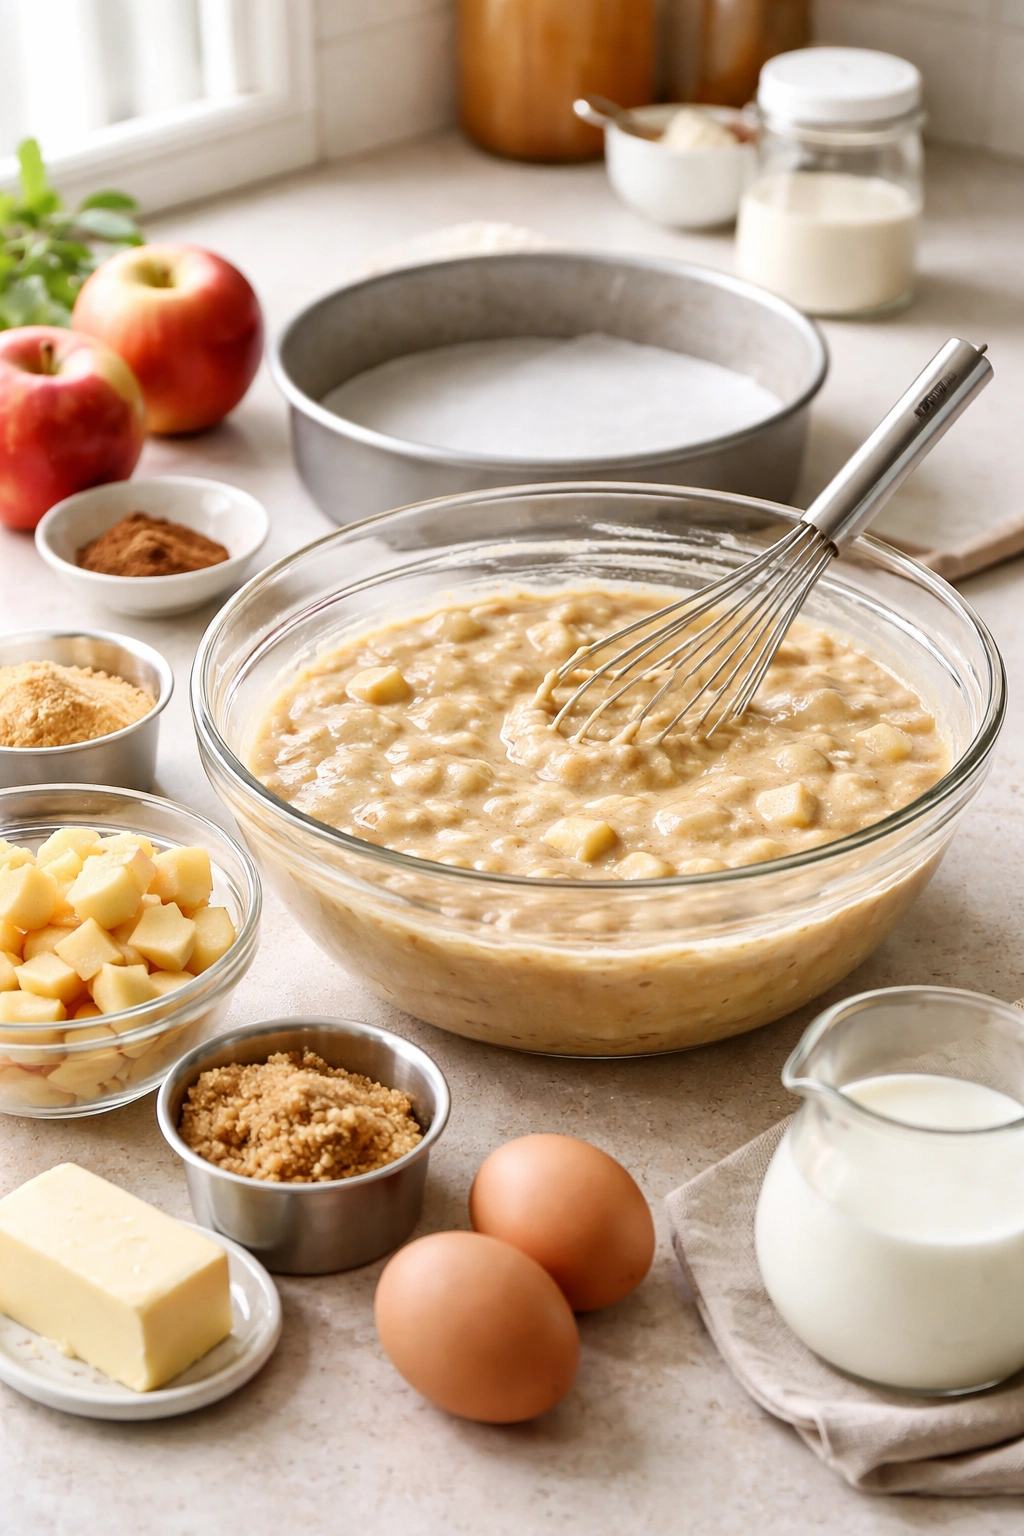
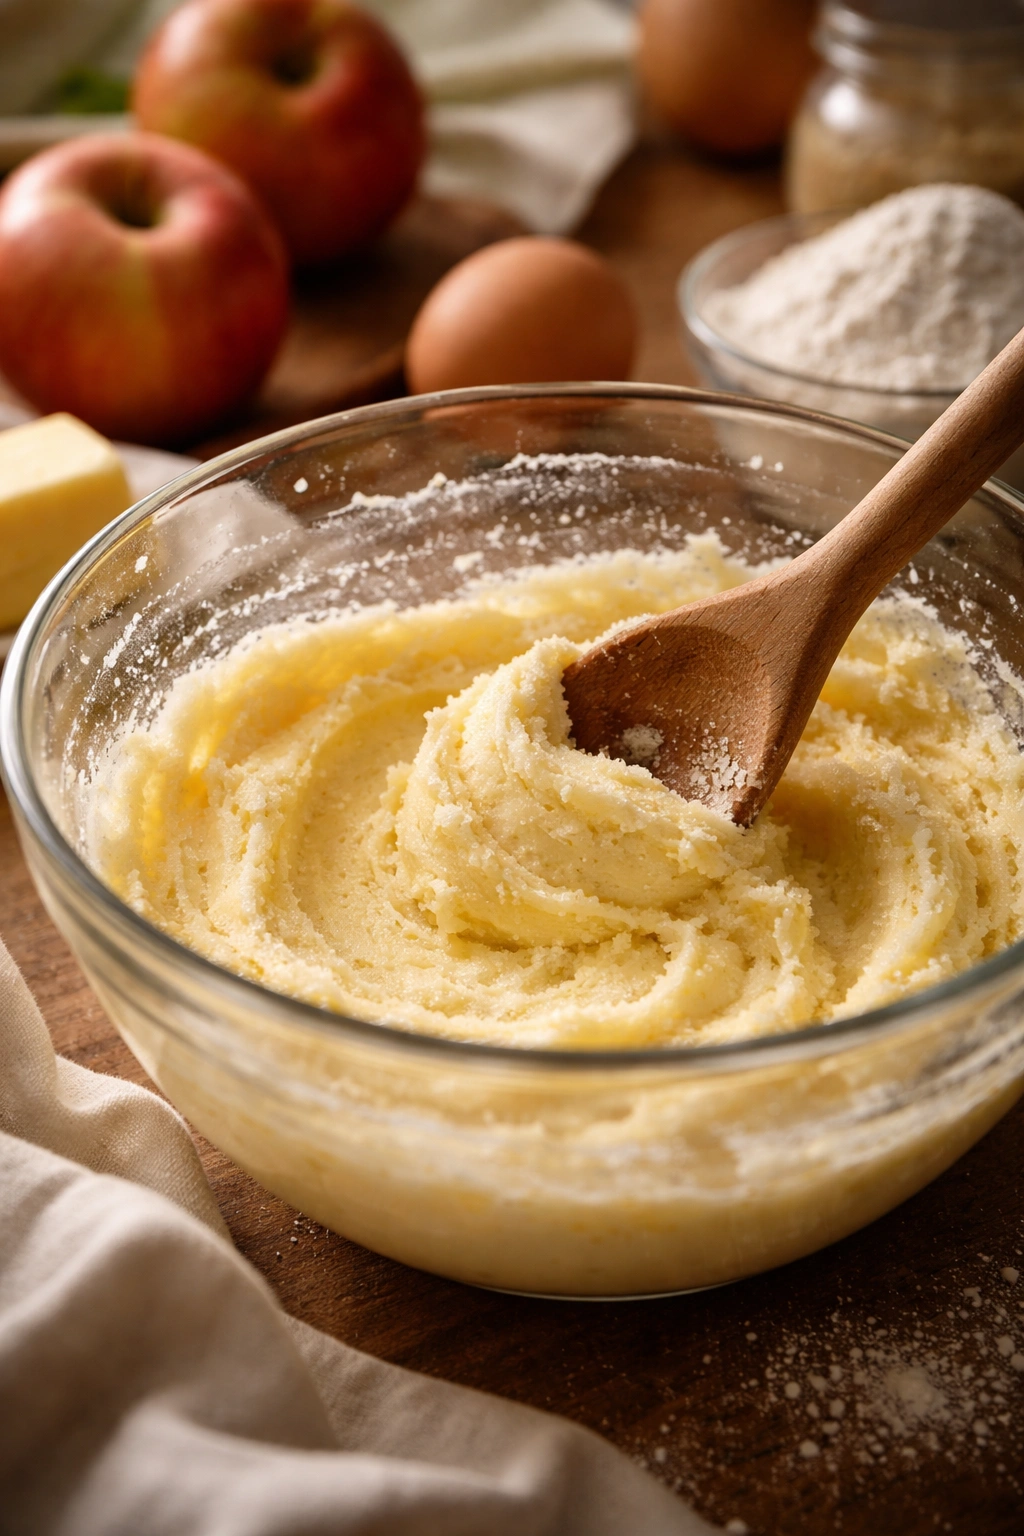
Cream Butter and Sugars:
-
In a large bowl, using a stand mixer fitted with the paddle attachment (or a hand mixer), combine the softened butter with both sugars. Beat on medium speed for 3 to 4 minutes, until the mixture is noticeably pale, fluffy in appearance, and increased in volume—it should go from dense and compact to airy and almost cloud-like. This creaming process incorporates air into the butter, which is crucial for lift in the finished cake.
-
Stop occasionally to scrape down the sides of the bowl with a silicone spatula, making sure you’re incorporating all of the mixture and not leaving sugar or butter stuck to the sides where it won’t mix in properly.
Incorporate the Eggs:
-
Add the eggs one at a time, beating for 30 seconds after each addition and scraping down the sides of the bowl. The mixture may look slightly broken or curdled after the first egg—this is completely normal and will smooth out once you add the remaining egg and the milk. This gradual addition allows the eggs to emulsify properly into the butter rather than creating a separated, greasy mixture.
-
Add the vanilla extract and beat for another 15 seconds until combined.
Alternate Flour and Milk:
-
Reduce the mixer to low speed. You’re going to add the flour mixture and milk in alternating additions, starting and ending with flour. This prevents the batter from becoming overly mixed and developing excess gluten, which would make the cake dense and tough. The pattern is: flour → milk → flour → milk → flour.
-
Add one-third of the flour mixture and mix on low speed just until the flour disappears—about 15 to 20 seconds. Do not overmix. You’re looking for the dry ingredients to be incorporated, not beaten into submission.
-
Pour in half of the milk and mix on low speed just until combined, another 15 to 20 seconds.
-
Add another third of the flour mixture and mix briefly until just combined.
Advertisements -
Add the remaining milk and mix briefly until combined.
-
Add the final third of the flour mixture and mix on low speed just until the last streaks of flour disappear. Stop the mixer immediately. The batter should come together smoothly, but it should not be overmixed. If you beat it too much at this stage, gluten develops and your cake will be tough and dense.
Fold in the Apples:
- Gently fold the diced apples (with any liquid that’s accumulated) into the batter using a silicone spatula. Use a gentle folding motion—cutting down through the center of the batter, across the bottom, and back up the side, rotating the bowl as you go. Fold just until the apple pieces are evenly distributed, usually 8 to 10 gentle folds. Don’t stir or beat—gentle folding prevents breaking down the apples and keeps you from overmixing the batter.
Bake:
-
Pour the batter into your prepared pan and smooth the top into an even layer with an offset spatula or the back of a spoon. Tap the pan firmly on the counter two or three times to release any large air bubbles that could create tunnels in the finished cake.
-
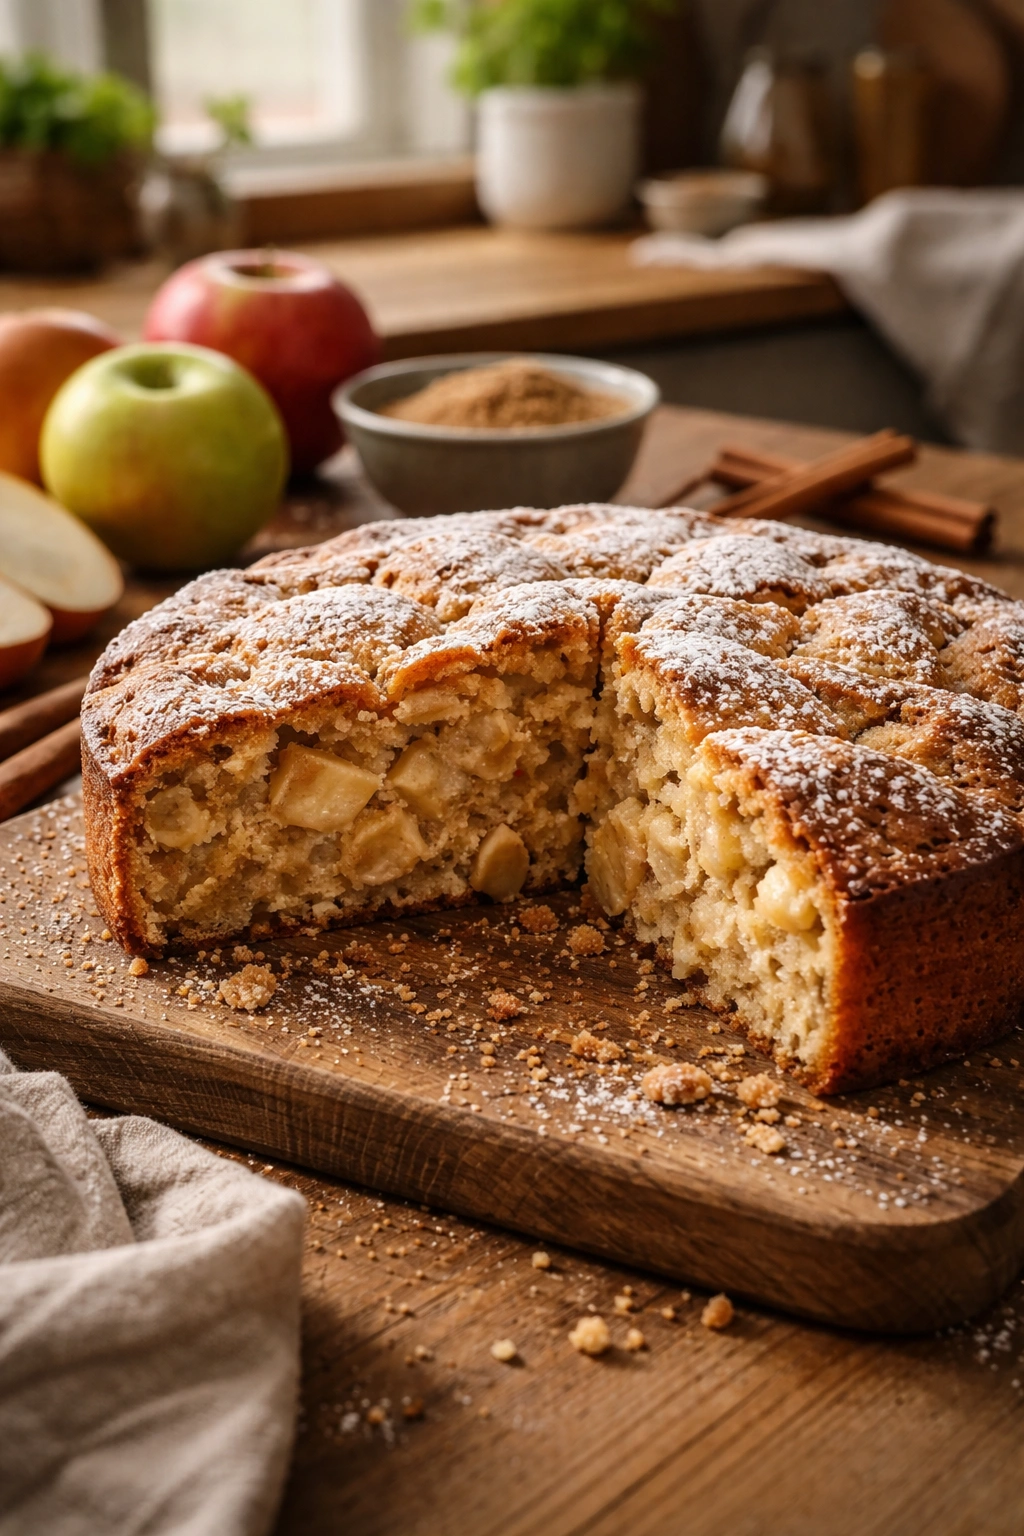
Bake for 40 to 45 minutes, rotating the pan halfway through baking (around the 20-minute mark). The cake is done when a toothpick inserted into the very center comes out clean or with just a few moist crumbs clinging to it, and the edges have just begun to pull away slightly from the sides of the pan. Don’t overbake—you want it just set through, not dry.
-
The top should be golden brown and spring back when you gently press it with a fingertip. If the top is browning too quickly before the center is baked through, you can loosely tent the pan with aluminum foil during the final 10 minutes.
Cool and Turn Out:
-
Remove the cake from the oven and place the pan on a wire cooling rack. Allow the cake to cool in the pan for at least 15 minutes—this is critical. The cake is delicate when hot and will likely tear if you try to turn it out immediately. The 15-minute rest allows the structure to set just enough to hold together.
-
After 15 minutes, run a thin knife around the edges of the cake, pressing it against the sides of the pan to separate any cake that might be stuck. If you lined the pan with parchment, you can simply lift the cake out using the parchment overhang. Otherwise, place a wire cooling rack or a cutting board over the top of the pan and invert it, then carefully lift off the pan.
Advertisements -
Allow the cake to cool completely to room temperature on a cooling rack—at least 45 minutes. Never frost or glaze a warm cake; the glaze will melt and run off, and the crumb is still too delicate.
Make and Apply the Glaze (Optional):
-
While the cake cools, you can prepare the glaze. Whisk together the powdered sugar, heavy cream, vanilla extract, and salt in a small bowl until you have a smooth, pourable consistency. If it’s too thick, add another teaspoon of cream. If it’s too thin, add a bit more powdered sugar.
-
Once the cake is completely cool, pour the glaze over the top and let it naturally drip down the sides, or spread it more evenly with an offset spatula for a neater presentation. Let the glaze set for 10 to 15 minutes before slicing.
Tips for the Best Apple Cake Results Every Time
Room temperature ingredients are not optional—they’re the difference between a smooth, well-incorporated batter and one that looks broken and curdled. Pull your eggs and milk out of the refrigerator 20 minutes before you start mixing. Softened butter should give slightly when you press it but not be greasy or melting. This simple step costs you nothing but time and prevents so many potential problems.
Measure your flour correctly by spooning it into your measuring cup and leveling it with a knife, rather than scooping directly from the bag. Scooping compacts the flour, and you’ll end up with significantly more than you actually need, which results in a dry, dense cake. If you have a kitchen scale, even better—2 cups of all-purpose flour weighs exactly 250 grams. Scales are the most accurate method.
Don’t skip creaming your butter and sugar for the full 3 to 4 minutes, even though it feels excessive. This is when your cake gets its light, tender crumb. Rushed creaming gives you a denser cake because you’re not incorporating enough air. You should see a dramatic visual change—the mixture should go from looking like wet sand to looking like fluffy frosting.
Use fresh baking powder. Old baking powder gradually loses its strength, so if your powder has been sitting in your cabinet for years, replace it. Fresh baking powder guarantees proper rise and prevents flat cakes.
Don’t be afraid of folding the apples gently. This isn’t the time to be thorough—overmixing once you’ve added the apples can break them down and release too much moisture into the batter. Gentle folding keeps the apple pieces distinct and prevents the batter from becoming tough.
Watch your oven temperature with an oven thermometer if you suspect your oven runs hot or cold. A 25-degree difference in oven temperature can mean the difference between a perfectly baked cake and one that’s underbaked in the center or overdried on the outside. Many home ovens are less accurate than people assume.
Common Mistakes and How to Avoid Them
The cake is dense and gummy in the center. This usually means you either overmixed the batter (especially after adding the flour and apples), your baking powder was old or expired, or your oven temperature was too low. Next time, mix on low speed only, use fresh baking powder, and verify your oven temperature with a thermometer.
The cake is dry and crumbly. You likely overbaked it or used too much flour. Check your apple cake at 40 minutes rather than waiting the full 45. A toothpick with a few moist crumbs is done—you don’t need it to come out completely clean. Also, ensure you’re measuring flour correctly by spooning and leveling, not scooping.
The apples are mushy and hard to find in the cake. This usually means the apples were overmixed, releasing too much liquid, or they were cut too small. Fold gently, and aim for roughly ½-inch dice. If you like softer apples, it’s fine to let them go a bit longer, but remember that very soft apples will be less distinctive in the finished cake.
The cake is underbaked in the middle but browning on top. Your oven is likely running hot, or you’re baking at too high a temperature. Try lowering the temperature to 325°F (160°C) and baking a few minutes longer. Tenting the top loosely with foil during the final 10 to 15 minutes of baking also helps if browning happens too quickly.
The top cracked or the cake dipped in the center. This usually indicates overbaking or a very hot oven. The outside set too quickly while the inside was still cooking, and as it continued to bake, it dried out slightly and created stress. Bake at 350°F, watch carefully after 35 minutes, and pull it when a toothpick inserted into the very center still has a tiny bit of moist batter clinging to it.
The glaze separated or looks grainy. This happens when the powdered sugar wasn’t sifted before mixing. Always sift powdered sugar to break up lumps and create a smooth glaze. If your glaze does separate, whisk in another teaspoon of cream and it should come back together.
Delicious Variations to Try
The beauty of this apple cake recipe is how easily it adapts. Each variation below is tested and will work perfectly with the base recipe.
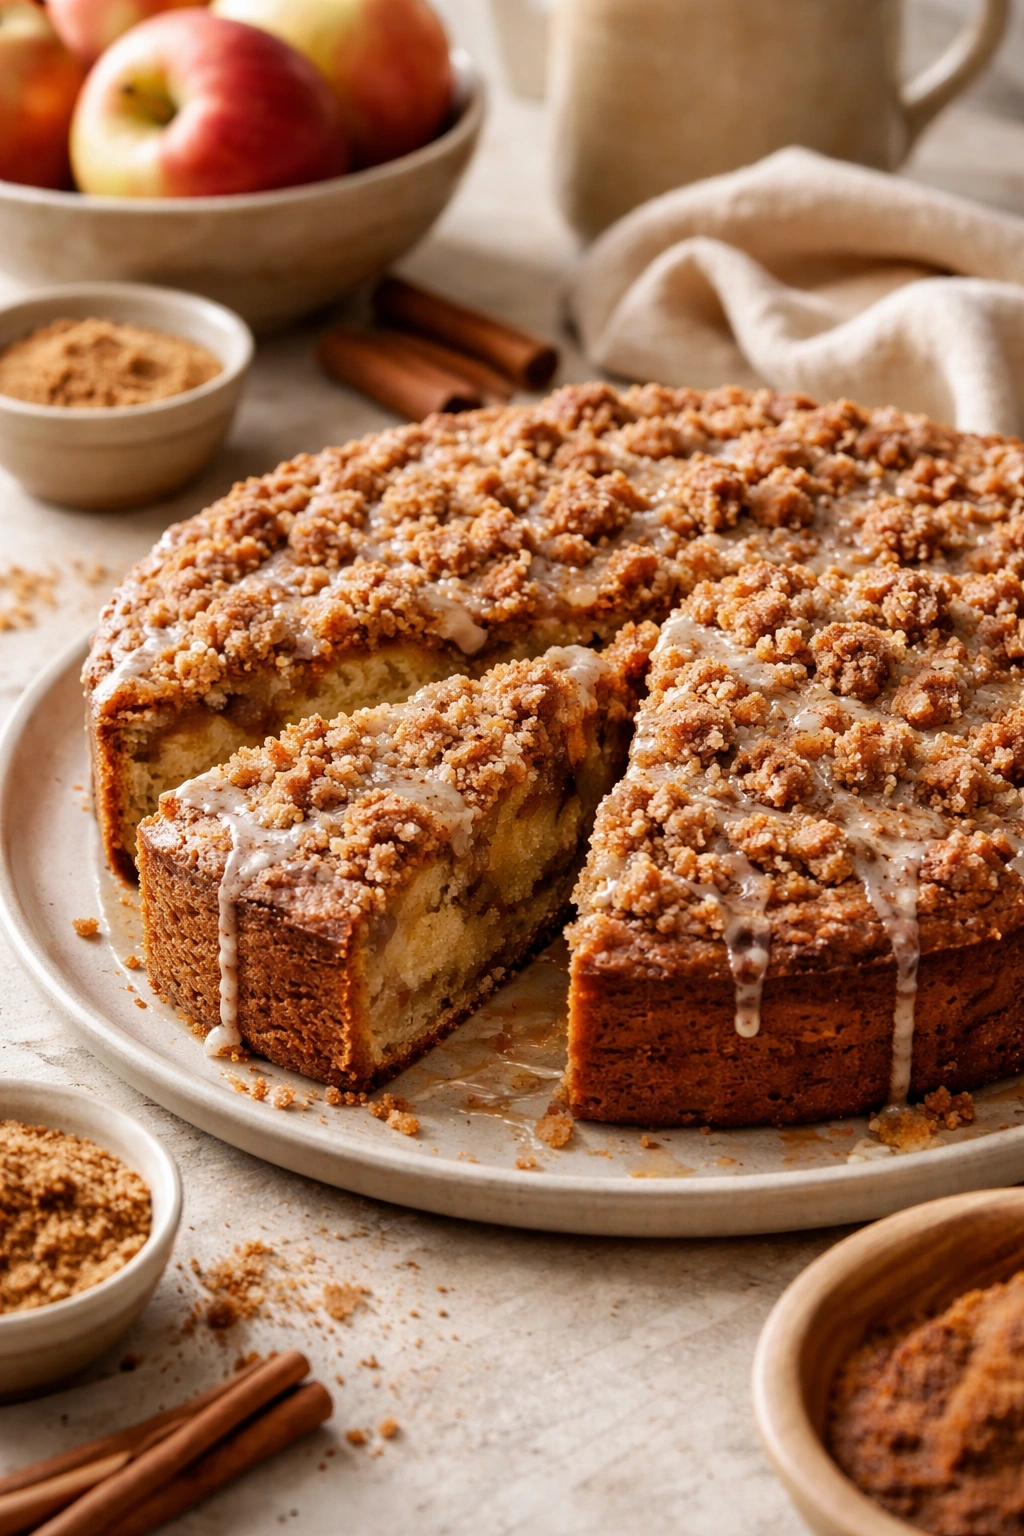
Cinnamon Streusel Topping Version: Skip the glaze and top the batter before baking with a cinnamon-sugar streusel. Mix 3 tablespoons softened butter, ⅓ cup brown sugar, ⅓ cup all-purpose flour, 1 teaspoon cinnamon, and a pinch of salt until crumbly. Sprinkle evenly over the batter before baking. This gives you a delightful textural contrast and a more caramel-like flavor.
Cream Cheese Frosting: Instead of a simple glaze, make a cream cheese frosting by beating together 4 ounces softened cream cheese, 4 tablespoons softened butter, 1½ cups powdered sugar (sifted), ½ teaspoon vanilla extract, and a pinch of salt until fluffy. Spread this generously between two cooled cake layers or over the top of a single layer. This version tastes like an apple-spiced carrot cake and is genuinely luxurious.
Brown Butter Version: Replace regular butter with brown butter for an extra nutty depth. To brown butter, melt it in a small saucepan over medium heat and let it simmer gently until the milk solids settle to the bottom and turn a rich golden brown, about 8 to 10 minutes. Let it cool slightly before creaming with sugar. This adds an almost caramel-like complexity that elevates the whole cake.
With Toasted Walnuts: Fold in ½ cup toasted, roughly chopped walnuts along with the apples. Toast them in a dry skillet over medium heat for 3 to 4 minutes, stirring often, until fragrant. This adds crunch and a subtle bittersweet note that complements the apples beautifully.
Spiced Version with Extra Nutmeg and Cardamom: If you love spice, increase the cinnamon to 2 teaspoons, add ½ teaspoon ground cardamom, and add a tiny pinch of ground cloves (start with ⅛ teaspoon—cloves are potent). This makes the cake taste almost like a chai-spiced dessert.
For Dietary Needs:
- Dairy-Free: Replace butter with a high-quality dairy-free butter (store brands work fine), and use unsweetened almond milk or oat milk in place of whole milk. The cake will turn out almost identically.
- Gluten-Free: Substitute an equal weight of a high-quality gluten-free all-purpose flour blend. Some brands work better than others—Bob’s Red Mill and King Arthur are reliable. You may need to add ¼ teaspoon xanthan gum if your flour blend doesn’t contain it, which helps with texture.
- Lower Sugar Version: Replace granulated sugar with ¾ cup natural cane sugar or coconut sugar, and reduce the brown sugar to ¼ cup. The cake will be less sweet but still delicious, though it may be slightly denser.
Storage, Make-Ahead, and Freezing Guide
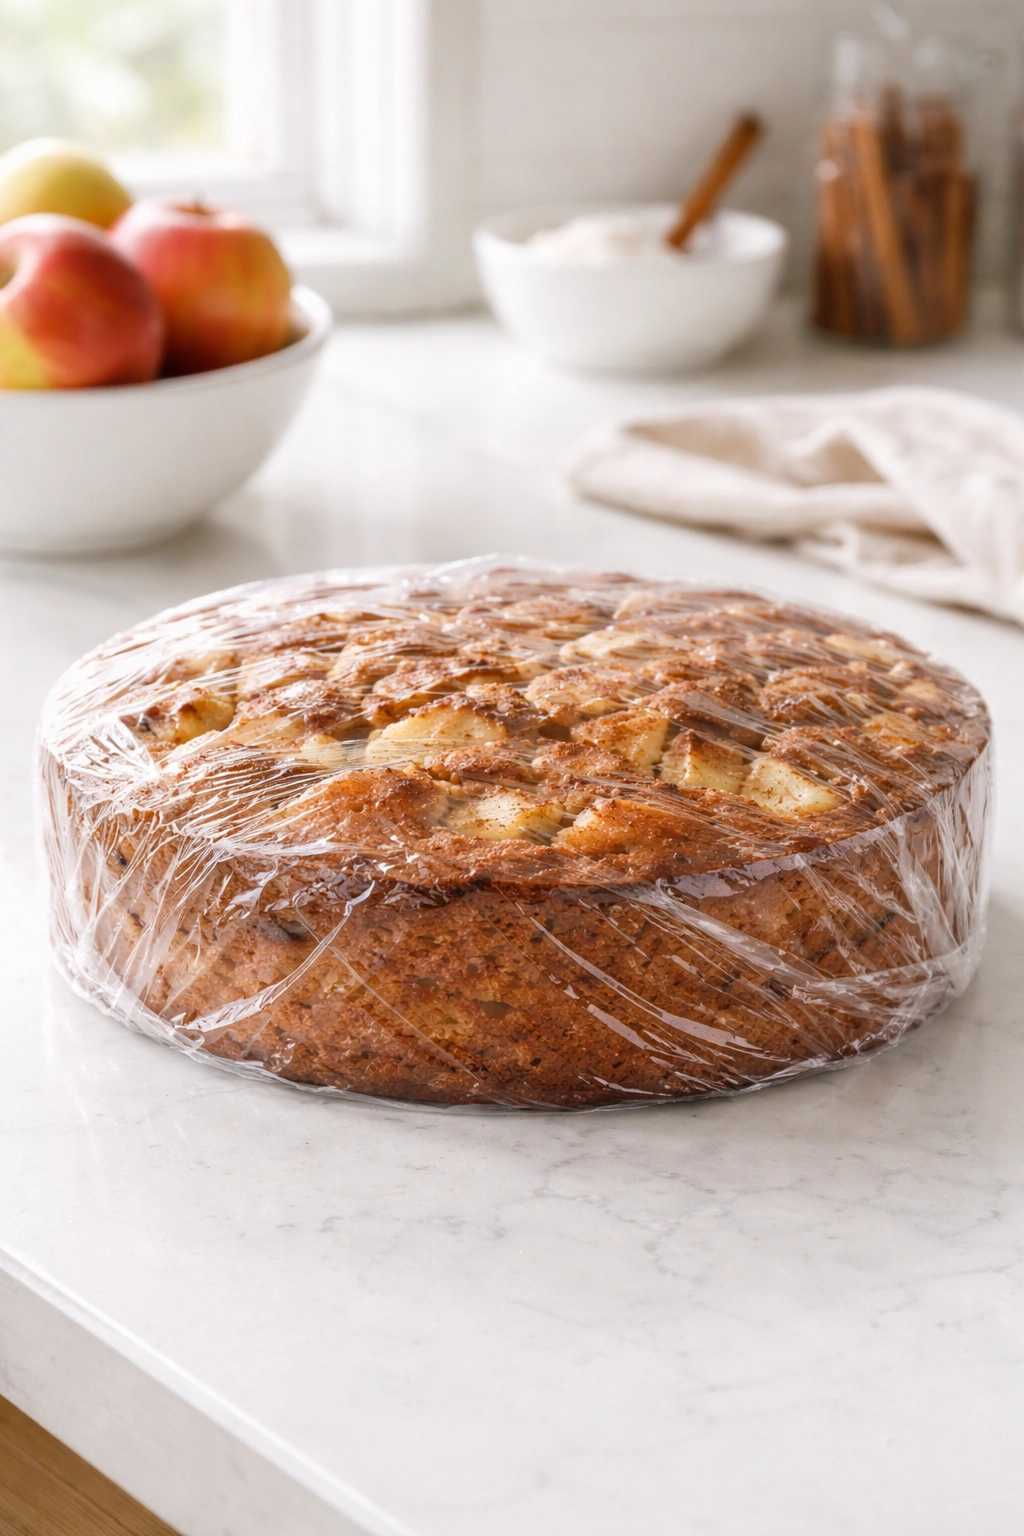
Room Temperature Storage: This apple cake actually improves after sitting overnight—the flavors meld and the moisture distributes more evenly through the crumb. Keep it covered with a cake dome or loosely tented with plastic wrap (don’t let the wrap touch the glaze if it’s still slightly sticky) for up to 3 days at room temperature in a cool kitchen.
Refrigerator Storage: If your kitchen is warm or humid, refrigerate the cake. It keeps perfectly for up to 5 days covered. Remove it from the refrigerator 30 minutes before serving to allow it to come back toward room temperature—cold cake tastes slightly muted.
Freezing the Baked Cake: This cake freezes beautifully. Wrap the completely cooled, unfrosted cake tightly in plastic wrap, then again in aluminum foil. It will keep in the freezer for up to 3 months. Thaw it at room temperature, still wrapped, for about 2 hours before serving. The thawed cake tastes just as fresh as the day you baked it. You can add glaze or frosting after thawing.
Make-Ahead Unbaked Batter: You can prepare the batter (through folding in the apples) and freeze it for up to 1 week in an airtight container or wrapped tightly. Bake it directly from frozen—you may need to add 3 to 5 minutes to the baking time since you’re starting with a cold batter.
Make-Ahead Components: You can peel and dice your apples up to 4 hours ahead—toss them in lemon juice and store them in an airtight container in the refrigerator. You can also measure out all your dry ingredients into a bowl and cover it, and measure out butter and sugar separately. Having these components ready means you can assemble and bake within minutes.
Best Served: This cake is wonderful fresh, still slightly warm, when the apples taste most vibrant and distinct. It’s equally delicious at room temperature the next day, when the crumb has slightly more density and the flavors have had time to deepen. It’s least exciting cold from the refrigerator, so take it out 20 to 30 minutes before serving to let the flavors brighten again.
Perfect Serving Suggestions and Pairings
A slice of plain apple cake with a cup of hot coffee is genuinely perfect—the slight spice and fruit complement coffee’s bitterness beautifully. This works as a morning treat, an afternoon snack, or after-dinner dessert without feeling heavy or out of place.
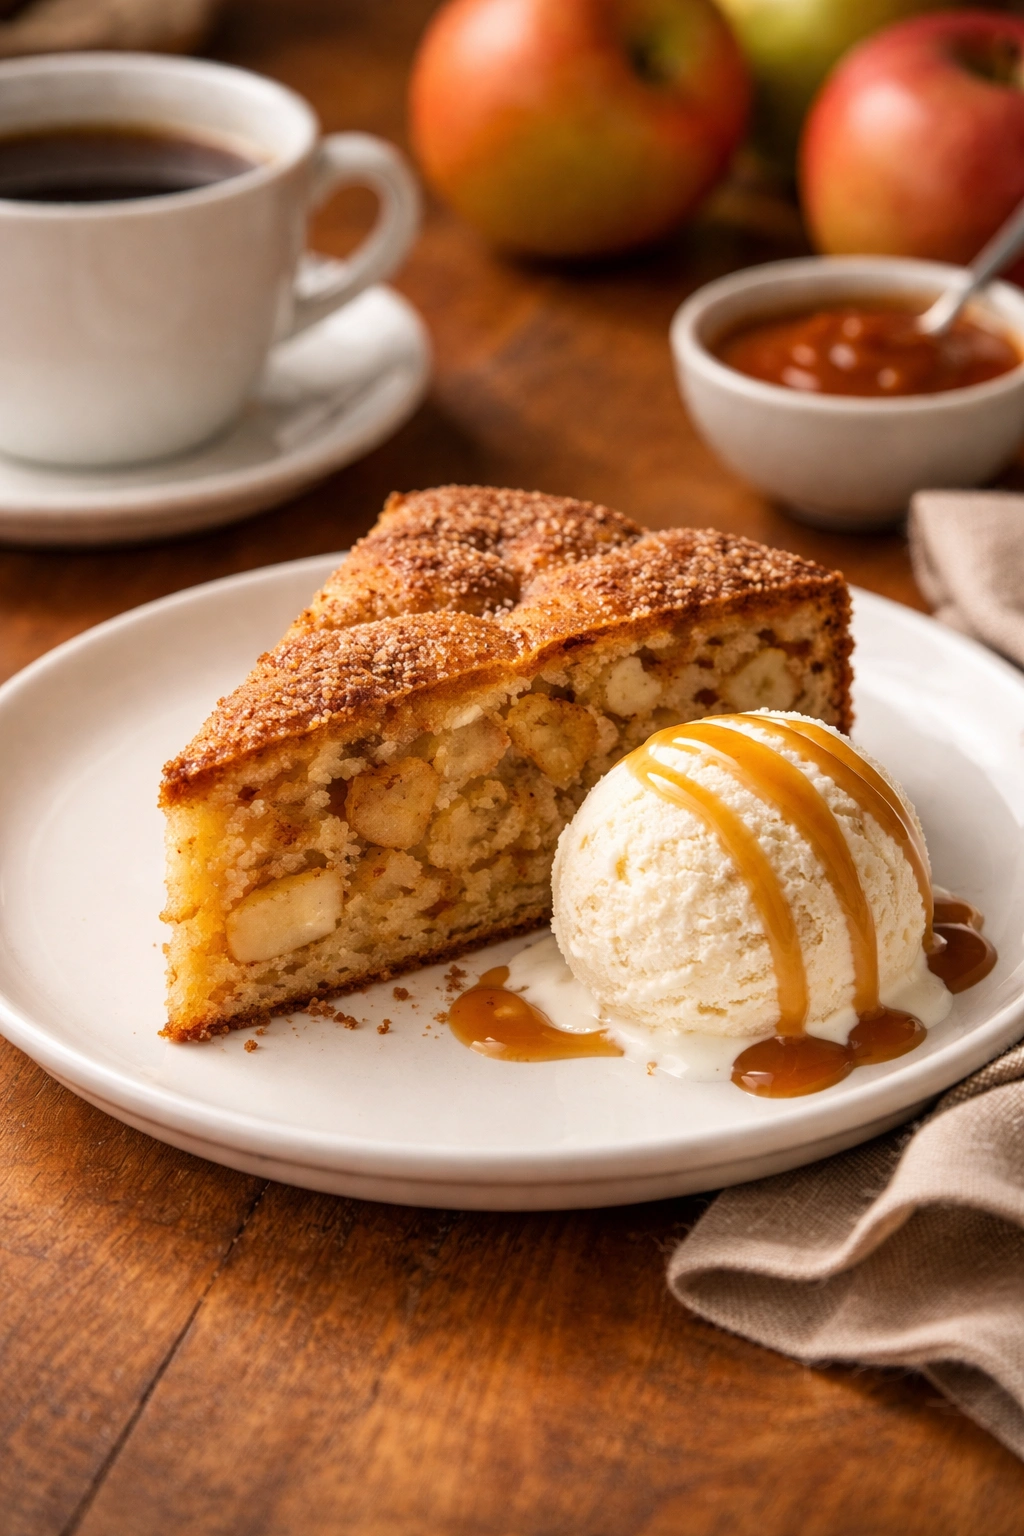
If you want to dress it up, serve warm slices with a small scoop of vanilla ice cream or a dollop of freshly whipped cream. The cold, creamy texture against the warm, apple-studded cake is genuinely luxurious, and the vanilla is neutral enough that it doesn’t compete with the spice.
For special occasions or dinner parties, drizzle each plate with a thin stream of caramel sauce, place a slice of cake on top, add a quenelle (a fancy spoon-shaped scoop) of crème fraîche or whipped cream to the side, and maybe scatter a few candied apple slices or a small handful of toasted walnuts around the plate. This simple plating makes the cake look restaurant-worthy without actually being complicated.
Apple cake is also wonderful alongside sharp cheeses—think aged cheddar or a crumbly aged gouda. The tangy, salty edge of the cheese plays beautifully against the sweet cake and warm spices. This works as a bridge between dessert and cheese course, or simply as an interesting afternoon snack.
A hot cup of spiced tea—chai, cinnamon-spiced black tea, or even a simple cinnamon tea—is the perfect beverage pairing. The flavors echo each other, creating a really satisfying combination.
Serve this cake at your next casual gathering or bake sale. It’s humble enough to fit a simple coffee-and-cake afternoon, but it’s also polished enough for a dinner party. People always seem surprised at how good a straightforward apple cake can be, and you’ll likely get requests for the recipe.
Final Thoughts
This apple cake works because it doesn’t try to be anything more complicated than a genuinely good apple cake. There’s no fancy filling, no architectural frosting, no exotic ingredients hiding in unexpected places. What it does is deliver on the fundamentals—a tender, moist crumb, distinct pieces of sweet and tart apple distributed throughout, and warm spice notes that let the apple flavor shine rather than overshadowing it.
The real magic is in the details. Choosing two varieties of apples instead of one. Allowing ingredients to come to room temperature. Creaming your butter and sugar until it’s noticeably fluffy. Folding gently rather than mixing vigorously. These small choices separate a dense, forgettable cake from one that makes people pause mid-conversation and ask for another slice.
Once you’ve made this cake once, you’ll understand why it’s such a reliable favorite. It’s straightforward enough that you can make it confidently any time the craving hits, but thoughtful enough that every component contributes something real to the finished dessert. Bake it this week, and you’ll very likely bake it again.