A warm bowl of fruit cobbler on the table doesn’t require hours of planning or complicated techniques. If you’ve ever thought cobbler belongs in the category of desserts requiring a whole afternoon—or assumed you need special skills to get that perfect bubbling fruit filling and golden topping—it’s time to reconsider. The truth is, the best fruit cobblers come together faster than most people expect, and there’s no reason to reserve them for special occasions.
The real secret isn’t a technique most home cooks are missing. It’s understanding that cobbler thrives on simplicity. You need ripe fruit, a bare-minimum topping made from pantry staples, and heat. That’s genuinely all there is to it. The magic happens in the oven, where those three ingredients transform into something that tastes like you spent the entire day on it. This particular approach cuts through all the fussiness—no peeling, no elaborate spice combinations, no pre-cooking the fruit—and delivers a dessert that feels both homemade and effortless.
What you’re about to make is the kind of cobbler that doesn’t ask much of you but gives everything back. It works with whatever fruit you have on hand. It comes together in less than 15 minutes of actual prep work. And it tastes like something your grandmother would have made, except faster and without the stress.
Why Fruit Cobbler Is the Perfect Weeknight Dessert
There’s a reason cobbler remains one of the most beloved American desserts across generations. It doesn’t demand perfection, and it doesn’t require ingredients beyond what most kitchens stock regularly. Cobbler is forgiving in ways that pies, cakes, and pastries simply aren’t—the toppings meld together into a beautiful, rustic finish regardless of how you arrange them. The fruit filling can be adjusted season to season or even meal to meal without fundamentally changing the recipe.
Cobblers also have an incredible advantage: the dish itself is a serving vessel. There’s no plating required, no need for fussy presentation. You bake it in the same baking dish you serve from, which means minimal cleanup and maximum charm. Friends and family will gather around a warm cobbler faster than they would almost any other dessert, and that communal quality is part of cobbler’s enduring appeal.
The speed factor deserves its own mention. When you can go from “what should we have for dessert?” to pulling a golden, bubbling cobbler from the oven in under an hour, including oven time, you’ve unlocked something genuinely useful in your cooking repertoire. This isn’t a dessert you plan for three days in advance. It’s something you decide on while dinner is still on the table and execute before anyone even finishes their coffee.
What Makes This Recipe So Fast and Easy
Every decision in this cobbler recipe exists to get you to the table quickly without sacrificing flavor or texture. The fruit requires no peeling—the skins add fiber, color, and authentic character to the filling. No pre-cooking the fruit on the stovetop. No maceration or sitting time required. You’re combining raw fruit with sugar and a small amount of thickener, and that’s your filling. It sounds almost too simple, but that simplicity is the entire point.
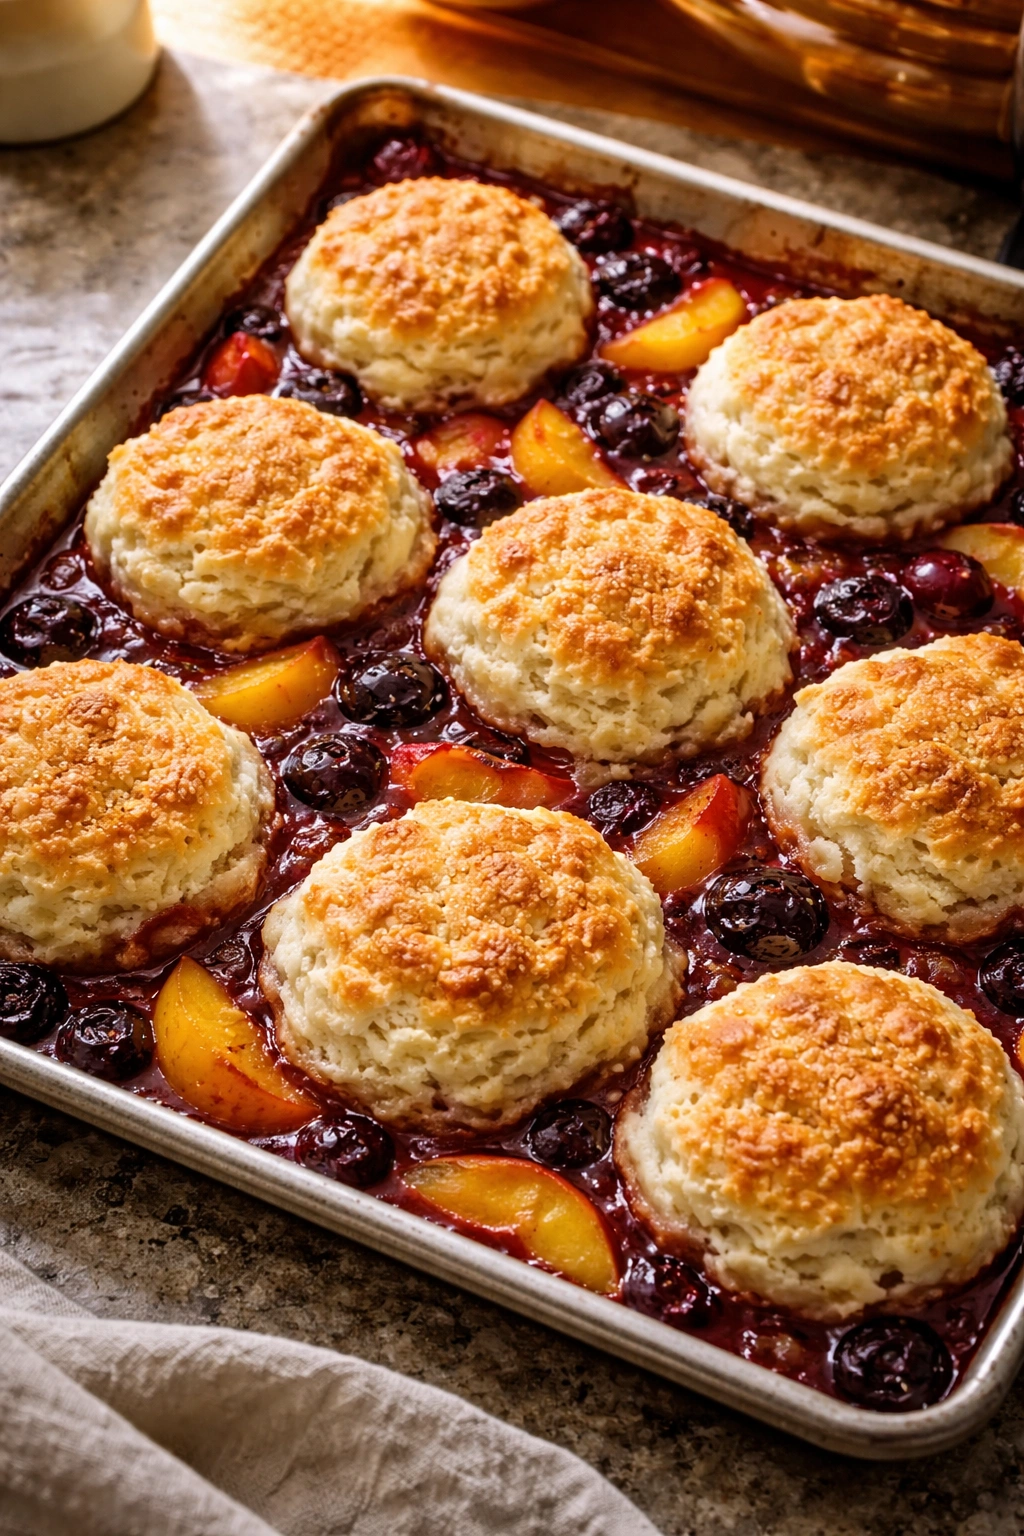
The topping is equally streamlined. Rather than making a complicated biscuit dough or pastry crust, this cobbler uses a drop-biscuit topping that comes together in minutes. You’re mixing a handful of dry ingredients, cutting in cold butter, adding some liquid, and dropping spoonfuls over the fruit. No rolling, no shaping, no chilling. The biscuits bake on top of the fruit and emerge with crispy edges and tender, almost doughy centers—exactly what makes cobbler so satisfying.
The oven does the actual work here. That’s the real advantage. You’re not standing over a stove stirring or monitoring something carefully. You put the whole thing in a hot oven for about 40 minutes, and the fruit releases its juices, the topping rises and browns, and the flavors deepen. You literally just wait, and something delicious happens entirely without your intervention.
Selecting and Preparing Fresh Fruit
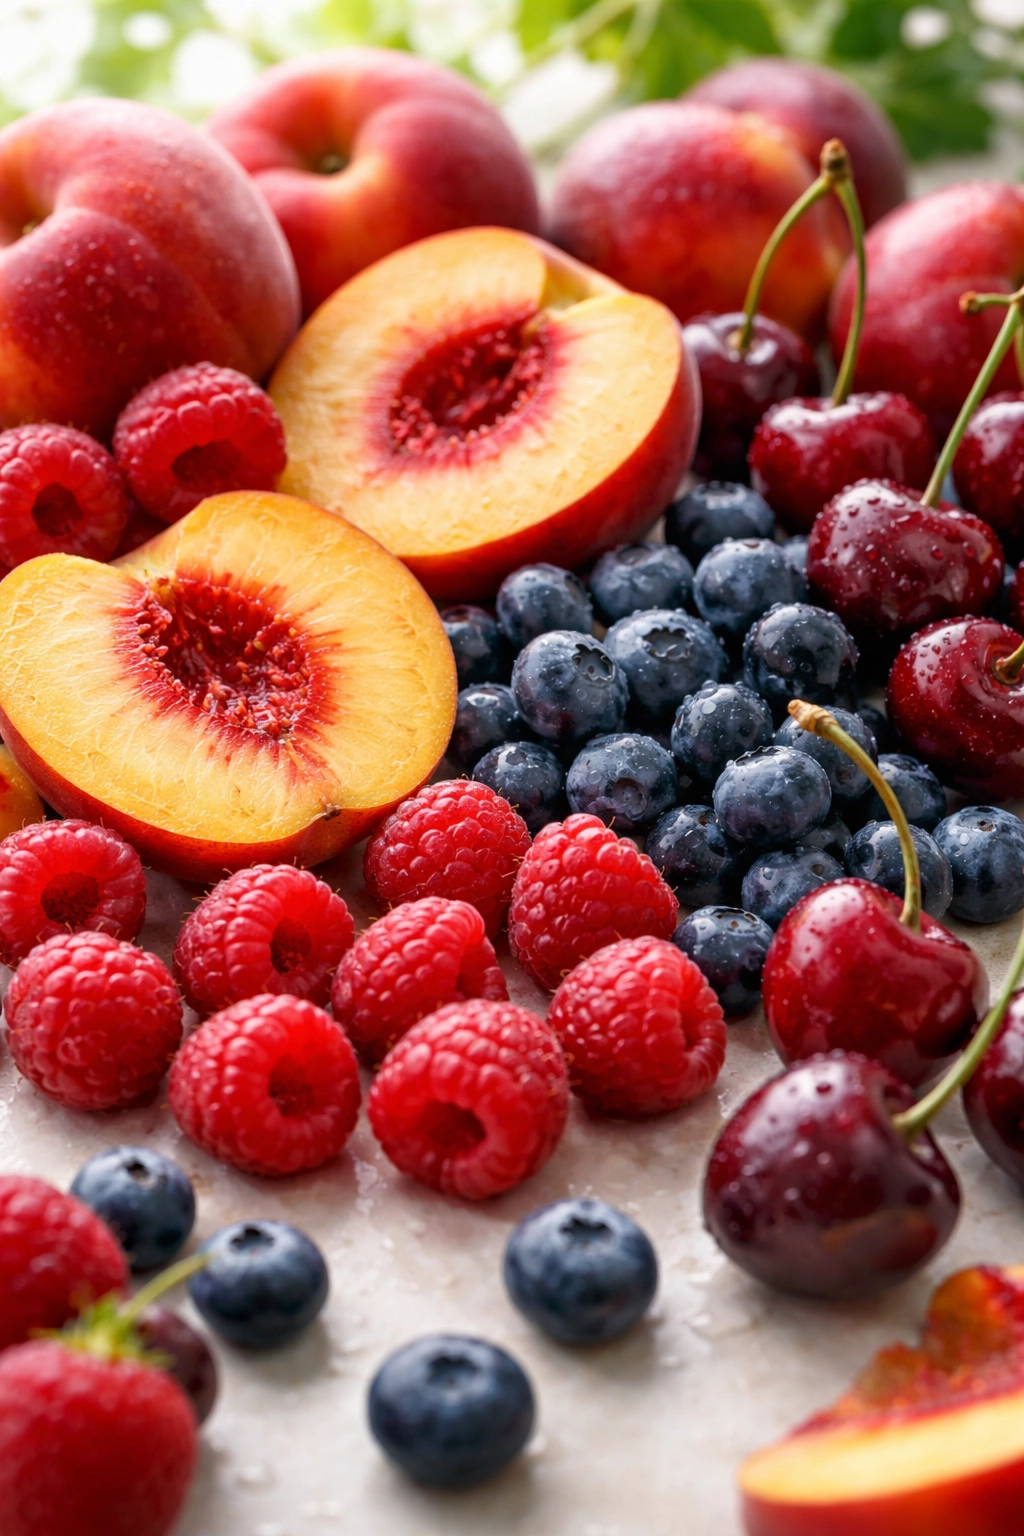
The foundation of any cobbler is the fruit, and this is where you can let the seasons or your pantry guide you. Fresh, ripe fruit produces the most vibrant flavor and the most attractive filling. Ripe berries—blackberries, blueberries, raspberries—create a cobbler that feels like you just walked out of an orchard. Stone fruits like peaches, plums, and nectarines, when ripe enough that they smell fragrant and yield slightly to pressure, produce a filling that’s almost jammy in the best possible way. Even combinations work beautifully: peaches and raspberries together, cherries with blueberries, mixed berries with a touch of stone fruit.
The key is ripeness, not perfection. You don’t need fruit that looks like a magazine photo. Cobbler actually prefers fruit that’s quite ripe, because riper fruit has more juice and more sugar content. This means you can use fruit that’s past its prime for eating fresh—that slightly soft peach, the berries that are getting a little wrinkled, the plums that are almost too tender to slice. All of these become ideal cobbler material. They contribute more flavor and more of the precious liquid that creates the filling.
If you’re using stone fruits, leave the skins on. The skin on a peach or plum becomes soft during baking and adds a slight pleasant texture to the filling. You don’t need to peel anything. If you’re using berries, simply rinse them and use them whole. If you prefer a thicker filling without bits of berry skin, you can pass some of the filling through a sieve before baking, but this step is entirely optional—rougher, lumpier fillings are more rustic and arguably more interesting. Whatever you choose, aim to fill your baking dish comfortably full but not overflowing. You want enough fruit to create a substantial filling but enough room for the topping to bake without the filling spilling over.
Yield, Prep Time, and Difficulty
Yield: Serves 6 to 8 | One 9×13-inch cobbler
Prep Time: 15 minutes (hands-on active preparation)
Cook Time: 40 to 45 minutes
Total Time: 55 to 60 minutes active + 10 minutes cooling
Difficulty: Beginner — No special equipment, minimal technique required, very forgiving if something isn’t perfect. Even if your biscuit topping looks rough or uneven, it will bake into something delicious. This is one of the easiest desserts to make successfully on your first try.
For the Filling:
- 6 to 7 cups fresh fruit (berries, stone fruits, or a combination), rinsed and left whole or cut into bite-sized pieces if using very large fruit
- ½ cup granulated sugar
- 2 tablespoons light brown sugar
- ¼ teaspoon fine sea salt
- ½ teaspoon pure vanilla extract
- 1½ tablespoons cornstarch (or tapioca starch for an extra glossy filling)
- ½ teaspoon ground cinnamon (optional, but recommended)
- Zest of ½ lemon (optional but brightens the flavor considerably)
- 1 tablespoon fresh lemon juice
For the Biscuit Topping:
- 1¼ cups all-purpose flour
- ¼ cup granulated sugar
- 1½ teaspoons baking powder
- ½ teaspoon fine sea salt
- 6 tablespoons (¾ stick) cold unsalted butter, cut into small cubes
- ½ cup whole milk (or buttermilk for tangier biscuits)
- ½ teaspoon pure vanilla extract
For Finishing (Optional):
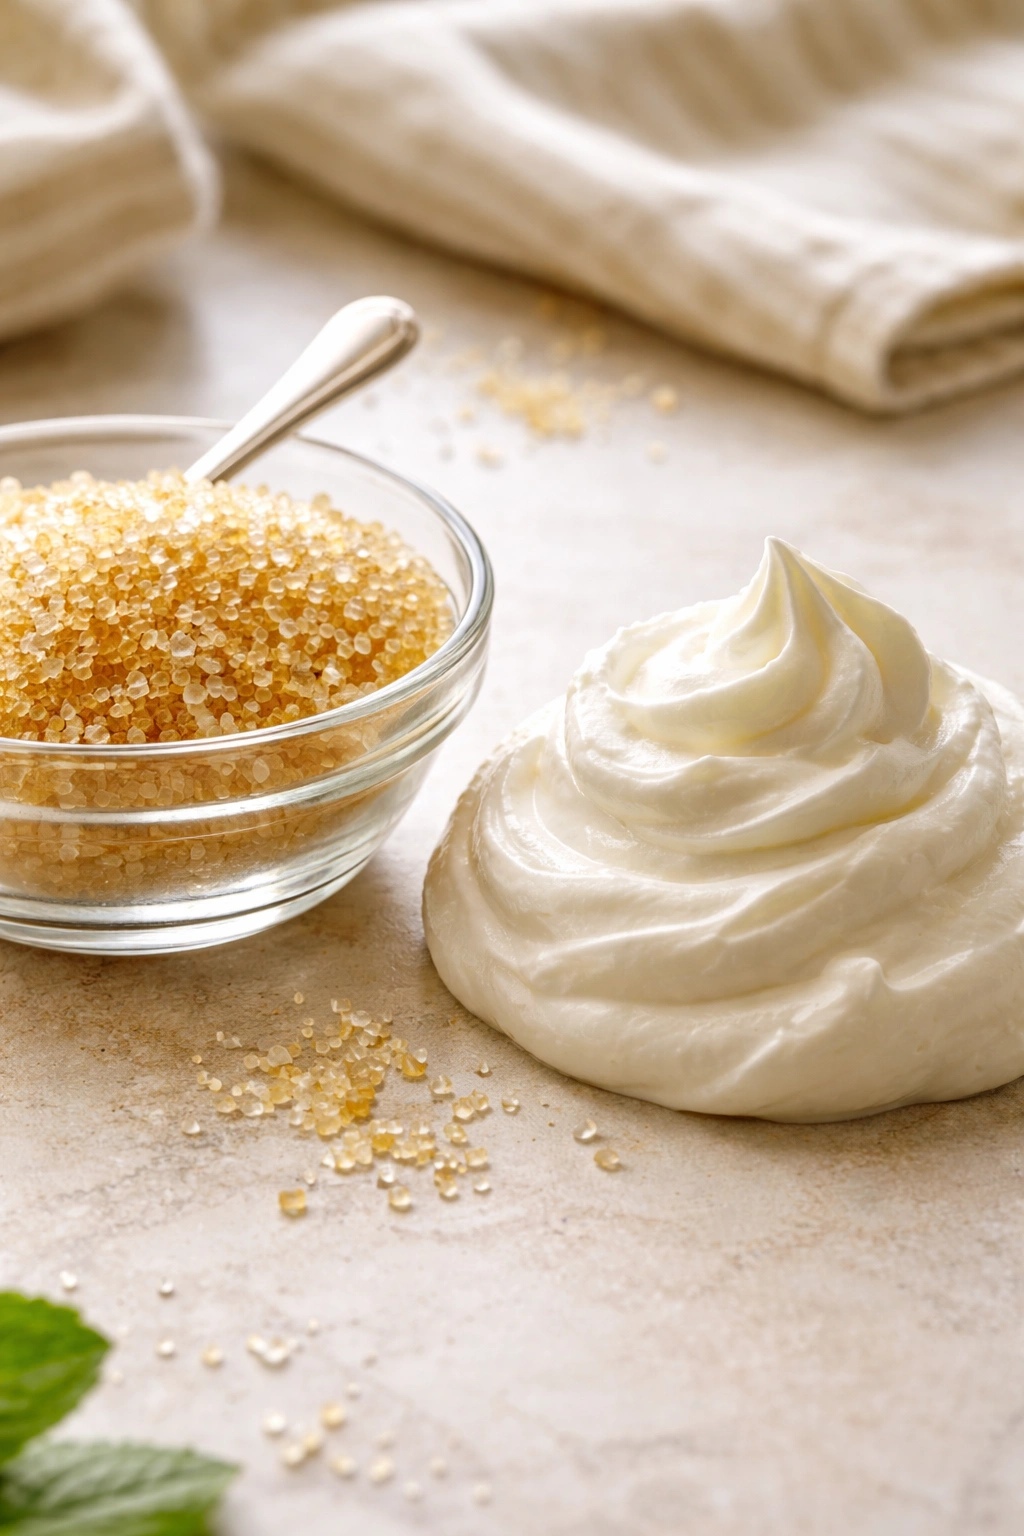
- 1 tablespoon coarse sugar (turbinado or sanding sugar) for sprinkling on top before baking
- Fresh whipped cream or vanilla ice cream for serving
Prepare the Pan and Fruit Filling:
-
Preheat your oven to 375°F (190°C) and position the rack in the center of the oven. This temperature is hot enough to bake the topping through and caramelize the fruit filling, but not so hot that the topping burns before the filling is cooked.
-
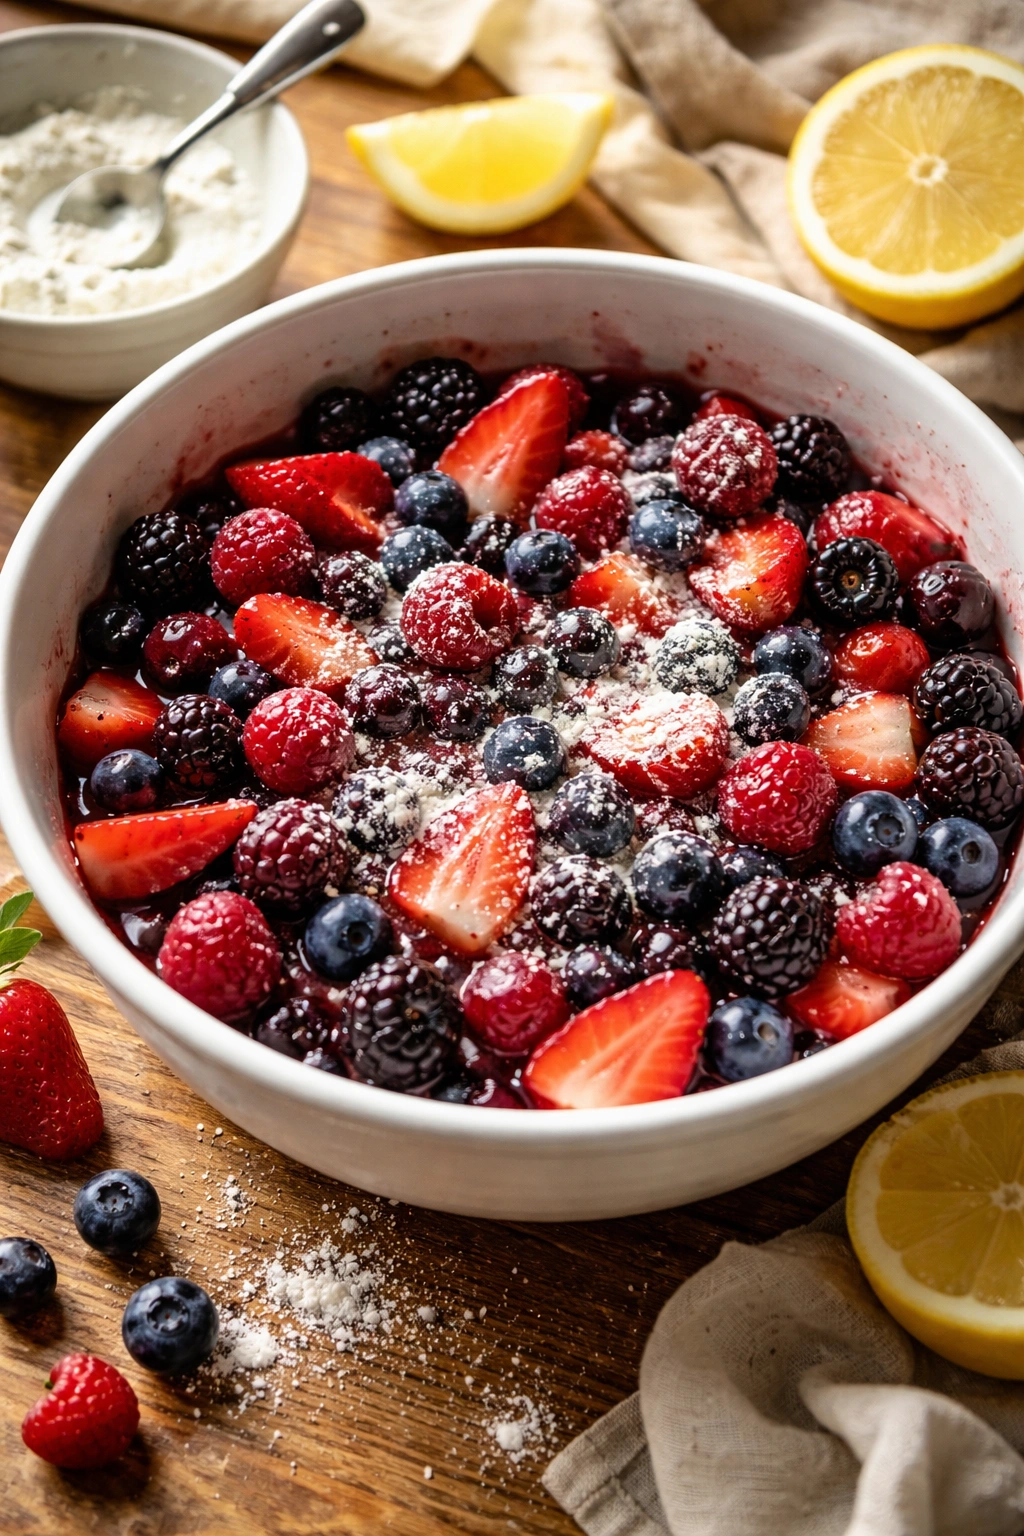
Combine the fresh fruit with both sugars, salt, vanilla extract, cornstarch, cinnamon if using, lemon zest if using, and lemon juice in a large mixing bowl. Gently toss everything together until the fruit is evenly coated and the sugar has begun to dissolve slightly. The fruit will release some liquid as you toss it—that’s exactly what you want. Let the mixture sit for 3 to 4 minutes while you make the topping.
Advertisements -
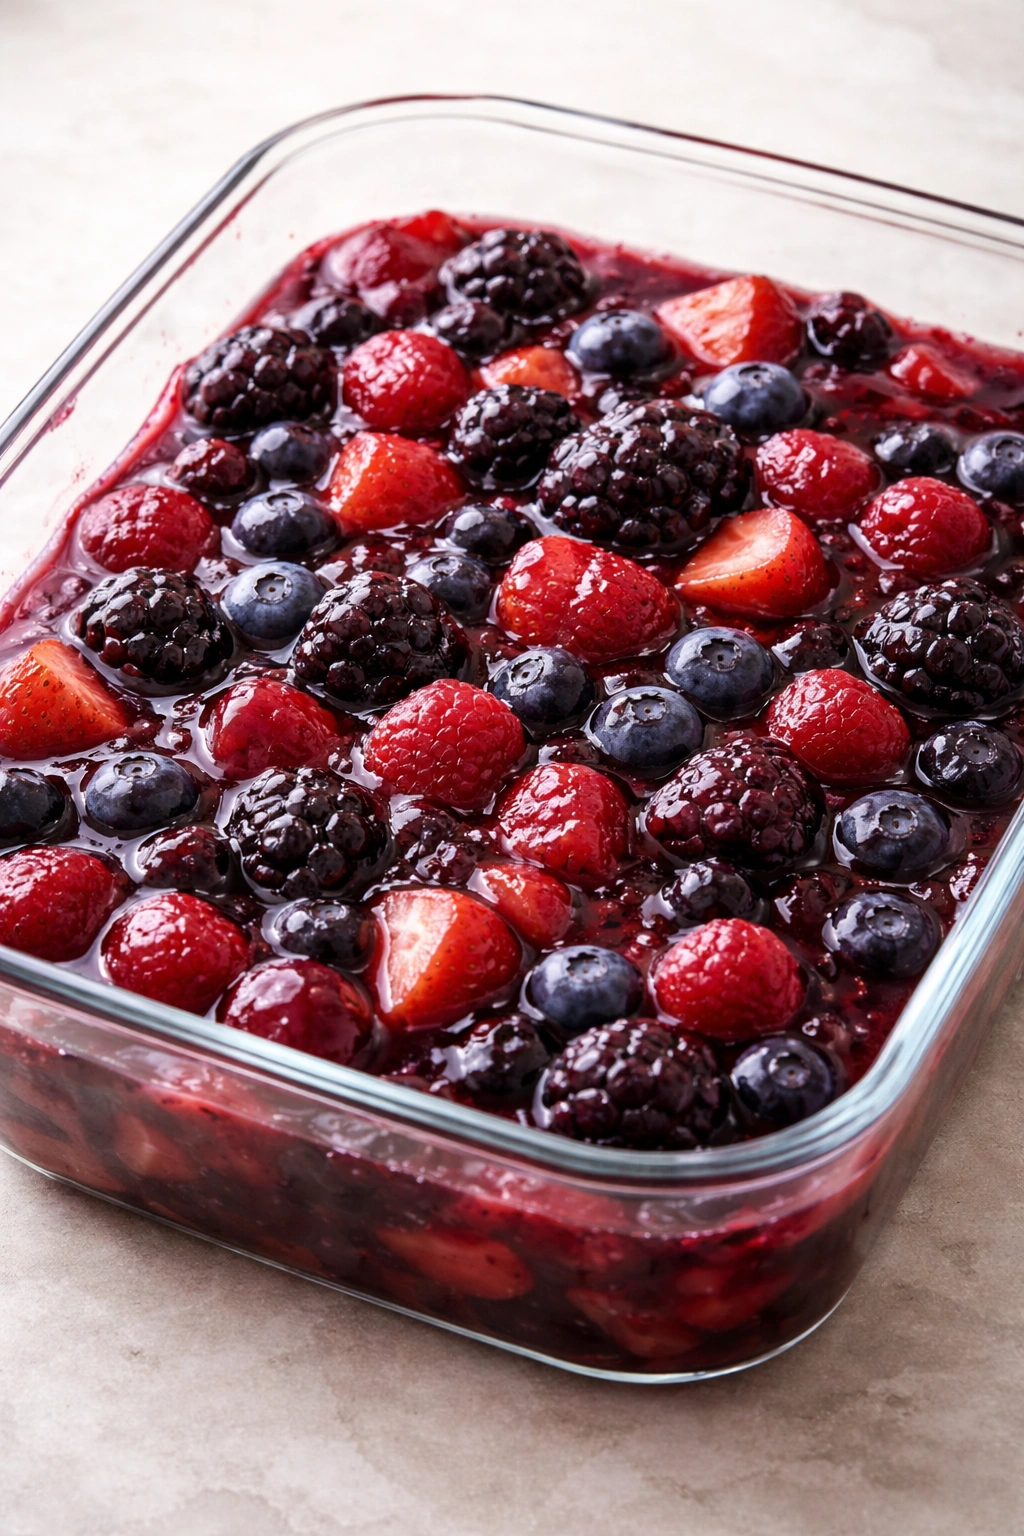
Pour the fruit mixture into a 9×13-inch baking dish, spreading it into an even layer. Do not drain off any of the juices—those juices are essential for creating the filling. If the dish is getting quite full, use a slightly larger baking dish or place a sheet of foil on the rack below to catch any drips (fruit sometimes bubbles over slightly, and you don’t want it making a mess in your oven).
Make the Biscuit Topping:
-
In a medium bowl, whisk together the flour, sugar, baking powder, and salt until combined. These dry ingredients create the base for the drop biscuits and need to be thoroughly mixed so the baking powder distributes evenly—this ensures the topping rises consistently.
-
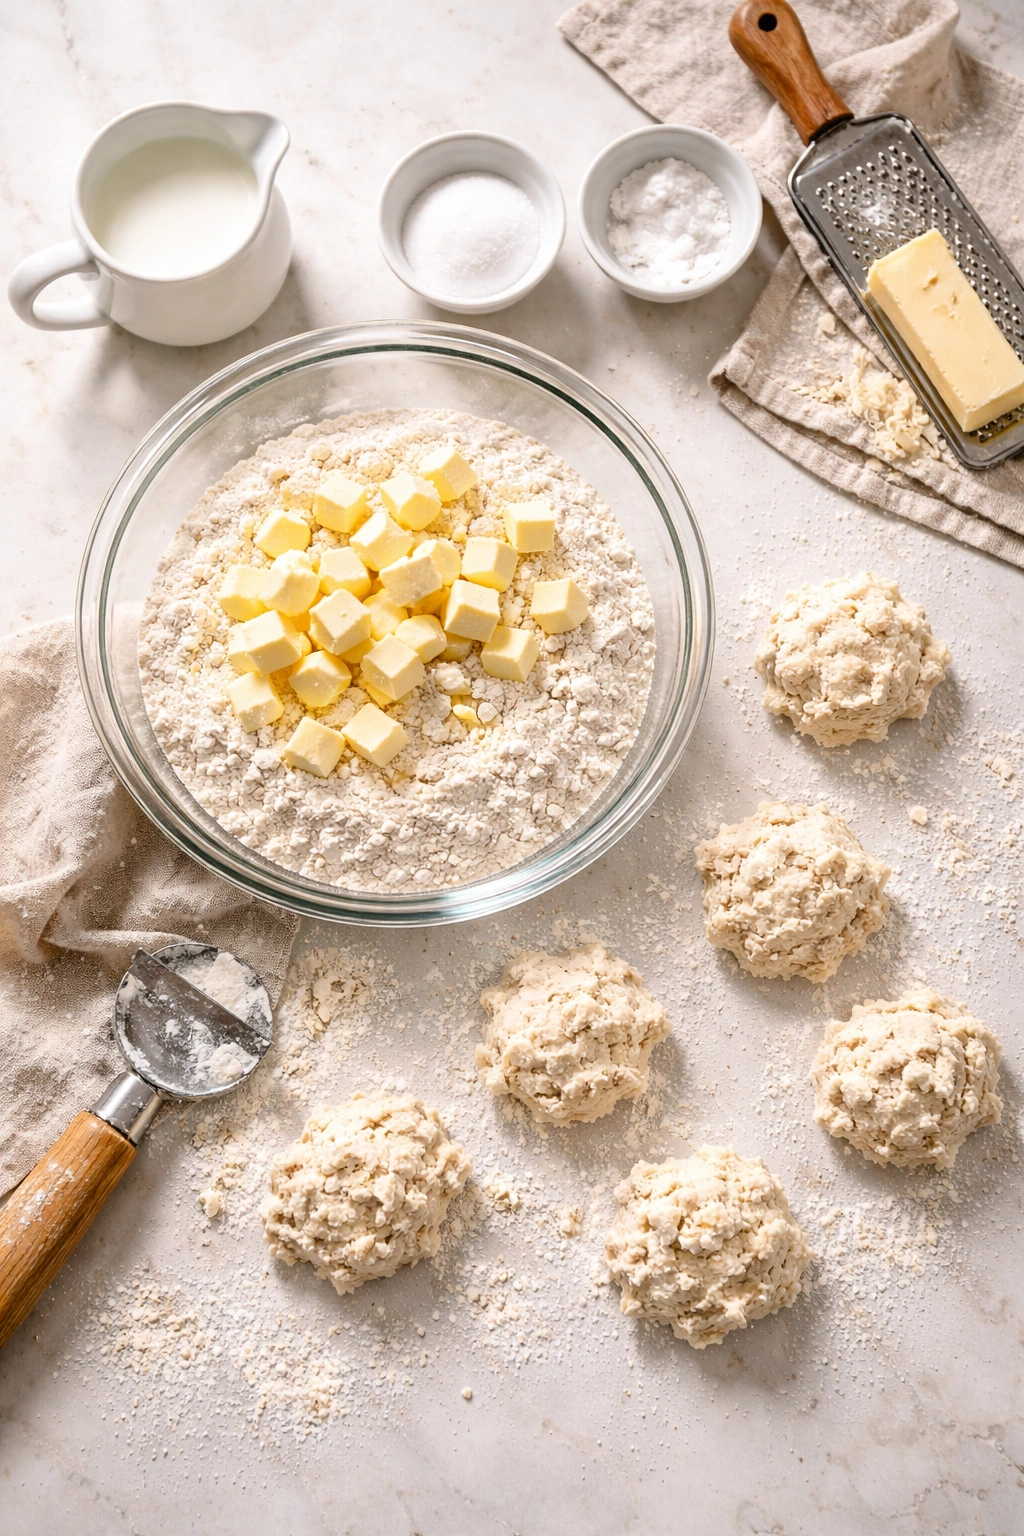
Add the cubed cold butter to the flour mixture. Using a pastry cutter, two knives, or simply your fingertips, work the butter into the flour until the mixture resembles coarse breadcrumbs or small peas. The cold butter is crucial—if it gets too warm, your biscuits won’t be flaky. Work quickly; if your kitchen is very warm, you can refrigerate the mixture for 5 minutes after adding the butter. What you’re creating is a crumbly base that will become tender, flaky biscuits once liquid is added and they bake.
-
In a small bowl, combine the milk and vanilla extract. Pour this mixture into the flour mixture, stirring gently with a fork or wooden spoon only until the dough just comes together. Do not overmix. The dough should look rough and somewhat lumpy, with some flour still visible—this is what produces tender biscuits. Overmixing develops gluten and creates tough, dense biscuits instead of fluffy ones. If the dough seems too thick to drop easily, add another tablespoon or two of milk.
Assemble and Bake:
-
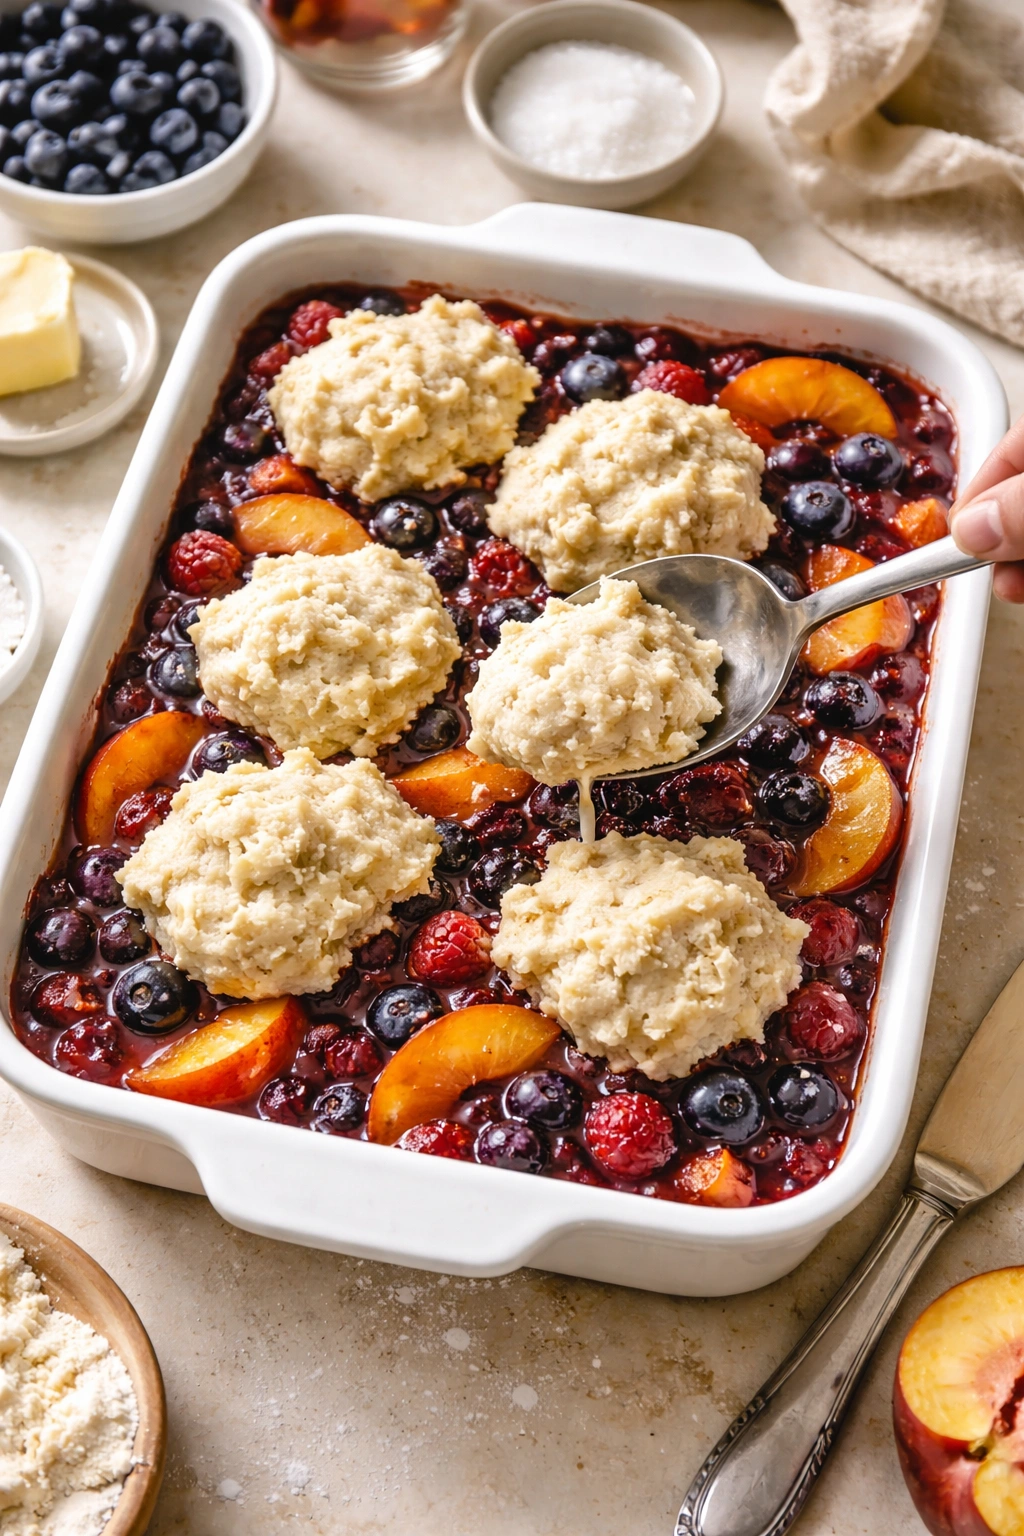
Using a cookie scoop or spoon, drop spoonfuls of biscuit dough over the fruit filling, spacing them about an inch apart. The biscuits will expand as they bake, so don’t press them together or cover every inch of fruit. The cobbler is actually better when there’s some filling visible between the biscuit pieces—those exposed edges where the fruit bubbles up create the characteristic rustic cobbler appearance. You should have roughly 12 to 16 biscuit mounds, depending on their size.
-
If desired, sprinkle coarse sugar over the top of each biscuit—this creates a subtle crunch and an attractive appearance as the cobbler bakes. This is purely optional but recommended if you have turbinado or sanding sugar on hand.
-
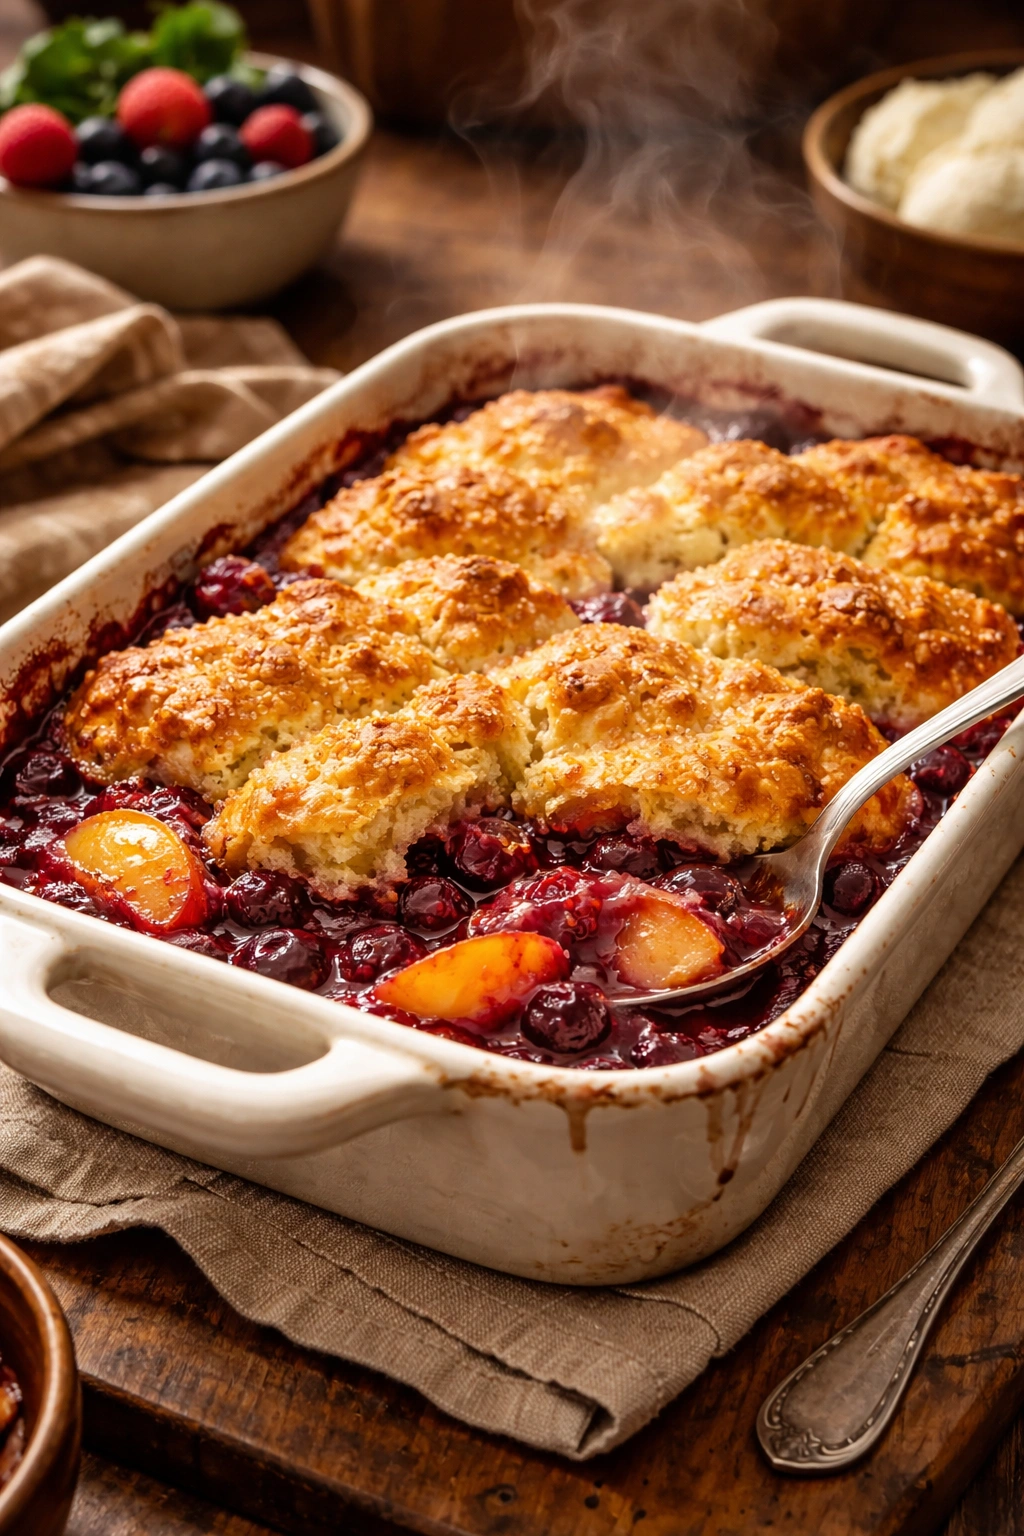
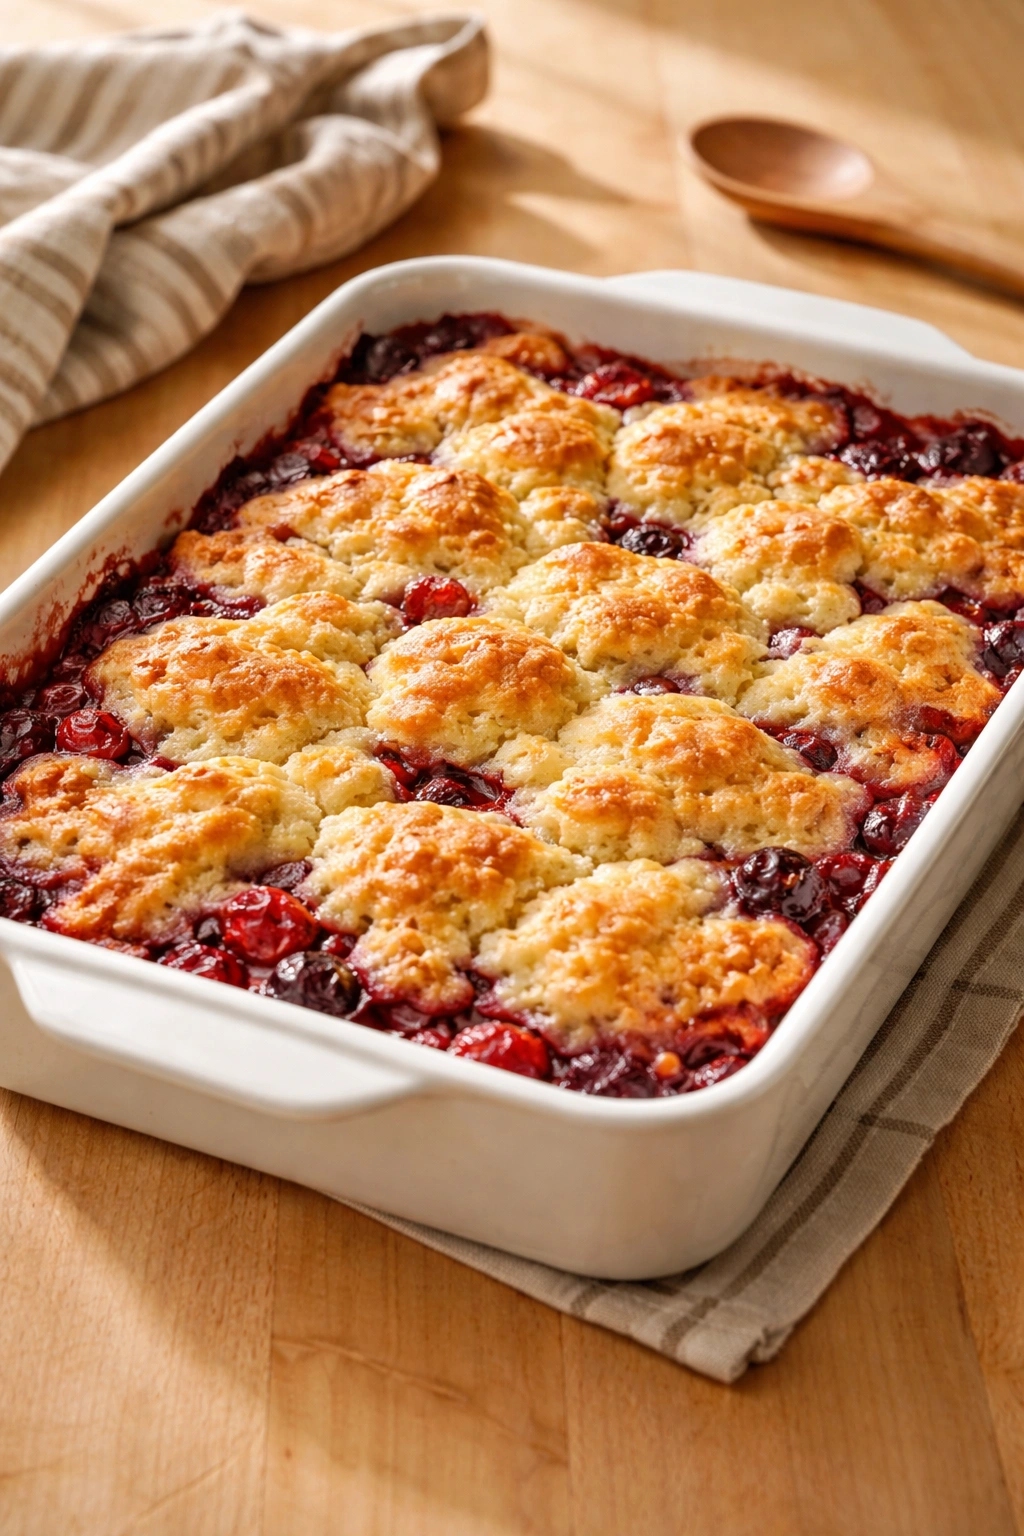
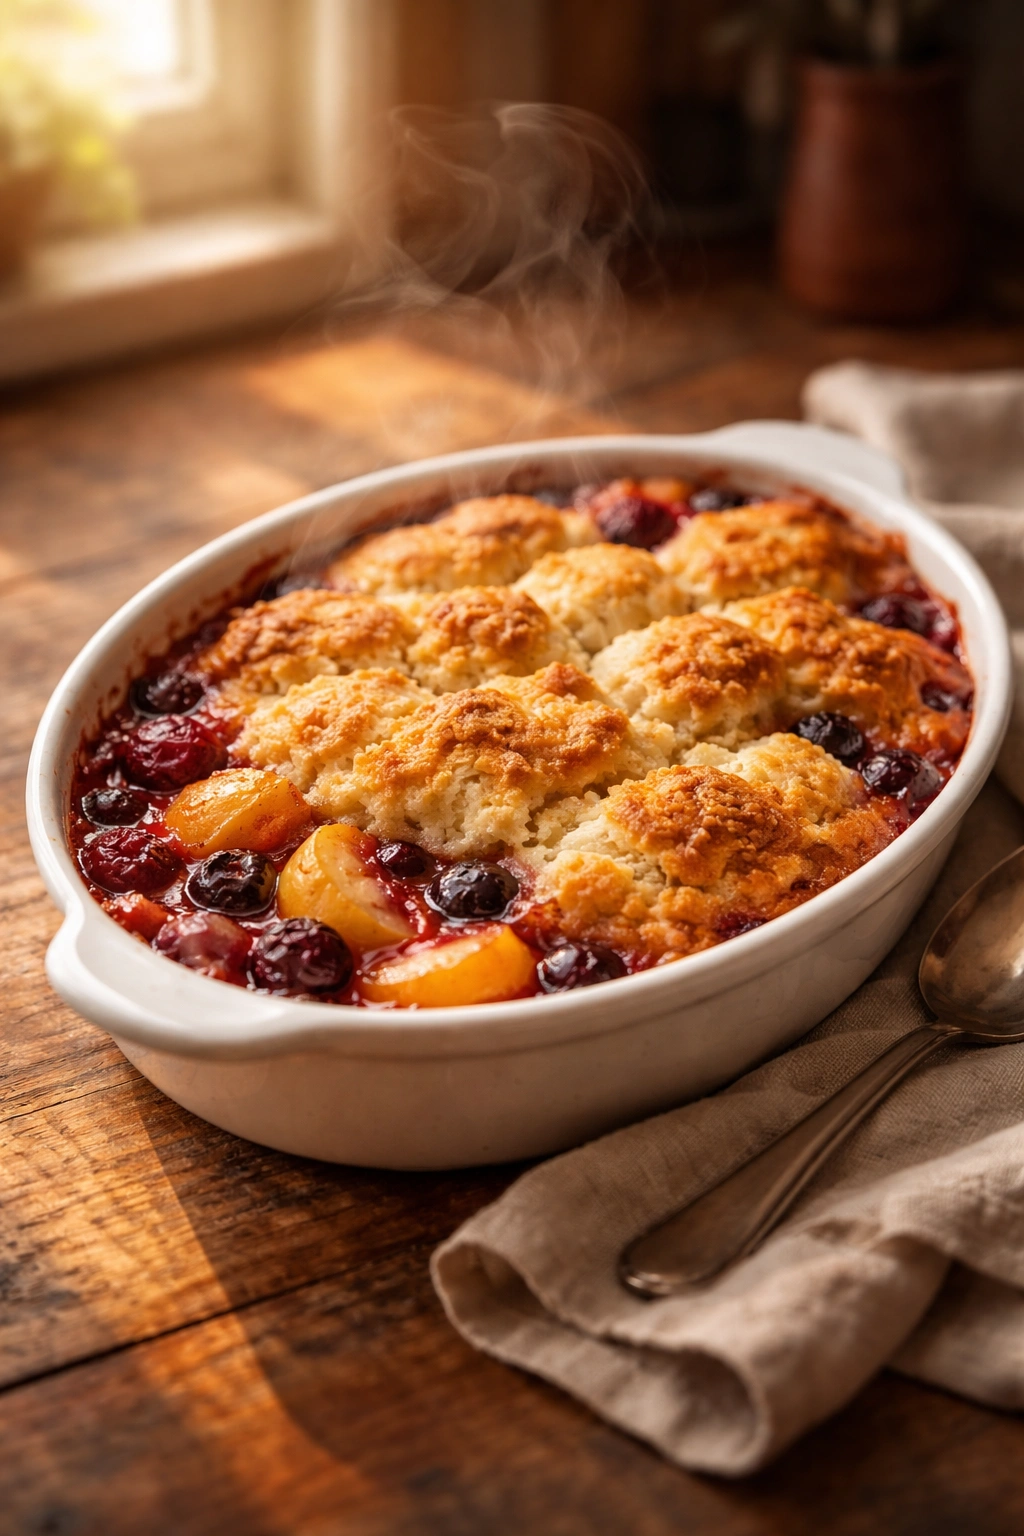
Bake for 40 to 45 minutes, until the biscuit topping is light golden brown and the fruit filling is visibly bubbling around the edges and between the biscuits. The baking time depends somewhat on how full your dish is and the exact temperature of your oven—if the biscuits are browning too quickly, lower the temperature to 350°F and continue baking for an additional 5 to 10 minutes. A key sign of doneness: you’ll see fruit bubbling up actively around the biscuits, and the biscuits themselves should look golden and feel firm when gently pressed.
-
Remove the cobbler from the oven and allow it to rest for at least 10 minutes before serving. This resting time is important—it allows the filling to set slightly so it’s not dangerously hot, and it gives the biscuits a chance to firm up so they don’t immediately disintegrate when you scoop them out. The cobbler will continue to thicken slightly as it cools.
Advertisements
Practical Tips for Perfect Cobblers Every Time
The beauty of cobbler is that it’s remarkably forgiving, but a few small adjustments make the difference between good and genuinely excellent. One of the most important is the moisture content of your filling. The fruit releases liquid as it bakes, and that liquid becomes your sauce. If you use very dry fruit, you might not get enough sauce—add an extra tablespoon of lemon juice or a splash of water if your fruit seems particularly dry. Conversely, if you’re using fruit that’s extremely juicy (like fresh raspberries in peak season), you can add another half tablespoon of cornstarch to prevent the filling from becoming too thin and soupy.
The butter in the topping truly needs to be cold. If it’s been sitting on the counter and is soft, pop the cubed pieces in the freezer for 5 minutes before mixing them into the flour. Cold butter creates steam pockets as it bakes, which leads to flakier, more textured biscuits. If the butter gets too warm during mixing, those pockets don’t form, and your biscuits turn into something more cake-like. Some people solve this by using a food processor to cut in the butter—pulse the flour and butter together a few times until you reach breadcrumb texture—which keeps everything cold and finishes quickly.
The size of your biscuit drops matters more than people realize. If you use tiny spoonfuls, you’ll have more pieces but they’ll bake through very quickly and potentially dry out. If you use larger scoops, the inside stays moister and more tender. A standard cookie scoop (the kind with a release mechanism) produces perfect-sized biscuits—they’re substantial enough to stay moist inside while still baking through completely.
Don’t skip the vanilla extract in either component. It’s not just a flavoring—it enhances the fruit’s natural sweetness and adds depth that keeps the cobbler from tasting one-note. If you have almond extract on hand, a tiny amount (⅛ teaspoon) added to the filling with stone fruits creates a subtle, sophisticated flavor.
Common Mistakes That Ruin the Topping
The most frequent cobbler mistake is overworking the biscuit dough. People worry they haven’t mixed it enough and keep stirring, which develops gluten and creates tough, dense biscuits instead of tender, fluffy ones. The moment your dough comes together—even if it still looks a bit shaggy—stop mixing. Rough-looking dough is the correct dough.
Another issue is biscuits that are too thick or spread unevenly, resulting in some pieces that are thick and doughy and others that brown too quickly. The solution is consistent sizing and spacing. If you use a cookie scoop, you get uniform pieces that bake at the same rate. Spacing them about an inch apart allows them to rise and brown evenly without fusing together into one big topping.
Insufficient heat is another culprit. If your oven runs cold, cobbler biscuits might not brown properly or might bake too slowly, causing them to absorb moisture from the fruit and become mushy rather than tender. Using an oven thermometer tells you if your oven is actually the temperature you think it is. Many ovens run 25 degrees cooler than the dial indicates.
Finally, removing the cobbler from the oven too early is tempting when you see the filling bubbling, but those biscuits truly need 40+ minutes to bake through. If they look pale at 35 minutes, they’re not done yet—give them the full time. The outside will be golden and firm, and the inside will stay tender.
Variations and Flavor Twists You Can Try

Once you’ve made a basic cobbler a few times, experimenting with variations becomes genuinely fun. The foundation is so solid that it supports almost any flavor direction. For a spiced cobbler, increase the cinnamon to ¾ teaspoon and add ⅛ teaspoon each of ground nutmeg and ground ginger to the filling. A touch of cardamom (⅛ teaspoon) with stone fruits tastes luxurious and almost Middle Eastern in the best way. For a heat element, add just a pinch of cayenne pepper to the filling—it brightens fruit without making anything spicy.
Different extracts transform the biscuit topping. Replace the vanilla with almond extract (use the same amount), or try ½ teaspoon of pure maple extract for a subtle autumn flavor. You can also add a small amount of fresh herbs to the filling: a small pinch of fresh mint with berries, a few torn basil leaves with peaches, or even a tiny amount of fresh rosemary with stone fruits creates unexpected depth.
For a boozy version, replace 2 tablespoons of the lemon juice with a liqueur that complements your fruit—a berry cobbler loves a splash of Chambord or Kirsch, while peaches marry beautifully with bourbon. If you use alcohol, add it after the cobbler comes out of the oven while everything is still hot, so the heat helps evaporate the alcohol slightly.
For a crumble or crisp version instead of biscuit topping, simply toss ¾ cup rolled oats, ⅔ cup all-purpose flour, ⅓ cup brown sugar, ⅓ cup cold butter (cubed), and a pinch of salt until it resembles breadcrumbs, then sprinkle over the fruit and bake for 35 to 40 minutes. The result is crunchy rather than tender, and it appeals to people who find biscuits too heavy.
You can also make individual cobblers using ramekins—fill each ramekin with about ¾ cup fruit filling and top with 2 or 3 biscuit drops, then bake for 25 to 30 minutes until golden. These bake faster and are charming for plating.
Storage and Make-Ahead Options

One of cobbler’s best qualities is that it tastes just as good the next day, often better as the filling thickens further and the flavors meld. Store leftovers loosely covered at room temperature if you’ll eat them within a few hours, or cover and refrigerate for up to three days. Biscuits soften as they sit, which some people love (they become almost cake-like) and others find less appealing.
If you prefer your biscuits to retain their texture, store them separately. Let the cobbler cool completely, then transfer the biscuit pieces to an airtight container and store the fruit filling in a covered dish. Reheat them separately—the filling in a 300°F oven for 10 minutes, and the biscuits toasted in a 350°F oven for 5 minutes—and they’ll taste closer to fresh-baked.
The cobbler freezes beautifully, either as a complete baked dessert or as components. To freeze the complete cobbler, let it cool fully, wrap it tightly in plastic wrap and then foil, and freeze for up to three months. Thaw overnight in the refrigerator, then warm gently in a 300°F oven for 15 to 20 minutes. If you want to prepare the components ahead and bake fresh, you can make the fruit filling the morning of and keep it covered in the refrigerator, and mix the biscuit dough the day before and store it in an airtight container (it won’t rise quite as much, but it still works fine). Assemble and bake when you’re ready.
You can also prepare the fruit mixture unbaked in your baking dish, cover it tightly, and refrigerate it for up to 24 hours. When you’re ready to bake, simply prepare the biscuit topping while the oven preheats, drop it over the (now slightly warmer) fruit, and bake—the baking time might be 45 to 50 minutes instead of 40 to 45 because the filling is colder.
Best Ways to Serve Your Cobbler
Cobbler is fundamentally a communal dessert, and serving it straight from the baking dish maintains that spirit. Use a sturdy spoon or small ice cream scoop to serve, getting a piece of biscuit with some of the filling in each serving. Place each portion in a shallow bowl so the filling doesn’t drip onto plates.
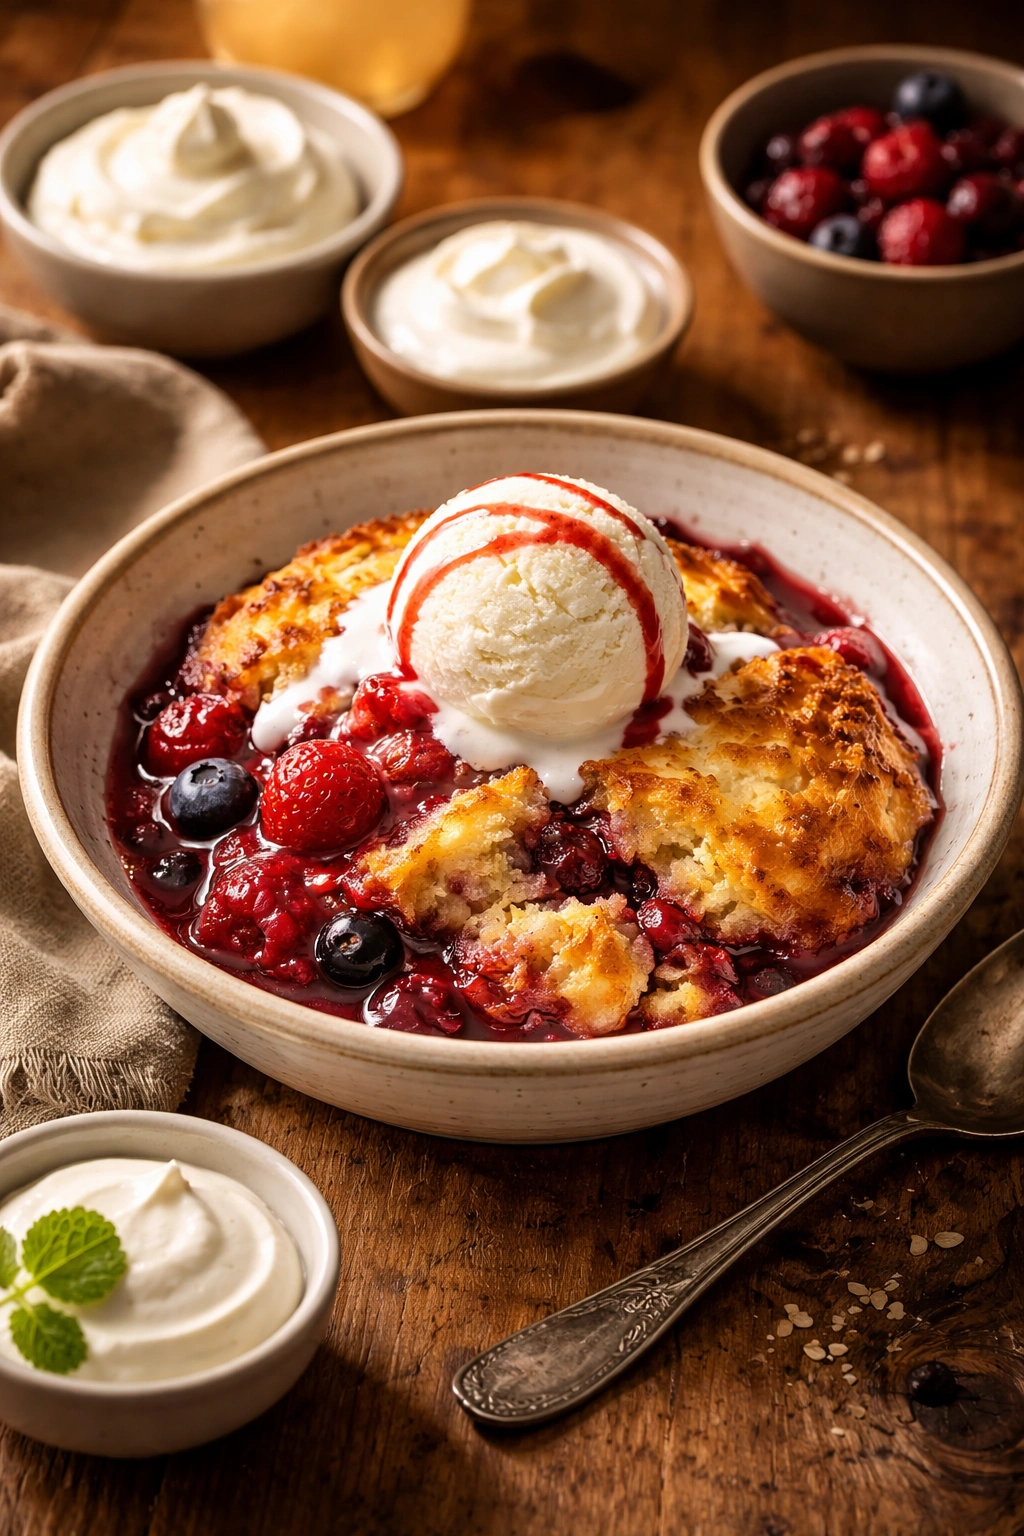
Vanilla ice cream is the classic pairing—the coldness and creaminess contrast beautifully with the warm, soft biscuit and jammy filling. But whipped cream is equally lovely, especially if you’ve made it fresh and unsweetened. For a more elegant presentation, top each serving with a quenelle of whipped cream or a small scoop of ice cream, then drizzle a tiny amount of the fruit filling over the top.
A dollop of Greek yogurt adds richness with a slight tang that balances the sweetness—it’s more interesting than it sounds. Crème fraîche works similarly and feels slightly fancier. Some people love a splash of heavy cream poured directly into the bowl, treating the cobbler almost like bread pudding.
For different occasions, the cobbler adapts easily. Serve it warm as a casual weeknight dessert after a simple dinner. Present it as a picnic or potluck dessert, transported in the baking dish wrapped in foil—it holds temperature well and looks beautiful. At brunch, a cobbler that’s still slightly warm pairs elegantly with strong coffee and feels simultaneously homey and special.
A small side suggestion: if you have a few fresh herbs on hand, garnish the top of each serving with a tiny mint leaf or a basil leaf depending on the fruit. It adds color and signals that this is thoughtfully composed rather than haphazardly thrown together—even though making it was actually effortless.
Final Thoughts
Fruit cobbler sits in this perfect place where the effort required is minimal but the impression created is substantial. You’re not spending half your day in the kitchen, yet you’re producing a dessert that tastes like it came from a bakery or a grandmother’s oven—that sense of care and tradition. It works whether you’re cooking for yourself on a Tuesday or feeding a table of eight on a weekend.
The confidence you’ll gain making cobblers carries over to other baking. You learn that fervent mixing isn’t always better, that rustic-looking isn’t the same as poorly made, and that simplicity often produces the most satisfying results. Once you’ve made a fruit cobbler, you understand why they’ve remained beloved for generations. The technique is accessible, the variations are endless, and the result is always, genuinely delicious.
The next time fresh fruit catches your eye at the market or you find yourself with an abundance of berries that need using, remember that cobbler takes less time than ordering dessert and tastes infinitely better. You’re never more than 15 minutes of prep away from having something warm and extraordinary in the oven.