St. Louis gooey butter cake is the kind of dessert that sparks fierce loyalty and passionate debate — there’s something almost sacred about it to people who grew up eating it, and once you bite into one, you understand why. This isn’t a delicate, refined cake. It’s unapologetically rich, gloriously gooey, and decidedly old-school in the best possible way. The top layer pools with melted butter, brown sugar, and condensed milk that turns into the most irresistible gooey center you’ve ever experienced, while the bottom stays tender and cake-like. It’s the dessert equivalent of a warm hug — comforting, indulgent, and impossible to resist.
What makes this cake work isn’t technique wizardry or hard-to-find ingredients. It’s actually quite the opposite: gooey butter cake thrives on simplicity and the willingness to embrace maximum richness. A basic yellow cake base provides the structure, and then a deceptively simple topping of butter, brown sugar, and sweetened condensed milk becomes the star — it bakes into a gooey, fudgy layer that’s crispy-edged and molten-centered. The contrast between the tender cake and the intensely rich, almost-caramel-like topping is what makes people come back for seconds (or thirds).
This recipe has been passed down through St. Louis families for generations, and while there are as many variations as there are home bakers in the city, the core concept remains unchanged. You’re making a cake that’s not trying to be something it’s not — it’s not fancy, it’s not light, and it certainly isn’t low in fat. What it is, is honest, delicious, and worth every single calorie.
What Makes St. Louis Gooey Butter Cake Truly Special

St. Louis gooey butter cake has a specific identity that sets it apart from every other butter cake you’ve encountered. The city claims this as its own, and for good reason — the combination of a tender yellow cake base with a thick, gooey, almost-fudgy topping is distinctive enough that once you’ve tasted an authentic version, anything else feels like a knockoff.
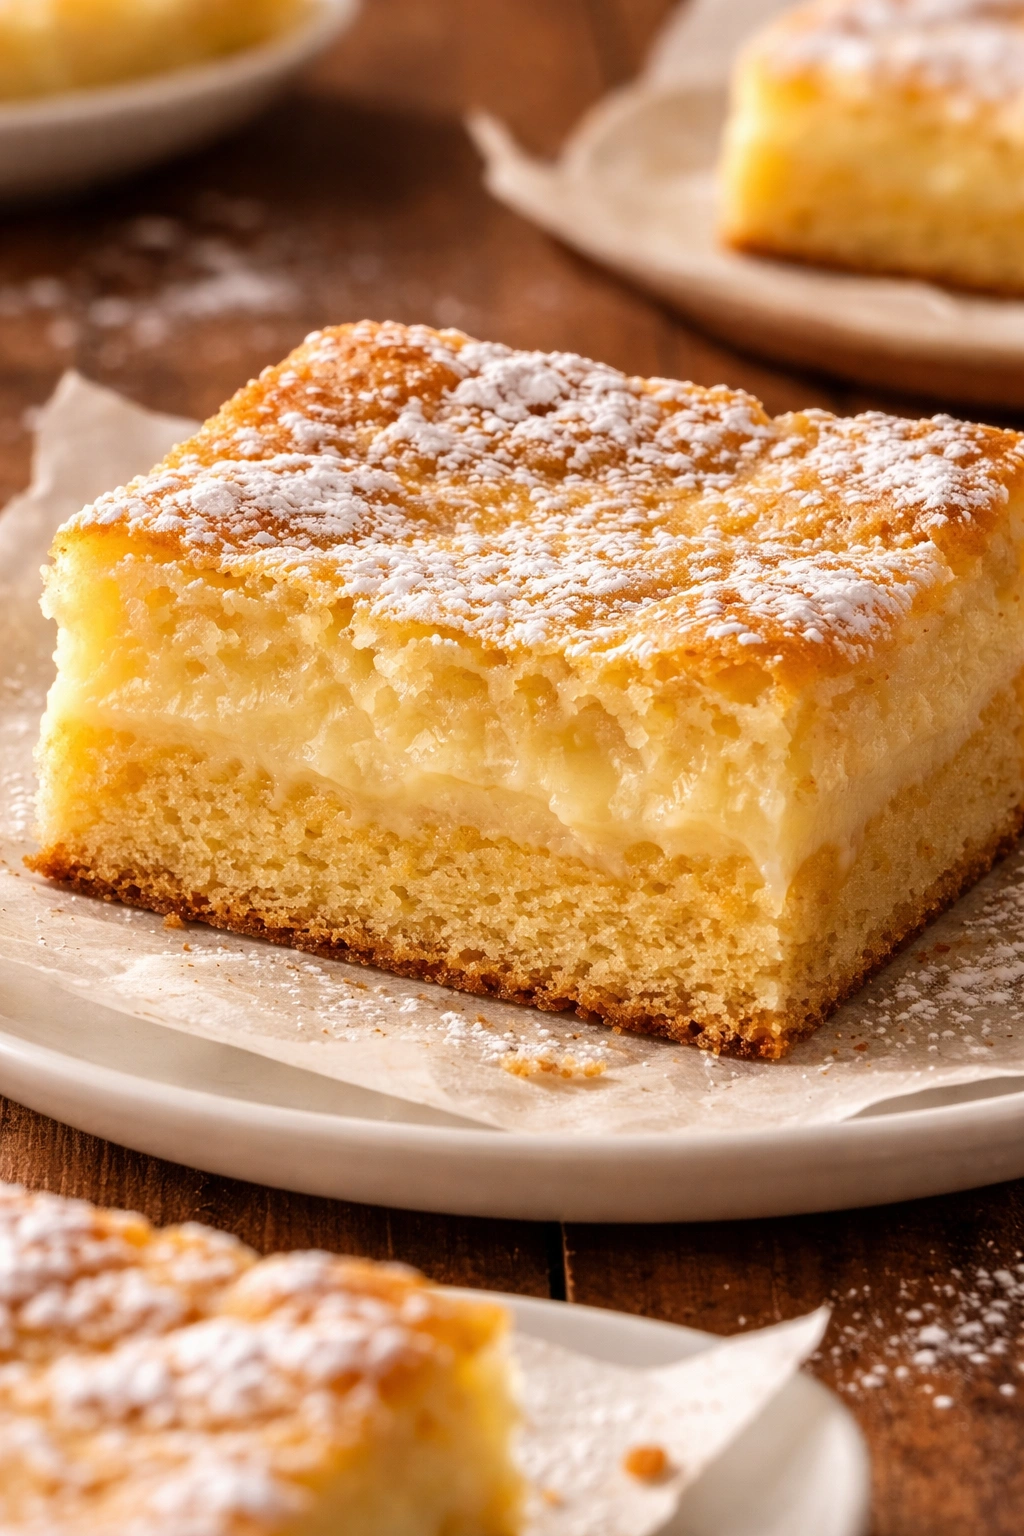
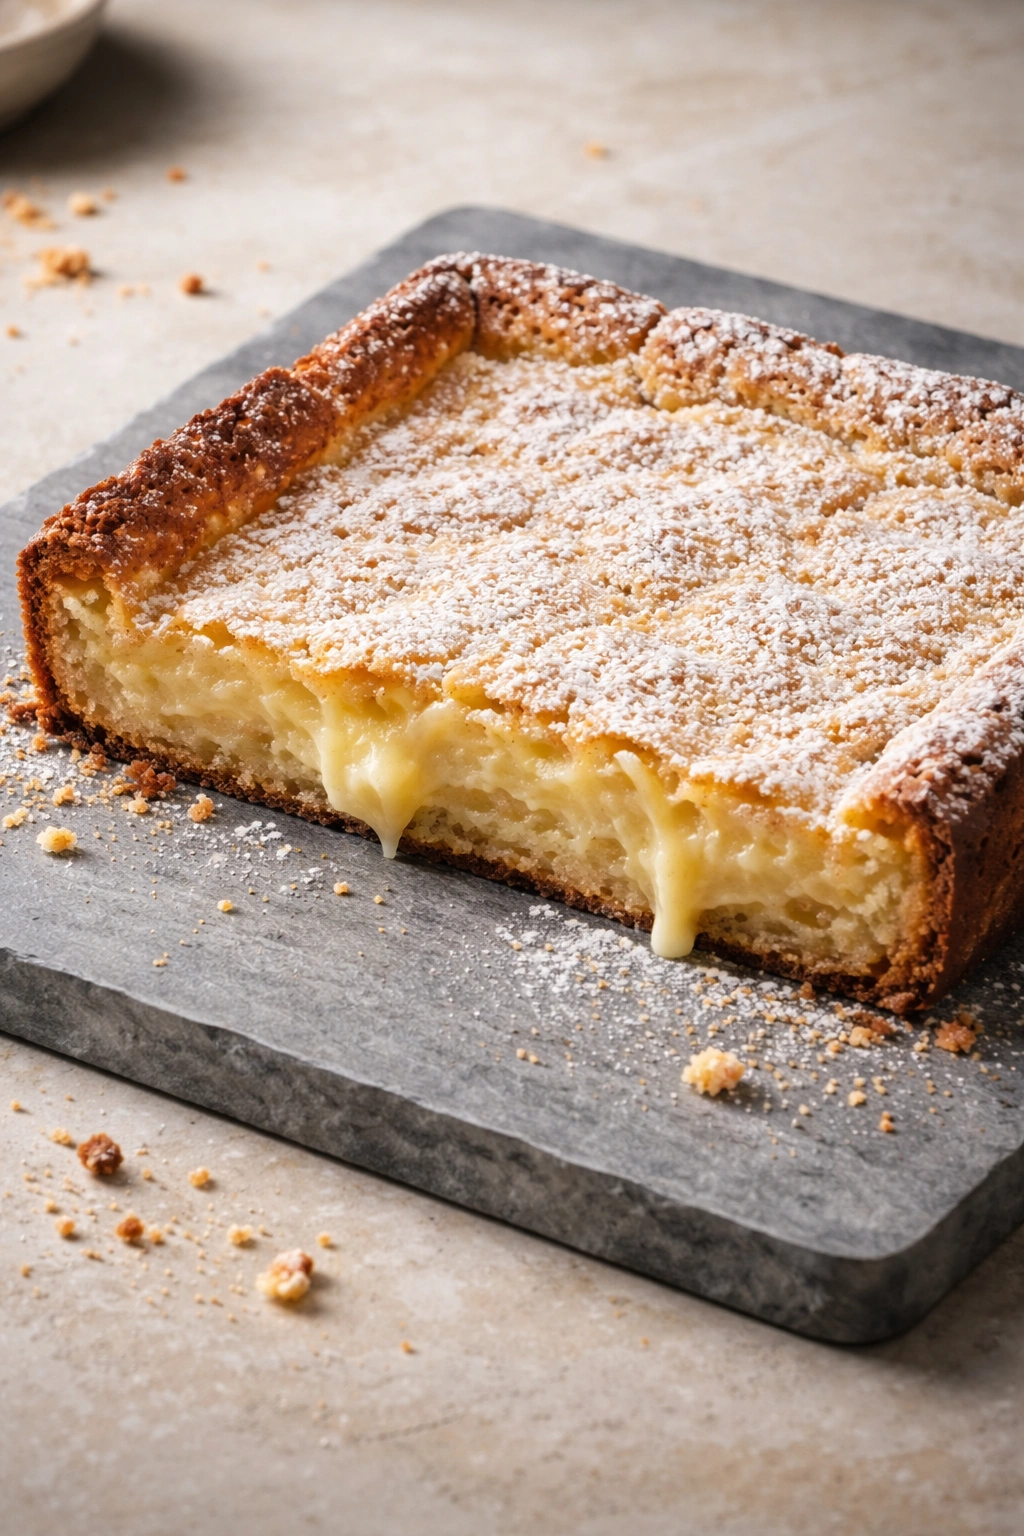
The magic happens in the two-layer structure. The bottom layer bakes as a traditional yellow cake — moist, tender, and slightly springy with the structure needed to support the weight of what comes next. But the top layer is where the real personality emerges. It’s not frosting, it’s not filling, it’s something entirely its own: a mixture of butter, brown sugar, and sweetened condensed milk that bakes just until the edges are set but the center remains soft and gooey. The condensed milk is the secret ingredient here — it doesn’t dry out during baking like regular milk would. Instead, it stays thick and custard-like, creating pockets of fudgy sweetness throughout.
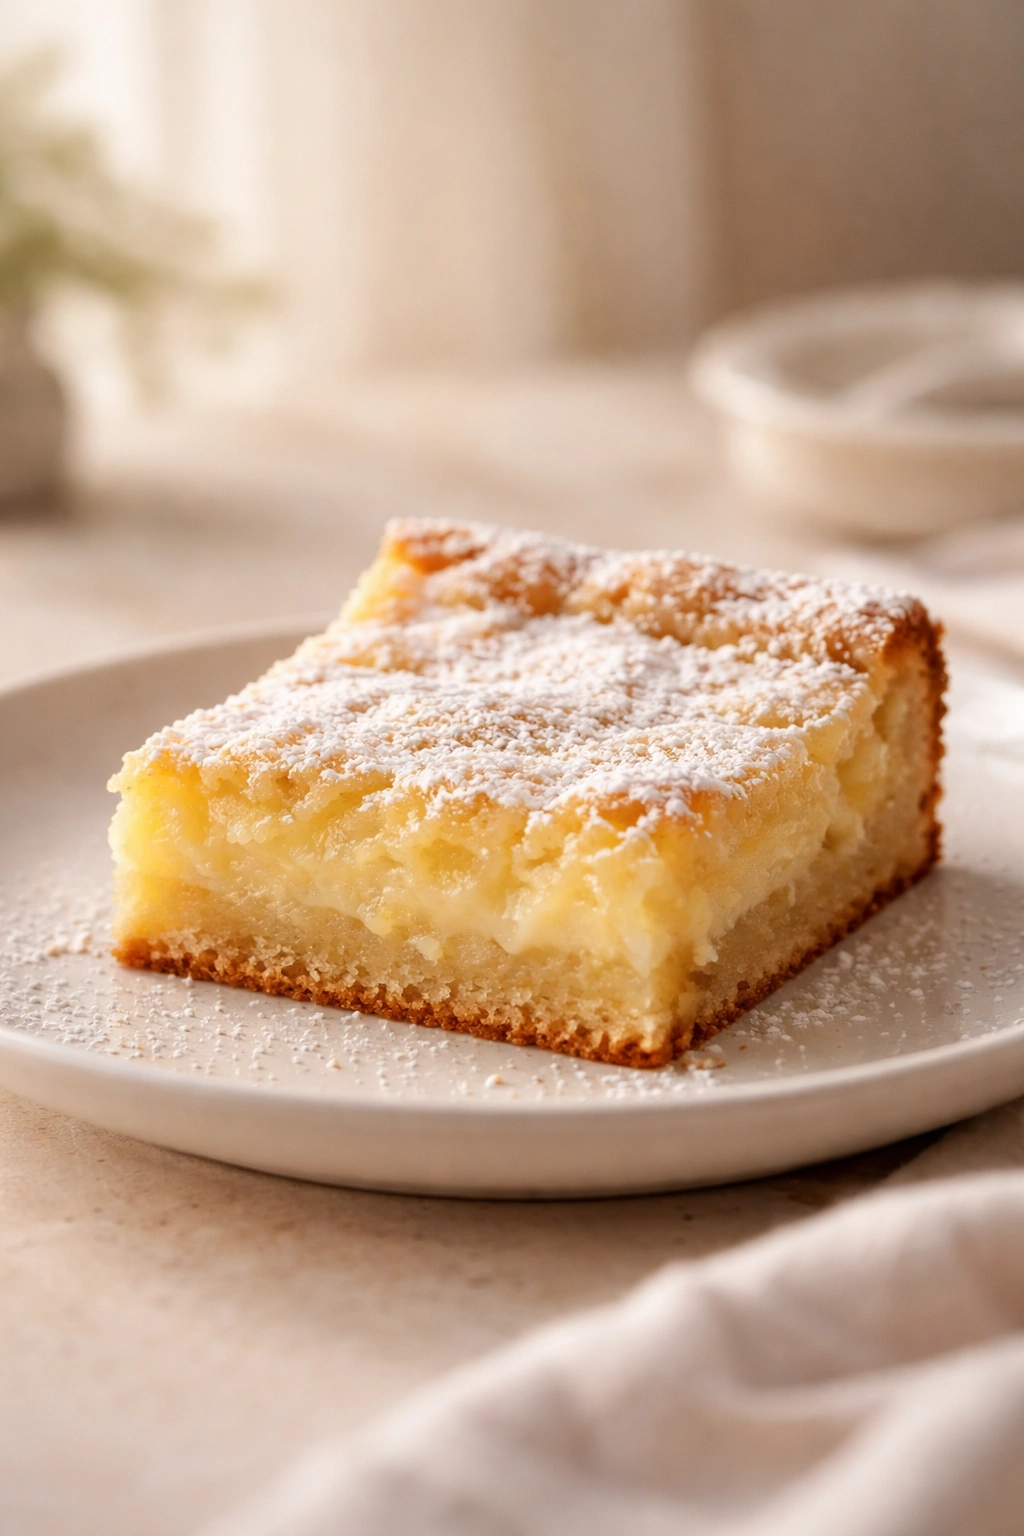
The texture is probably what people remember most vividly. Your fork breaks through a thin caramelized crust on top, and then you’re into that gooey center that’s almost like biting into warm fudge. It’s not a liquid that runs everywhere, but it’s not solid either — it’s that perfect in-between state that feels luxurious on the tongue. The cake underneath is there to anchor everything, to provide contrast, and to keep this cake from being pure sugar rush.
This is St. Louis’s answer to decadence, and it emerged from the city’s German-American baking tradition where butter-forward, rich cakes were standard fare. It’s the kind of dessert that appears at church potlucks, birthday parties, and family gatherings — not because it’s trying to impress anyone, but because it genuinely satisfies in a way that fancier cakes often can’t.
How St. Louis Gooey Butter Cake Differs From Regular Butter Cake
Most butter cakes aim for a unified crumb — the same texture and consistency throughout. A St. Louis gooey butter cake throws that concept out the window. The whole point is creating a deliberate contrast between two very different layers that work together to create something greater than the sum of their parts.
A regular butter cake is mixed with the cream-and-beat method: you cream butter and sugar together, add eggs, alternate dry and wet ingredients, and end up with a uniform batter that bakes into an evenly textured cake. The St. Louis version follows the same method for the base layer, which is why the bottom feels familiar and traditional. But that’s where the similarity ends.
The topping is where the St. Louis cake separates itself. You’re not mixing a frosting that’s meant to coat the outside and look pretty. You’re spreading a mixture that’s thick, chunky, and butter-forward directly onto the unbaked cake base, and then you’re baking them together. As the cake rises, the topping sinks and spreads, creating layers and pockets of gooey sweetness. The condensed milk in the topping is the key — it’s sweetened and thick, so it doesn’t drain away or evaporate like regular milk would. It stays put, stays thick, and bakes into something almost fudgy.
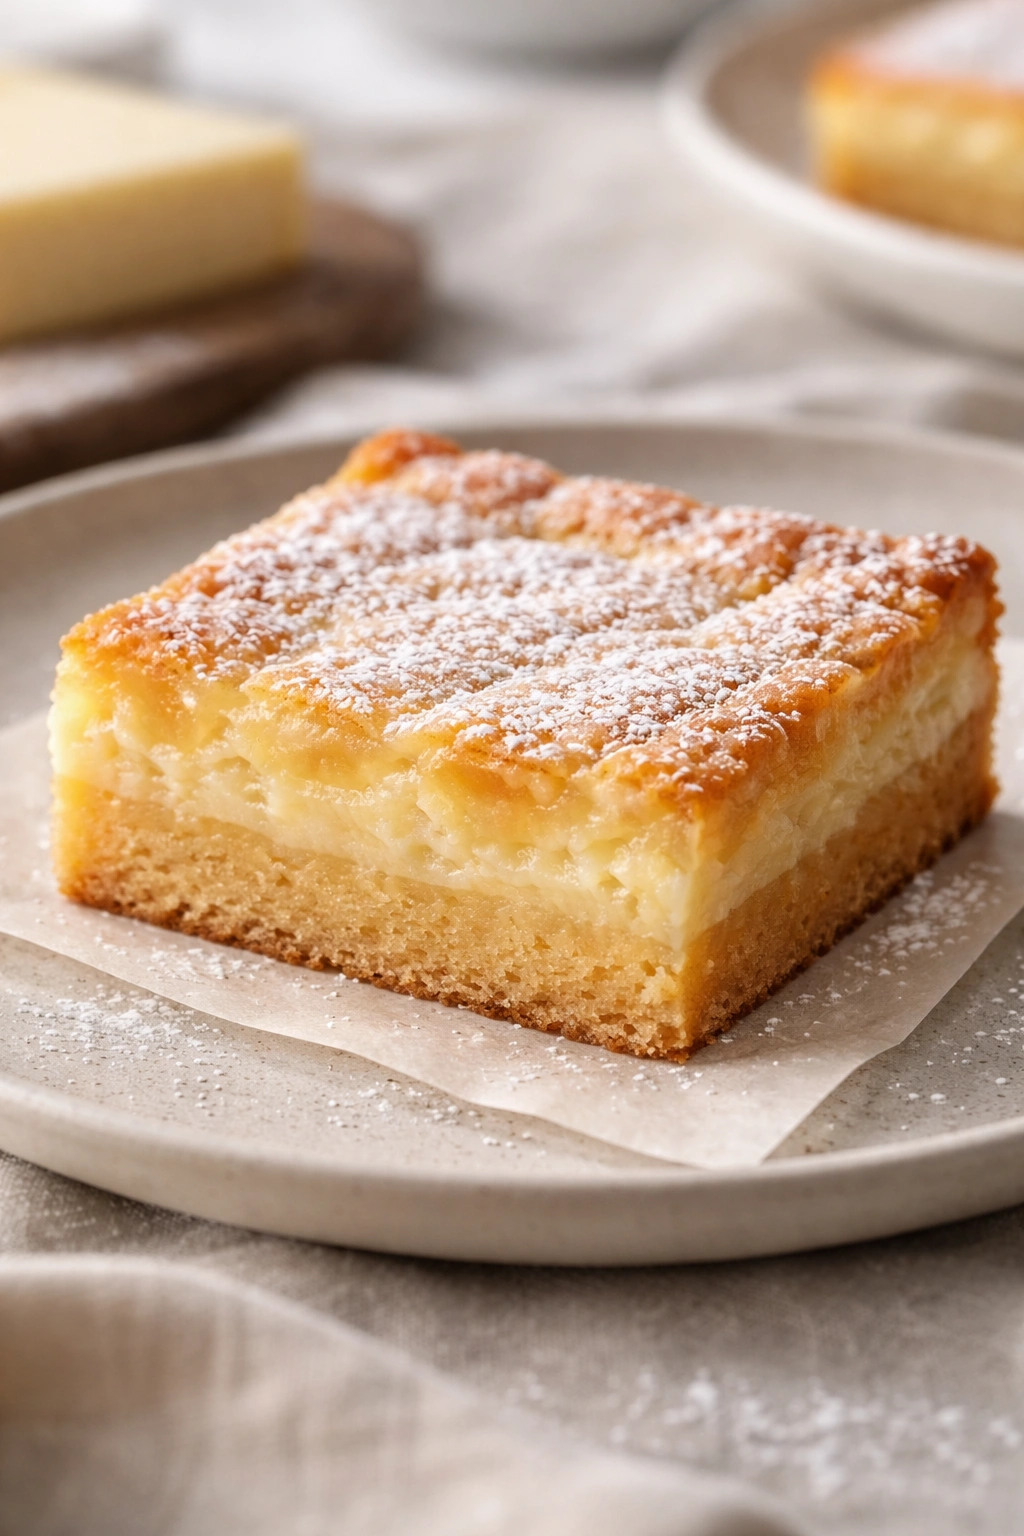
The result is that your fork breaks through different textures and temperatures. The cake layer is set and crumbly, the topping layer is soft and gooey, and the very top has developed a thin caramelized crust from the brown sugar. Each forkful is a combination of all three. In a regular butter cake, every bite is predictable. In gooey butter cake, the variance is part of the appeal — some bites might be more gooey, others more cake-forward, depending on where you cut.
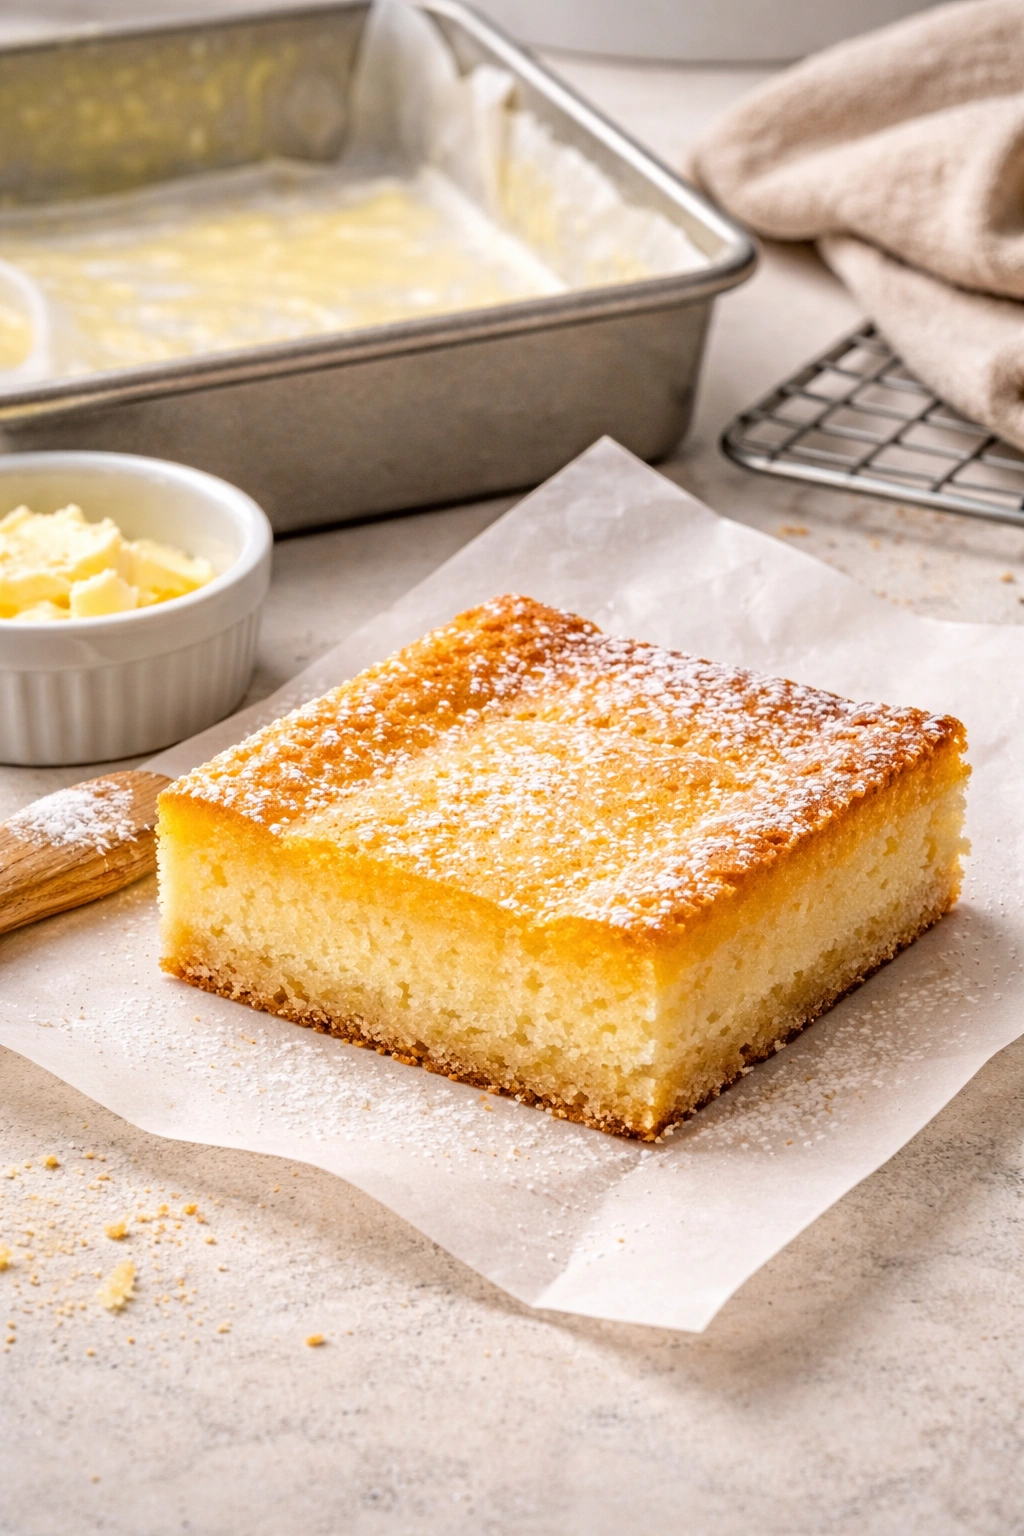
This isn’t a cake that’s meant to be decorated. You’re not piping frosting, adding layers, or stacking tiers. It bakes in a simple 9×13-inch pan, gets dusted with powdered sugar (optional but traditional), and gets cut into squares. The presentation is humble, but the flavor is anything but.
What You’ll Need to Make This Cake
Yield: Makes 12 to 16 squares Prep Time: 20 minutes Cook Time: 45 to 50 minutes Total Time: 1 hour 10 minutes active Difficulty: Beginner — no special equipment required, straightforward mixing and baking, very forgiving recipe even if your timing isn’t perfect.
For the Cake Base:
- 2 cups all-purpose flour
- 1½ teaspoons baking powder
- ½ teaspoon fine sea salt
- 1 cup (2 sticks) unsalted butter, softened to room temperature
- 1¾ cups granulated sugar
- 3 large eggs, room temperature
- ½ cup whole milk, room temperature
- 2 teaspoons pure vanilla extract
For the Gooey Topping:
- ½ cup (1 stick) unsalted butter
- 1 cup packed light brown sugar
- 1 (14-ounce) can sweetened condensed milk
- 1 tablespoon pure vanilla extract
- ¼ teaspoon fine sea salt
- Powdered sugar for dusting (optional but traditional)
Preparing Your Pan and Setting Up for Success
Getting your pan ready correctly makes the whole process smoother and ensures that the finished cake releases cleanly. This isn’t a step to rush — proper prep makes a real difference in how the cake bakes and releases.
Preheat your oven to 350°F (175°C) and position the rack in the lower third of the oven. The lower positioning helps ensure that the top of the cake gets properly golden and gooey without the edges burning. This is a relatively low bake temperature for a cake, but it’s necessary because of that thick topping — you want everything to bake through gently without the edges overdeveloping before the center is done.
Take a 9×13-inch baking pan and coat it thoroughly with softened butter, making sure to get into all the corners and up the sides. The butter coating is crucial — it keeps the cake from sticking. Some bakers line the pan with parchment paper (leaving a 1-inch overhang on the short sides makes lifting the cake out effortless), which is an excellent approach if you want to be extra cautious. If you’re using parchment, you can use less butter since the parchment itself is non-stick. Either way, the goal is simple: the cake should release cleanly from the pan once it’s cooled.
Let the pan sit on your counter while you prepare the batters. You don’t need to refrigerate the pan, but having it prepped and ready means you can move quickly from mixing the cake base to getting it into the oven.
Making the Cake Base Layer
The base layer is a straightforward yellow cake that comes together quickly with the standard cream-and-beat method. Don’t overthink this part — you’re making a simple, reliable foundation that will support the gooey topping beautifully.
Start by whisking together the flour, baking powder, and salt in a small bowl. Set this dry mixture aside; you’ll be alternating it with the milk as you mix. In a large bowl (using a stand mixer fitted with the paddle attachment is easiest, but a hand mixer works perfectly well), cream the softened butter and granulated sugar together on medium speed for about 3 to 4 minutes. You’re aiming for a pale, noticeably fluffy mixture that’s increased in volume — this is where air gets incorporated, which helps the cake rise and stay tender.
Once the butter-sugar mixture is light and fluffy, add the eggs one at a time, beating for 30 seconds after each addition. After you add the second egg, scrape down the sides of the bowl with a rubber spatula to make sure everything’s getting mixed evenly. The batter might look slightly curdled at this stage, especially if your eggs were cold when you started — don’t worry, this is completely normal and will come together in the next step.
Add the vanilla extract and mix until combined. Now reduce your mixer to low speed. You’re going to alternate adding the dry mixture and the milk in three dry additions and two wet additions: flour-milk-flour-milk-flour. Start with the flour mixture, then add half the milk, then another flour addition, then the remaining milk, then the final flour addition. Mix only until each addition just disappears into the batter. This is important: do not overmix at this stage. Overmixing develops gluten and makes the cake dense and tough instead of tender and crumbly.
Once everything is combined, pour the batter into your prepared 9×13-inch pan. Use an offset spatula or the back of a spoon to spread the batter into an even layer. This cake base doesn’t need to go all the way to the edges of the pan — it’ll spread as it bakes. Aim for an even thickness across the whole pan, which ensures that the cake portion bakes evenly beneath the topping.
Creating the Gooey Butter Topping That Makes This Cake Famous

The topping is where the magic happens, and it’s genuinely simple — just four ingredients that transform into something irresistible. Don’t underestimate simplicity; some of the best things in baking are made from the fewest, most basic ingredients.
Cut the ½ cup butter into smaller chunks and place it in a medium saucepan over medium-low heat. You want the butter to melt slowly and gently; there’s no need to rush this. While the butter is melting, measure out your packed light brown sugar. The packing matters here — use the measuring cup to scoop the brown sugar from the container, then press it down gently with the back of a spoon so it compacts. This ensures you’re getting the right amount of sugar. Overly loose brown sugar in your cup means you’ll end up with less topping than intended.
Once the butter is melted, add the brown sugar and stir constantly for about 2 minutes. You’re not cooking this down or caramelizing it — you’re simply melting the sugar into the butter and creating a smooth mixture. It might seem grainy at first; keep stirring and it will smooth out. Remove the pan from the heat.
Pour in the entire can of sweetened condensed milk, and stir thoroughly until the mixture is completely smooth and homogenous. This is where the magic really happens — the condensed milk is thick and sweet, and it transforms the butter and brown sugar mixture into something that will stay thick and gooey even as it bakes. Stir in the vanilla extract and fine salt. The salt might seem like an afterthought, but it’s essential — it balances the sweetness and makes the overall flavor more complex and interesting.
Pro tip: If the topping seems to be separating or looks grainy at any point, gently reheat it over low heat while stirring constantly. It should be smooth and pourable but still thick — think of the consistency of thick fudge or a warm caramel sauce.
Pour the entire topping mixture directly over the unbaked cake base. Don’t worry if it doesn’t spread evenly at first — use an offset spatula to gently spread it across the top, trying to distribute it as evenly as possible. The topping will spread more as the cake bakes, so don’t stress if there are slightly thicker and thinner spots. What matters is that the cake base is mostly covered.
Baking to Perfect Gooey Perfection
The baking time is crucial here, and it’s where many home bakers either underbake or overbake their gooey butter cake. You’re aiming for a specific level of doneness: the edges set up and become slightly caramelized, while the very center stays soft and gooey.
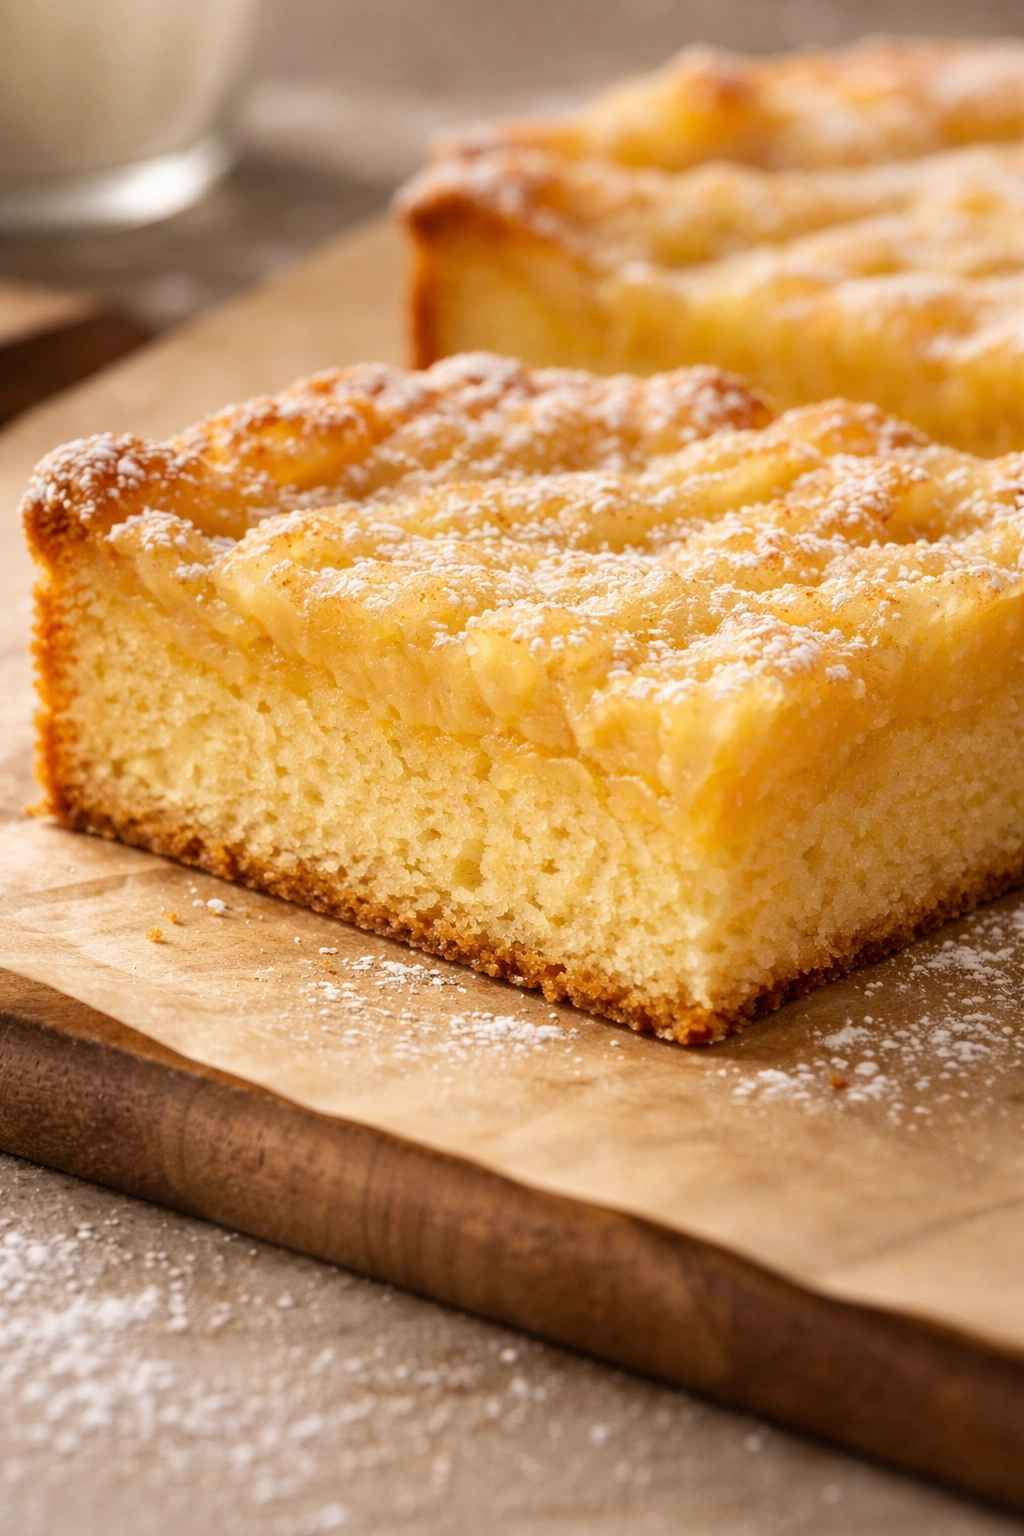
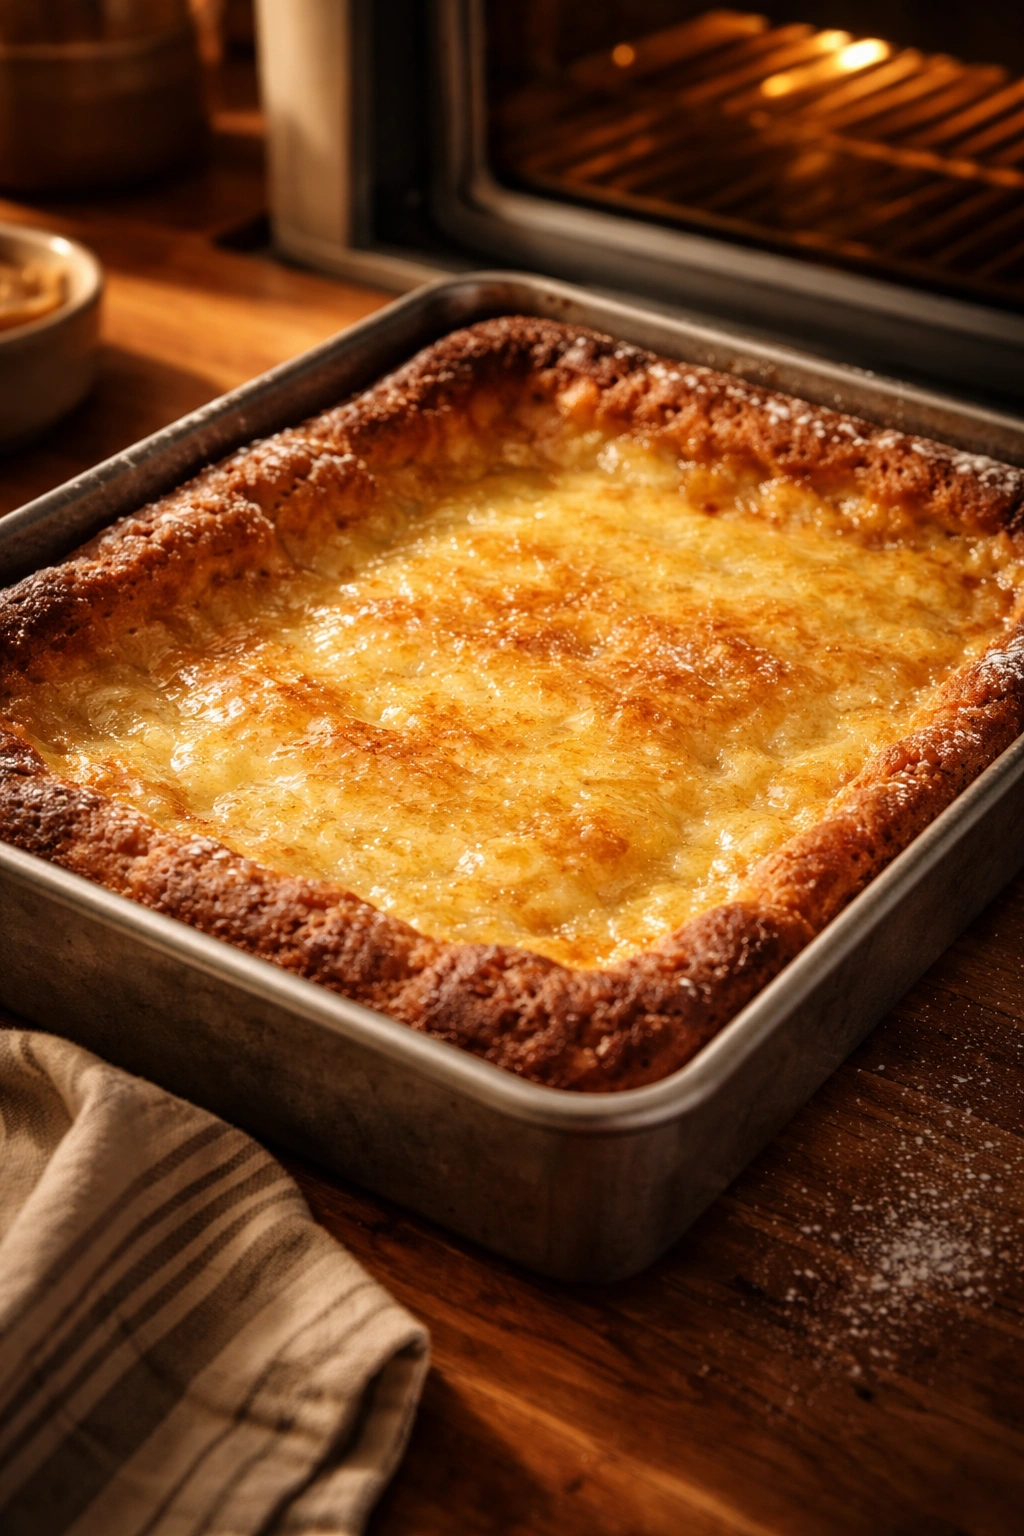
Place the pan in your preheated 350°F (175°C) oven (remember, positioned on the lower rack). Bake for 45 to 50 minutes. The cake should rise through and around the topping, and the top should develop a thin golden-brown crust, especially around the edges. The very center of the topping might still jiggle slightly when you gently shake the pan — this is exactly what you want. If it’s completely set and doesn’t jiggle at all, you’ve overbaked it and the topping won’t be as gooey.
A good visual cue: the edges of the topping should look slightly caramelized and might even have a few tiny darker spots. The top should look baked, not wet or raw. But that center — the very middle — should have a slight wobble to it.
If you have an oven thermometer, now is a good time to use it. Oven temperatures can be wildly inaccurate, and this recipe is sensitive to temperature. If your oven runs hot, you might need to reduce the time slightly. If it runs cool, you might need a few extra minutes.
Critical warning: Do not insert a toothpick into the center to check for doneness the way you would with a regular cake. With gooey butter cake, the gooey part is supposed to be gooey, so a toothpick won’t give you reliable information. Trust your eyes and the slight jiggle test instead.
Remove the cake from the oven and set it on a wire cooling rack. Let it cool in the pan for at least 2 hours before cutting. Seriously — do not rush this step. While it’s cooling, the topping continues to set up slightly (though it never becomes fully solid, which is the whole point). The cake base also sets enough to support the weight of the topping without everything collapsing. If you try to cut into it too soon, the topping will be too soft and will tear apart, and the cake underneath will crumble.
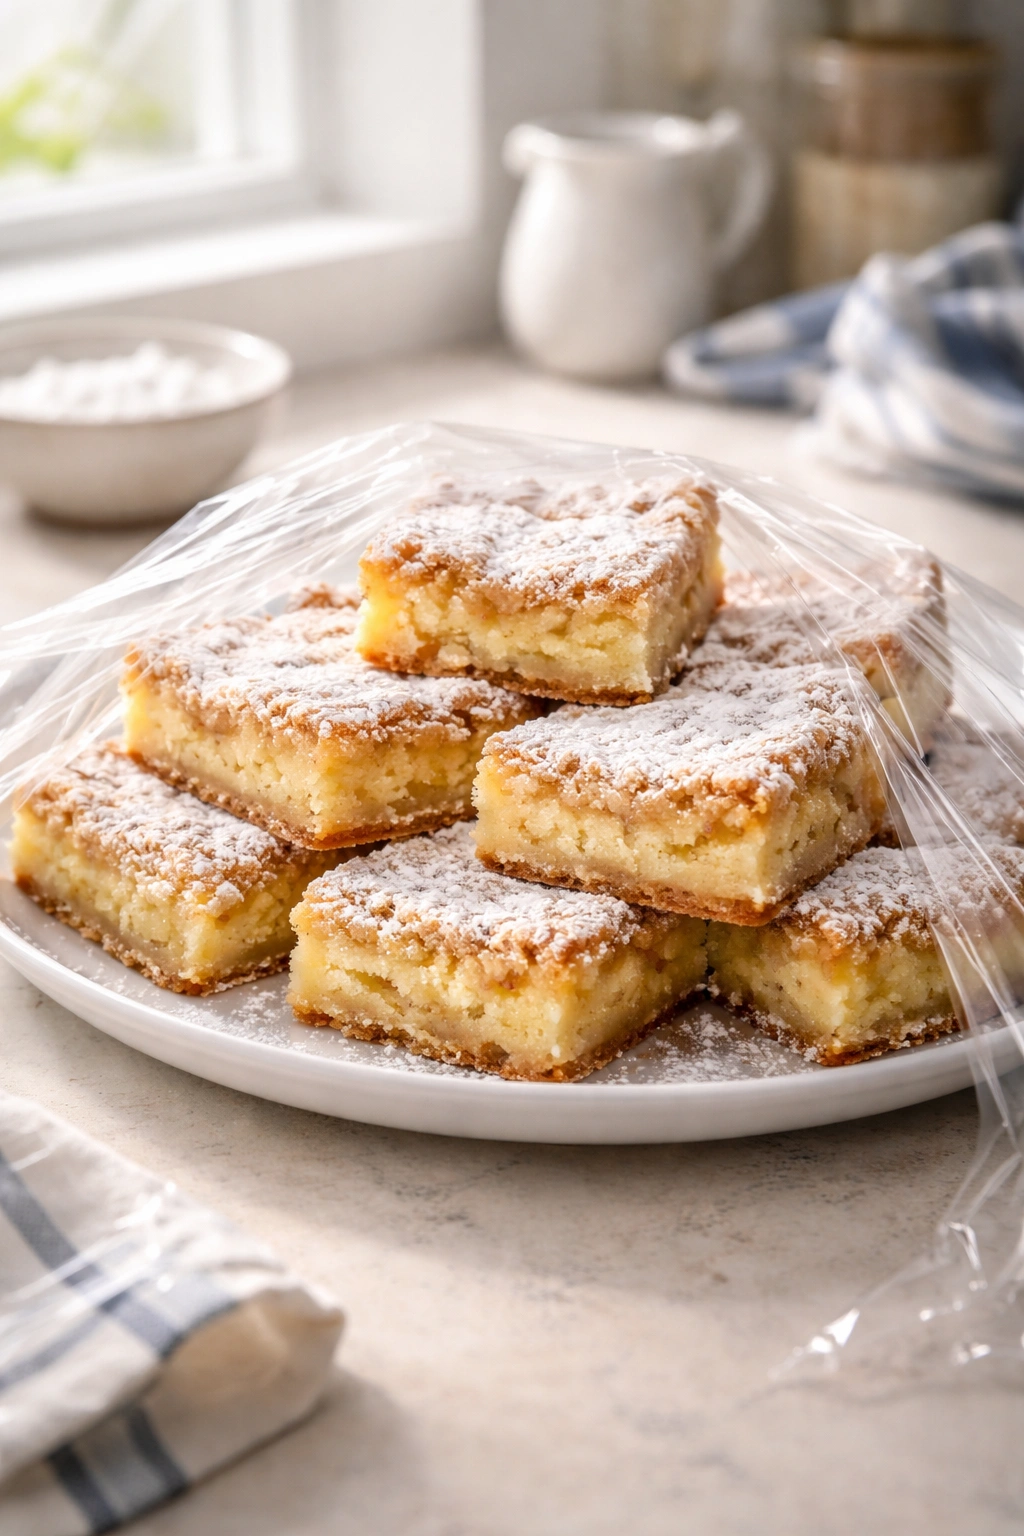
Once the cake is fully cooled, you can dust the top lightly with powdered sugar if you’d like (this is traditional). Cut the cake into 12 to 16 squares depending on how decadent you’re feeling. A regular-sized square is about 2×3 inches.
Common Mistakes That Ruin This Cake (And How to Prevent Them)
Even though gooey butter cake is forgiving in many ways, there are a few specific things that commonly go wrong. Understanding what causes these problems means you can avoid them entirely on your first try.
Topping that’s not gooey enough: This almost always happens because the cake was overbaked. Every minute counts here. If your oven runs hot, reduce the time to 40-45 minutes. The center of the topping should still have a slight wobble when you remove it from the oven. As it cools, it will set slightly, but it should remain soft and slightly flowing, not completely solid. If you’ve already made an overbaked version, you now know your oven’s actual behavior — adjust the time downward next time.
Topping that’s too runny and doesn’t stay on the cake: This usually means the sweetened condensed milk wasn’t fully mixed into the butter and brown sugar, or the mixture separated during baking. Make sure you’re stirring the condensed milk in very thoroughly and completely. If it separates as it bakes, it’s usually because the temperature got too hot too fast. Baking at a true 350°F helps prevent this. If you suspect your oven runs particularly hot, you might try dropping the temperature to 325°F and baking a few minutes longer.
Cake that rises up through the topping and creates large air pockets: This usually means the cake batter was overmixed and developed too much gluten, causing it to rise too aggressively. Mix the cake batter gently, and stop mixing as soon as the last flour addition disappears. You can also try reducing the baking powder by ¼ teaspoon if this keeps happening with your oven.
Edges of the topping that are too dark or even burnt: This means the oven temperature is running hot, or the cake was positioned too close to the heating elements. Try moving the rack down to the lowest position, and use an oven thermometer to check your actual oven temperature. You can also cover the edges of the pan loosely with aluminum foil for the last 10-15 minutes of baking to prevent over-browning.
The cake sticks to the pan or falls apart when you try to remove it: This is a release issue. Make sure you’re buttering (or using parchment paper in) your pan thoroughly. If you love this cake and plan to make it regularly, consider investing in a 9×13-inch baking pan that has a dark nonstick coating — these release significantly better than lighter-colored pans.
The topping tastes grainy or crystallized: This usually happens if the brown sugar wasn’t packed properly into the measuring cup, or if the mixture separated during storage. Always pack brown sugar gently into your measuring cup, and store the cake in an airtight container. If you’re making this ahead, the texture might change slightly as it sits, but it should still taste delicious.
Storage, Make-Ahead Tips, and Reheating Without Losing the Gooey Factor
One of the best things about gooey butter cake is that it keeps beautifully and actually improves slightly overnight as the flavors meld together. This makes it an excellent choice for make-ahead baking or for stretching treats across several days.
At room temperature: The cake keeps perfectly well covered at room temperature for up to 2 days. Cover the pan with aluminum foil or plastic wrap, or transfer individual squares to an airtight container. The gooey topping will firm up slightly as it cools, but it remains soft and indulgent — this is normal and actually many people’s preferred texture.
In the refrigerator: Gooey butter cake keeps for up to 4 days when stored in an airtight container. Cold straight from the fridge, it’s almost like a gooey brownie — the topping becomes fudge-like and rich. Some people actually prefer eating this cake cold. If you prefer it at room temperature, let it sit out for about 20 minutes before serving.
In the freezer: You can freeze the entire unbaked cake in the pan (wrapped tightly in plastic wrap and then aluminum foil) for up to 1 month, or you can freeze baked squares in a freezer-safe container for up to 3 months. To bake a frozen unbaked cake, do not thaw it first — simply add about 10-15 minutes to the baking time and proceed as normal. To reheat frozen baked squares, warm them in a 300°F (150°C) oven for about 10-15 minutes until heated through, or microwave a single square for 20-30 seconds.
Make-ahead strategy: You can prepare both the cake batter and the topping mixture several hours in advance. Store the cake batter in the refrigerator in an airtight container, and reheat it slightly (it can be cold when you pour it into the pan — it’ll warm up during baking). Store the topping mixture in an airtight container at room temperature; reheat it gently over low heat if it’s solidified before spreading it over the cake base.
The gooey butter cake actually tastes better the day after you bake it. The cake crumb sets more firmly, the topping becomes more intensely flavorful, and everything melds together beautifully. If you’re planning to serve this at an event, bake it the day before and store it covered at room temperature.
Flavor Variations That Honor the Original While Adding Your Own Twist
While the classic gooey butter cake is absolutely perfect as-is, there’s room for creative interpretation without losing the essential character of the dessert. The key is that any flavoring variation should enhance rather than overshadow the rich, buttery, gooey heart of the cake.
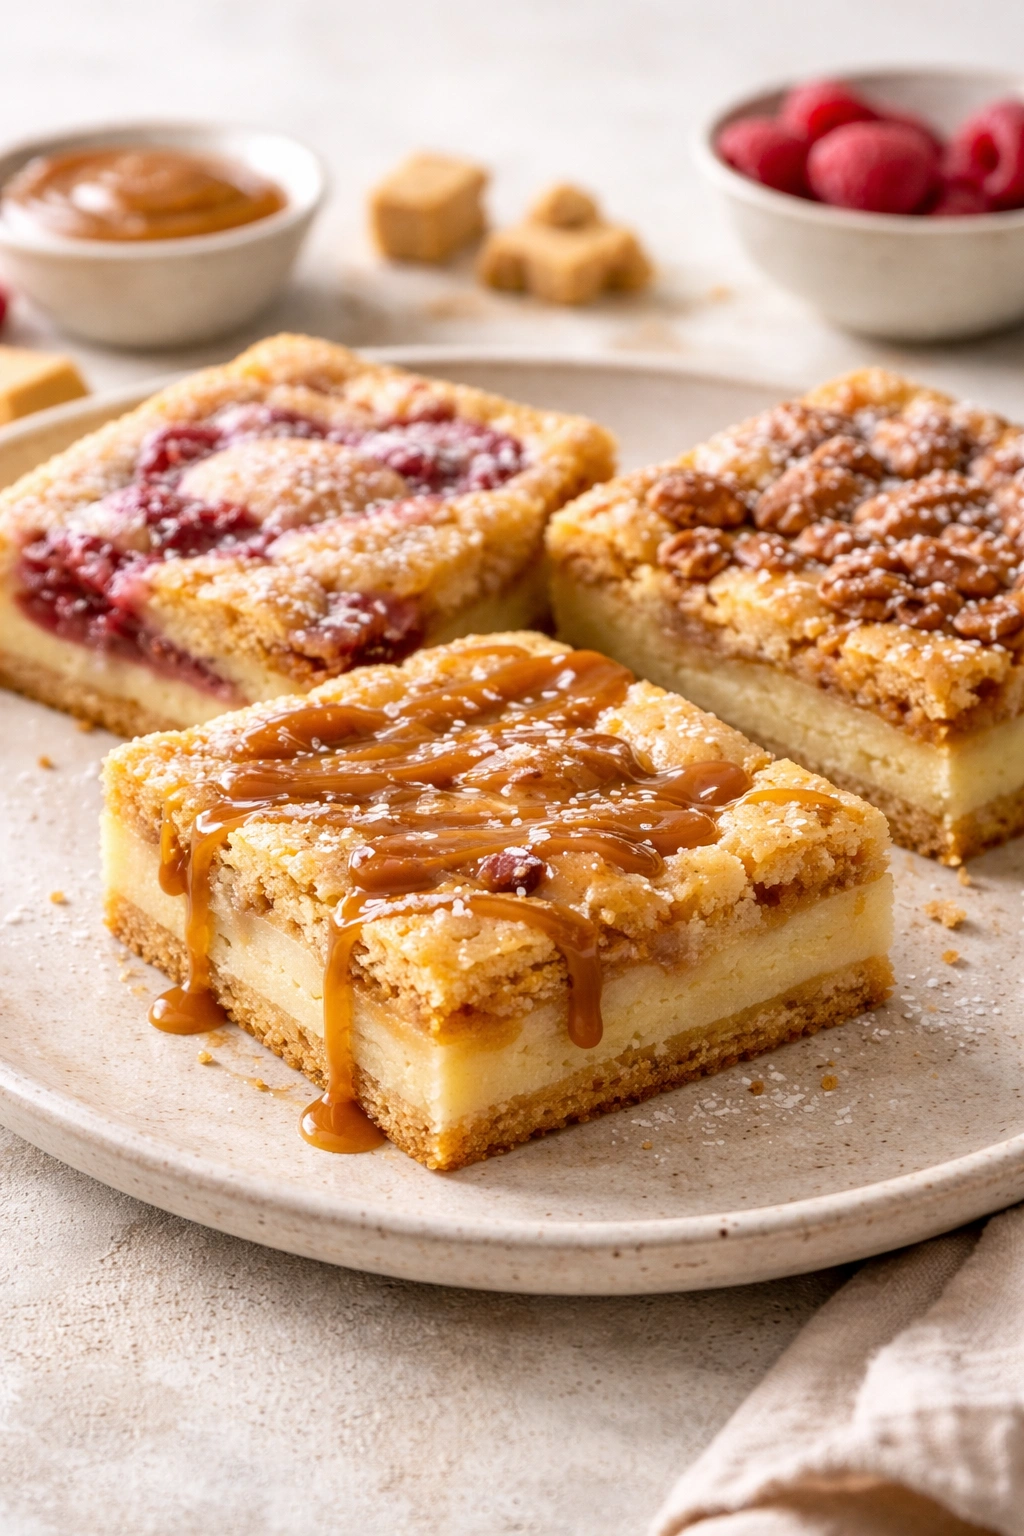
Salted caramel gooey butter cake: Add 1 teaspoon of fleur de sel or coarse sea salt to the topping mixture instead of the regular fine sea salt, and swap the light brown sugar for dark brown sugar for deeper caramel notes. Increase the vanilla extract in the topping to 1½ teaspoons. The darker brown sugar creates a more pronounced caramel flavor, and the coarse salt adds a sophisticated textural contrast.
Brown butter and sage version: Melt the topping butter very slowly over low heat until it turns brown and nutty (about 10 minutes), and add 6-8 fresh sage leaves torn into small pieces to the topping mixture. Remove the sage leaves before baking, or leave them in if you enjoy the herbal accent. This creates a sophisticated, almost savory undertone that pairs beautifully with coffee.
Bourbon-spiked topping: Add 2 tablespoons of bourbon or whiskey to the topping mixture and reduce the vanilla extract to 1 teaspoon. The alcohol will mostly cook off, but it adds a depth of flavor and subtle complexity. This variation skews slightly more grown-up and luxurious.
White chocolate gooey butter cake: Replace ¼ cup of the sweetened condensed milk with white chocolate melted gently over low heat. Stir it thoroughly into the topping mixture. Reduce the brown sugar to ¾ cup since white chocolate adds sweetness. This creates a more delicate, custard-like topping with a subtle vanilla flavor.
Cream cheese topping variation: Add 4 ounces of softened cream cheese to the topping mixture and reduce the condensed milk to ¾ cup. Beat them together until smooth before spreading over the cake base. This creates a slightly tangier, richer topping that tastes almost like cheesecake.
Coconut gooey butter cake: Add 1 cup of unsweetened shredded coconut and 2 tablespoons of coconut extract (or ½ cup of unsweetened coconut milk to replace ½ cup of the condensed milk) to the topping. The coconut adds tropical notes and textural interest without overwhelming the original flavor.
The cake base can also be flavored if you’d like — try adding ½ teaspoon of almond extract in addition to the vanilla, or a tablespoon of fresh lemon zest for a subtle brightness. These variations work beautifully with the gooey topping because you’re not changing the structure or the fundamental baking method — you’re simply adding flavor layers that complement the existing richness.
Serving Suggestions and What Pairs Best With Gooey Butter Cake
This cake is rich and decadent enough to stand completely on its own, but there are some classic and creative pairings that make it even more special. The key to serving gooey butter cake is acknowledging its richness and pairing it with something that provides contrast.
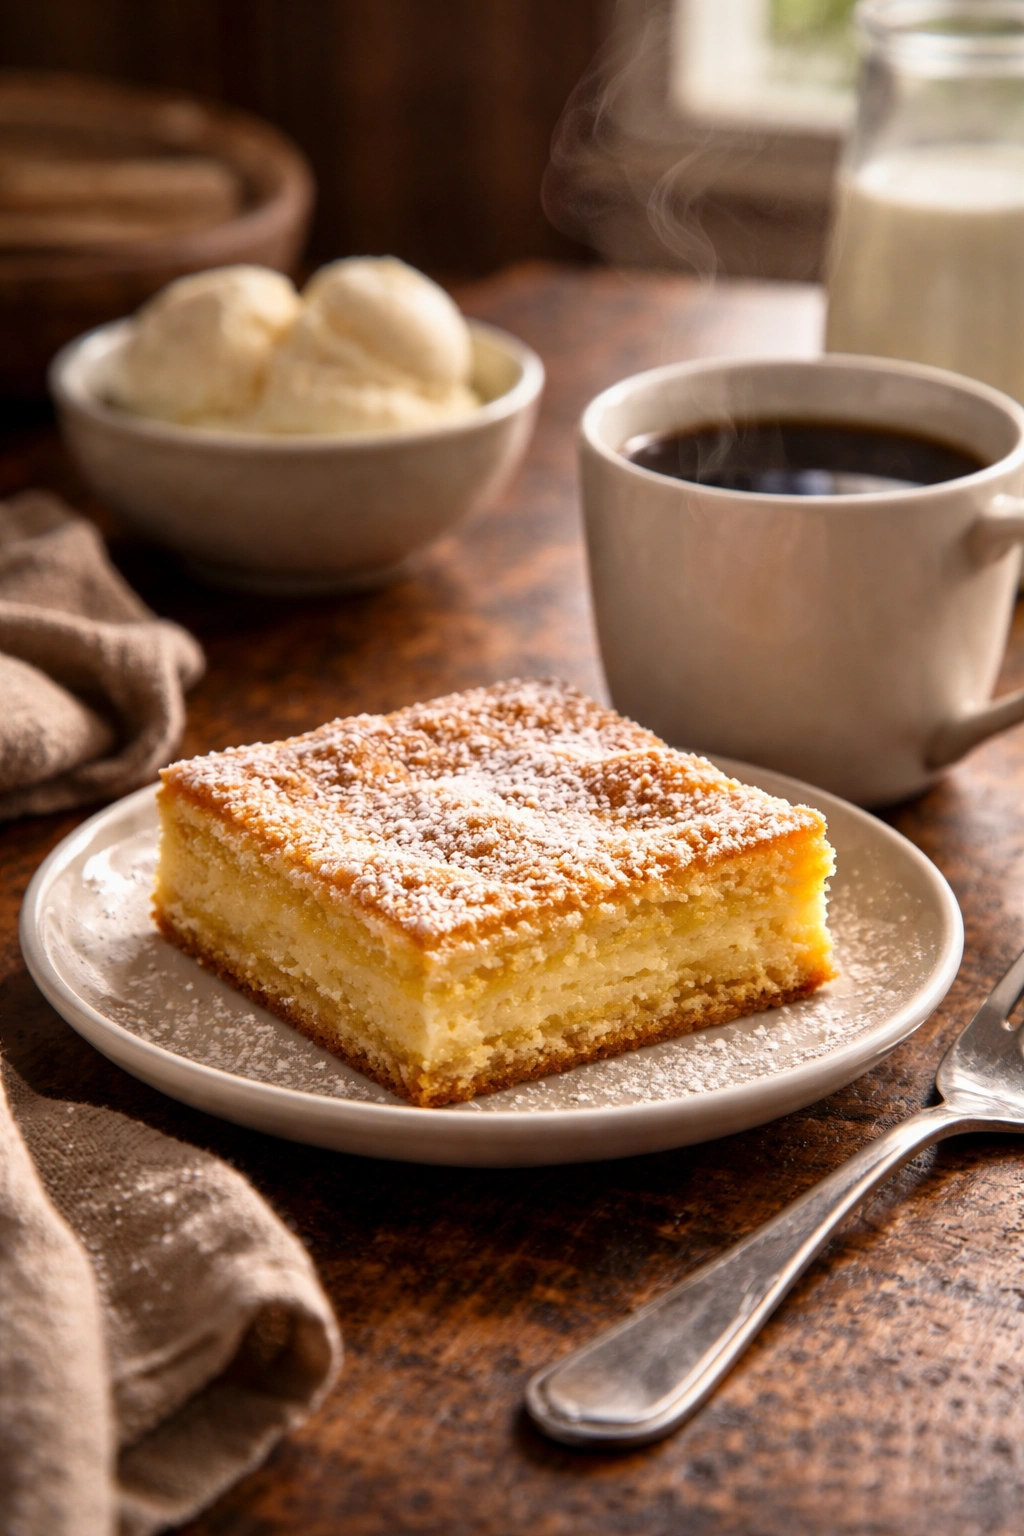
Classic coffee pairing: Gooey butter cake and black coffee are practically made for each other. The bitterness and slight acidity of the coffee cut through the sweetness and richness of the cake, creating a perfectly balanced bite. This is probably the most common way to serve gooey butter cake in St. Louis — a square of warm cake with a hot cup of coffee is the simple, perfect accompaniment.
Cold milk or buttermilk: If you’re not a coffee drinker, a cold glass of whole milk or buttermilk provides refreshing contrast. The richness of whole milk works better than skim — you want something that stands up to the cake’s decadence. Some people specifically drink buttermilk alongside gooey butter cake for the slight tang it provides.
Vanilla ice cream: A square of gooey butter cake slightly warmed, served alongside a scoop of vanilla ice cream, is absolutely indulgent. The cold creaminess of the ice cream melting into the warm gooey topping creates a dessert that feels almost like gooey butter cake and ice cream pie. If you want to elevate this, use really good vanilla ice cream — the quality matters when the components are this simple.
Whipped cream: A dollop of fresh whipped cream (made with a touch of vanilla and minimal sugar) on top of a square of cake adds a light, airy element. The contrast between the gooey, rich cake and the light, fluffy whipped cream is genuinely nice. Use unsweetened or very lightly sweetened whipped cream so it doesn’t compete with the cake’s sweetness.
Hot fudge or caramel sauce: If you’re going full indulgence mode, drizzle a square of gooey butter cake with warm hot fudge or salted caramel sauce. This might seem like overkill, but if you’re craving maximum richness and decadence, it works. This is more of a special-occasion dessert rather than everyday eating, but it’s worth experiencing at least once.
Tea pairing: A cup of Earl Grey or chamomile tea provides an elegant counterpoint to the cake’s sweetness. The floral or citrus notes in the tea add complexity and prevent the cake from feeling cloying. This pairing works particularly well if you’re serving the cake after dinner rather than as a daytime treat.
As part of a dessert board: Gooey butter cake squares pair beautifully on a dessert board alongside other treats — fresh fruit like berries or sliced apples provide brightness, some nuts add texture, and perhaps some dark chocolate for contrast. This works especially well if you’re hosting and want to offer variety without making multiple complete desserts.
Occasions where this cake shines: This is a church potluck cake, a birthday cake, a celebration cake. It’s the dessert you bring to the office when you want to make people happy. It’s what you bake when someone needs comfort, or when you’re gathering with people you love. It’s not fancy enough for a black-tie event (unless you’re being deliberately casual and fun), but it’s perfect for almost every other gathering.
Final Thoughts
Gooey butter cake isn’t trying to be something it’s not. It’s not aiming to be refined or delicate or impressive in any way beyond sheer deliciousness. What it is, is honest and generous and completely satisfying — the kind of cake that makes people close their eyes after the first bite and just savor the experience.
The beauty of this recipe is its simplicity and reliability. You’re not doing anything complicated or requiring special skills. You’re creaming butter and sugar, alternating dry and wet ingredients, and making a simple topping mixture. The magic comes from understanding the method and respecting the baking time, not from technical wizardry or rare ingredients.
Once you’ve made this cake once, you’ll understand why it’s so beloved. You’ll also understand why it’s one of those regional specialties that people from St. Louis will defend passionately. There’s something about the combination of a tender cake base with that impossibly gooey, fudgy topping that just works. No fancier version has ever improved on it.
Make this cake soon, share it generously, and watch people’s faces light up after that first bite.