When you bite into a piece of restaurant sesame chicken, there’s a moment of pure satisfaction—that contrast between the sticky, sweet glaze and the crispy exterior, the nutty sesame flavor hitting your palate. But here’s what many home cooks don’t realize: you can recreate that experience in your own kitchen, and the homemade version can actually be better than what you get from takeout. Restaurant versions often rely on excessive sugar, cornstarch thickeners, and deep-frying in questionable oils to achieve that glossy finish. At home, you control every ingredient, every technique, and the result is sesame chicken that tastes restaurant-quality while being genuinely good for you.
The beauty of making sesame chicken at home is that you’re not sacrificing anything—not the texture, not the flavor, not the satisfaction. You’re actually gaining control. You can reduce the sugar, use better oil, add more vegetables if you want, and create a dish that’s nutritionally balanced without tasting like diet food. This isn’t some stripped-down “healthy hack” version that asks you to compromise on taste. This is real sesame chicken that happens to be made with your health in mind.
What you’ll discover is that homemade sesame chicken is simpler to execute than most home cooks think. The technique isn’t complicated, the ingredient list is manageable, and the results are remarkably impressive. Whether you’re cooking for yourself on a weeknight or preparing dinner for guests, this recipe delivers the kind of dish that makes you look like you’ve spent hours in the kitchen when, in reality, you’ve invested maybe 30 minutes of active work.
The Origins and Appeal of Sesame Chicken
Sesame chicken, as we know it today, is an American-Chinese creation—a dish born in Chinese-American restaurants sometime in the mid-20th century. Unlike many dishes that trace a direct line back to regional Chinese cuisine, sesame chicken is a fusion invention, designed specifically to appeal to American palates. The combination of crispy fried chicken with a sweet, slightly savory sauce studded with nutty sesame seeds became wildly popular, and for good reason: it’s genuinely delicious.
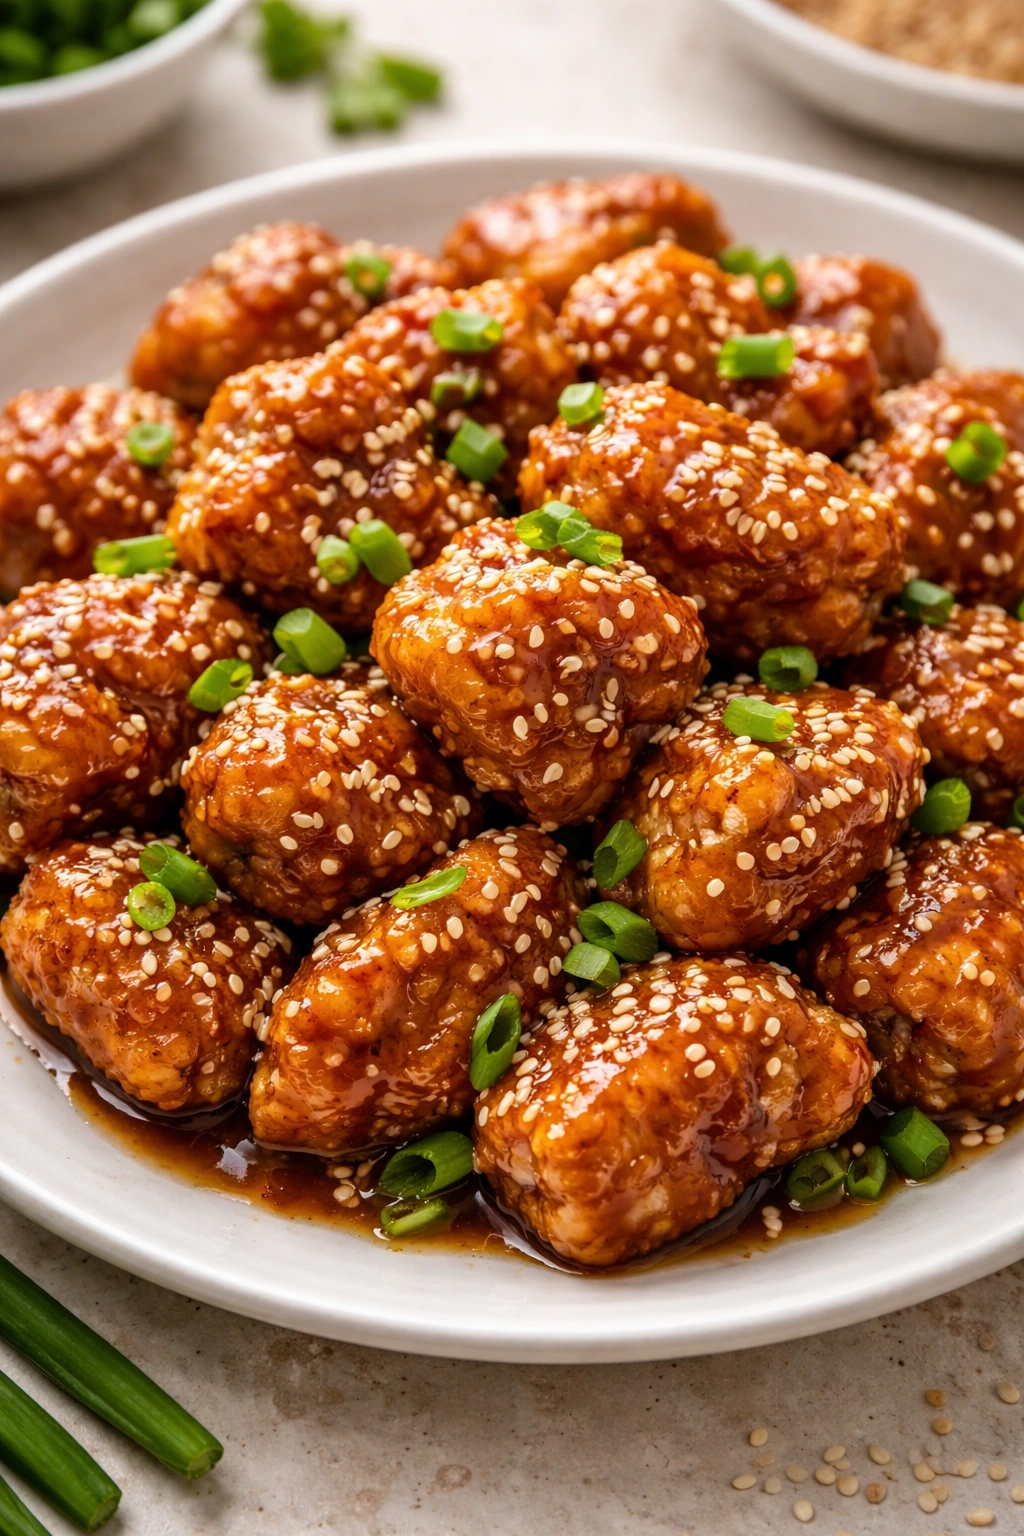
The appeal lies in its textural contrast and the layering of flavors. You’ve got the crunch of a fried exterior giving way to tender meat inside, a glossy sauce that clings to every piece, and that distinctive sesame seed garnish that adds both visual interest and a subtle nutty depth. It’s comfort food elevated—accessible enough for a casual weeknight but fancy enough to impress at a dinner table.
What makes sesame chicken so satisfying from a psychological standpoint is that it hits multiple flavor and texture points simultaneously. There’s sweet, salty, nutty, tangy, and crispy all working together. Your brain gets excited by that complexity, which is why people keep ordering it from restaurants week after week. The good news is that you can trigger that same satisfaction at home, and without the guilt that often follows ordering takeout.
Why Homemade Is Healthier Than Restaurant Versions
Let’s be honest about what restaurants are doing with sesame chicken. Most versions are double-fried or coated in a batter that’s designed to be as crispy as possible, which means it’s absorbing oil at a significant rate. The sauce is typically made with corn syrup or simple syrup to achieve that glossy, sticky finish, and the thickener is almost always cornstarch—which isn’t inherently bad, but it contributes to a sauce that’s essentially sugar suspended in starch.
A typical restaurant serving of sesame chicken can contain anywhere from 30 to 50 grams of sugar, often more. When you consider that a single takeout order usually serves one person, you’re looking at consuming more than a day’s recommended sugar intake in a single meal. The sodium content is equally concerning, often exceeding 1,500 milligrams in a modest portion.
When you make sesame chicken at home using this method, you’re cutting the sugar content to roughly 8-12 grams per serving—a difference that your body will genuinely feel. You’re using honey or a touch of maple syrup rather than high-fructose corn syrup, which your body metabolizes differently. You’re controlling the oil type and the cooking method so that the chicken is crispy without being saturated. You’re adding vegetables that the restaurant version likely lacks. You’re choosing the salt level rather than having it dictated by a commercial recipe designed for maximum cravability.
The magic here is that you’re not sacrificing flavor to achieve better nutrition. In fact, many of the techniques that make food healthier—like using quality sesame oil, incorporating garlic and ginger for flavor depth, adding vegetables—also make the final dish taste better. It’s a win on every front.
What Makes This Recipe Different
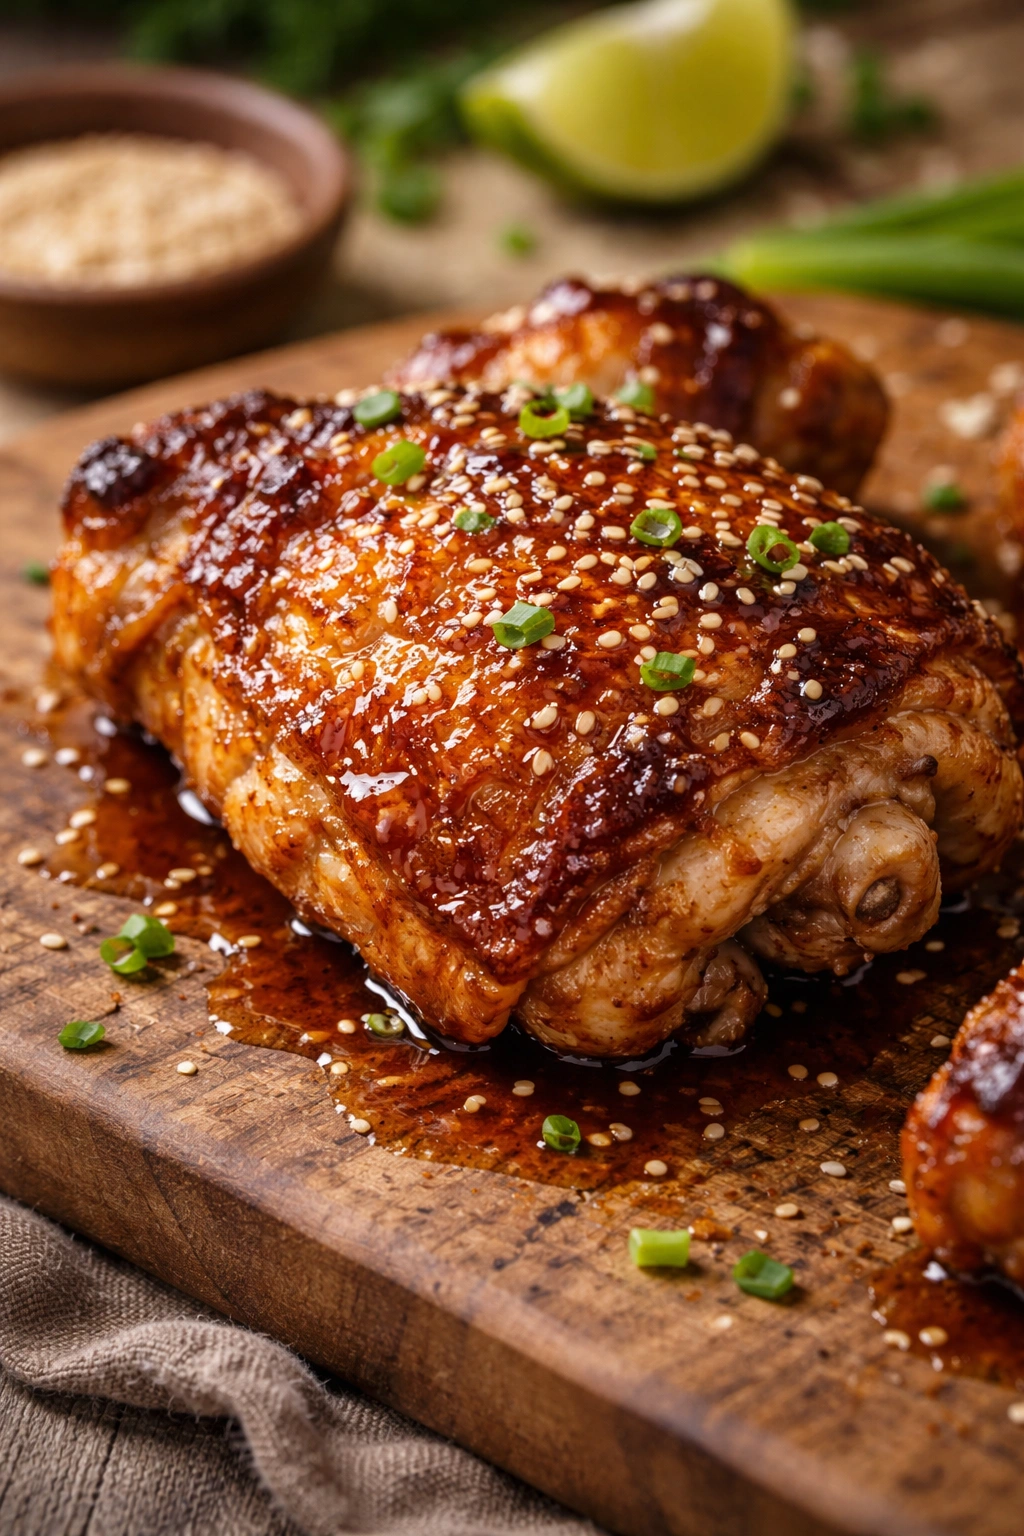
This particular approach to sesame chicken focuses on a few specific techniques that elevate the final result. First, you’re working with bone-in, skin-on chicken thighs rather than just breasts. Yes, thighs have more fat, but they also have more flavor and more connective tissue, which means they stay juicier during cooking. The skin crisps beautifully, and the meat stays tender even if you slightly overcook it—something that’s nearly impossible to do with breast meat.
Second, you’re building the sauce from scratch using whole ingredients: fresh garlic, fresh ginger, rice vinegar, low-sodium soy sauce, and honey. This means you have control over the sweetness level and the balance of flavors. The sauce gets thickened with a slurry of cornstarch and water, but only enough to coat the chicken—not to create that heavy, candy-like glaze that restaurant versions rely on.
Third, you’re toasting your sesame seeds before using them. This is a small step that makes an enormous difference in flavor. Raw sesame seeds are bland; toasted sesame seeds are nutty, aromatic, and deeply satisfying. It’s the kind of detail that separates home cooking from merely assembling ingredients.
Finally, you’re creating texture through a two-stage cooking process: a quick, high-heat sear to crisp the skin, then a lower-temperature finish to ensure the meat cooks through while the skin stays crispy. It’s not deep-frying (which requires massive amounts of oil), but it achieves that contrast that makes sesame chicken so appealing.
Yield: Serves 4 | Makes 8 pieces of chicken
Prep Time: 20 minutes (includes ingredient prep and marinating)
Cook Time: 25 minutes
Total Time: 45 minutes
Difficulty: Intermediate — This recipe requires managing two cooking temperatures and making a sauce from scratch, but the techniques are straightforward and become automatic after your first attempt.
Best Served: Immediately while the sauce is warm and the chicken skin is still crispy.
Ingredients and Components
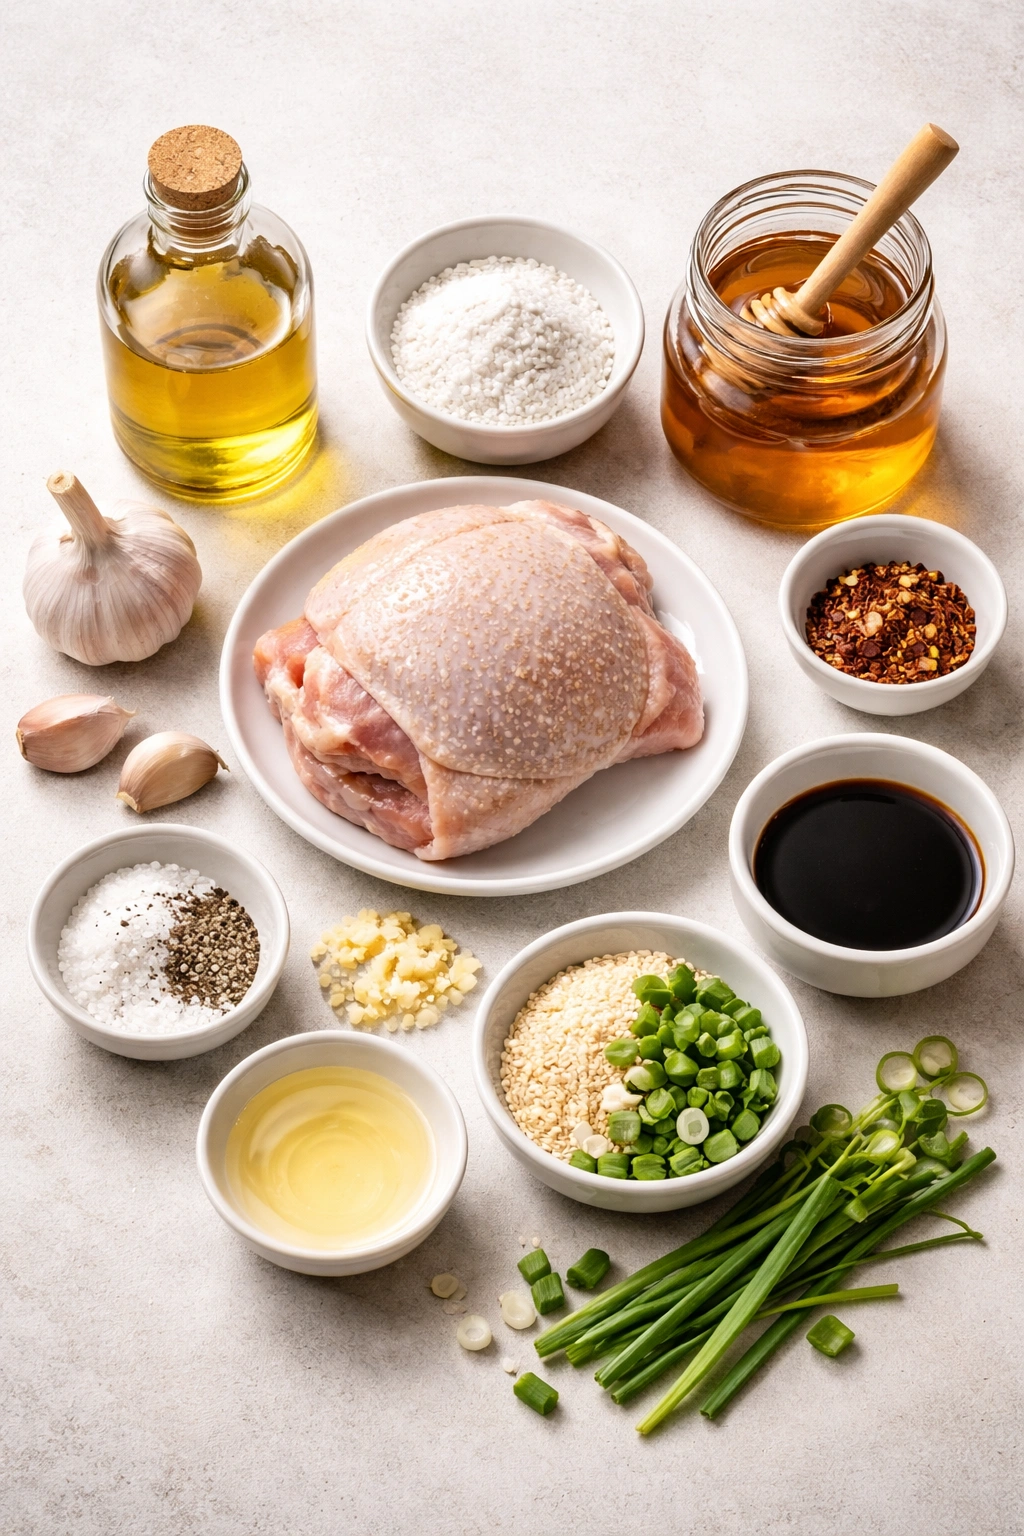
For the Chicken:
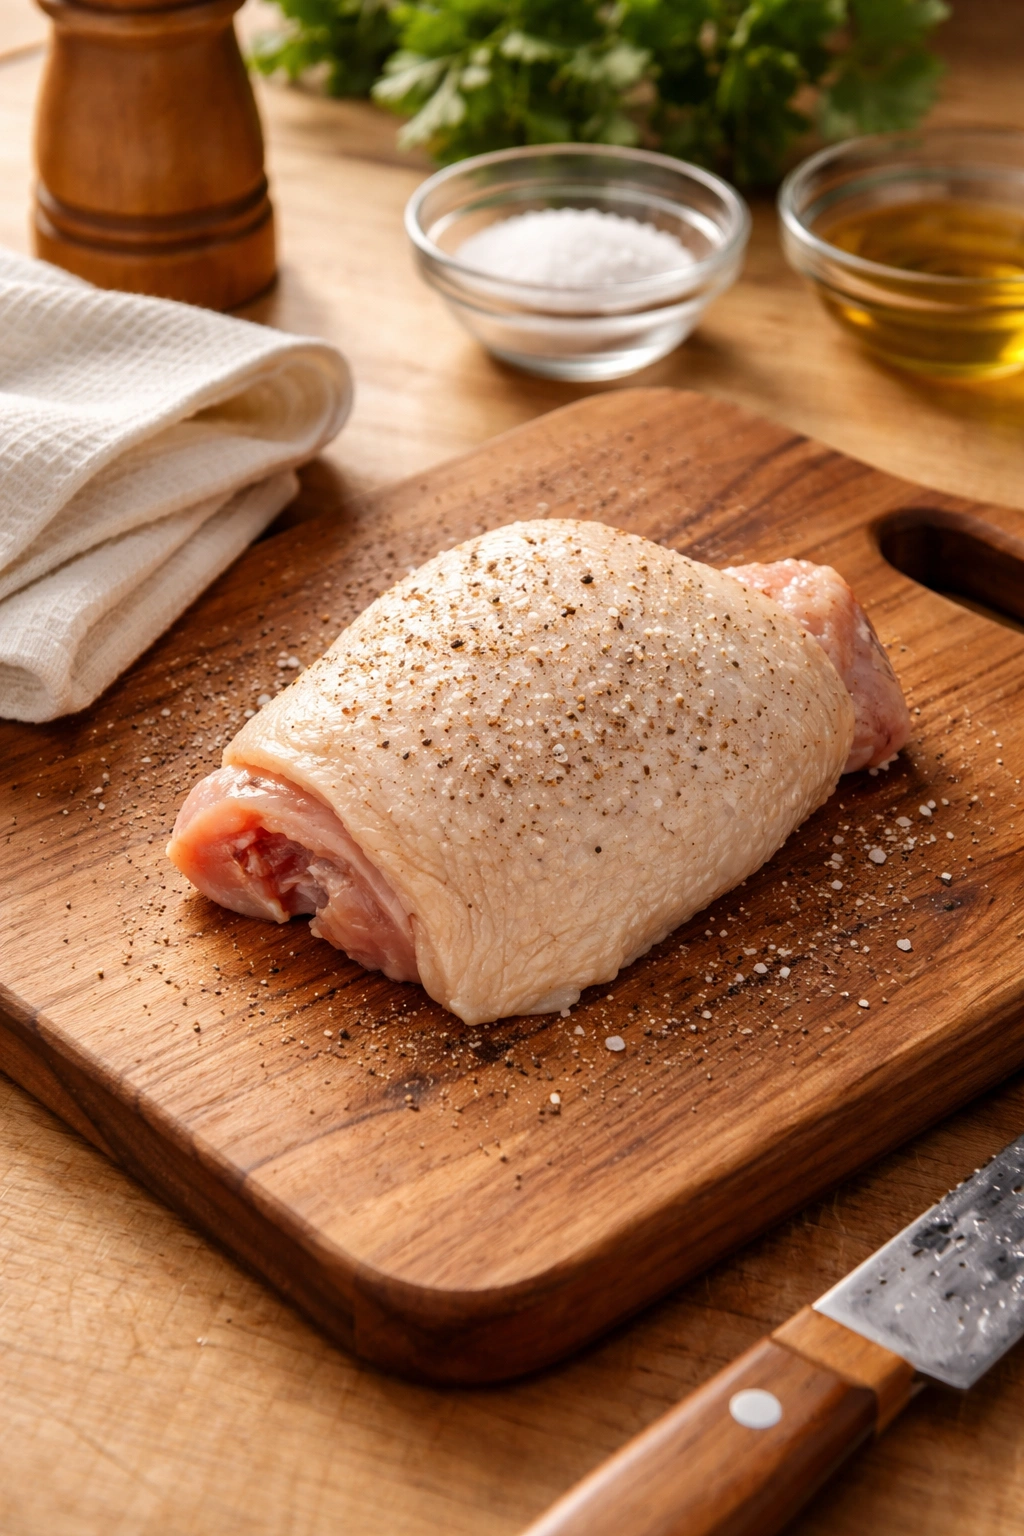
- 4 bone-in, skin-on chicken thighs (about 2 pounds total), patted completely dry with paper towels
- 2 tablespoons sesame oil (the dark kind made from toasted sesame seeds)
- ½ teaspoon fine sea salt
- ¼ teaspoon freshly ground black pepper
- 1 tablespoon cornstarch (for light coating only—not a thick dredge)
For the Sauce:
- 3 tablespoons low-sodium soy sauce
- 2 tablespoons rice vinegar (unseasoned)
- 2 tablespoons honey
- 3 cloves garlic, minced very finely (about 1 tablespoon)
- 1 tablespoon fresh ginger, minced (about a 1-inch piece peeled and finely chopped)
- ½ teaspoon red pepper flakes (optional, adjust to your heat preference)
- 1 tablespoon cornstarch mixed with 3 tablespoons water (this is your slurry to thicken the sauce)
- 1 tablespoon sesame oil (same dark sesame oil as above)
- 2 scallions, sliced thin (white and light green parts separated)
For Serving:
- ¼ cup sesame seeds (white, black, or a mix), toasted in a dry skillet over medium heat for 2-3 minutes until fragrant
- Fresh cilantro (optional but recommended), roughly chopped
- 1 lime, cut into wedges
- 2 tablespoons thinly sliced fresh ginger (for garnish, optional)
Choosing Your Chicken and Prep Work
The quality of your chicken matters more than most home cooks realize. Bone-in, skin-on chicken thighs are your ideal choice here—they have enough fat to stay juicy and flavorful during cooking, and the bones conduct heat more efficiently than boneless cuts. Look for chicken that has a pale, clear appearance and isn’t packaged in excessive liquid. If you have access to higher-quality chicken (from a farmers market or a better butcher), the difference in flavor is noticeable.
Before you do anything else, pat your chicken completely dry with paper towels. This is non-negotiable if you want crispy skin. Moisture is the enemy of crispiness, so spend 30 seconds per piece really getting it dry. Don’t be gentle—aggressive patting is what you want. Any remaining moisture will turn to steam during cooking, which prevents the skin from crisping.
Season your chicken with salt and pepper on both sides and let it sit at room temperature for about 10 minutes. This gives the seasonings time to penetrate the meat slightly and allows the chicken to cook more evenly. If you’re in a rush, you can skip this step, but you’ll get better results with this brief rest. Room-temperature chicken cooks more evenly than cold chicken straight from the refrigerator.
The Sauce: Building Deep Flavor Without Excess Sugar
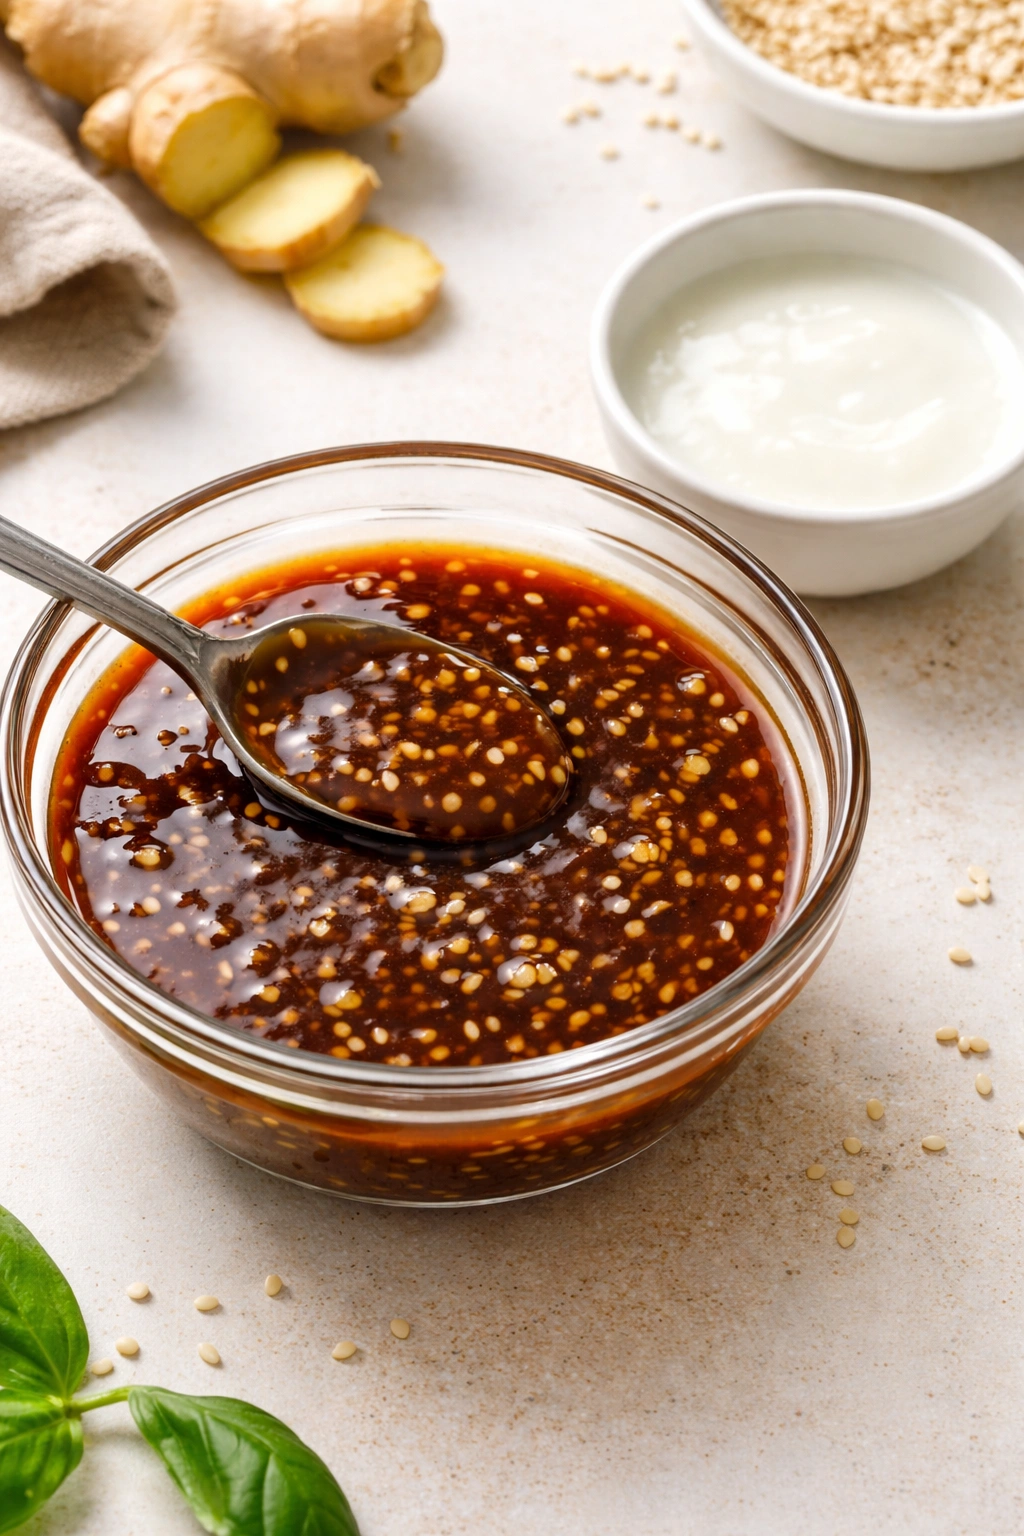
The sauce is where your homemade version diverges most dramatically from restaurant versions. Rather than relying on corn syrup and excessive thickeners to create sweetness and shine, you’re building a balanced sauce that gets its depth from garlic, ginger, and sesame, with just enough sweetness from honey to round out the flavors.
Combine your soy sauce, rice vinegar, and honey in a small bowl and whisk until the honey dissolves completely. This is your sauce base, and the proportions are important. The soy sauce provides saltiness and umami, the rice vinegar provides acidity that brightens the sauce, and the honey provides a touch of sweetness plus the silky quality that makes the sauce cling to the chicken. If you taste this mixture straight, it will taste aggressively salty—that’s correct. The sweetness will balance it once it’s cooked.
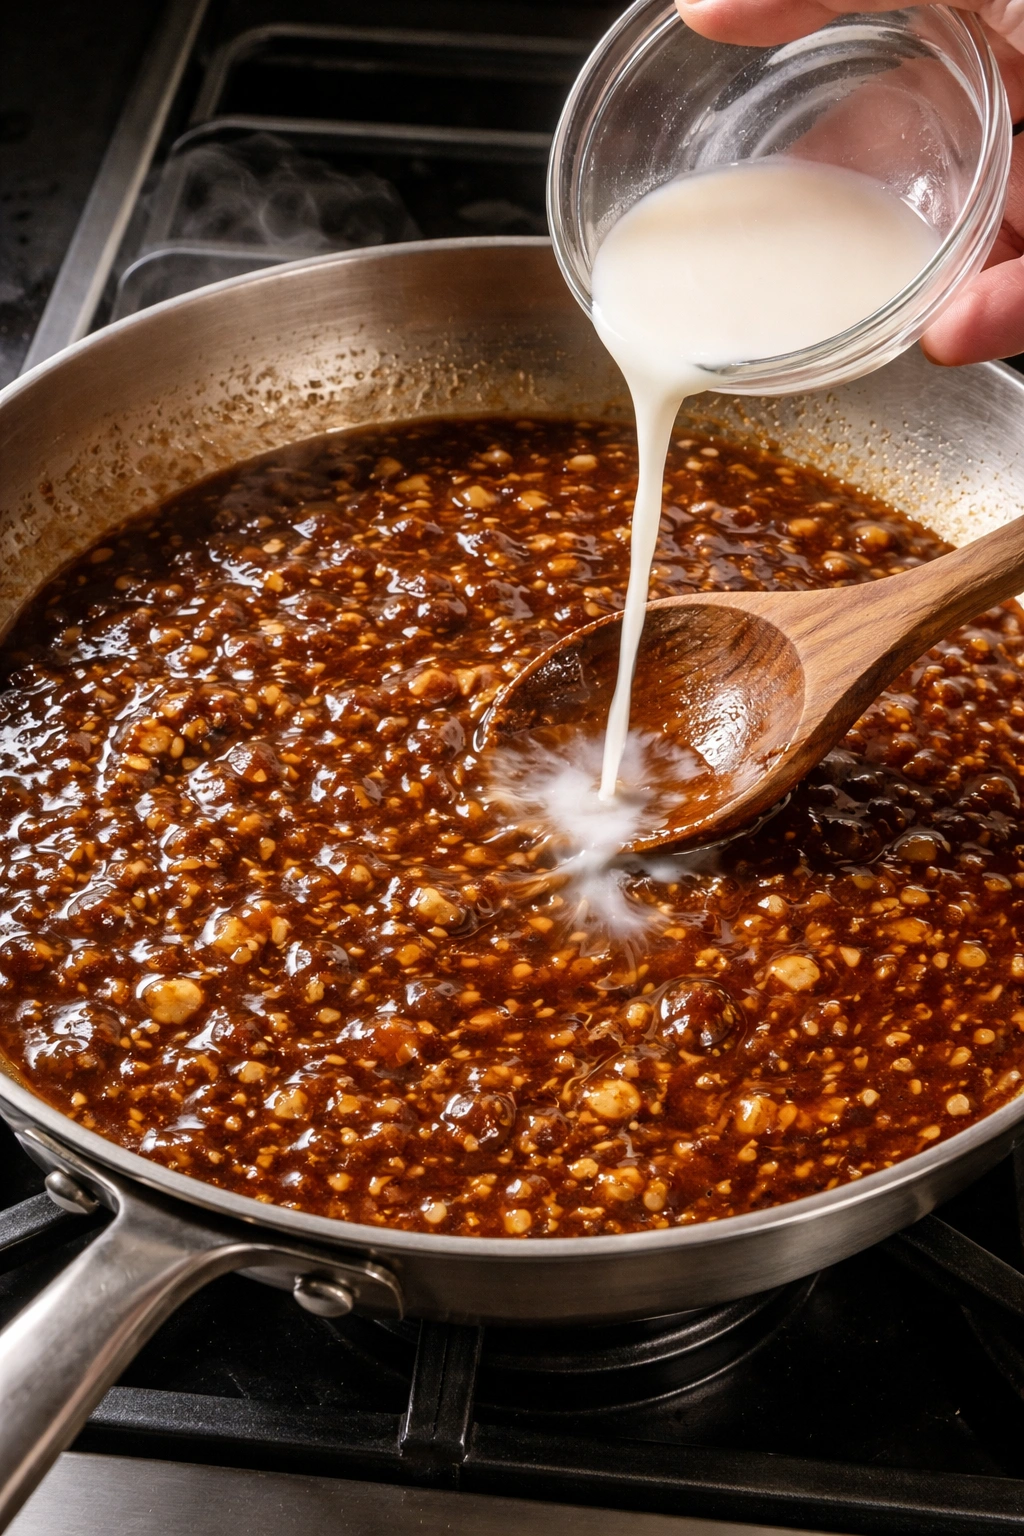
In a separate small bowl or cup, combine your cornstarch with the water and stir until completely smooth with no lumps. This slurry is what thickens the sauce, but you’re using it sparingly—just enough to give the sauce body so it clings to the chicken, not so much that it becomes a thick glaze. Set this aside.
Mince your garlic and ginger very finely. This is worth taking an extra 30 seconds on. Large chunks of raw garlic or ginger will taste harsh and overpowering; finely minced pieces distribute throughout the sauce and add warmth and flavor without that aggressive bite. If you have a microplane grater, you can grate your ginger directly—this actually works beautifully and distributes the ginger more evenly than mincing.
Coating and Cooking the Chicken
Heat your sesame oil in a large skillet (cast iron or stainless steel work beautifully here) over medium-high heat. You want the oil hot but not smoking—it should shimmer and move easily when you tilt the pan. This takes about 2-3 minutes once the pan hits the stove.
While the oil is heating, toss your chicken pieces with the cornstarch. You’re not looking for a thick coating—just a light dusting that will help the skin crisp and brown more evenly. Shake off any excess. This light cornstarch coating is entirely optional, but it genuinely helps with browning and texture.
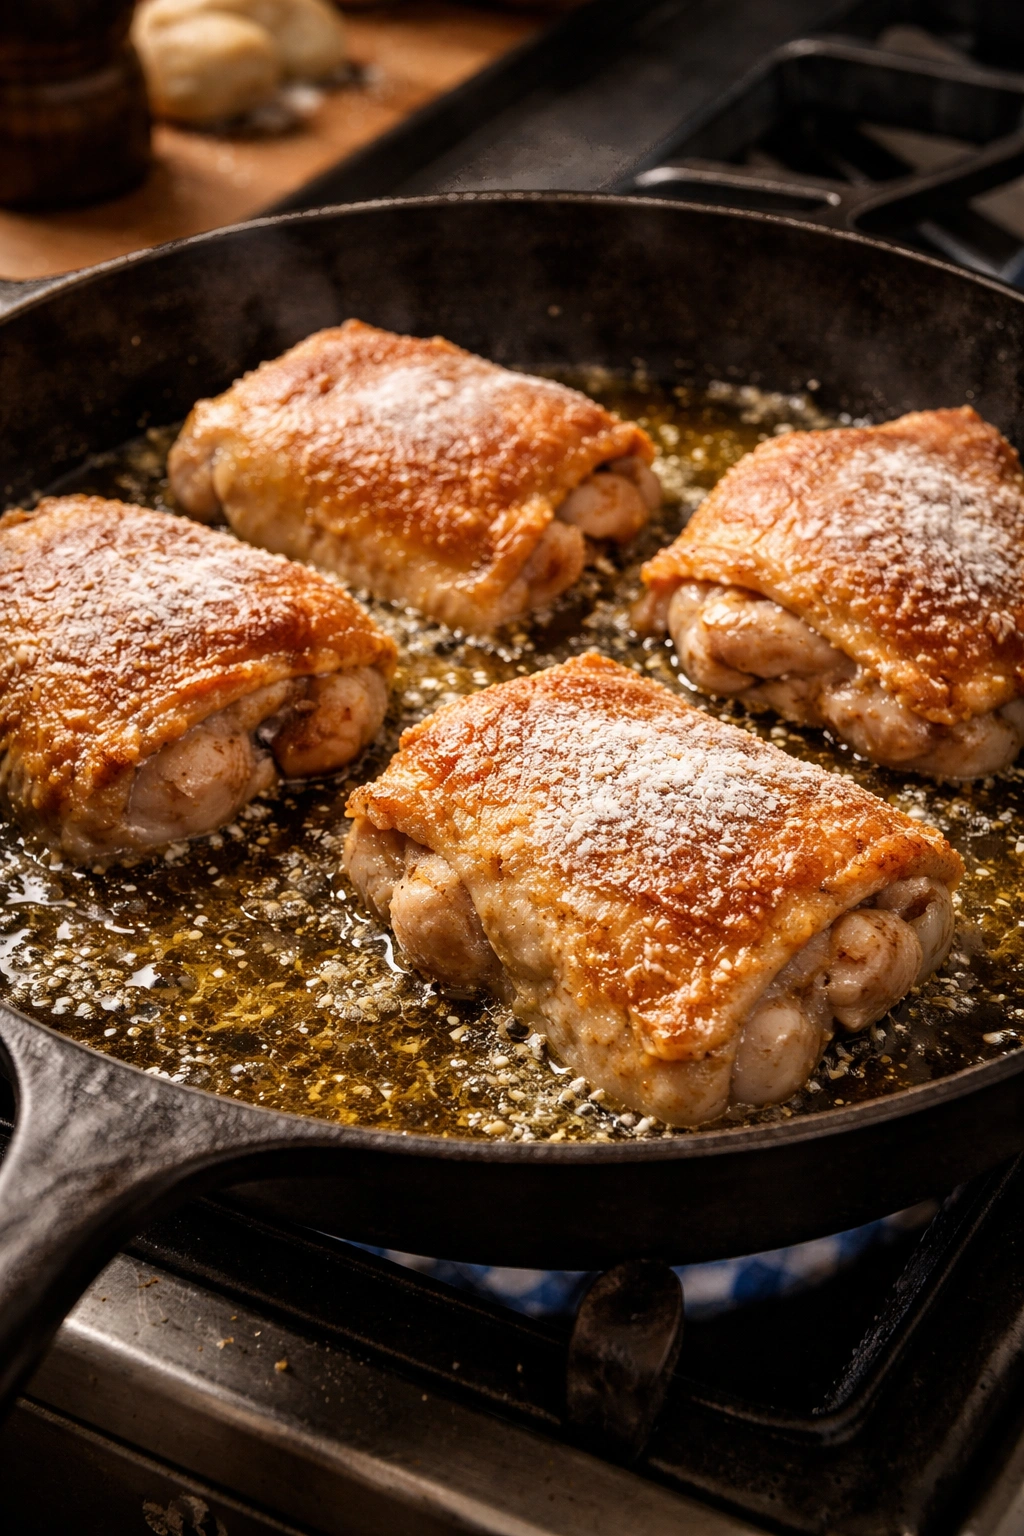
Once the oil is hot, place your chicken thighs skin-side down in the pan. You should hear an immediate sizzle—if you don’t, your oil isn’t hot enough. Resist the urge to move the chicken around. Leave each piece undisturbed for about 4-5 minutes. This allows the skin to make contact with the hot oil continuously, which creates that crispy, golden exterior you’re after.
After about 4 minutes, check the skin on the underside—it should be golden brown and slightly crispy. If it needs another minute, give it that minute. Once it’s browned, flip the chicken over and reduce the heat to medium. Cook the other side for 2-3 minutes until it’s lightly browned, then flip back to skin-side down and reduce the heat to medium-low.
At this point, you’re essentially finishing the chicken through gentle cooking. The skin has already browned and crisped; now you’re ensuring the meat cooks through completely without the skin burning. Continue cooking skin-side down on medium-low heat for about 8-10 minutes. The chicken is done when the thickest part of the thigh (between the meat and bone) reaches an internal temperature of 165°F (74°C) on an instant-read thermometer.
Toasting Sesame Seeds for Maximum Flavor
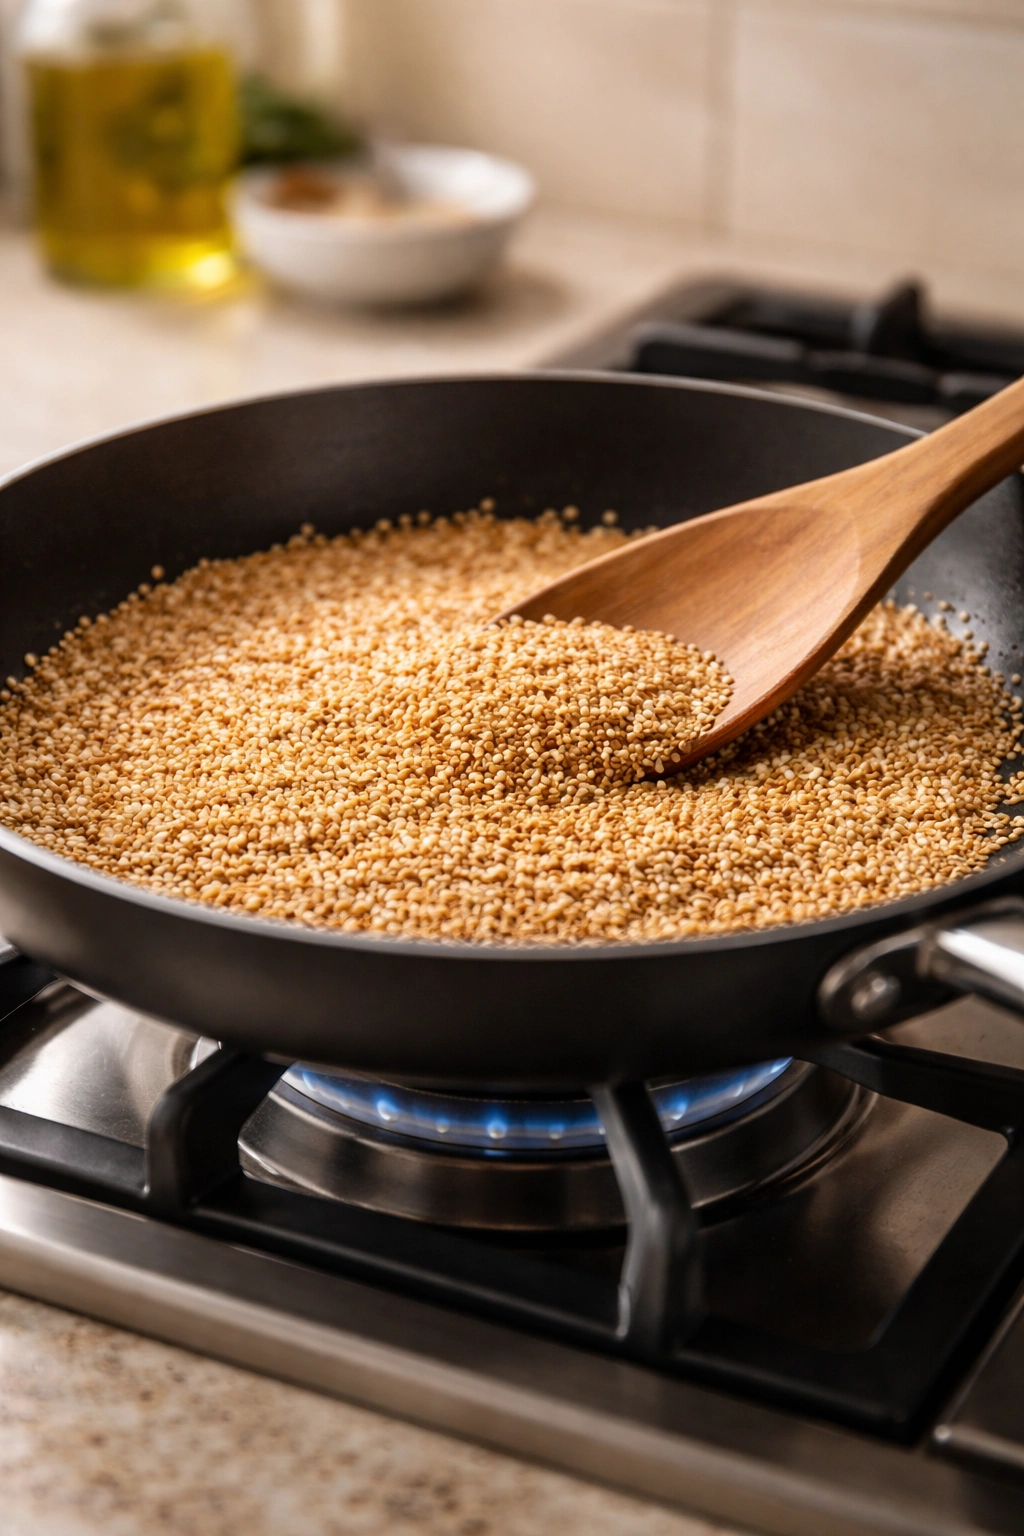
While your chicken is finishing, toast your sesame seeds in a small, dry skillet over medium heat. Watch them carefully—this takes only 2-3 minutes, and the difference between perfectly toasted and burnt is about 30 seconds. You’re looking for the seeds to become fragrant and take on a slightly deeper color. They should smell nutty and warm, not burnt or acrid.
Pour the toasted seeds onto a plate and set aside. If you toast them too far in advance, they’ll lose some of their fragrance, so it’s best to do this close to when you’ll be using them. The aroma will tell you when they’re ready—trust your nose on this one.
Getting the Texture Right: Crispy Outside, Tender Inside
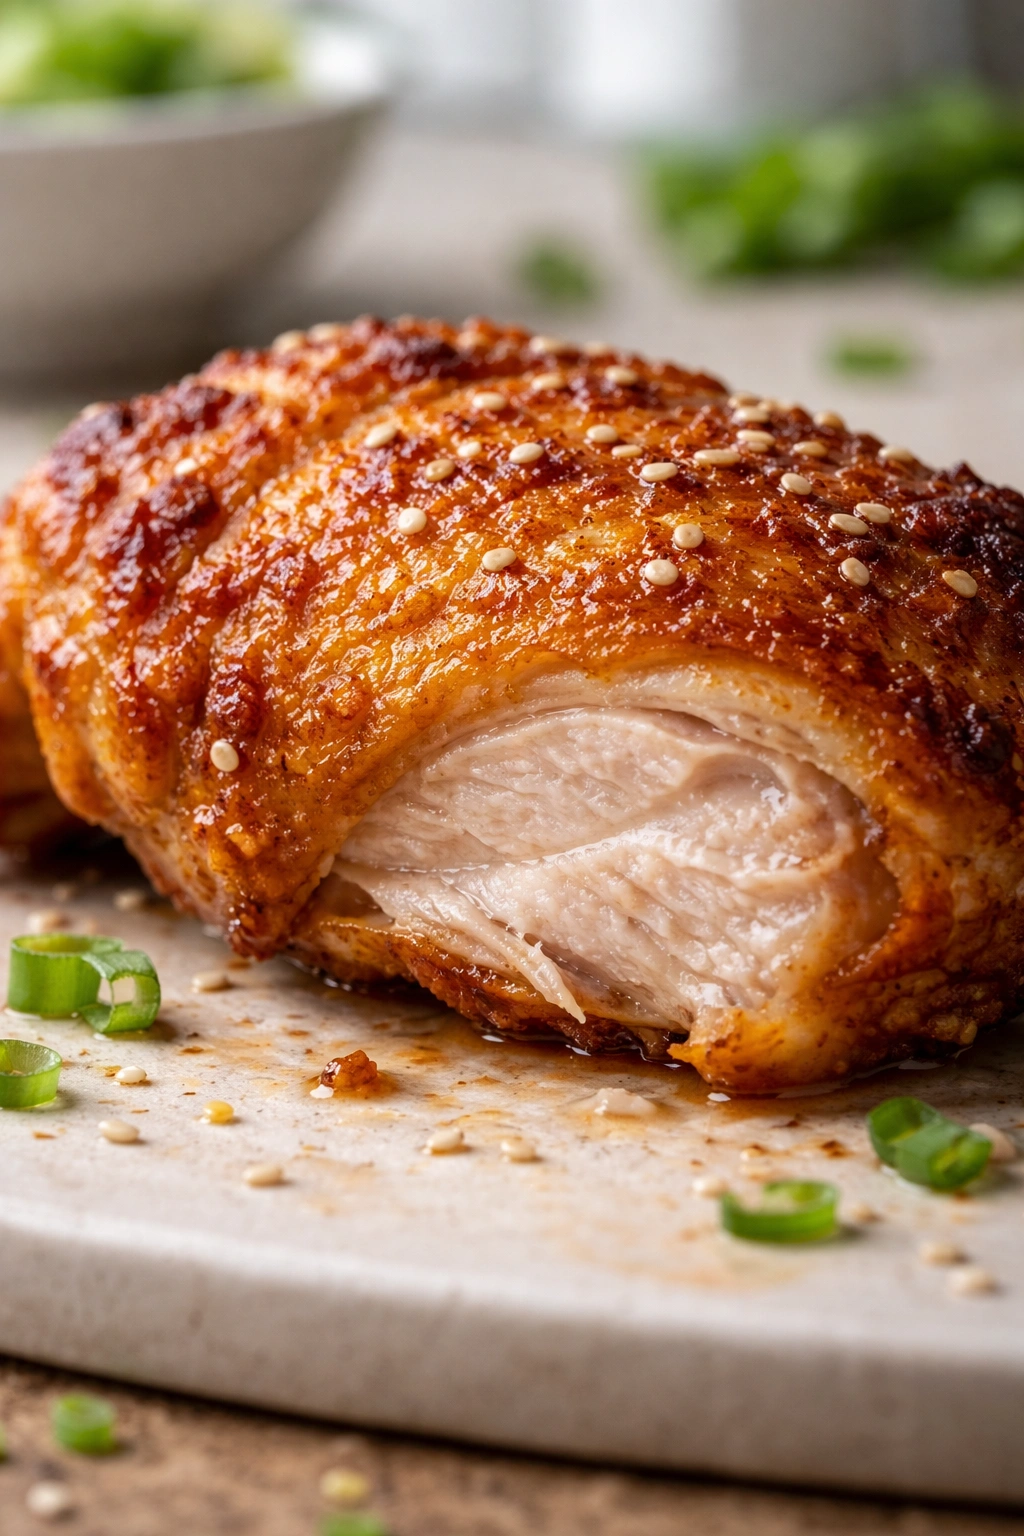
The magic of this technique is that you end up with chicken that has a genuinely crispy skin—not just browned, but actually crispy—while the meat inside remains juicy and tender. This happens because you’re using two different cooking temperatures: the initial high-heat sear creates the crispy skin, and the subsequent lower-temperature cooking finishes the meat without burning the exterior.
If your pan seems to be browning too quickly (smoking heavily, or the skin is turning very dark before the meat is done), lower the heat further. Every stovetop is different, and some run hotter than others. It’s better to take an extra few minutes to cook the chicken through than to rush it at high heat and end up with burnt skin and undercooked meat.
The chicken is properly done when a meat thermometer inserted into the thickest part of the thigh (not touching bone) reads 165°F (74°C). Thigh meat is more forgiving than breast meat—it stays juicy even at 170°F, so you have a bit of leeway. Once it’s done, transfer the chicken to a clean plate and tent it loosely with aluminum foil to keep it warm while you finish the sauce.
Making and Finishing the Sauce
While the chicken rests, add your minced garlic and ginger to the pan (don’t clean it—those browned bits add flavor). Reduce the heat to medium and cook for about 30 seconds to 1 minute, stirring constantly. You’re looking for the garlic and ginger to become fragrant, not to brown heavily. This brief cooking mellows the raw bite of the garlic and releases the aromatic compounds in the ginger.
Pour in your sauce base (the soy sauce, rice vinegar, and honey mixture) and bring it to a simmer. Let it bubble gently for about 1 minute. Give your cornstarch slurry a quick stir (cornstarch settles quickly), then pour it into the simmering sauce while stirring constantly. The sauce will thicken immediately—you should see it go from thin and liquid to silky and slightly thickened within about 30 seconds.
Once the sauce has thickened, remove it from the heat and stir in your final tablespoon of sesame oil and the white parts of your sliced scallions. Taste the sauce and adjust as needed. If it’s too salty, add a splash of water or rice vinegar. If it’s not salty enough, add a few drops more soy sauce. If it’s too sweet, add a splash of rice vinegar. If it lacks depth, add a pinch of red pepper flakes. This is your opportunity to fine-tune it to your preferences.
Return your chicken to the pan and toss gently to coat all sides with the sauce. The chicken should be glossy and coated, but not drowning in sauce. If you’ve made more sauce than you need, save the extra—it’s delicious over rice.
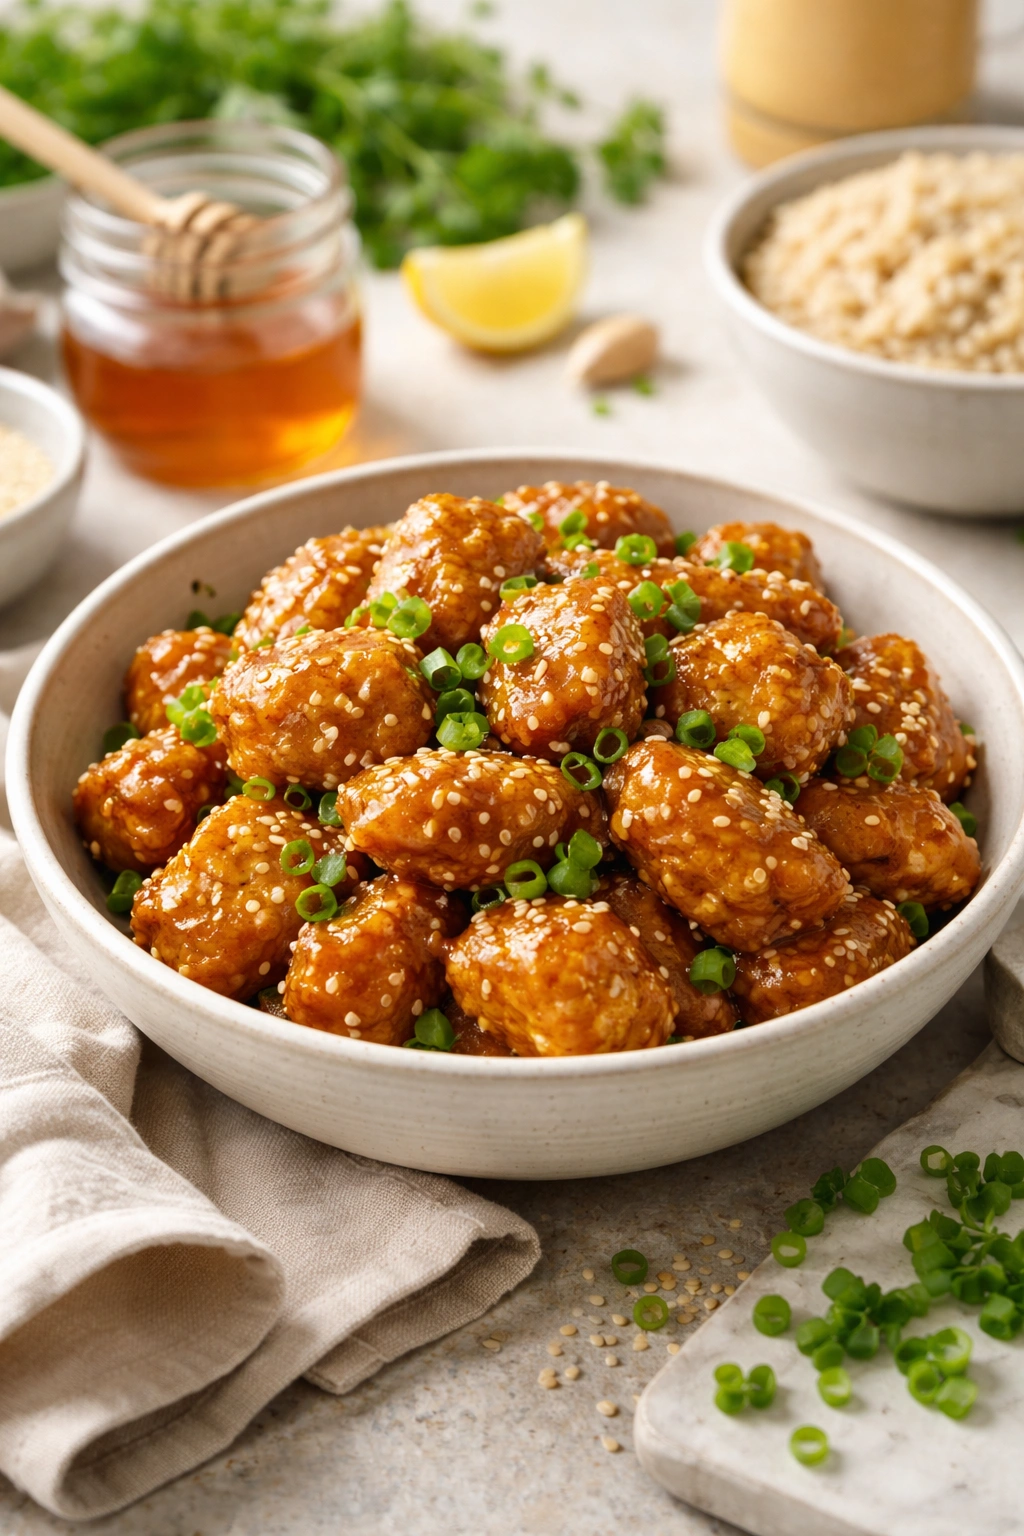
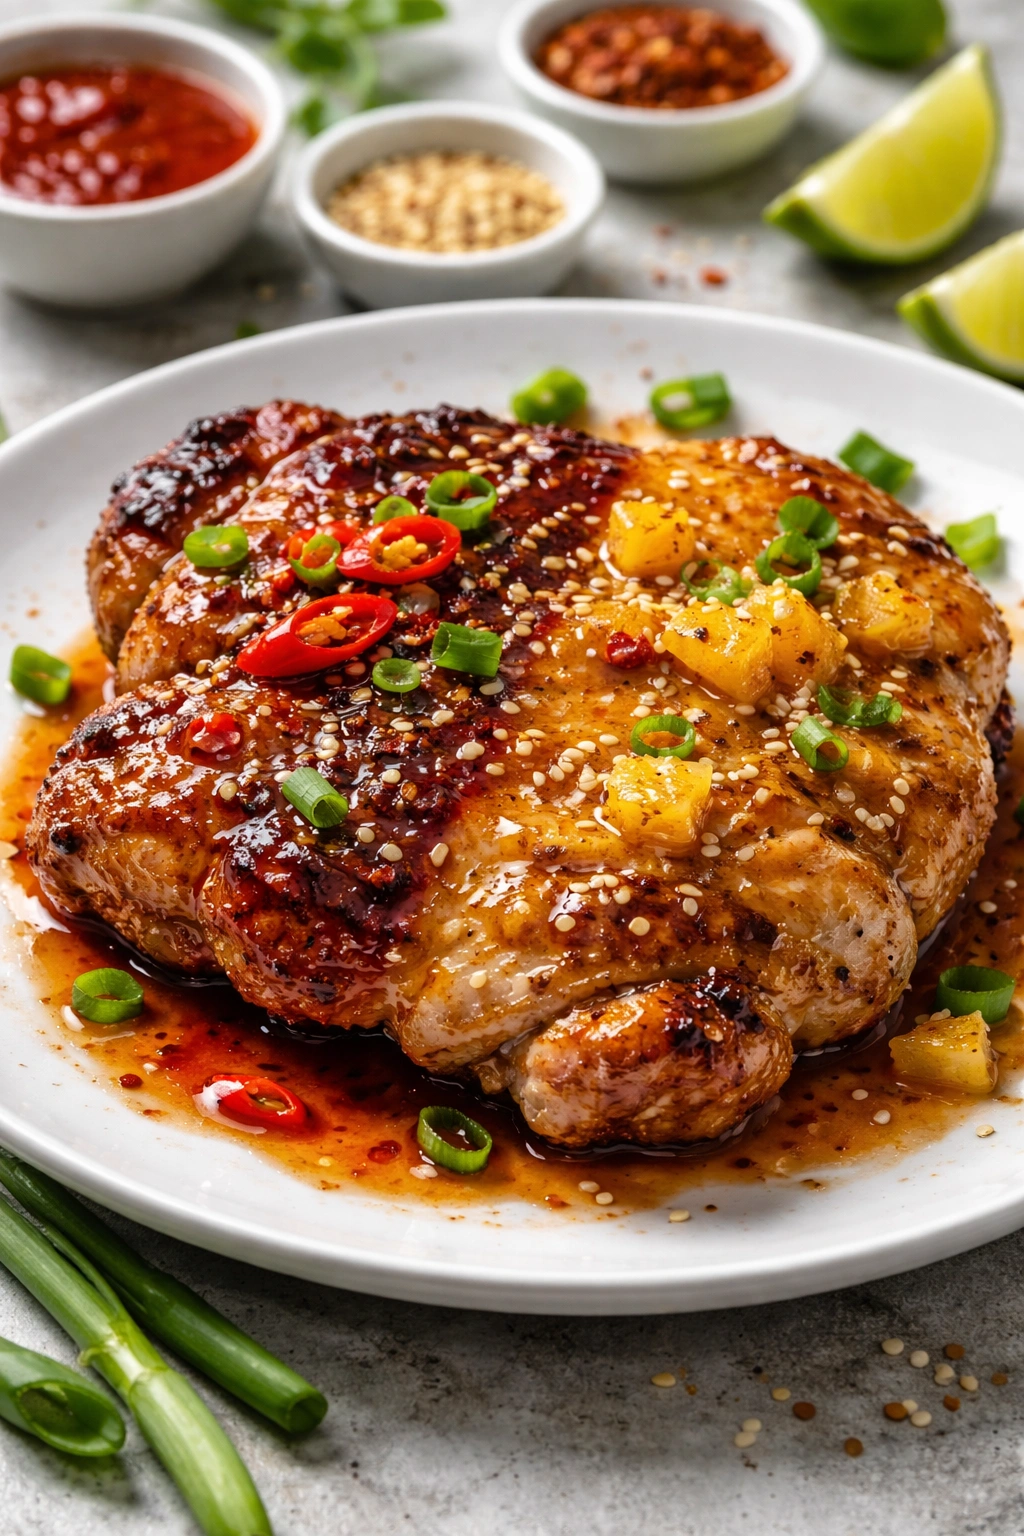
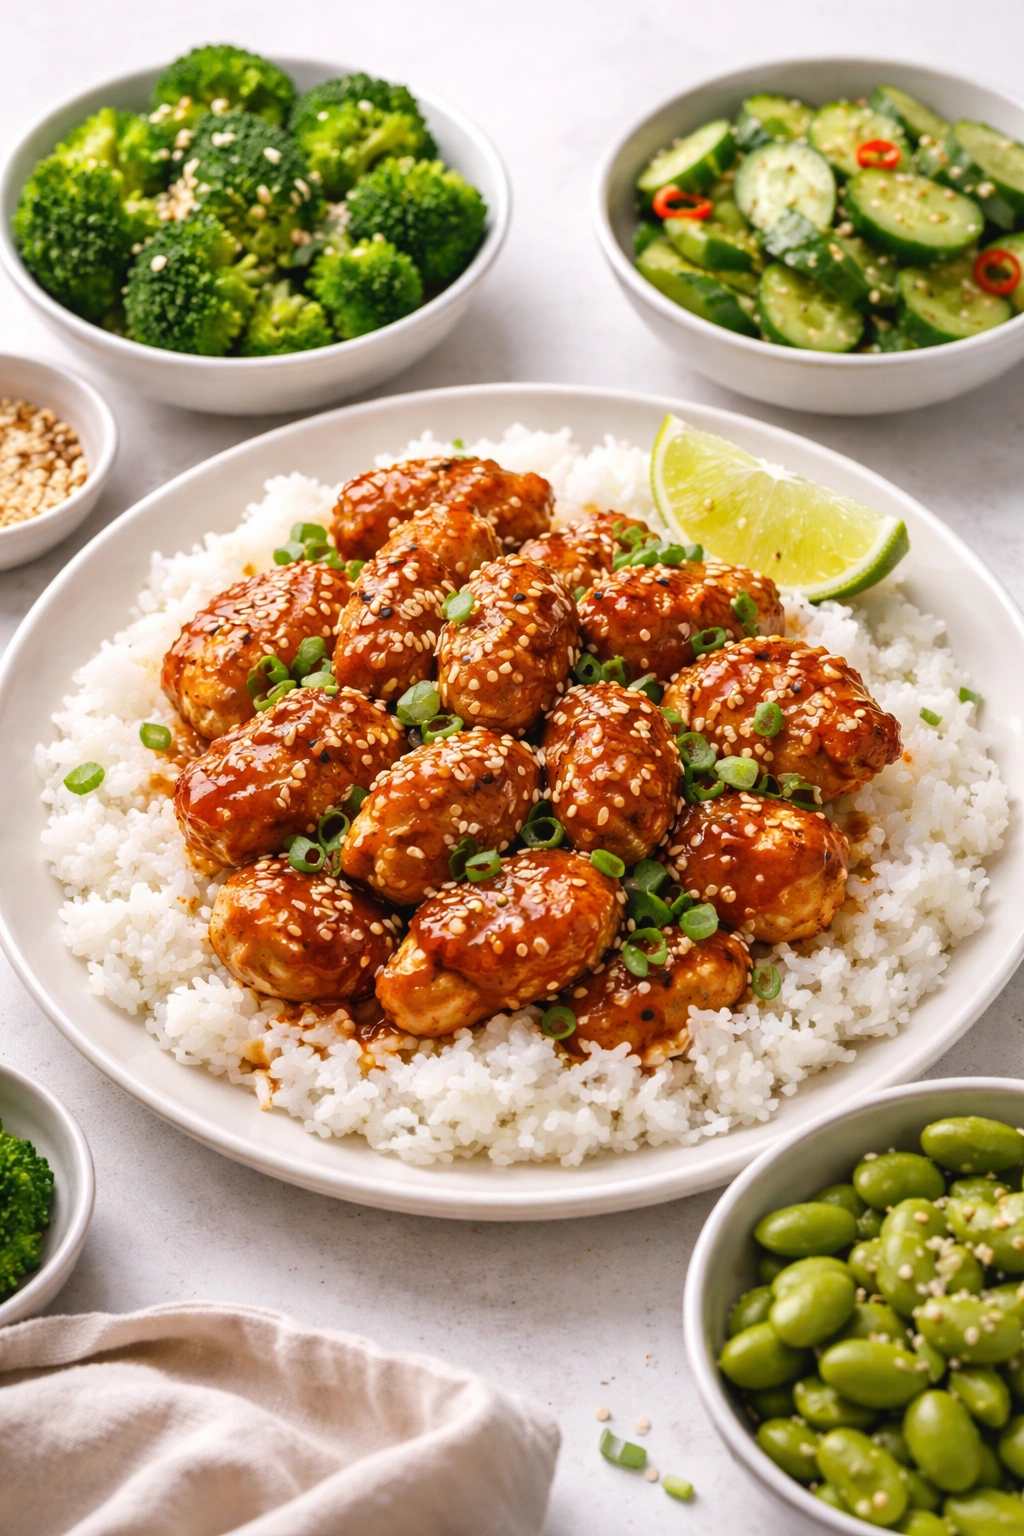
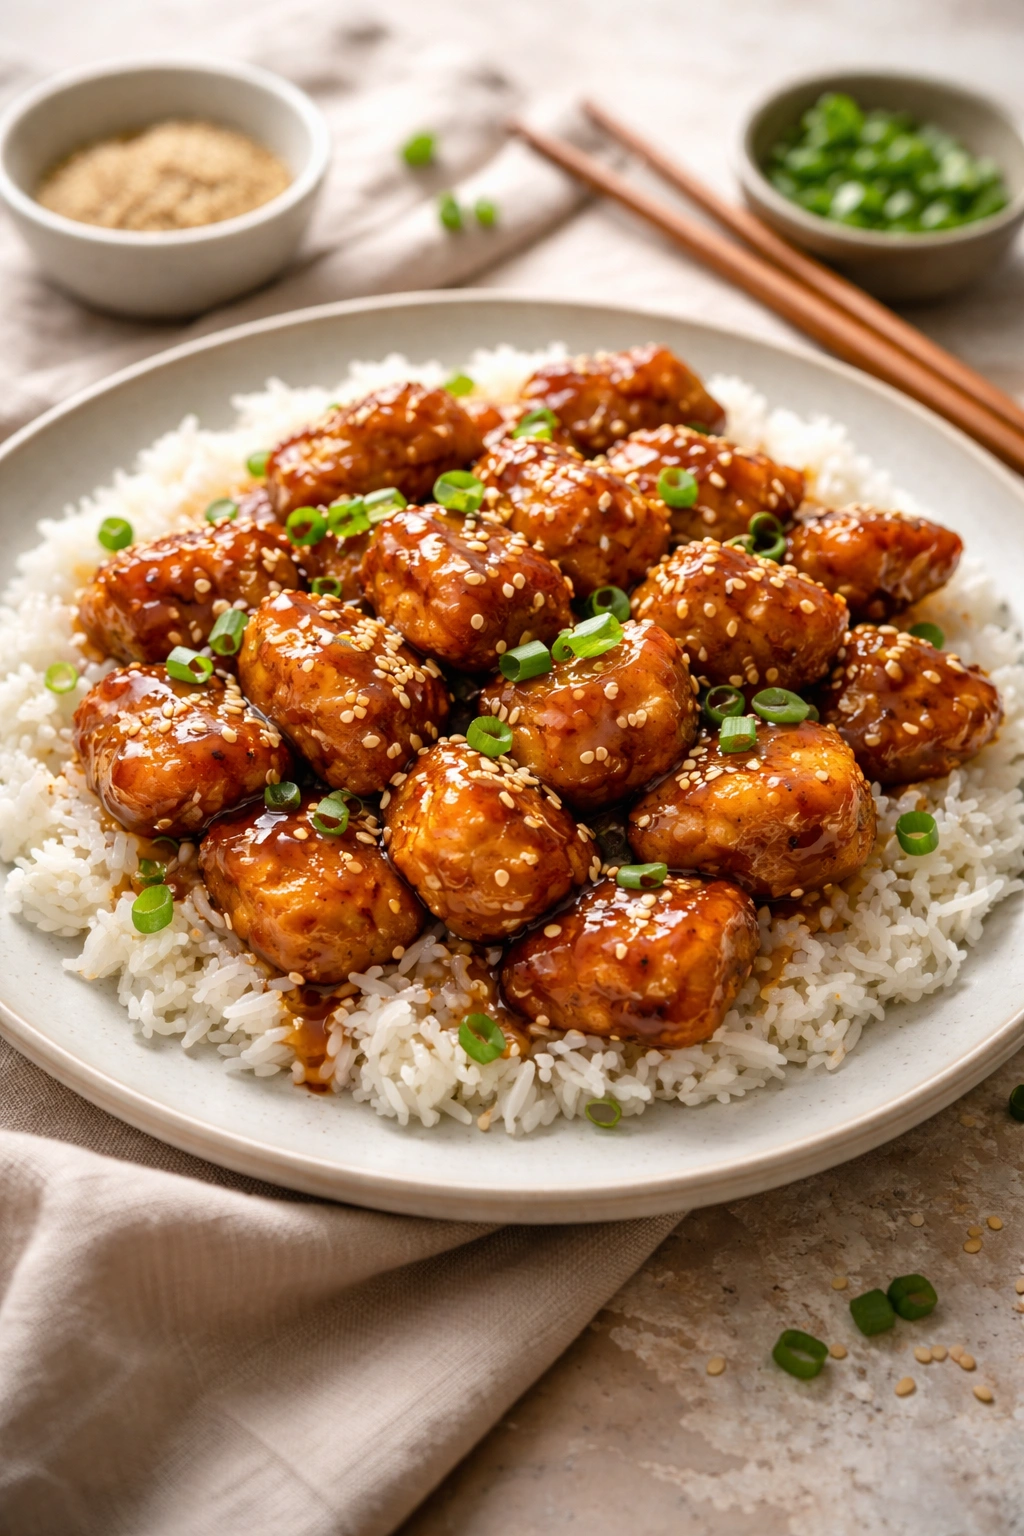
Transfer your chicken to a serving platter, scatter the toasted sesame seeds over the top, garnish with the green parts of the scallions and fresh cilantro if you’re using it, and serve immediately with lime wedges on the side.
Common Mistakes and How to Avoid Them

The most frequent mistake is starting with wet chicken. If your chicken is wet or damp when it hits the pan, the moisture will turn to steam and prevent the skin from crisping. Take the extra 30 seconds to dry it thoroughly. This is worth emphasizing because it makes the biggest difference in the final result.
Another common issue is overcrowding the pan. If you’re cooking more than 4 thighs, use a larger pan or cook in two batches. Crowding the pan lowers the temperature and creates steam instead of allowing the skin to crisp. Skin needs direct contact with hot oil to become crispy—that’s non-negotiable.
Using light sesame oil instead of dark sesame oil is a third mistake. Light sesame oil is mild and won’t give you that distinctive nutty sesame flavor you’re after. Dark sesame oil, made from toasted sesame seeds, is what you need. It’s more expensive per ounce, but you’re using it in small quantities, and the flavor difference is enormous. This ingredient is worth buying from a specialty section or an Asian market if your regular grocery store doesn’t carry quality versions.
Finishing with cold sauce instead of warm sauce is another miss. The sauce should go on the chicken while it’s still warm and slightly steaming—this helps it cling to the chicken and create that glossy, appealing finish. Cold sauce won’t coat properly and will slide off.
Finally, not tasting and adjusting the sauce is a common oversight. Every brand of soy sauce, every brand of honey, and every type of rice vinegar has slightly different intensity levels. What works perfectly in this recipe using one brand might need adjustment with another. Taste your sauce before serving and trust your instincts about whether it needs more salt, sweetness, or acidity.
Variations to Make It Your Own
The beauty of understanding this base recipe is that you can adapt it in countless ways. If you prefer heat, increase the red pepper flakes to ¾ teaspoon or add fresh sliced Thai chilies to the sauce. If you want to make it less sweet, reduce the honey to 1 tablespoon and add an extra tablespoon of rice vinegar for balance. If you want more umami depth, add ½ teaspoon of white miso paste to the sauce base.
For a vegetable version, you can cube tofu, press it, and coat it the exact same way as the chicken. Tofu won’t brown as dramatically as chicken skin, but it will develop a golden crust and absorb the sauce beautifully. Use extra-firm tofu and give it a bit more time in the initial sear—maybe 5-6 minutes per side.
If you want to incorporate vegetables directly into the dish, add diced bell peppers, broccoli florets, or snap peas during the sauce-finishing step. Toss them with the warm chicken and sauce so they warm through and absorb some of the flavors. This adds nutrition and makes the dish feel more substantial.
For a sweeter version that might appeal to kids, increase the honey to 3 tablespoons and reduce the soy sauce slightly. You’re creating a more dessert-like glaze, but you can do it without making the dish cloying.
You can also play with the sesame element itself. Black sesame seeds look stunning and have a slightly earthier flavor than white seeds. A mix of both creates visual interest. You could even add a drizzle of hot sesame oil right before serving for extra depth.
Scaling Up for Meal Prep or Feeding a Crowd
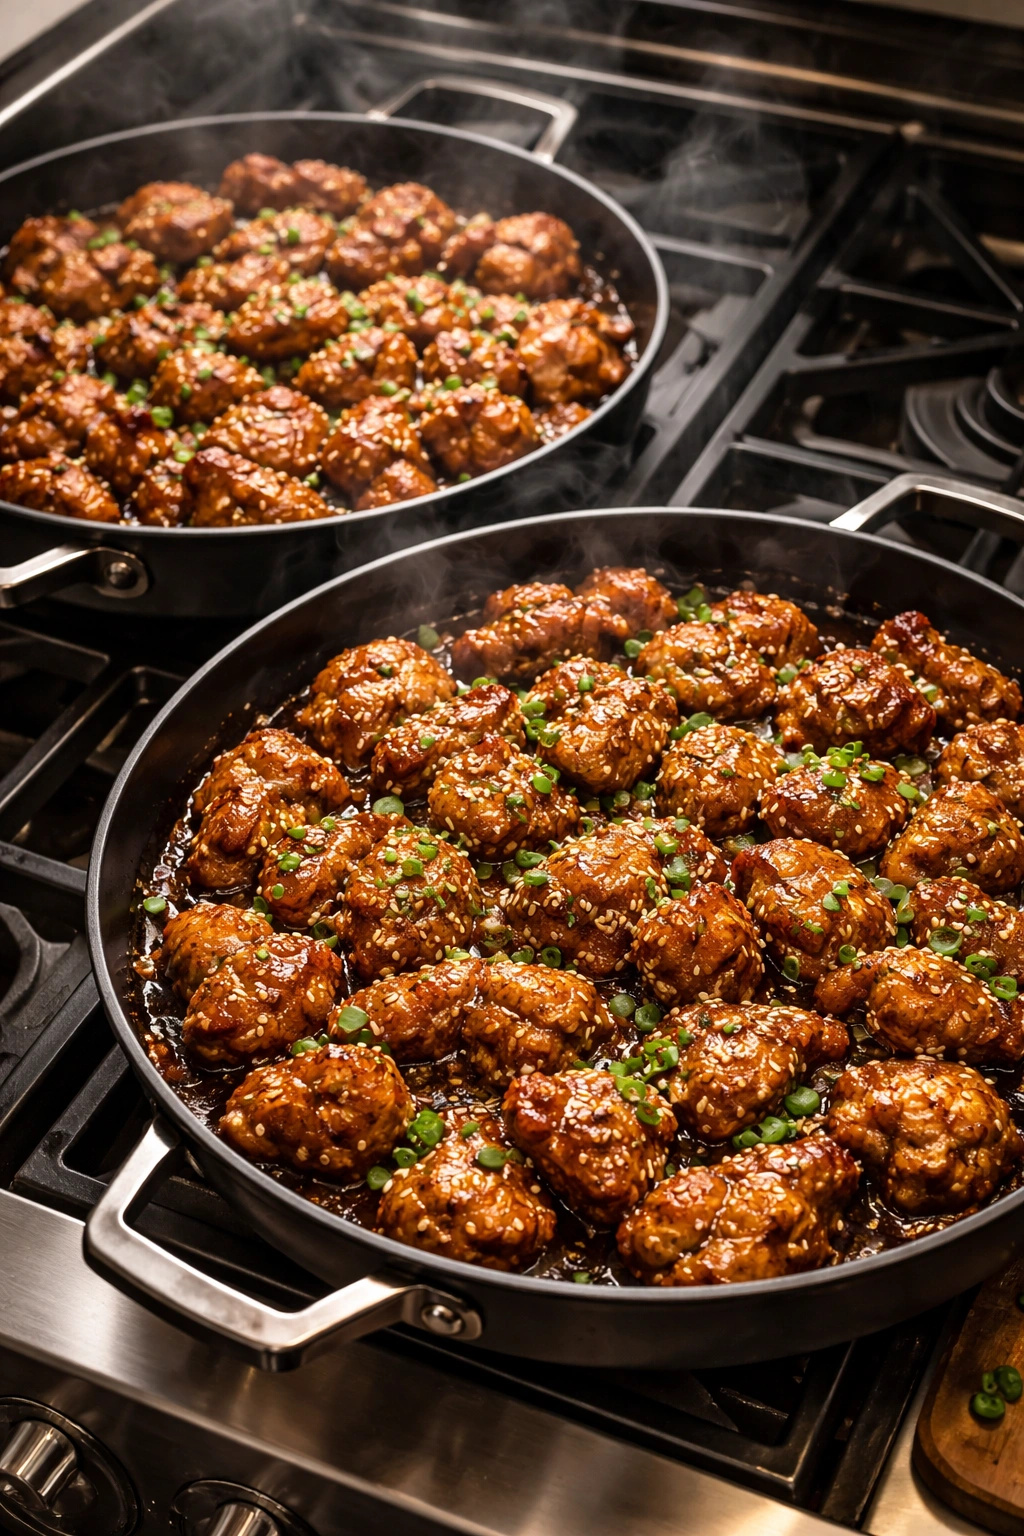
This recipe scales up beautifully if you’re cooking for a larger group or making multiple portions for the week ahead. If you’re doubling it, use two large skillets and divide your ingredients accordingly. Don’t try to cook 8 thighs in one pan—you’ll end up steaming them instead of searing them.
If you’re making enough for a week of lunches, you can cook all your chicken and sauce it on a Sunday, then portion it into containers for storage. The chicken stays tender when stored this way, though the skin will lose some of its crispness. If maintaining crispy skin is important to you, cook the chicken and sauce separately, then combine them when you’re ready to eat.
For a crowd, you can finish the chicken in the oven instead of on the stovetop. After the initial sear, transfer your chicken to a preheated 375°F (190°C) oven for 12-15 minutes until the internal temperature reaches 165°F (74°C). This frees up your stovetop and allows you to cook much larger quantities at once. Make the sauce separately on the stovetop, then toss the cooked chicken in the sauce just before serving.
Storage, Reheating, and Make-Ahead Tips
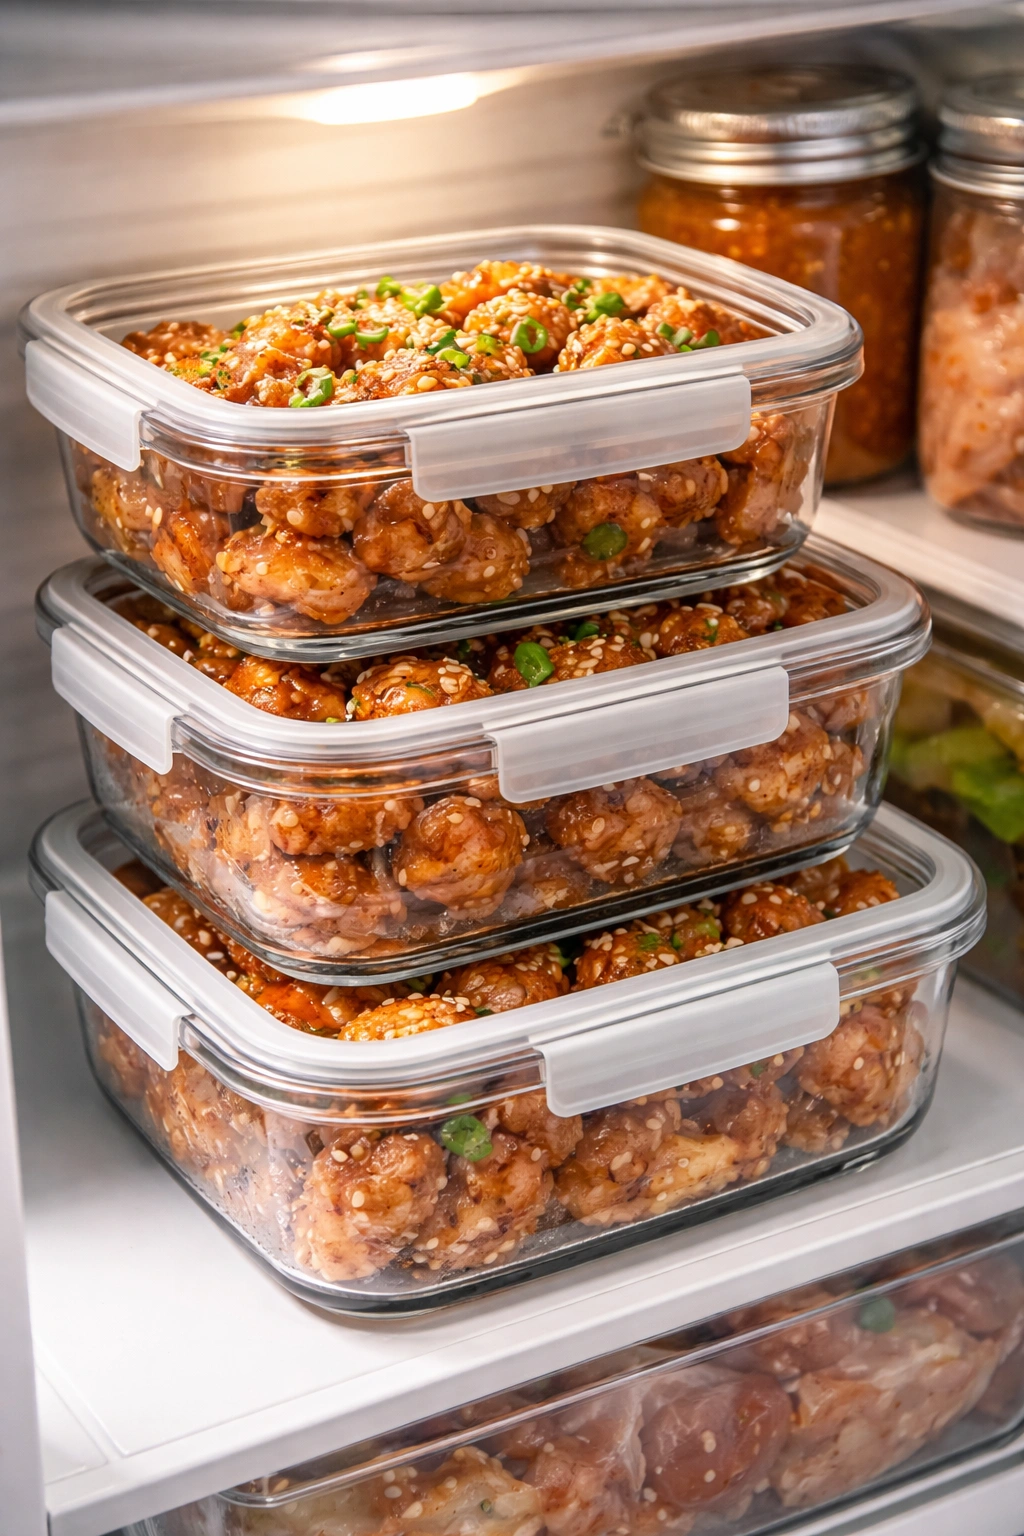
Cooked sesame chicken keeps well in the refrigerator for up to 4 days when stored in an airtight container. The chicken will continue to absorb the sauce flavors as it sits, which is nice—it actually tastes better on day two or three than it does immediately after cooking.
To reheat, place your chicken in a small oven-safe dish, cover it with foil, and warm it at 350°F (175°C) for about 8-10 minutes until it’s heated through. This method is gentler on the meat than microwaving, and it helps restore some of the crispness to the skin. If you’re using a microwave because you’re in a hurry, use 50% power for 1-2 minutes, checking halfway through, to avoid overheating the meat.
You can also freeze this dish successfully. Let the cooked chicken cool completely, then freeze it in an airtight container or freezer bag for up to 2 months. Thaw it overnight in the refrigerator, then reheat using the oven method above. The texture will be slightly softer than freshly cooked chicken, but the flavor remains excellent.
If you want to do more of the prep work in advance, you can marinate your chicken overnight in the refrigerator with just salt and pepper. You can also prep your garlic, ginger, and scallions the night before and store them in separate containers. This means that on the day you’re cooking, you’re really just searing the chicken and making the sauce—about 30 minutes of active work total.
Perfect Pairings and Serving Ideas
Sesame chicken is magnificently versatile when it comes to side dishes. The most traditional pairing is steamed white rice, which lets the sauce shine without competing flavors. If you want something more nutritious, serve it over brown rice, jasmine rice, or cauliflower rice. The tender chicken and glossy sauce work equally well with any of these bases.
For a lighter meal, serve it over quinoa or with a simple cucumber and tomato salad on the side. The acidity of the salad cuts through the richness of the sauce beautifully. A ginger-scallion noodle salad made with rice noodles or soba noodles is another excellent pairing—the noodles soak up extra sauce, and the fresh herbs and ginger echo the flavors in the chicken itself.
If you’re serving this for a special occasion, pair it with roasted bok choy or steamed broccoli to add color and nutrition to the plate. A fresh papaya salad or a simple green salad with a lime-ginger vinaigrette rounds out the meal nicely. For drinks, a crisp white wine like Sauvignon Blanc or a light beer complements the sesame flavors beautifully.
As a casual weeknight dinner, sesame chicken and rice with a quick stir-fried vegetable medley (whatever you have on hand—snap peas, carrots, mushrooms, zucchini) is hearty and satisfying. The lime wedges on the side let people brighten their own bowl to their preference, which is a nice touch.
You can also serve this cold the next day as part of a grain bowl or salad—it’s delicious with cucumber, avocado, radish, and a sesame-ginger dressing. The leftovers are actually one of the best parts of making this dish.
Final Thoughts
Making sesame chicken at home shifts your relationship with this dish entirely. Instead of being something you occasionally order and feel slightly guilty about, it becomes something you cook regularly knowing exactly what’s in it and how it’s made. You control the sweetness, the salt, the oil, the quality of every ingredient. The result is chicken that tastes better than most restaurant versions because it’s made with technique and care rather than designed to maximize cravability through sugar and salt overload.
Once you’ve made this recipe a few times, you’ll notice that the techniques—the dry-heat searing, the sauce-building, the layering of flavors—start becoming second nature. You’ll find yourself adjusting the proportions based on your taste preferences, experimenting with variations, maybe doubling the garlic because you love garlic, or adding your own favorite chili to bump up the heat. That’s when you know you’ve truly mastered a recipe: when you can confidently adapt it to suit yourself.
The best part is that this is genuinely quick weeknight cooking. Thirty minutes from start to finish is realistic, which means you can make this on Tuesday night without any special planning. Pair it with rice that you’ve cooked in a rice cooker or while the chicken cooks, and you’ve got dinner on the table in the time it would take to drive to a restaurant and pick up takeout. Plus, you’ve got leftovers that are actually better the next day, and you’ve avoided the food-coma feeling that often follows restaurant sesame chicken.