Ham is one of those meals that feels simultaneously special and effortless—a centerpiece that doesn’t demand constant attention, feeds a crowd with minimal fuss, and somehow tastes even better than people remember. Whether you’re hosting Easter dinner, gathering for Christmas, or simply want a crowd-pleasing main course that lets you spend time with guests instead of being chained to the kitchen, ham delivers on all fronts. The trick isn’t complicated techniques or rare ingredients. It’s understanding the fundamentals: which type of ham works best for your crowd, the right temperature to hit, and how to add flavor without overcooking the meat.
The beauty of cooking ham is that almost all the work is already done before you bring it home. Most hams sold in supermarkets and butcher shops are pre-cooked, cured, or smoked, which means you’re essentially heating through and adding a glaze rather than cooking meat from raw. This fundamental fact changes everything about the process. You can’t accidentally undercook it. You won’t end up with dry, stringy meat if you follow basic moisture guidelines. Instead, you’re working with a forgiving protein that becomes more delicious the more attention you give it.
That said, there’s a world of difference between a ham that’s merely warmed through and a ham that’s genuinely delicious—moist enough that it practically melts on the tongue, with a caramelized exterior that adds textural contrast and visual appeal. Hitting that mark consistently requires knowing your ham’s size and type, understanding the temperature targets that matter, and mastering a few simple techniques that make the difference between ordinary and unforgettable.
Understanding the Types of Ham Available
The ham section at your grocery store likely shows several options, and not all of them are the same. The most dramatic difference separates bone-in ham from boneless ham, and it’s worth understanding what you’re choosing before you buy.
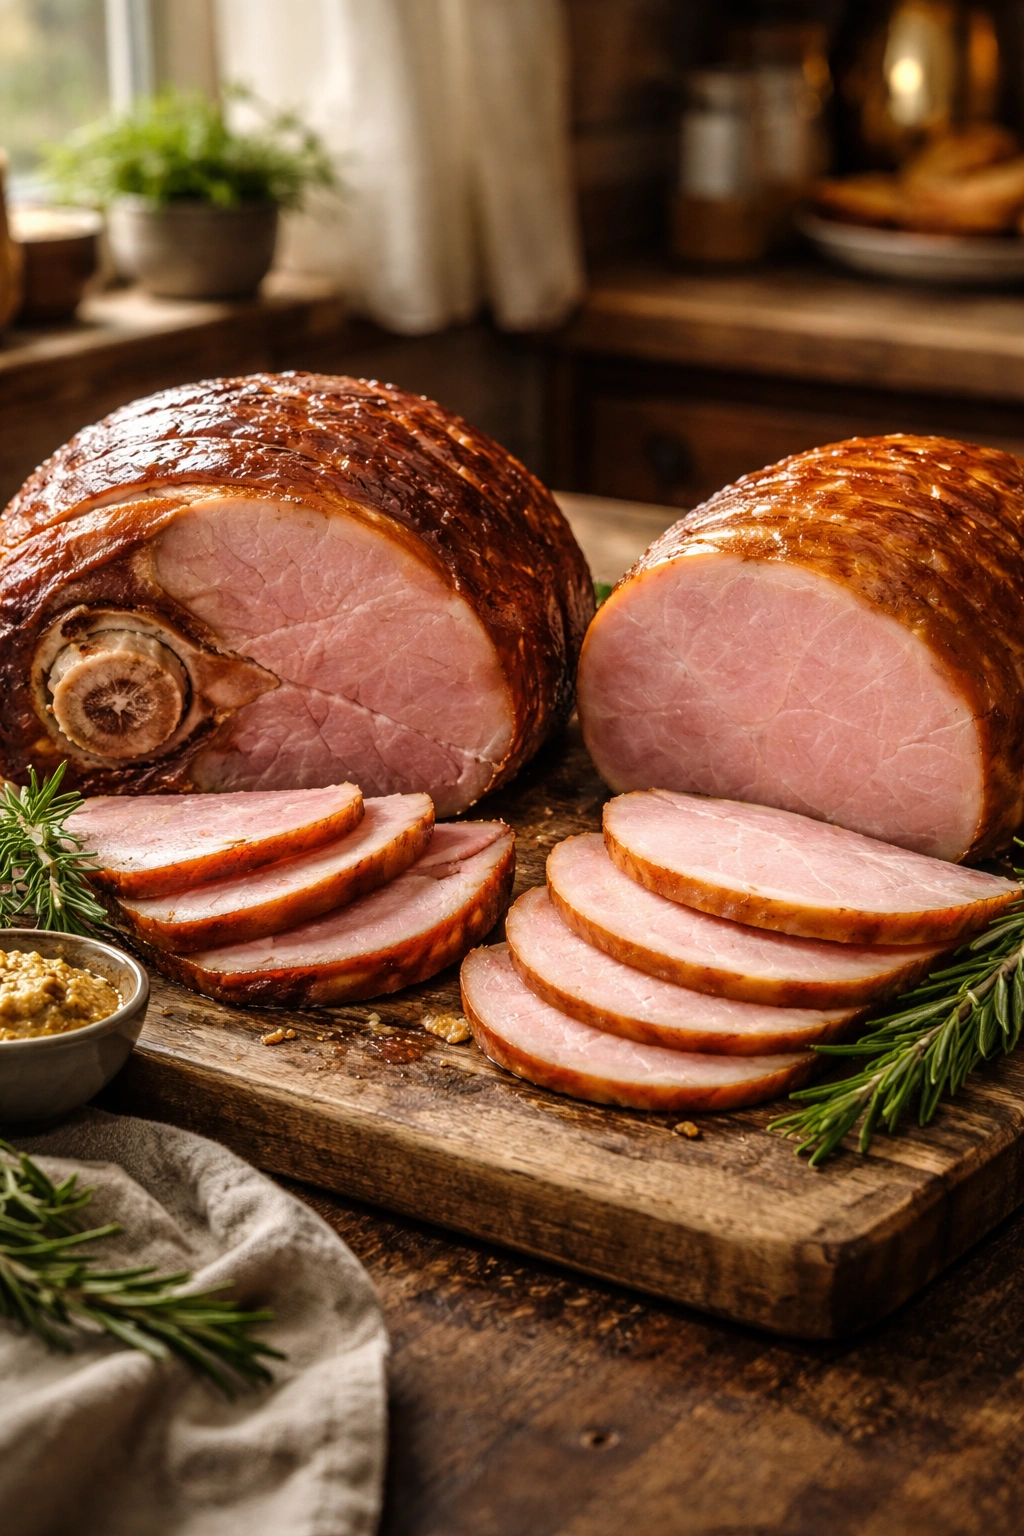
Bone-in hams come in two cuts: the shank end and the rump end. The shank end includes the knobby leg bone and tends to have less usable meat relative to its weight, but many people prefer its flavor and traditional appearance. The rump end has more meat and fewer bones, making it easier to carve and yielding more servings from a similar weight. A bone-in ham produces deeper, more complex flavor because the bone contributes to the cooking liquid and infuses the meat with umami richness.
Boneless ham is typically pieces of leg meat pressed together and wrapped in a casing, much like enormous ham deli meat. It cooks faster because of its denser structure and uniform thickness, and it’s dramatically easier to slice since there’s no bone to navigate around. If you’re hosting for the first time or consider yourself a beginner cook, boneless ham removes significant stress from the process. It’s nearly impossible to carve incorrectly, and the smaller size means quicker cooking times.
Spiral-cut ham deserves its own mention because it’s become increasingly popular. The bone is intact, but the meat is already sliced along the bone at regular intervals, making carving as simple as separating the pre-cut sections. This option gives you the flavor advantage of bone-in ham with much of the ease of boneless. Many people find spiral-cut ham represents the best compromise between taste and convenience.
Beyond the cut, you’ll see labels describing the ham’s preparation: “fully cooked,” “cook before eating,” “smoked,” or “honey-glazed.” A fully cooked ham needs only to be heated through to a safe temperature, making it the most forgiving option. “Cook before eating” ham is rarer in supermarkets but requires reaching a higher internal temperature. Read your package label carefully because this detail determines your cooking time and temperature targets.
How Much Ham to Buy for Your Crowd
Calculating portion size prevents the frustrating scenario where you run out halfway through dinner or end up with overwhelming leftovers. The rule of thumb varies slightly depending on your ham type and whether you want leftovers to work with during the days that follow.
For bone-in ham, plan on ¾ pound per person if you want to serve everyone adequately. A 12-pound bone-in ham feeds roughly 16 people. If you want generous portions or you’re planning to use leftovers for sandwiches, ham soup, and other dishes, bump that calculation to 1 pound per person.
Boneless ham is more efficient because there’s no waste. Budget ⅓ to ½ pound per person depending on appetites and your leftover plans. A 5-pound boneless ham serves about 10-15 people comfortably, depending on whether it’s the only protein on the table or one of several dishes.
Consider your menu when making this decision. If you’re serving ham as the star with generous side dishes, people tend to eat smaller portions of the meat itself. If ham is your main focus with lighter sides, or if you’re serving people who especially love ham, account for heartier appetites.
The Essential Equipment You’ll Need
You don’t need specialty tools or equipment to cook excellent ham. A few basics make the process dramatically easier and more successful.
A roasting pan is essential—something large enough to accommodate your ham with at least 2 inches of clearance on all sides. The pan needs to be sturdy enough to handle the weight of the ham plus liquid without warping. A 9×13-inch baking dish works for smaller boneless hams; larger ham requires something bigger.
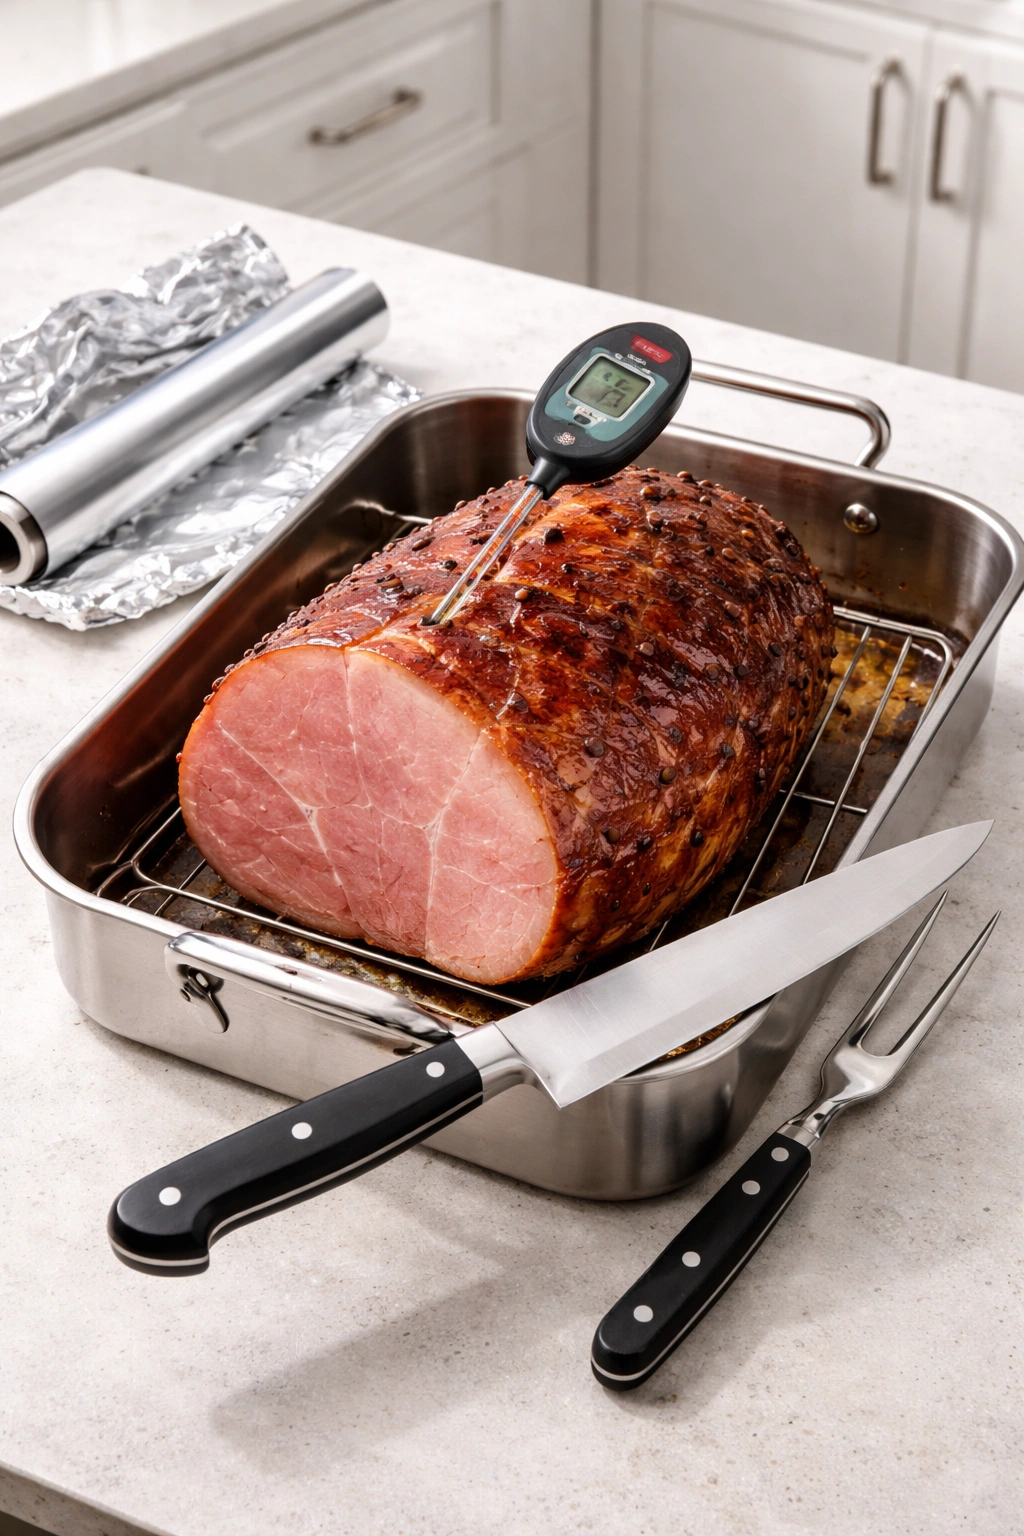
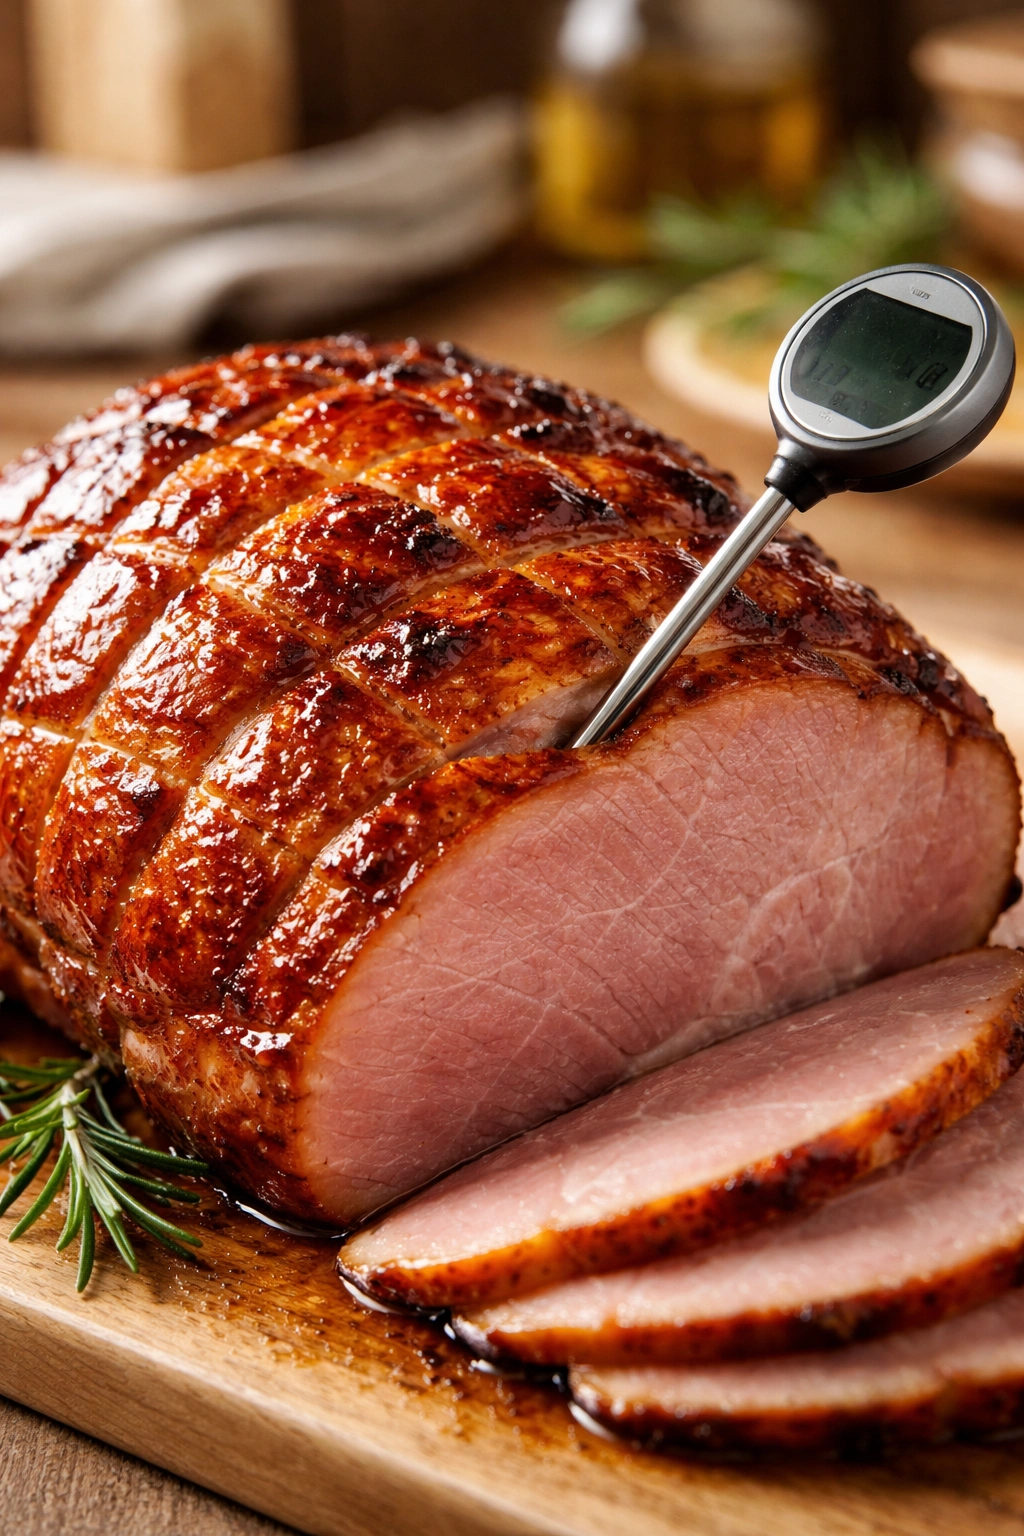
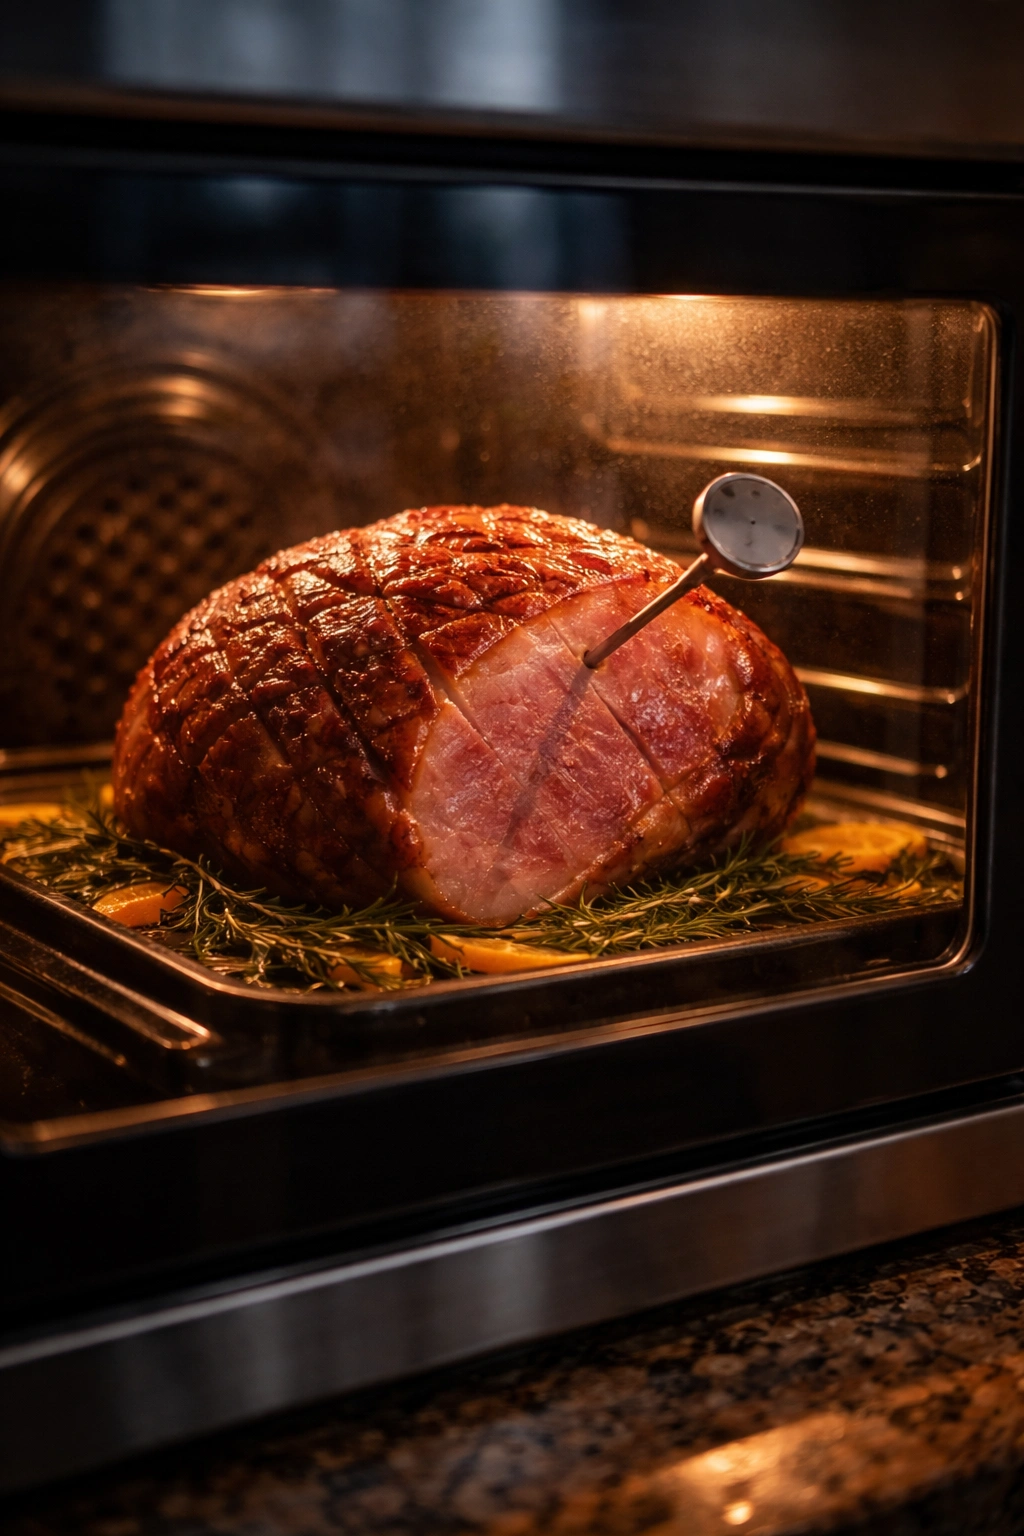
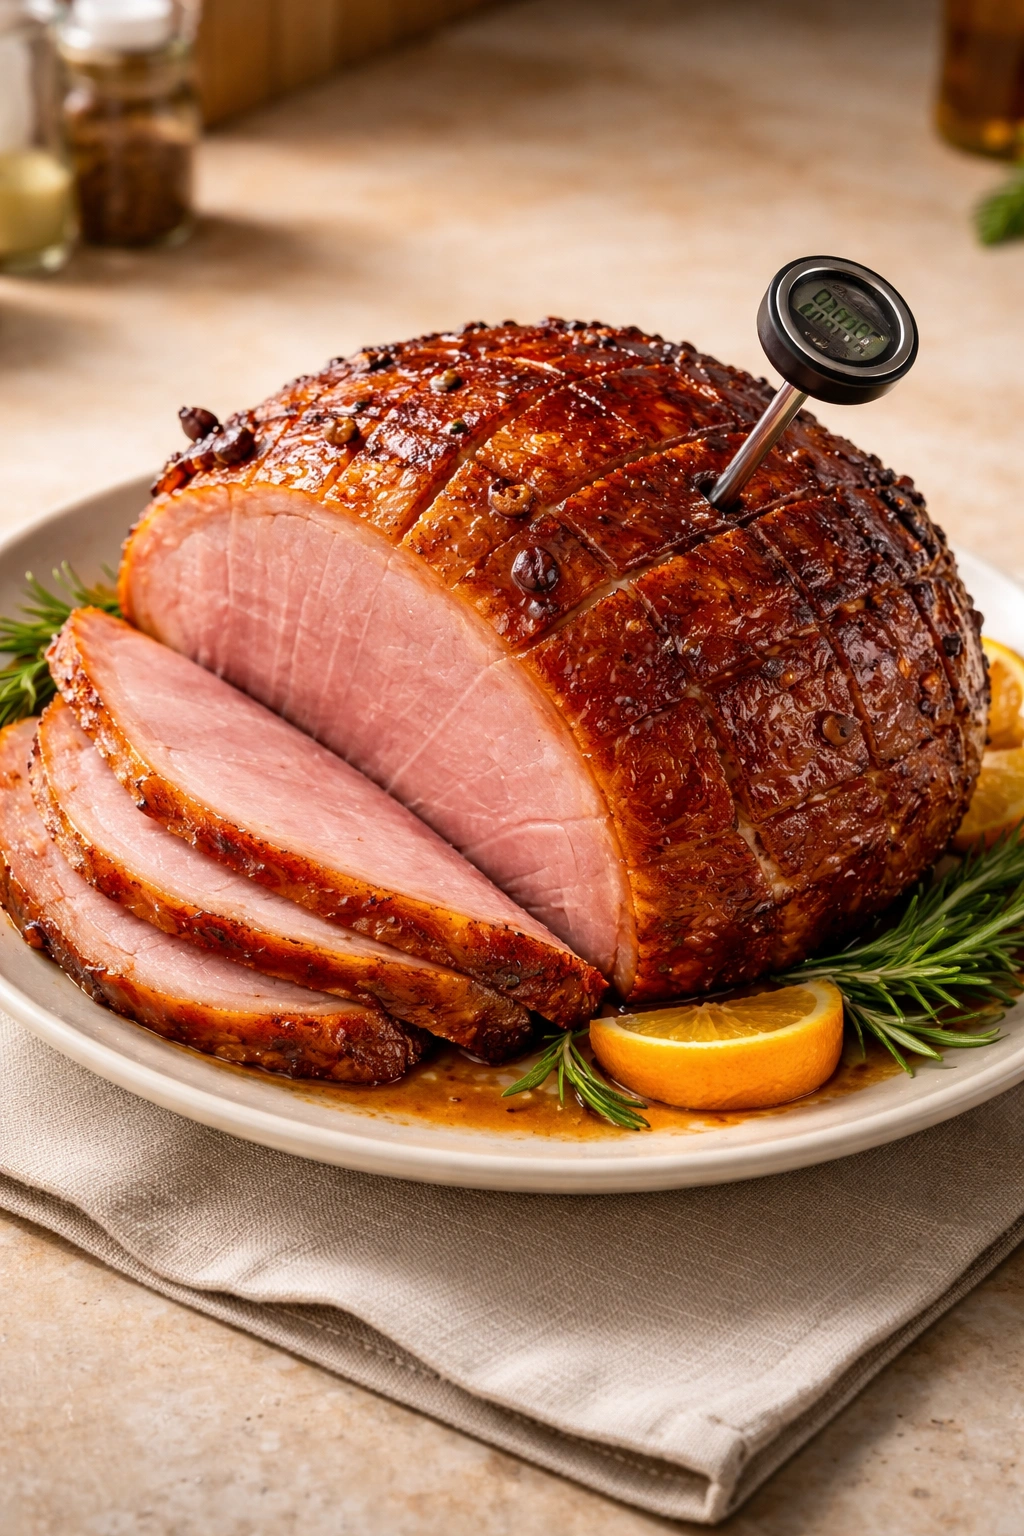
An instant-read meat thermometer is genuinely one of the best investments you can make for any meat cooking, ham included. Insert it horizontally into the thickest part of the ham, avoiding the bone, and you’ll know precisely when you’ve reached the target temperature. This removes guesswork and prevents overcooking. Thermometers cost less than $15 and last for years.
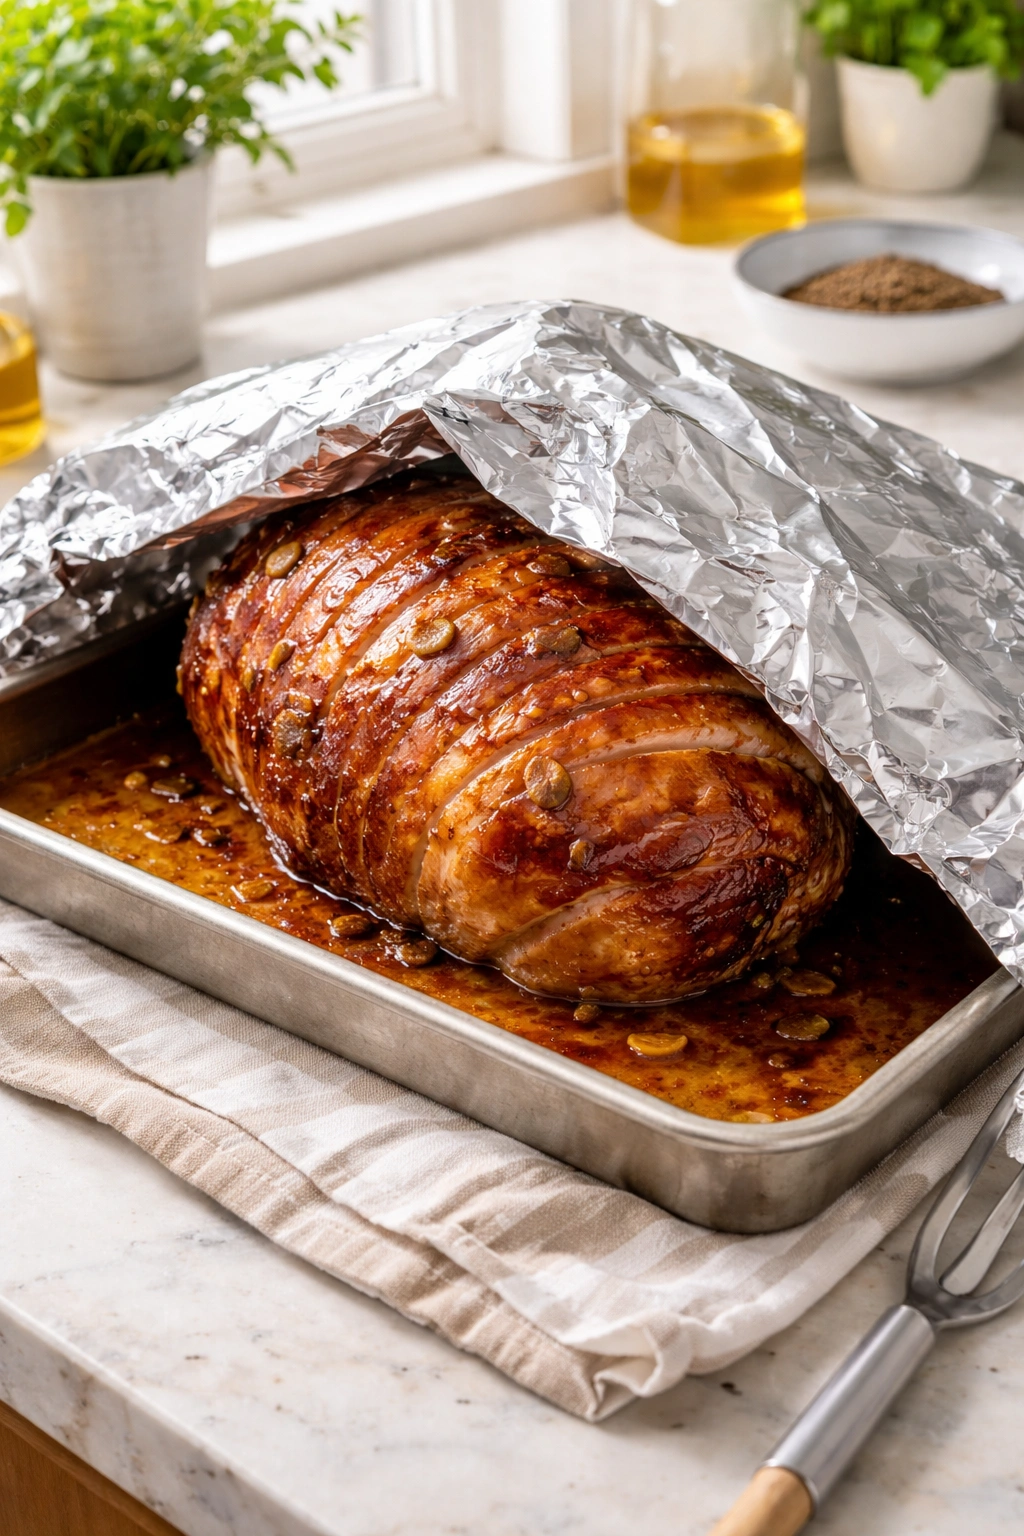
Aluminum foil matters more than you’d think. You’ll use it to cover the ham and retain moisture as it cooks. Using a tent of foil rather than sealing it completely allows steam to circulate without the meat drying out.
A sharp carving knife (at least 8 inches long) and a carving fork make slicing and serving substantially easier, especially with bone-in ham. You don’t need fancy equipment, but a dull knife will tear the meat frustratingly and make carving unpleasant for everyone watching.
Preparing Your Ham Before Cooking
The preparation steps take just minutes but influence how evenly your ham cooks and how well seasonings adhere to the surface.
Remove the ham from refrigeration and let it sit at room temperature for about an hour before cooking. This isn’t strictly necessary—frozen or cold ham will cook fine, just slightly longer—but room temperature ham cooks more evenly and comes to the target temperature more predictably. If you’re short on time, skip this step; the cooking time will simply extend by 20-30 minutes.
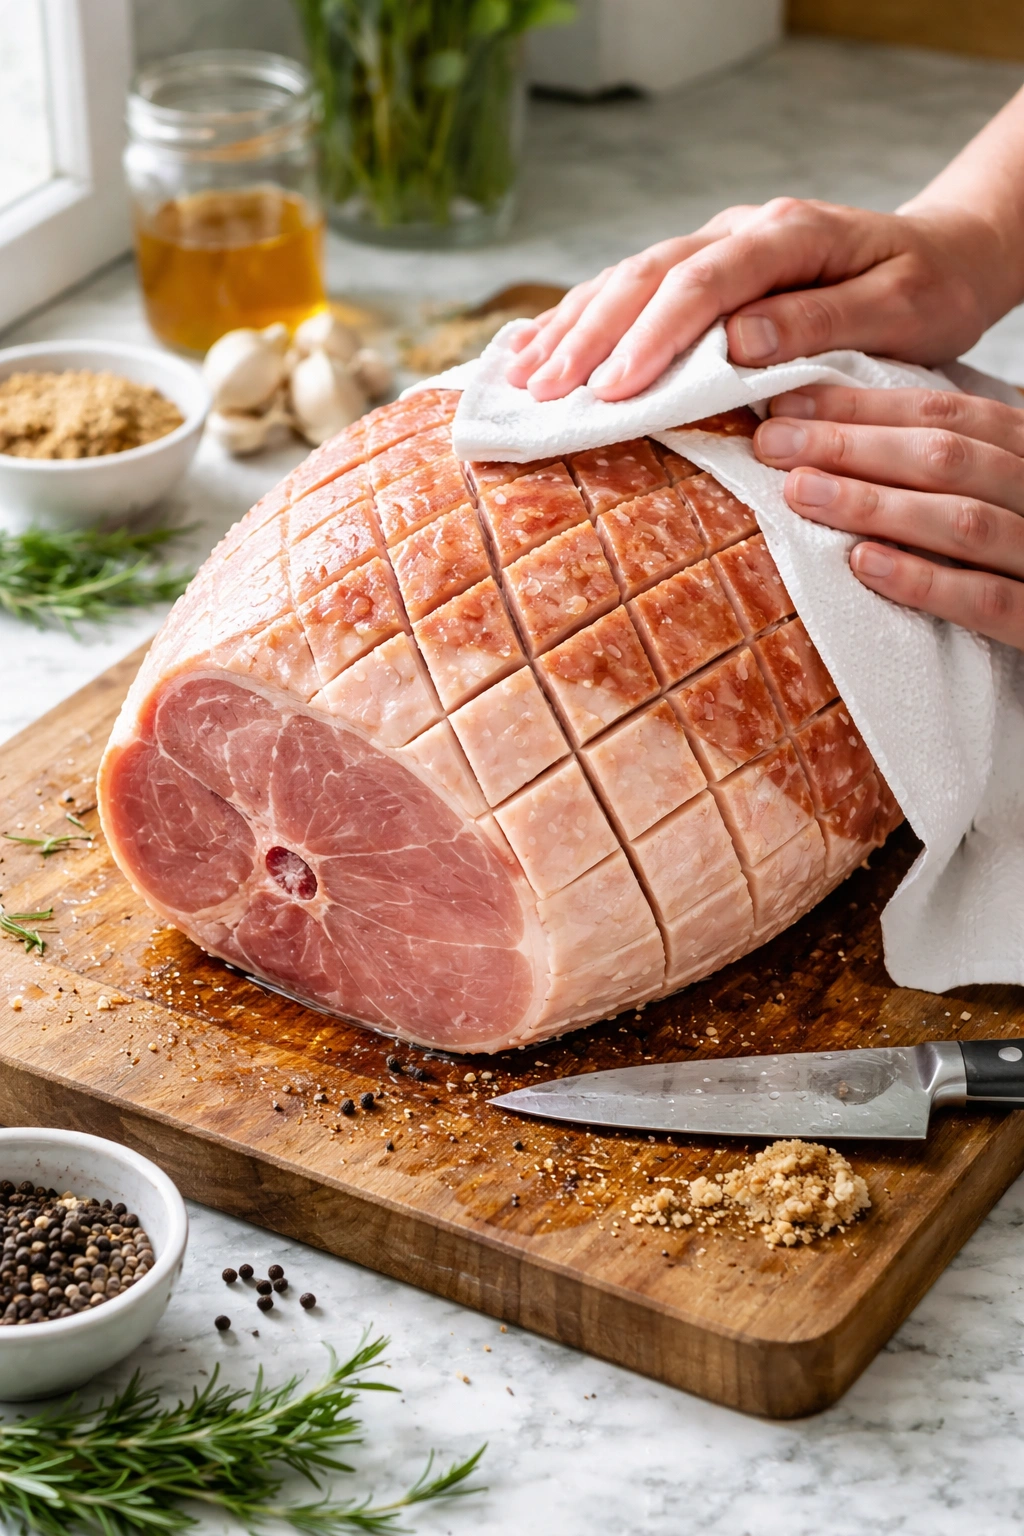
Rinse the entire ham under cool running water and pat it thoroughly dry with paper towels. This removes excess salt from the exterior and gives you a clean surface for seasonings or glazes to adhere to.
Trim away excess outer fat if it’s thicker than about ¼ inch, using a sharp knife to score it in a crosshatch pattern if you’re planning to add a glaze. This scoring helps seasonings penetrate and allows caramelization to happen more effectively. If your ham has a plastic covering over the bone, remove and discard it before cooking.
Choosing Between Baking, Slow Cooking, and Boiling
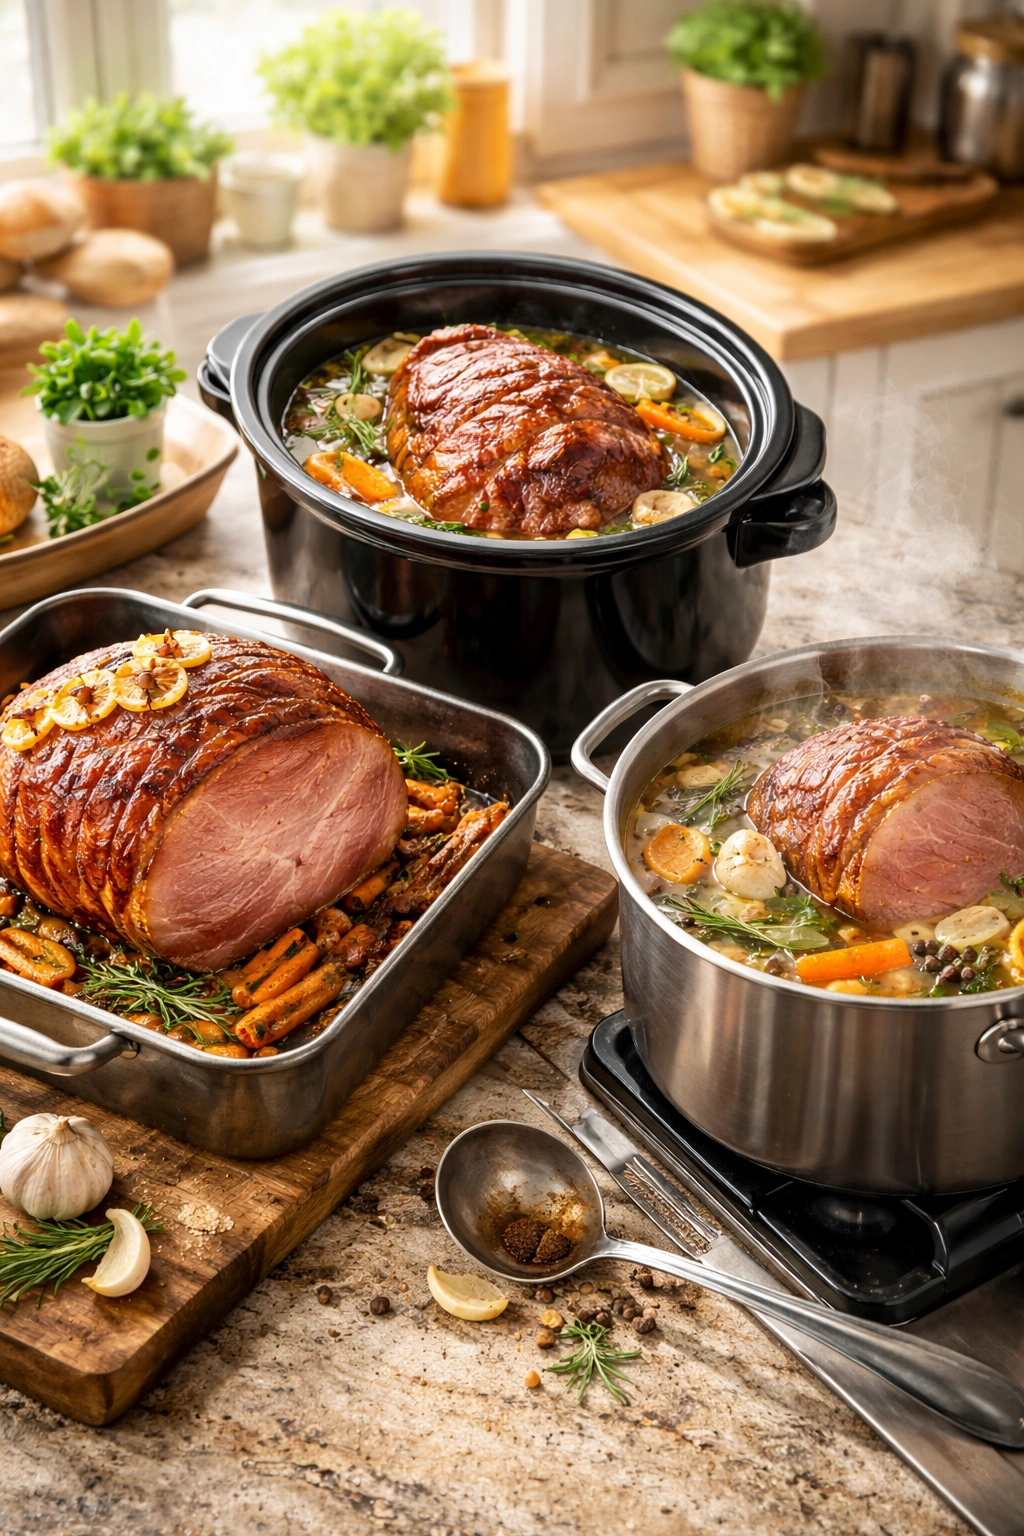
The cooking method you choose influences both the flavor profile and how much of your oven space the ham occupies. Each approach has genuine advantages depending on your situation.
Oven baking produces the most traditional result—a caramelized exterior with a golden glaze and a moist interior. This is the method most recipes describe and most people default to. It’s reliable, produces excellent results, and gives you maximum control over flavor through glazing and basting.
Slow cooker ham is genuinely hands-off magic. You place the ham in your slow cooker with liquid and seasonings, cover it, and walk away for 4-8 hours depending on size. This method frees up your oven entirely for side dishes and produces tender, flavorful meat. The downside is that you won’t get a caramelized exterior unless you quickly finish it under the broiler at the end. Slow-cooked ham tends to look paler and less visually dramatic than oven-baked ham, though the flavor is every bit as good.
Boiling is less common in American cooking but produces incredibly tender, moist meat. You submerge the ham in water and simmer it, creating a flavorful cooking liquid perfect for making soup afterward. The meat becomes almost impossibly tender, but without an additional baking or glazing step, boiled ham won’t have the caramelized crust that makes oven-baked ham so visually appealing.
Temperature Targets That Matter
Getting the temperature right is the single most important factor in preventing overcooked ham. Unlike poultry or pork chops, ham is already fully cooked when you buy it, so you’re not aiming for food safety—you’re aiming for optimal juiciness and texture.
Fully cooked ham should reach an internal temperature of 140°F (60°C). At this temperature, the meat is heated through and the glaze (if you’re using one) has had time to caramelize. This is a gentler target than many home cooks expect. If your ham reaches 160°F, it’s likely to be slightly drier than ideal because the proteins have tightened further.
“Cook before eating” ham (uncommon but occasionally available) requires reaching 160°F (71°C) for safety.
Use your instant-read thermometer by inserting it horizontally into the thickest part of the ham, making sure it’s not touching bone, which conducts heat differently than meat. If your ham is spiral-cut with the bone running through the center, measure temperature at a spot between the bone and the outer edge.
Check the temperature about halfway through the expected cooking time, then again every 15-20 minutes near the end. This prevents overshooting the target temperature.
Calculating Accurate Cooking Times

Cooking time varies based on the ham’s weight, cut, and whether it started at room temperature or straight from the fridge. These guidelines give you a starting point—use a meat thermometer as your final authority on doneness.
Bone-in ham: 18-20 minutes per pound at 325°F. A 12-pound bone-in ham typically takes 3.5 to 4 hours. A 8-pound ham takes roughly 2.5 to 3 hours.
Boneless ham: 20 minutes per pound at 325°F, so a 5-pound boneless ham needs about 1.5 to 1 hour 45 minutes.
Spiral-cut ham: Similar to bone-in because the bone is intact—18-20 minutes per pound.
If your ham came directly from the refrigerator without sitting at room temperature, add 20-30 minutes to these estimates. If you’re cooking at a higher temperature like 350°F, reduce the time by about 15-20%.
These are guidelines, not guarantees. Oven temperatures vary, and individual hams cook at different rates depending on shape and density. A meat thermometer tells you the actual truth about doneness.
The Master Technique for Moist, Tender Ham
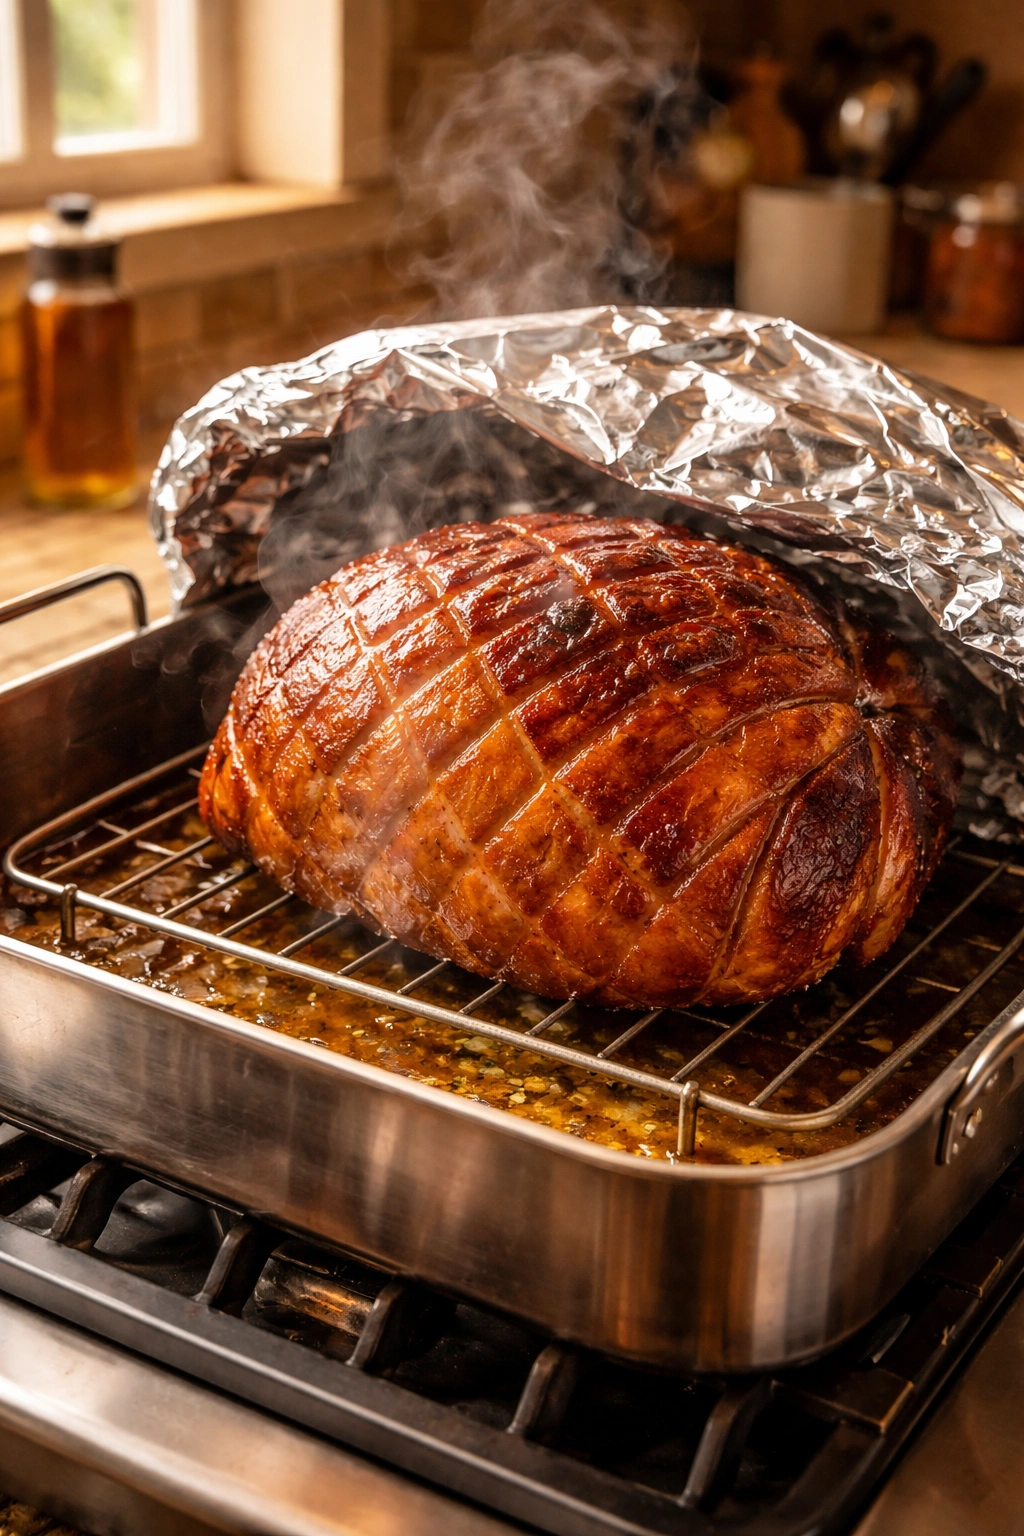
The most important technique for preventing dry ham is moisture retention through steaming. Here’s how to do it right:
Place your ham on a roasting rack inside your roasting pan, cut-side down. This elevates it slightly so steam circulates underneath. Pour 1 inch of water (or apple juice, apple cider, or stock) into the bottom of the pan. This liquid is crucial—it creates steam that keeps the meat juicy as it heats.
Cover the ham loosely with aluminum foil, tenting it rather than sealing it completely. You want steam to circulate but not escape too rapidly. Press the foil gently around the edges without crimping it tight.
Place the pan on the lower rack of your oven (the lower position ensures more even heating from below). Set your oven to 325°F and begin timing.
Do not open the oven door repeatedly to check on things. Every time you open it, heat and steam escape, extending the cooking time. Check progress with your meat thermometer near the end of the expected cooking time, then check again every 15-20 minutes until it reaches 140°F.
If you’re adding a glaze, typically you’ll brush it on during the last 30-45 minutes of cooking. If your glaze contains sugar (brown sugar, honey, maple syrup), add it late in cooking so it caramelizes without burning. Many recipes suggest basting every 15 minutes during this final phase.
Creating a Glaze That Makes People Ask for the Recipe
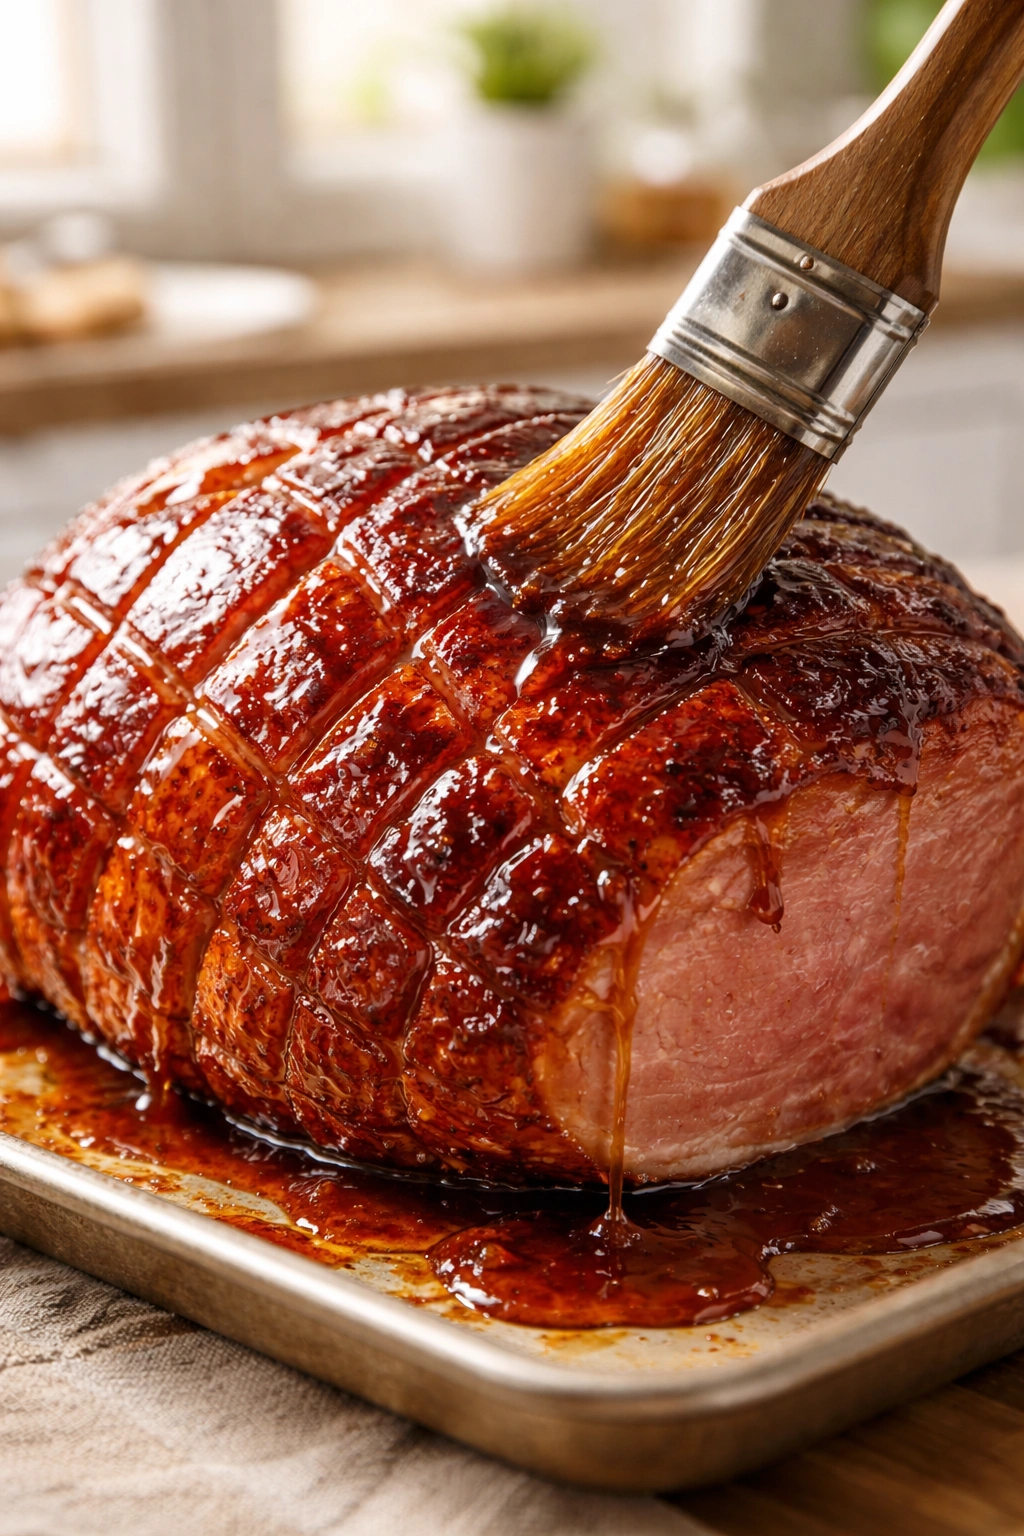
A glaze transforms ham from good to memorable. The best glazes balance sweetness with something savory, acidic, or spiced so they don’t become cloying.
The simplest approach is a brown sugar glaze: mix ½ cup brown sugar with 2-3 tablespoons mustard (yellow, Dijon, or whole grain all work), a splash of pineapple juice or apple juice, and optional spices like ground cloves or ginger. The mustard adds savory depth that prevents the glaze from tasting one-dimensional. Brush this over the ham starting 30-45 minutes before it’s done, reapplying every 15 minutes. The sugar will caramelize and create a gorgeous mahogany crust.
A honey and citrus glaze uses honey as the sweetener with fresh orange or lemon juice for brightness and a tiny pinch of spice. Honey browns beautifully and creates a glossy, professional-looking finish.
A pineapple glaze is traditional—combine pineapple juice with brown sugar and mustard, simmering until it thickens slightly before brushing onto the ham. Some recipes suggest topping the ham with pineapple rings and maraschino cherries before glazing for the classic presentation.
For those who prefer less sweetness, a mustard-based glaze lets the ham’s natural saltiness shine through. Combine Dijon mustard with a touch of honey, a squeeze of fresh orange juice, and perhaps a pinch of ground cloves.
The key to effective glazing is applying it in stages rather than dumping it all on at once. Brush a layer on, return the ham to the oven for 10-15 minutes, then repeat. This allows each layer to caramelize, building complexity and a glossy, professional-looking crust.
If your glaze contains sugar and begins darkening too quickly, tent the ham loosely with foil to slow the browning while the inside finishes cooking.
Scoring and Seasoning the Surface
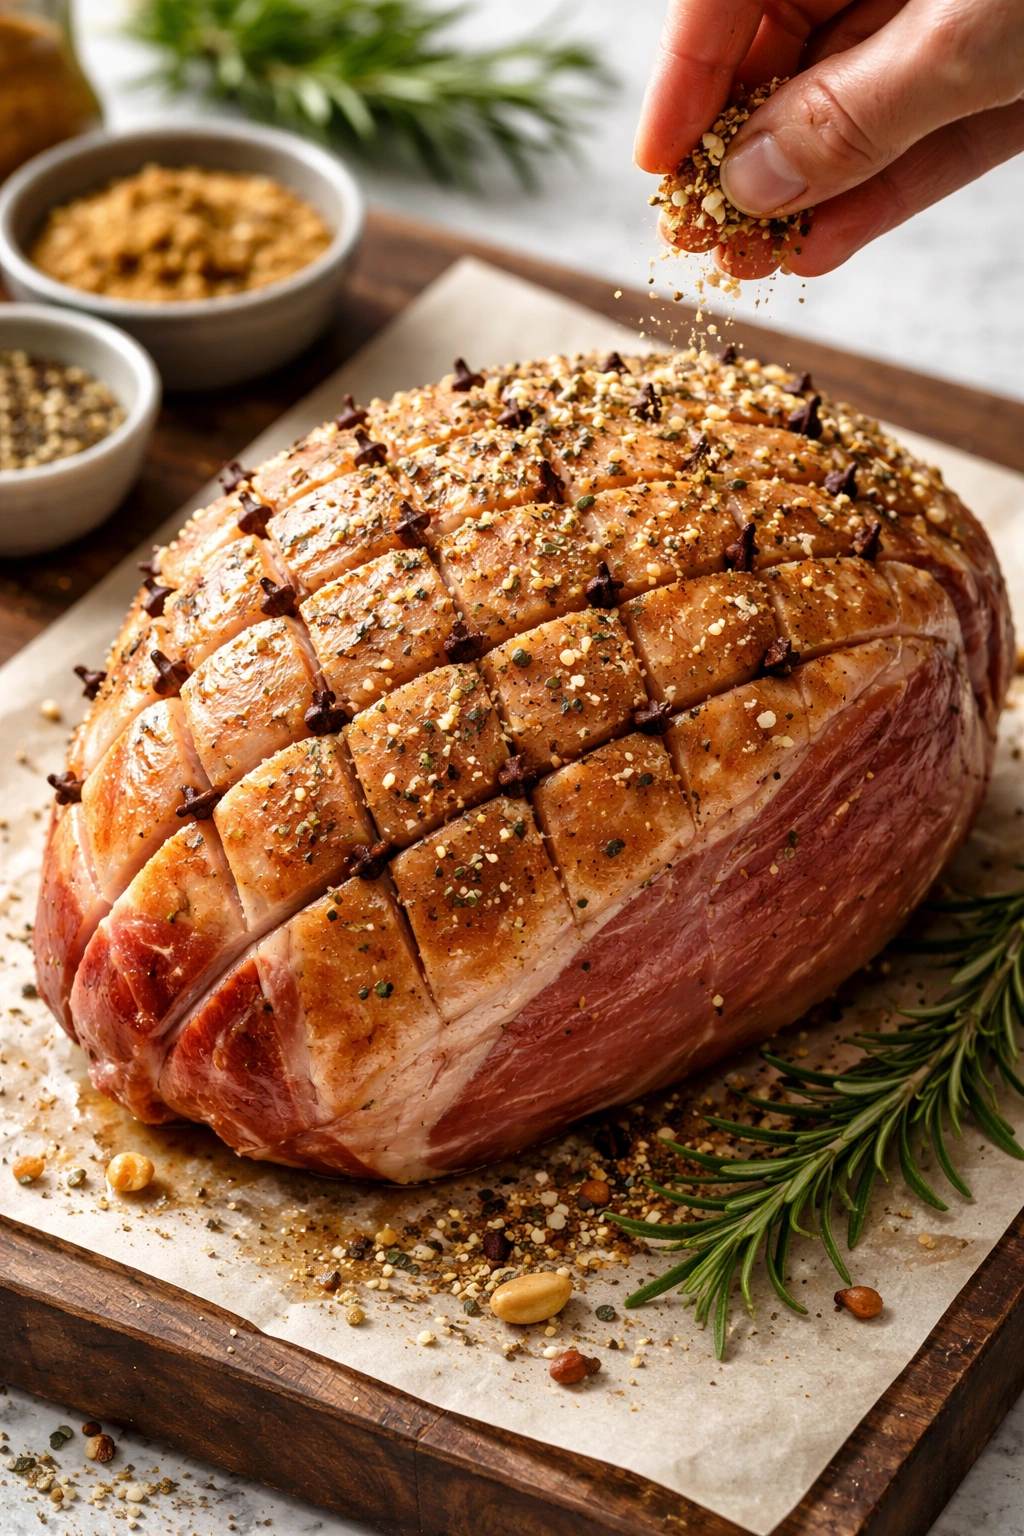
Scoring—cutting a crosshatch pattern into the fat layer—serves both practical and aesthetic purposes. It allows seasonings to penetrate deeper, provides more surface area for glazes to stick to, and creates visual appeal.
Using a sharp knife, score the top and sides of the ham in a diagonal crosshatch pattern, cutting about ¼ inch deep. You’re cutting through the outer fat layer but not into the meat itself. Space the lines about 1 inch apart. This is purely optional—you’ll get excellent results without it—but it’s the mark of intentional, careful cooking.
You can insert whole cloves into the intersections of the scores for traditional flavor. Cloves add warmth and subtle spice that complements ham beautifully. Press them in gently but firmly so they don’t fall out during cooking.
If you’re not using a glaze, season the surface with a rub: mix brown sugar, dry mustard, ground ginger, black pepper, and a pinch of salt, then massage this mixture over the scored surface before cooking.
Monitoring Progress Without Opening the Door
Resisting the urge to constantly peek at your ham is one of the hardest parts of the process. Every time you open the oven, you disrupt the steaming environment you’ve worked to create.
Instead, rely on your meat thermometer. Insert it about 45 minutes into the expected cooking time. If you’re nowhere near 140°F, you know you have plenty of time and can close the door again. Check again every 20-30 minutes after that, moving the thermometer to different spots as you check so you’re getting accurate readings from the thickest parts.
If you notice the glaze is browning too quickly while the inside still needs time, loosely tent the ham with foil to slow the exterior browning while the interior finishes heating.
What to Do When Something Seems Off
Sometimes cooking doesn’t follow the script exactly. Here’s how to troubleshoot common scenarios:
If your ham reaches 140°F much faster than expected (say, after 2 hours for a 12-pound ham), remove it from the oven immediately. Tent it loosely with foil and let it rest. You can’t un-cook meat, so once it reaches the target temperature, pulling it out prevents further cooking. A resting ham will stay warm for 30-45 minutes, giving you time to finish other dishes.
If your ham is approaching the time you want to serve it but hasn’t reached 140°F, turn the oven temperature up to 350°F or 375°F for the final stretch. Increasing the heat will accelerate the process without making the exterior burn noticeably. Check temperature every 10 minutes in this final phase.
If the glaze is burning darkly before the internal temperature reaches 140°F, remove the ham from the oven, brush off the overly dark glaze, tent it with foil, and finish cooking at a lower temperature.
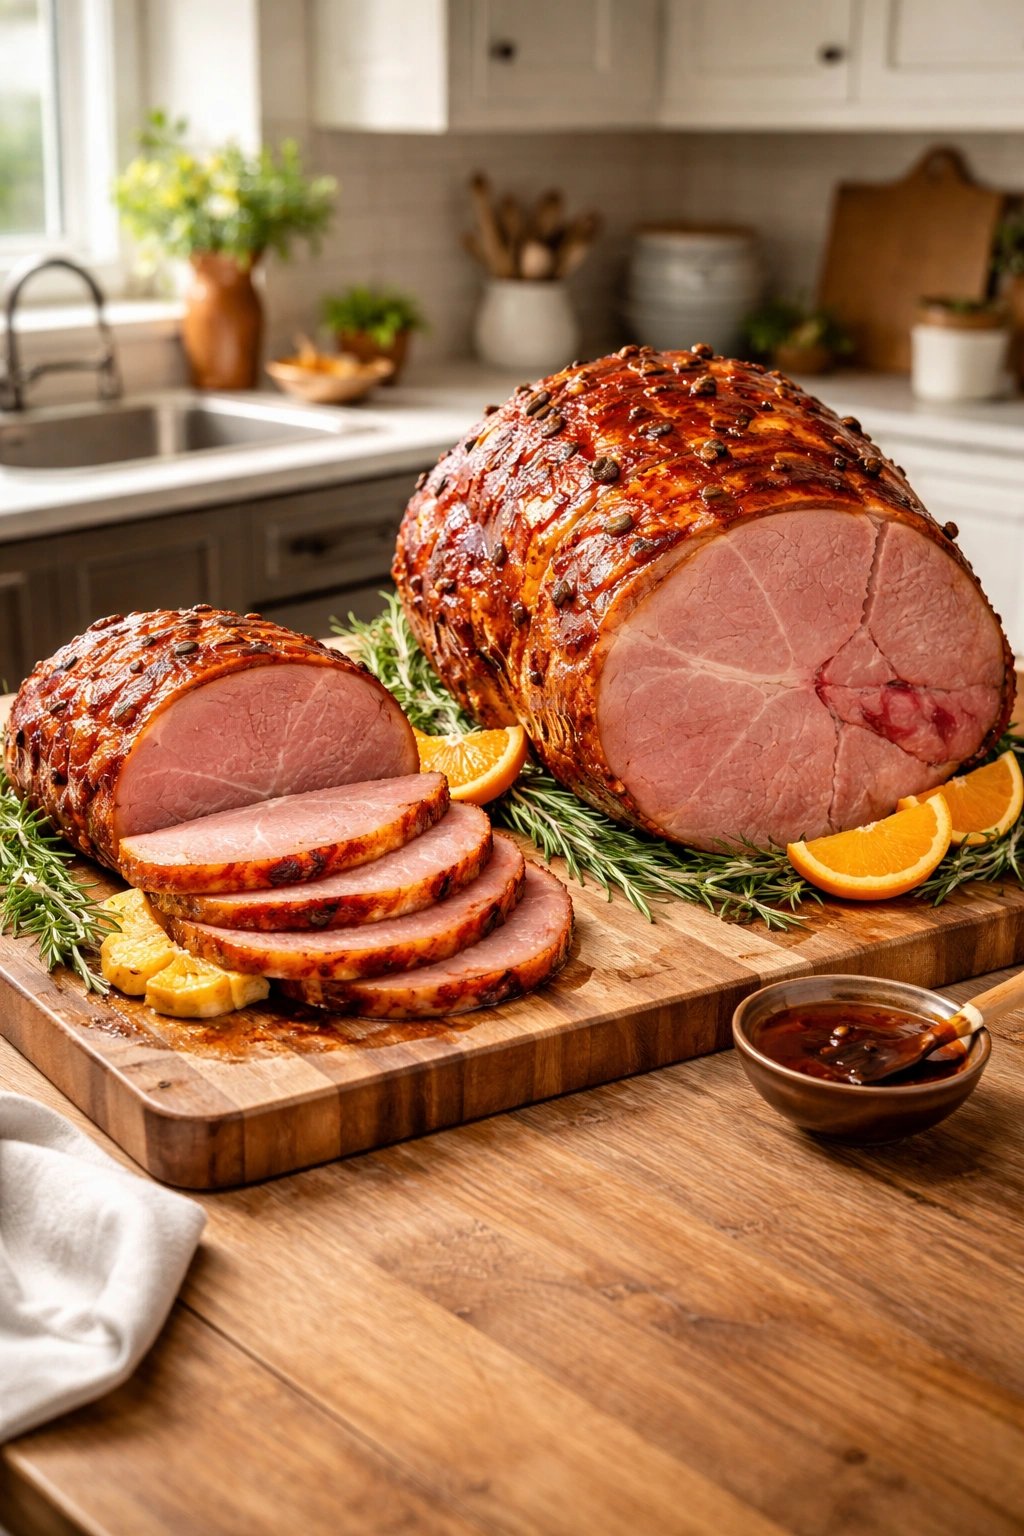
Resting, Carving, and Serving

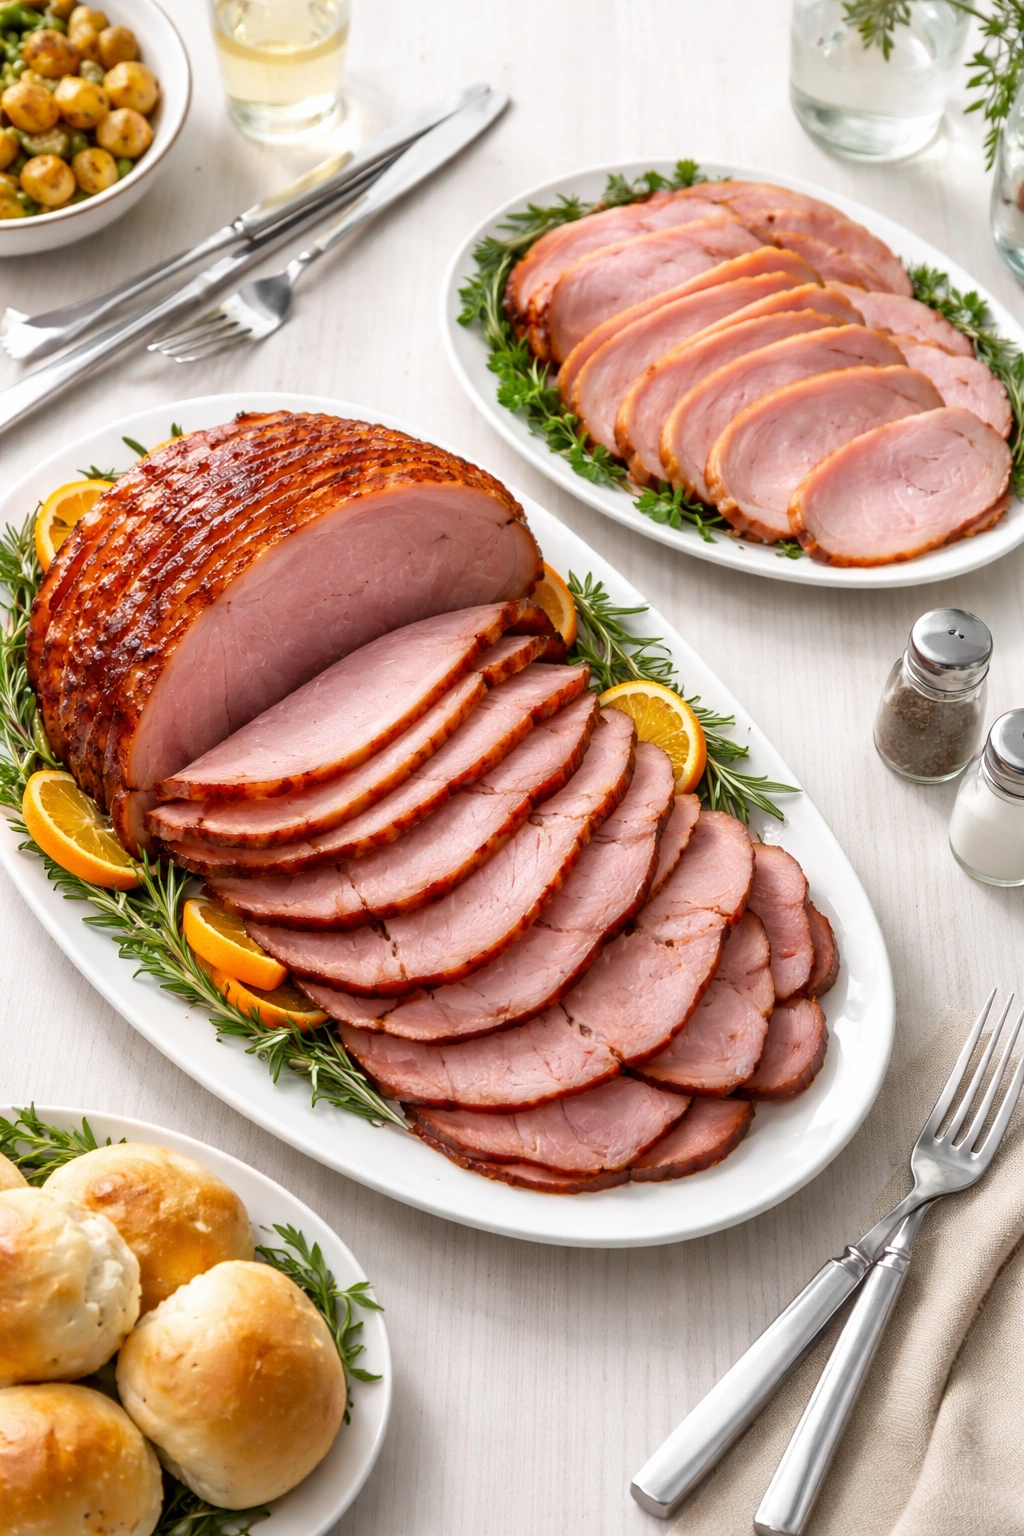
Once your ham reaches 140°F, remove it from the oven and let it rest, uncovered, for 15-20 minutes before carving. This resting period allows juices to redistribute throughout the meat, ensuring each slice stays as moist and tender as possible. If you cut into the meat immediately, those precious juices run out onto the serving platter instead of staying in each bite.
For bone-in or spiral-cut ham: Use a sharp carving knife and steady carving fork. Position the fork firmly in the meat, then slice along the bone in the direction of the bone, separating the meat in large pieces if it’s spiral-cut, or in thin slices if you’re carving from a non-spiral ham. The meat between the bone and the skin is often the most tender.
For boneless ham: Slice perpendicular to the long axis of the ham, using smooth downward strokes with a sharp knife. Each slice should be about ¼ inch thick for optimal appearance and ease of eating.
Arrange slices on a platter, overlapping them slightly. Spoon any remaining glaze or pan drippings over the top. The moisture from these drippings keeps the slices from drying out as they sit.
Serve ham at room temperature or warm (not steaming hot—the flavor is actually better when not piping hot). Leftover ham can be served cold on sandwiches, torn into soups, or chopped into casseroles, so you can make an extra ham if you want the flexibility of leftovers.
Making the Most of Pan Drippings
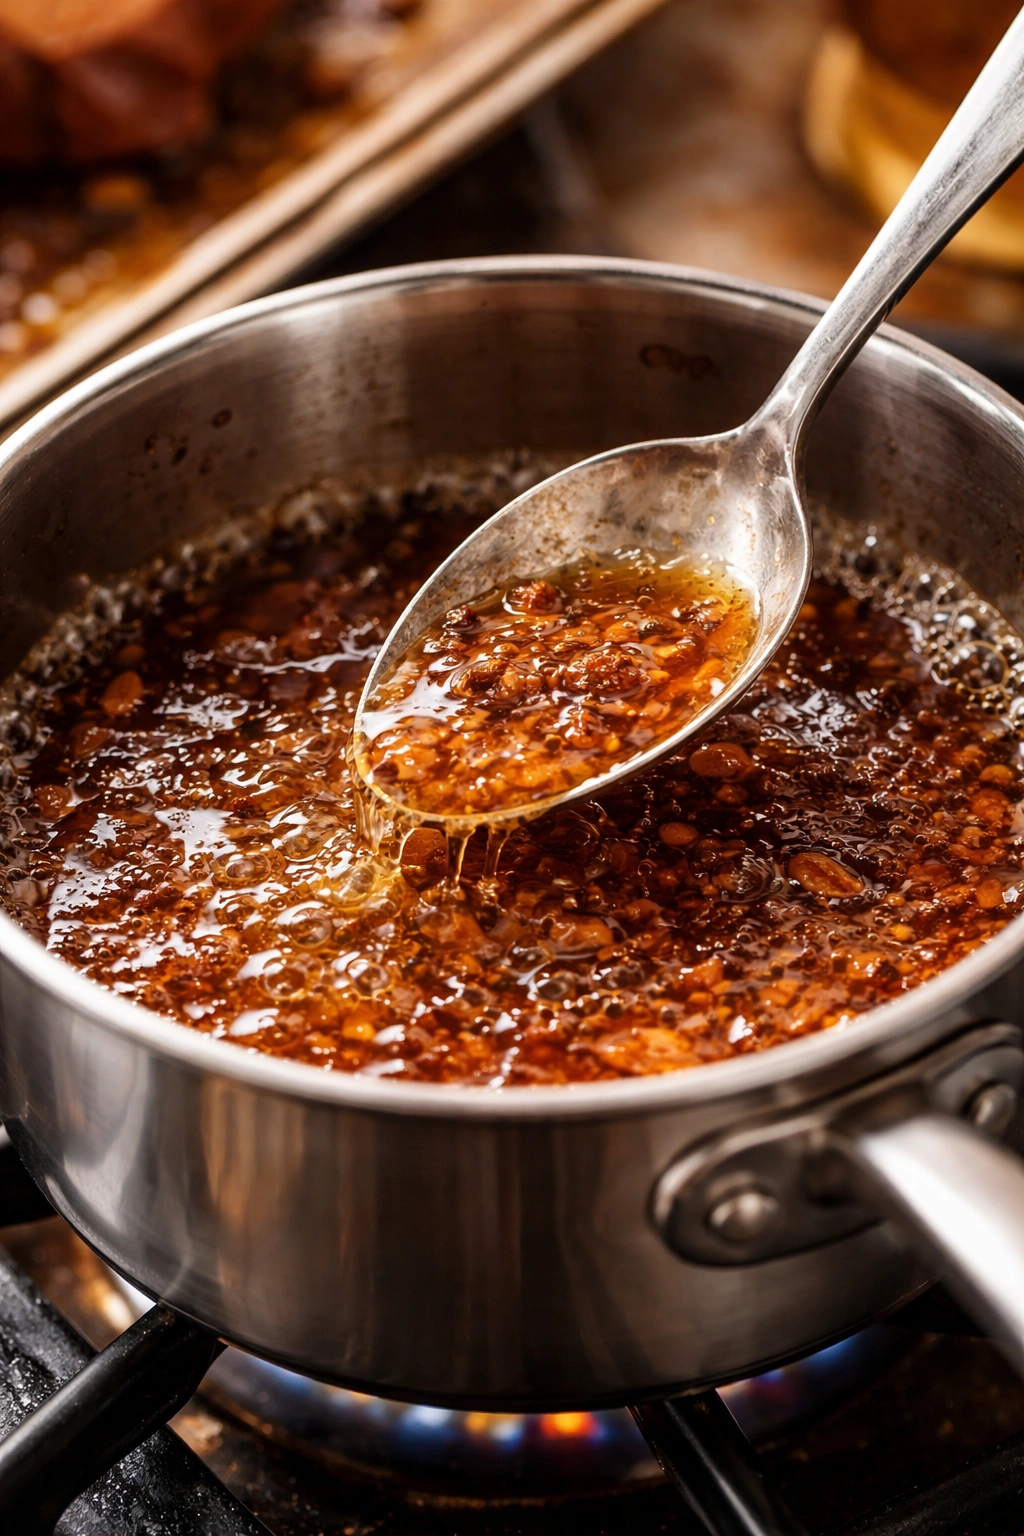
The flavorful liquid left in your roasting pan is liquid gold. Don’t discard it.
If you’ve glazed your ham, these drippings are particularly concentrated and delicious. Skim off excess fat with a spoon, then pour the drippings into a saucepan. If you used a sugar-based glaze, simmer them gently over medium heat for a few minutes, whisking occasionally. They’ll thicken and become syrupy—pour this over sliced ham or serve it as a sauce on the side.
If you want to make gravy from the drippings, whisk in a slurry of cornstarch and water (1 tablespoon cornstarch mixed with 2 tablespoons cold water), bring to a simmer, and whisk constantly until it thickens, about 1-2 minutes. Season with salt and pepper. This sauce is spectacular on mashed potatoes and ham together.
The ham bone and any remaining liquid are perfect for making split pea soup or ham and bean soup. Store them in the freezer if you don’t plan to make soup immediately.
Serving Ideas and Complementary Sides
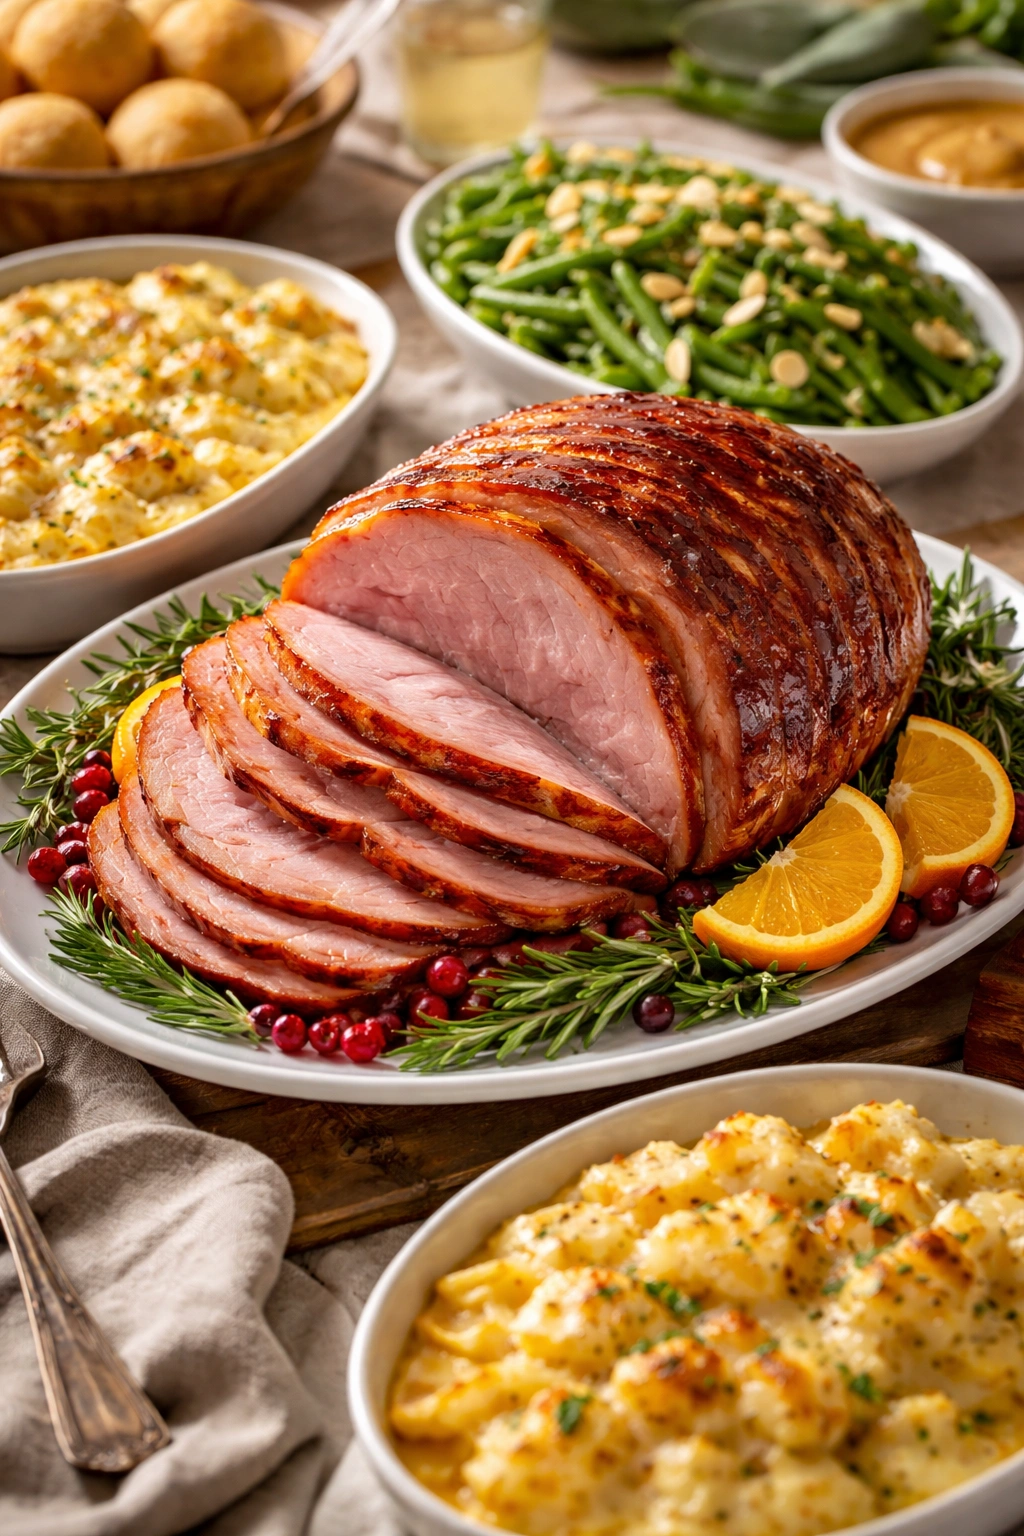
Ham plays well with an enormous range of side dishes. Here are proven combinations that balance richness and create complete, satisfying meals:
Creamy sides offset the saltiness of ham beautifully: scalloped potatoes, au gratin potatoes, creamy mushroom casseroles, or mac and cheese all work wonderfully.
Green vegetables provide freshness and color contrast: roasted asparagus, green bean casserole, steamed broccoli, or glazed carrots all make excellent partners.
Acidic or pickled sides brighten the plate and aid digestion: marinated vegetables, pickled beets, or a sharp vinaigrette-dressed salad all complement ham’s richness.
Starches make the meal substantial and satisfying: rolls, biscuits, cornbread, or glazed sweet potatoes all work.
Condiments let people customize flavors to their preference: mustards (spicy brown, whole grain, Dijon), horseradish, pickles, and chutneys all belong on the table.
A classic ham dinner might include ham itself, scalloped or mashed potatoes, a green vegetable, rolls, and a salad. You don’t need to overcomplicate it—ham’s inherent flavor carries the meal.
Adapting for Different Group Sizes and Preferences
The beauty of ham is its scalability. These principles work whether you’re feeding 8 people or 50.
For a smaller dinner (4-6 people), a 3-4 pound boneless ham cooks in about an hour and provides adequate portions with some leftovers. For a large party (20+ people), a 14-16 pound bone-in ham ensures everyone eats well.
For guests avoiding pork (though rare), ham isn’t suitable, so you’d plan a different protein. For guests with dietary restrictions, ham works well for keto and paleo diets (though some cured hams contain sugar, so read labels). Most ham is naturally gluten-free unless a glaze contains flour.
Some people have strong preferences about glazing—some love sweetness, others find it cloying. Offer multiple glazing options or an unglazed ham alongside a glazed one if you’re feeding a diverse group.
Storing and Reheating Leftovers
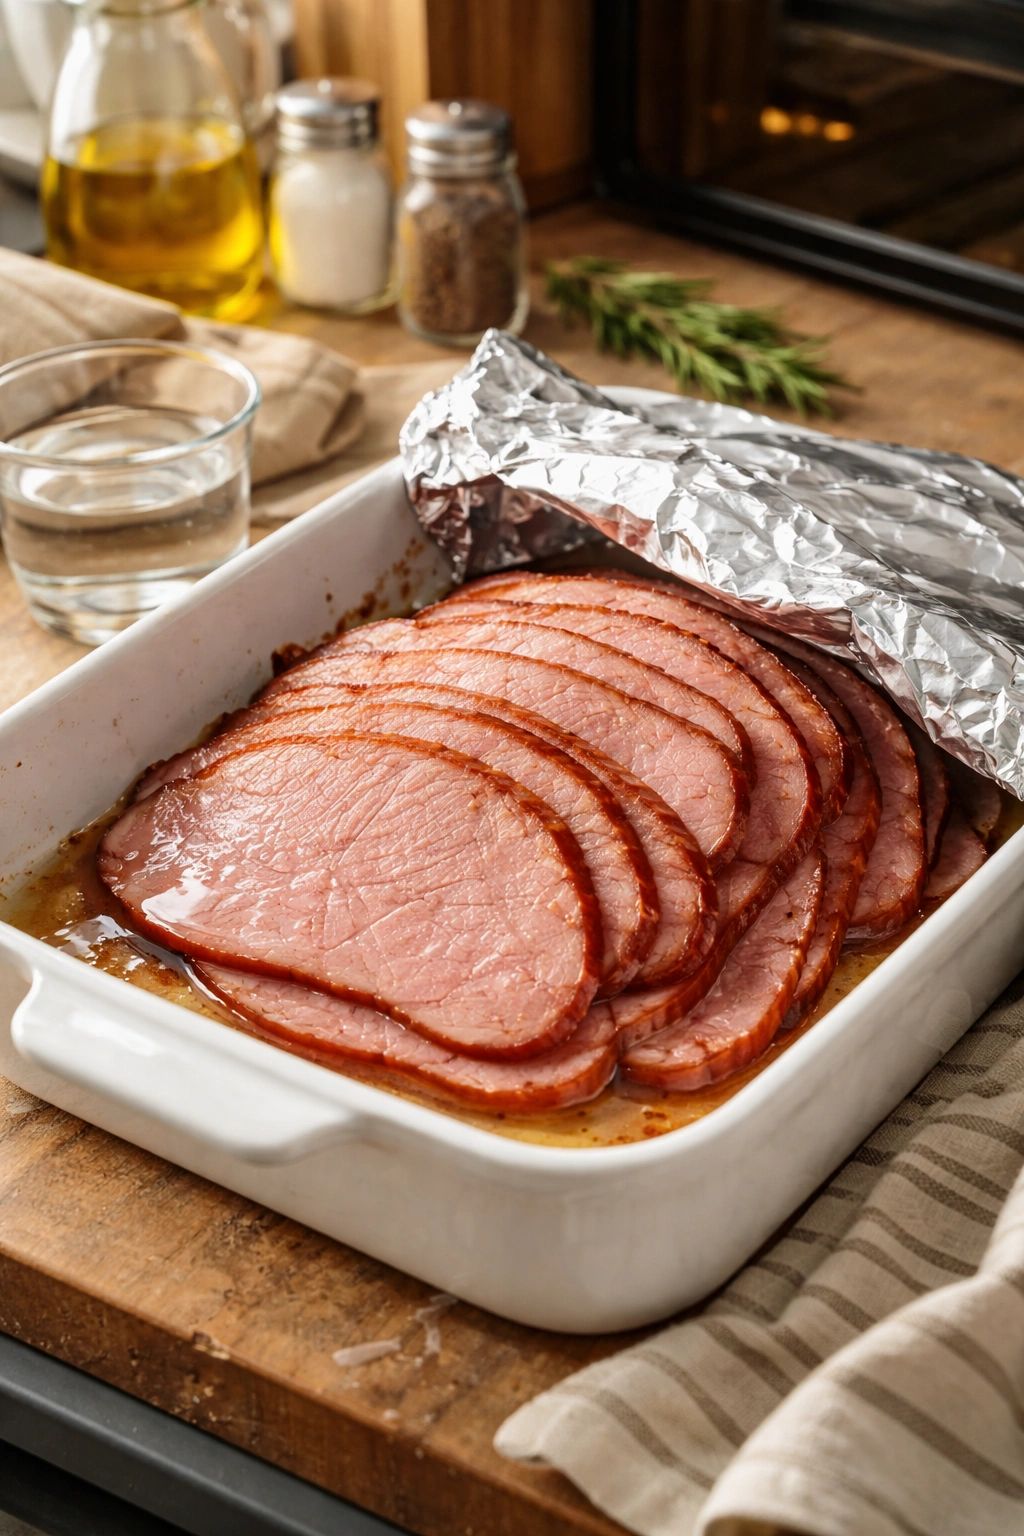
Ham keeps longer than most proteins. Store leftover sliced ham in an airtight container in the refrigerator for up to 5 days. The bone and any remaining meat can stay refrigerated for 3-4 days.
To reheat without drying out the meat, wrap slices in foil and warm them in a 325°F oven for about 10 minutes, or place them in a covered baking dish with a splash of water or apple juice. Reheating in the oven is gentler than microwaving, which can toughen the texture.
Frozen ham keeps for up to 2 months. Wrap it tightly in plastic wrap, then again in foil before freezing. Thaw in the refrigerator overnight before reheating.
Making Incredible Meals from Leftover Ham
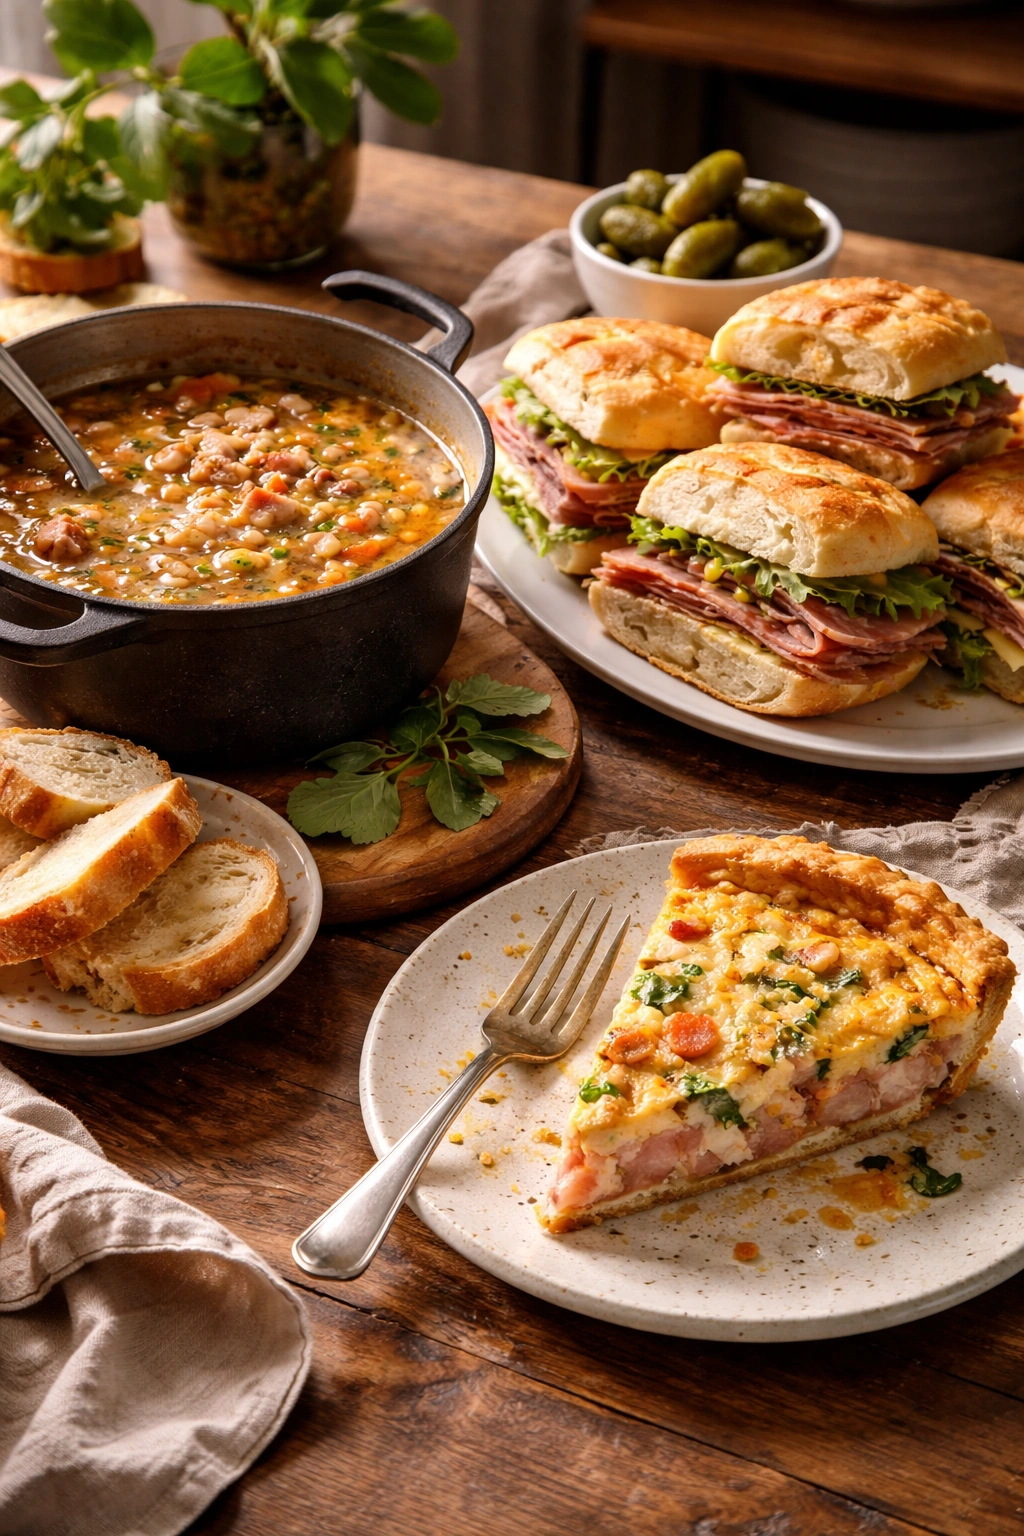
One of the best arguments for cooking an extra ham is the week of meals you can create from leftovers:
Ham and bean soup or split pea soup uses the ham bone and any remaining meat, simmered with dried legumes, vegetables, and broth until everything becomes deeply savory and comforting.
Ham and cheese sandwiches or Monte Cristo sandwiches are simple but satisfying, especially made on fresh bread while the ham is still room temperature.
Ham and cheese quiches or breakfast casseroles use diced ham mixed with eggs, cheese, and vegetables for easy make-ahead brunch options.
Cheesy ham and potato soup combines leftover ham with potatoes, broth, and cream for a hearty soup that’s perfect for cool evenings.
Ham and vegetable stir-fries let you use ham alongside whatever vegetables need using up, quick-cooked with soy sauce and served over rice.
The point is, cooking ham generously is never wasteful—you’re creating days of convenient, delicious meals.
Final Thoughts
Cooking ham that everyone loves doesn’t require specialized skills or mysterious techniques. It requires understanding that your ham is already cooked, respecting that fact by cooking gently to preserve moisture, and adding flavor through glazing if you want to elevate it beyond its natural deliciousness.
Start with quality ham from a source you trust, give yourself the grace of a meat thermometer to remove guesswork, and trust that following these fundamentals will produce a ham your family asks for again and again. The fact that it frees you from kitchen stress while delivering impressive results is simply the best part of this particular meal.