Freezer burn is one of the most common frustrations when trying to preserve meals for later. You open your freezer with great intentions, only to find your carefully prepared food covered in ice crystals, dried out, and unappetizing. The good news? This problem is entirely preventable with the right techniques and a bit of attention to detail.
Whether you’re batch cooking on Sunday, preparing meals ahead for your family, or taking advantage of bulk purchases, understanding how to freeze meals properly will transform your approach to meal prep. The techniques aren’t complicated, but they do require understanding why freezer burn happens and what specific steps eliminate it. By the time you finish reading this guide, you’ll have the knowledge to freeze meals that taste as fresh and delicious as the day you made them—even months later.
Understanding Freezer Burn and Why It Happens
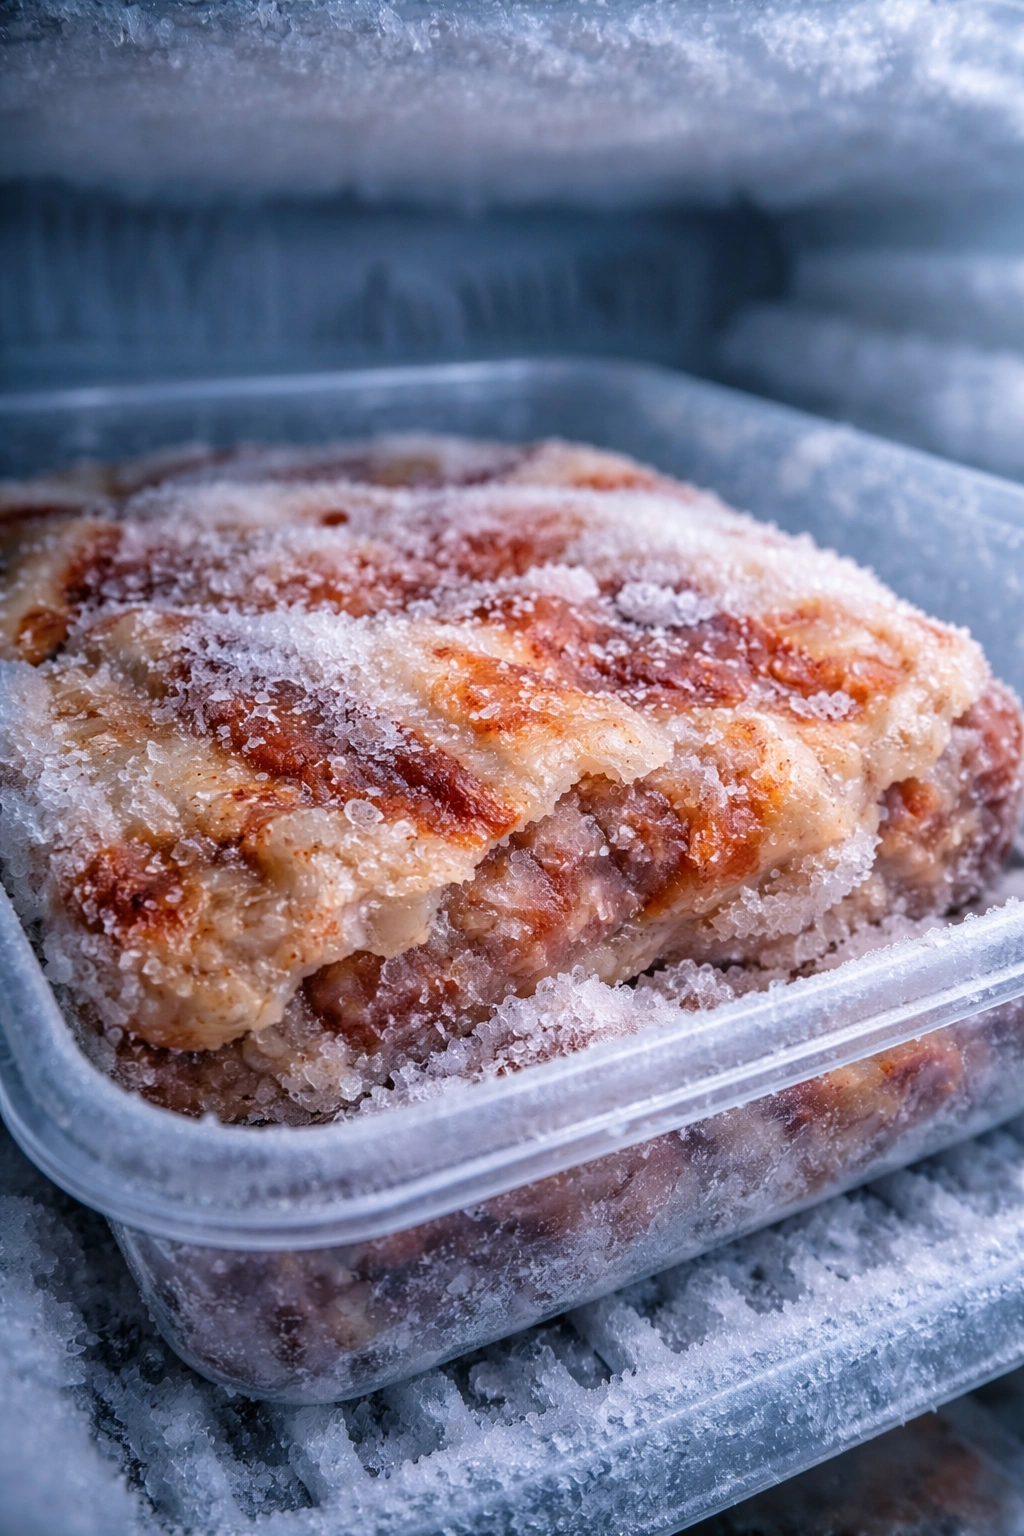
Freezer burn isn’t what most people think it is. Many assume it’s a safety issue, but it’s actually purely a quality problem. Your frozen food with freezer burn is completely safe to eat according to the USDA—it just won’t taste very good. The real issue is what freezer burn does to the texture and flavor of your carefully prepared meals.
Freezer burn occurs through a process called sublimation, which is exactly what it sounds like—ice transitions directly from solid to gas without becoming a liquid first. This happens when moisture escapes from the surface of your food and comes into contact with the cold air inside your freezer. The water molecules in your food are drawn to the surface, and when exposed to air, they evaporate right off, leaving your meal dry, tough, and discolored.
Think of it this way: your freezer is an extremely dry environment. Without humidity to balance things out, moisture naturally wants to escape from your food. If your food is exposed to air, that moisture will leave—and once it’s gone, it’s gone. You can’t get it back by thawing or reheating. That’s why prevention is so much more important than trying to salvage freezer-burned food after the fact.
The foods most vulnerable to freezer burn are those with high water content—meat, poultry, fish, fruits, and vegetables all suffer more visibly than dense items like baked goods or sauces. But no food is truly immune if stored improperly. The silver lining? All of this is completely avoidable if you follow the right techniques.
Set Your Freezer to the Right Temperature
Your freezer’s temperature setting is your first line of defense against freezer burn, and it’s something you can control immediately. Many people never check their freezer temperature, assuming it’s cold enough. That assumption costs them quality in their frozen meals.
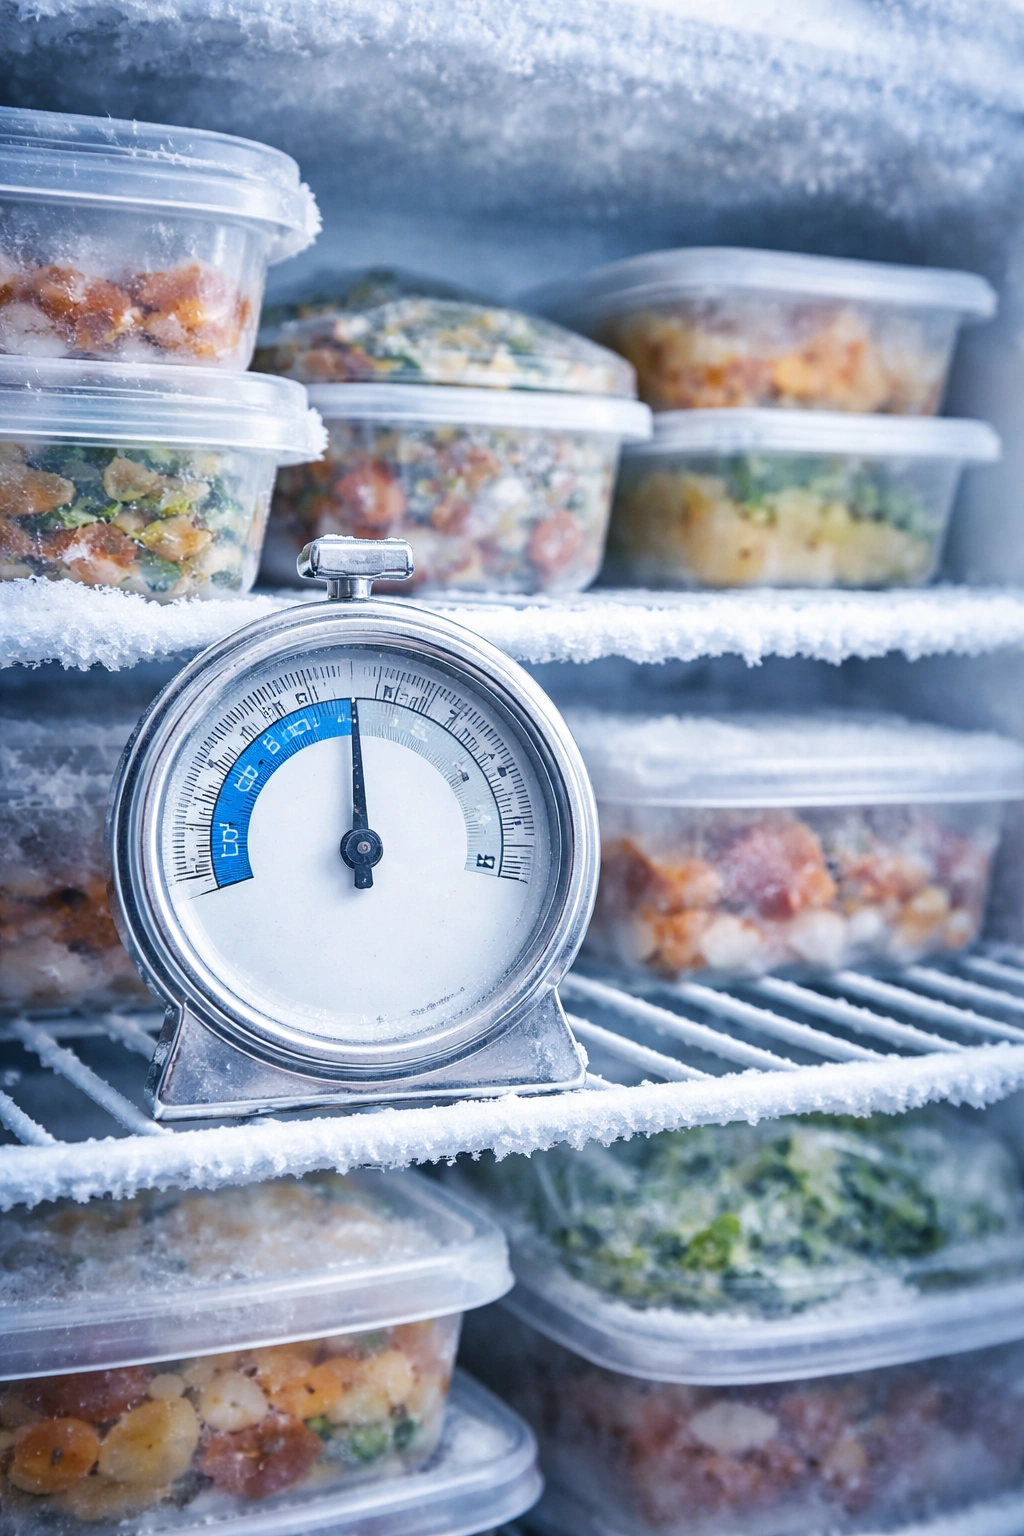
Your freezer needs to be at 0°F (-18°C) or colder—ideally even lower. Food technically freezes at 32°F, but that temperature isn’t cold enough to prevent the sublimation process. When your freezer sits above 0°F, ice crystals form larger and faster, and moisture escapes more readily from your food. A colder freezer dramatically slows this process, which means smaller ice crystals and better food quality.
Here’s the problem: many home freezers fluctuate. Your freezer works hard to maintain temperature, but if it’s not calibrated correctly or if it’s older, it might drift upward without you realizing it. You could be storing meals at 5°F or 8°F, which feels freezing cold to you but is actually warm enough to accelerate freezer burn.
Invest in an inexpensive freezer thermometer—the kind that hangs or sits inside your freezer costs less than five dollars and will show you the actual temperature. Check it weekly when you first start, then monthly once you’ve established your baseline. If your freezer is reading above 0°F, adjust your temperature dial to a colder setting and wait a few hours, then check again. Most freezers have a dial marked with numbers or words like “Cold” or “Very Cold” rather than actual temperatures—you’ll need to experiment to find the setting that gives you the 0°F reading you want.
Cool Your Food Before Freezing

This is one of the easiest changes to make and one of the most impactful. Never put hot or warm food directly into your freezer. This creates an immediate problem: warm food heats up your entire freezer, raising the temperature and threatening all the other food already stored there. More importantly, that temperature fluctuation damages the food you’re trying to preserve.
When warm food enters a freezing environment, massive ice crystals form very quickly. These large crystals damage the cell structure of your food, releasing moisture that then freezes on the surface—that’s the beginning of freezer burn. In contrast, food that freezes slowly develops smaller, more uniform ice crystals that cause far less damage.
The best practice is to let cooked food cool to room temperature first, then move it to the refrigerator for another hour or two before freezing. This extra step seems unnecessary, but it makes a real difference. If you’re in a hurry, you can skip the fridge step, but cool your food completely to room temperature at minimum—never warm to the touch.
One crucial detail: when cooling hot foods like soup or stew, don’t put the lid on while cooling. The condensation that builds up under the lid will settle on the surface of your food, and that moisture will freeze and cause freezer burn. Leave it uncovered while cooling. Once it’s cold, then seal it up and move it to the freezer.
For soups specifically, another great trick is to cool them in shallow containers rather than in the stockpot. A shallow container cools much faster than a deep pot, which means your food spends less time in the temperature danger zone and gets safely frozen sooner.
Remove Air Completely From Your Storage Containers
This is the number one most important step for preventing freezer burn. Air is the enemy of frozen food. When your food is exposed to the air inside your freezer—which has virtually zero humidity—moisture evaporates rapidly. Remove the air, and you remove the vehicle through which moisture escapes.
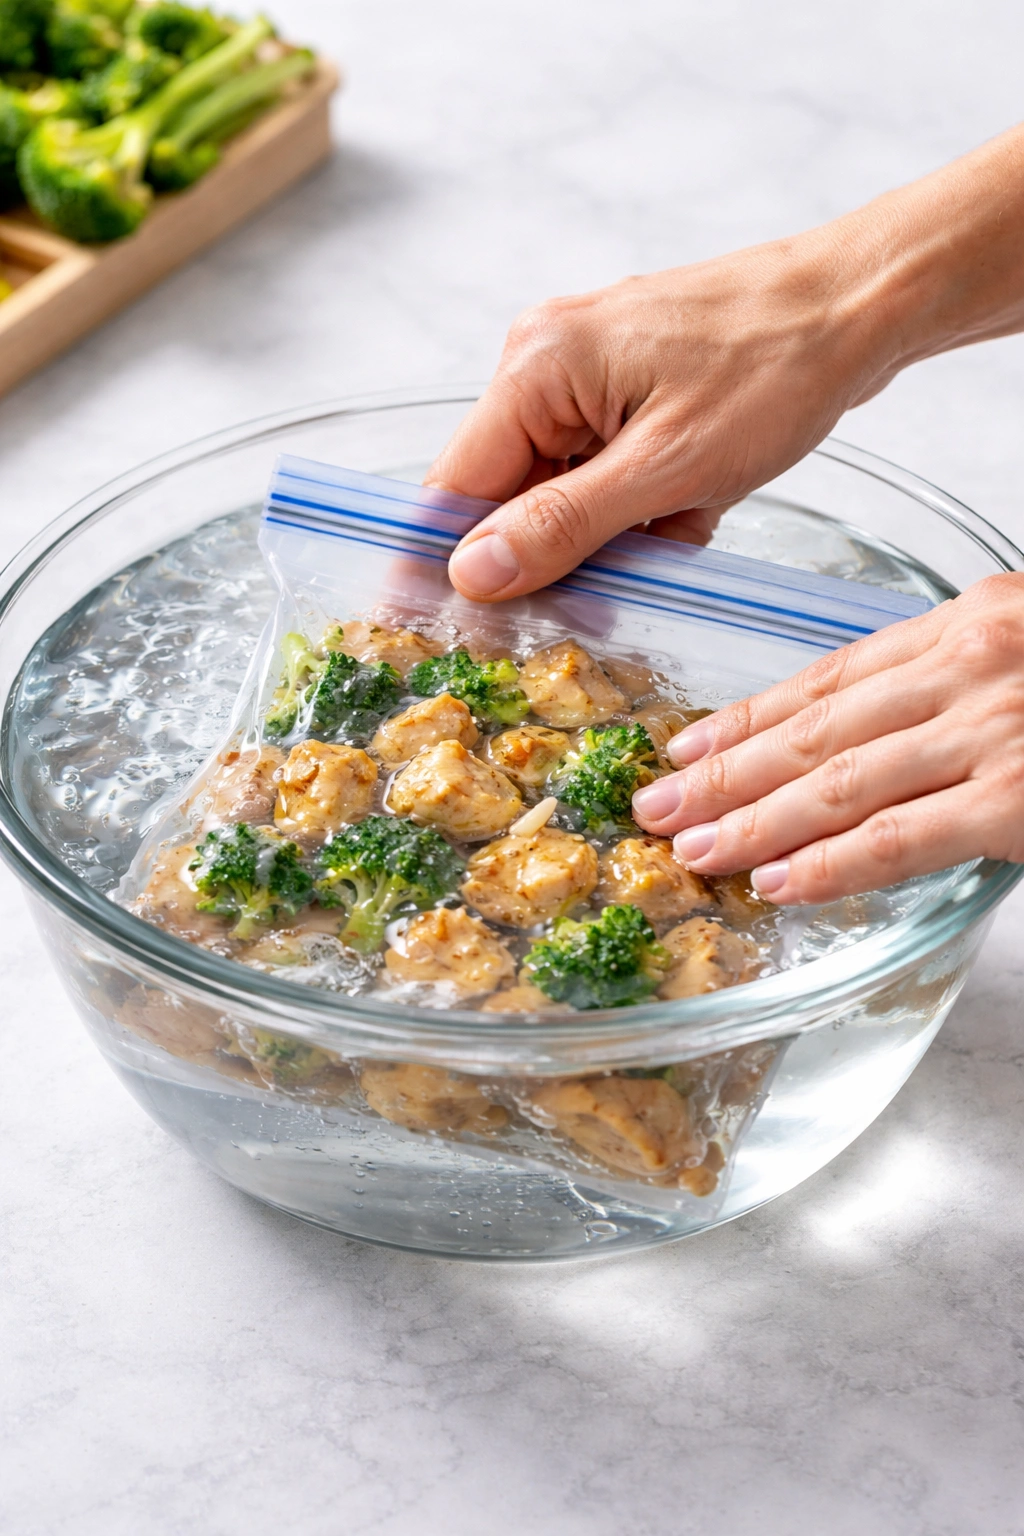
There are several methods to eliminate air, ranging from simple and free to slightly more involved. The simplest approach is the water displacement method, which requires nothing but your freezer bag and a pot of water. Put your food into a freezer bag (leaving about an inch at the top), then lower the bag slowly into a pot of water, allowing the water pressure to push the air out of the bag. Zip it shut just before the water reaches the opening—the weight of the water does the work for you.
For solid foods in containers, press down gently but firmly on the surface of the food with a piece of plastic wrap, smoothing out any air pockets. The plastic wrap should touch the entire surface of your food, creating a barrier between the food and any air trapped above it.
If you’re using freezer bags, push out as much air as you can with your hands before sealing. Some people use a straw—insert it into a small opening, suck out the air, then quickly seal that hole. It sounds silly, but it works surprisingly well and costs nothing.
The gold standard for air removal is a vacuum sealer. These machines remove virtually all air from specially designed bags, which is why vacuum-sealed food lasts dramatically longer without freezer burn. If you freeze food regularly—especially for longer than four months—a vacuum sealer is worth the investment. A basic model costs twenty to thirty dollars and will pay for itself in preserved food quality.
Choose the Right Freezer Storage Containers
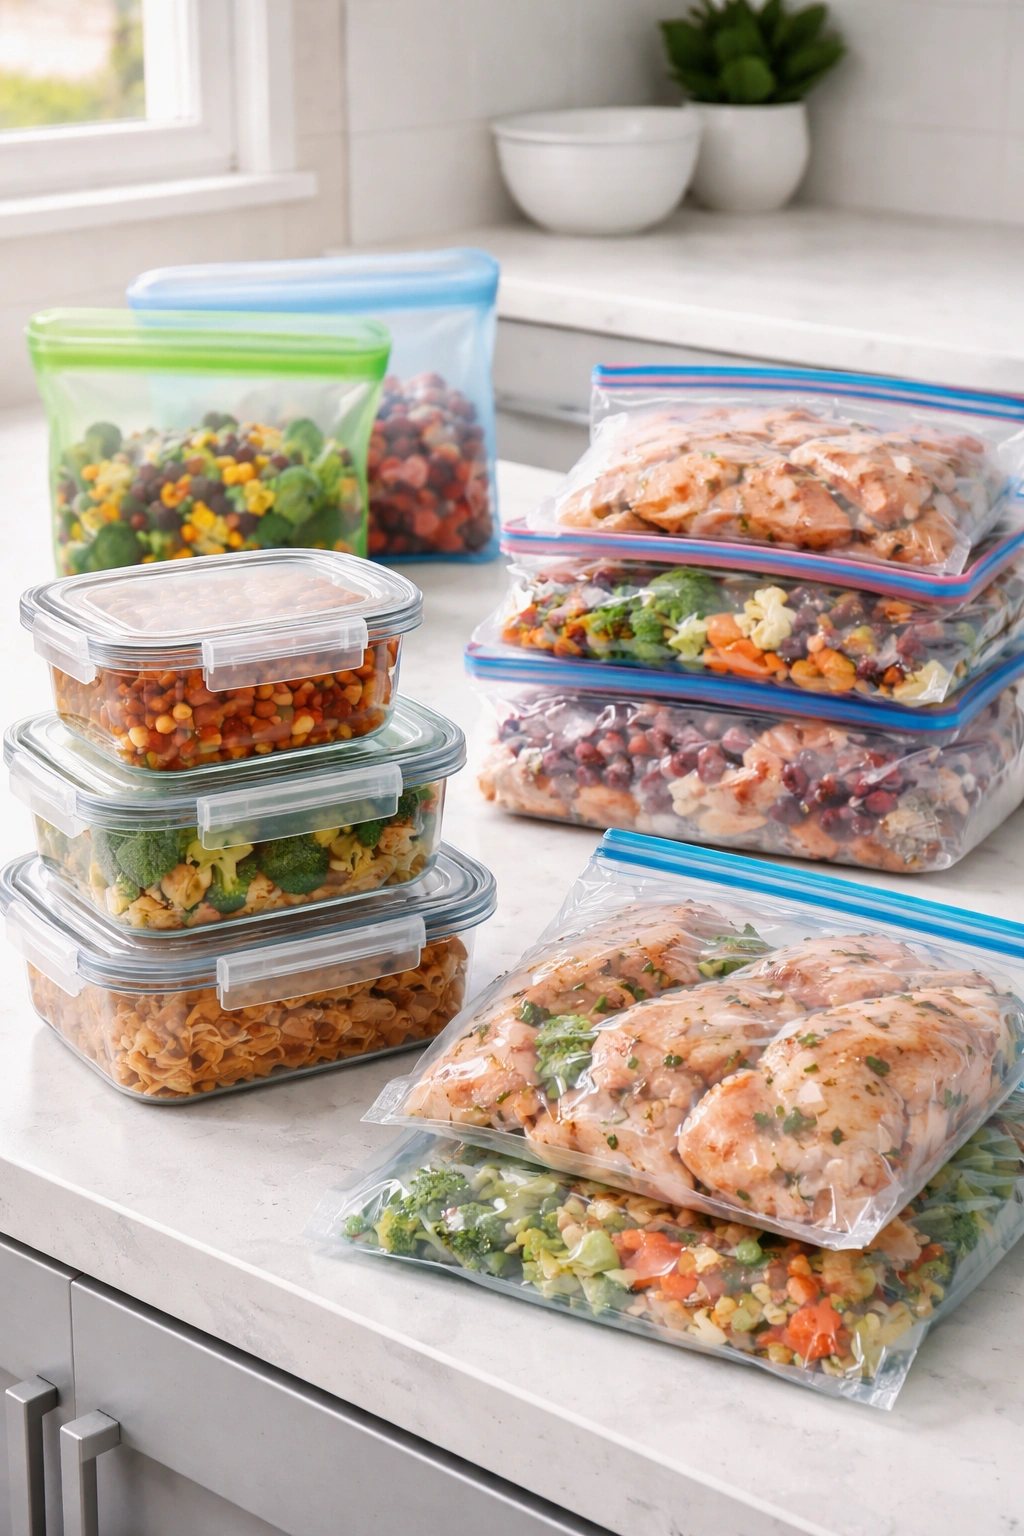
Not all storage containers are created equal when it comes to freezing. The material matters, and the thickness matters even more. Thin, flimsy bags will allow air and moisture to migrate through them over time. You need freezer-grade containers specifically designed for the job.
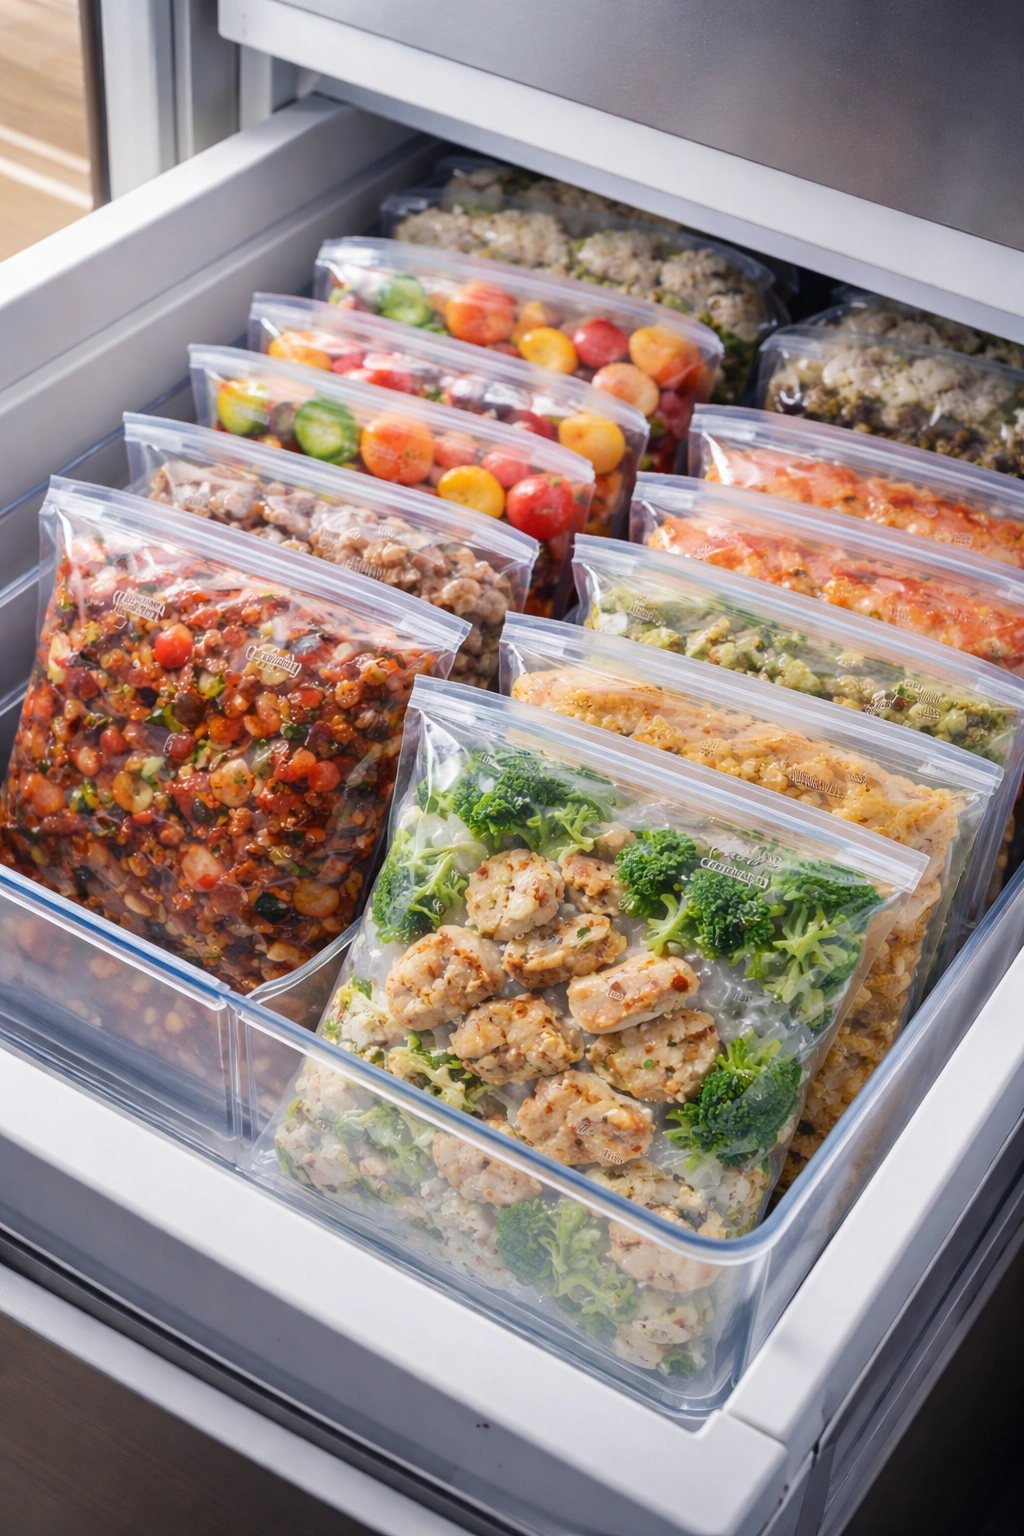
For bags, make sure you’re using freezer bags, not storage bags. Storage bags use thinner plastic that isn’t designed to withstand freezer conditions and won’t protect your food effectively. Freezer bags have thicker plastic specifically formulated to create a better air barrier. Brands like Ziploc make quality freezer bags in various sizes—gallon, quart, and pint—so you can choose the right size for your portion.
Glass containers and ceramic dishes work beautifully for freezing and have the advantage of being reusable and durable. However, you need to be careful when thawing them—never put frozen glass or ceramic directly into a hot oven, as the extreme temperature change can cause cracking. Silicone containers are excellent because they’re flexible, oven-safe even when frozen, and don’t retain heat like metal does, which speeds up cooling.
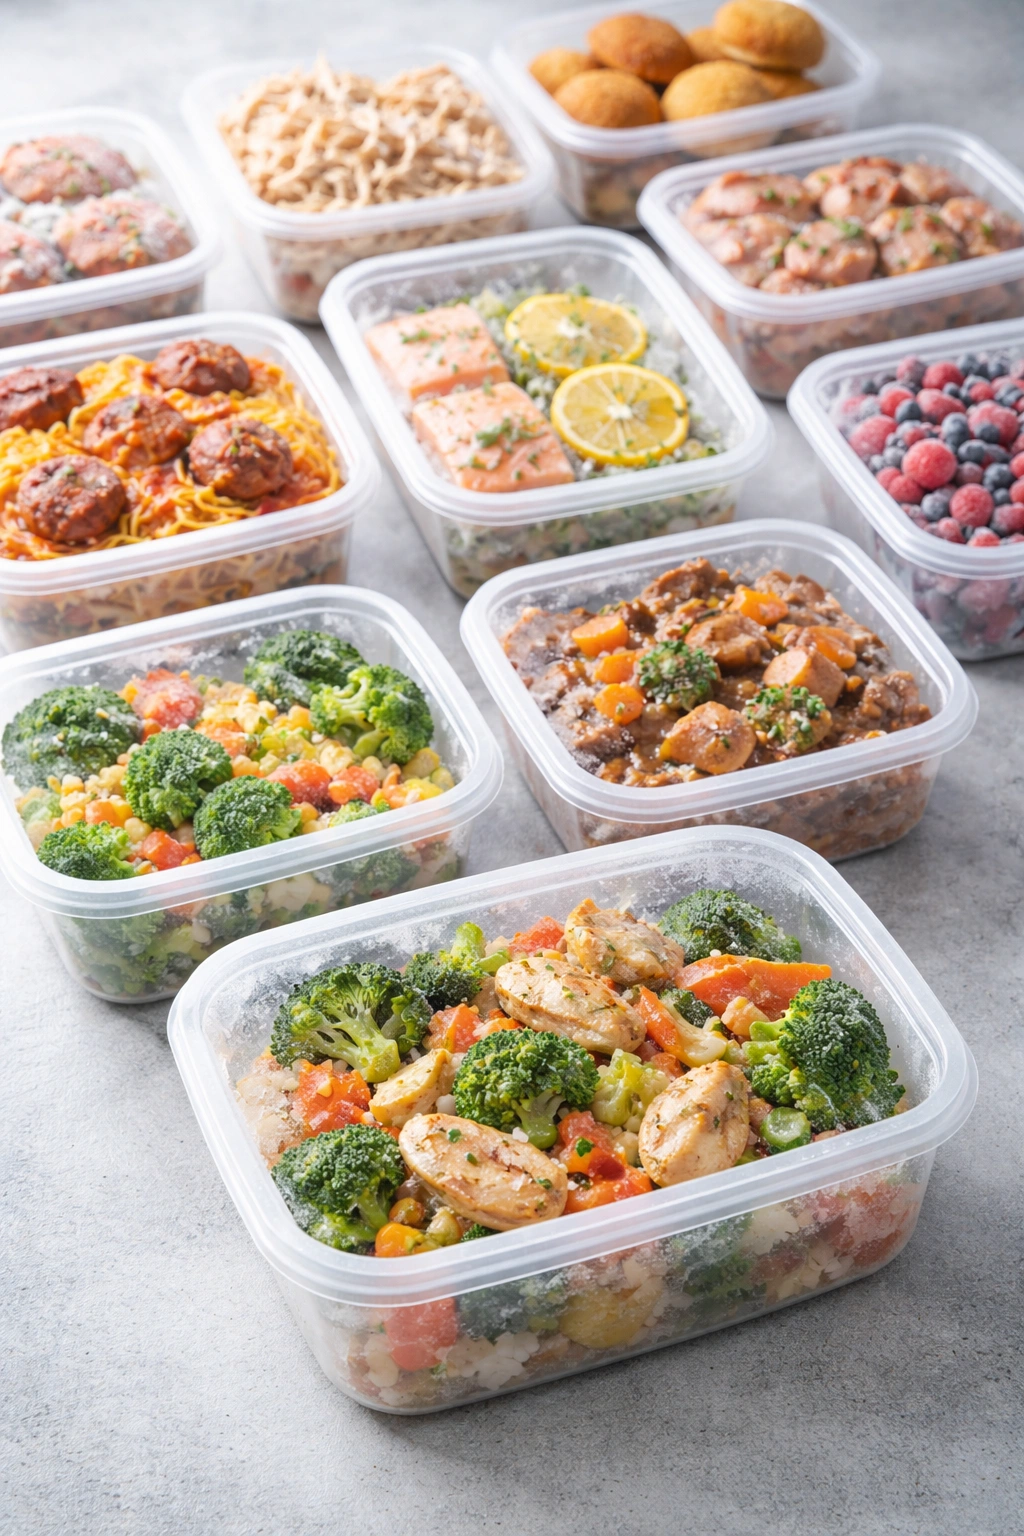
Plastic containers work well for shorter-term freezer storage (up to about four months). They’re convenient because they’re stackable and easy to see through, so you know what’s inside. However, plastic does allow some moisture and gas to migrate through it over time, so they’re not ideal for very long-term storage.
Whatever container you choose, make sure it’s airtight or can be sealed effectively. A container that doesn’t seal completely defeats the entire purpose of careful storage.
Wrap Food in Extra Protective Layers
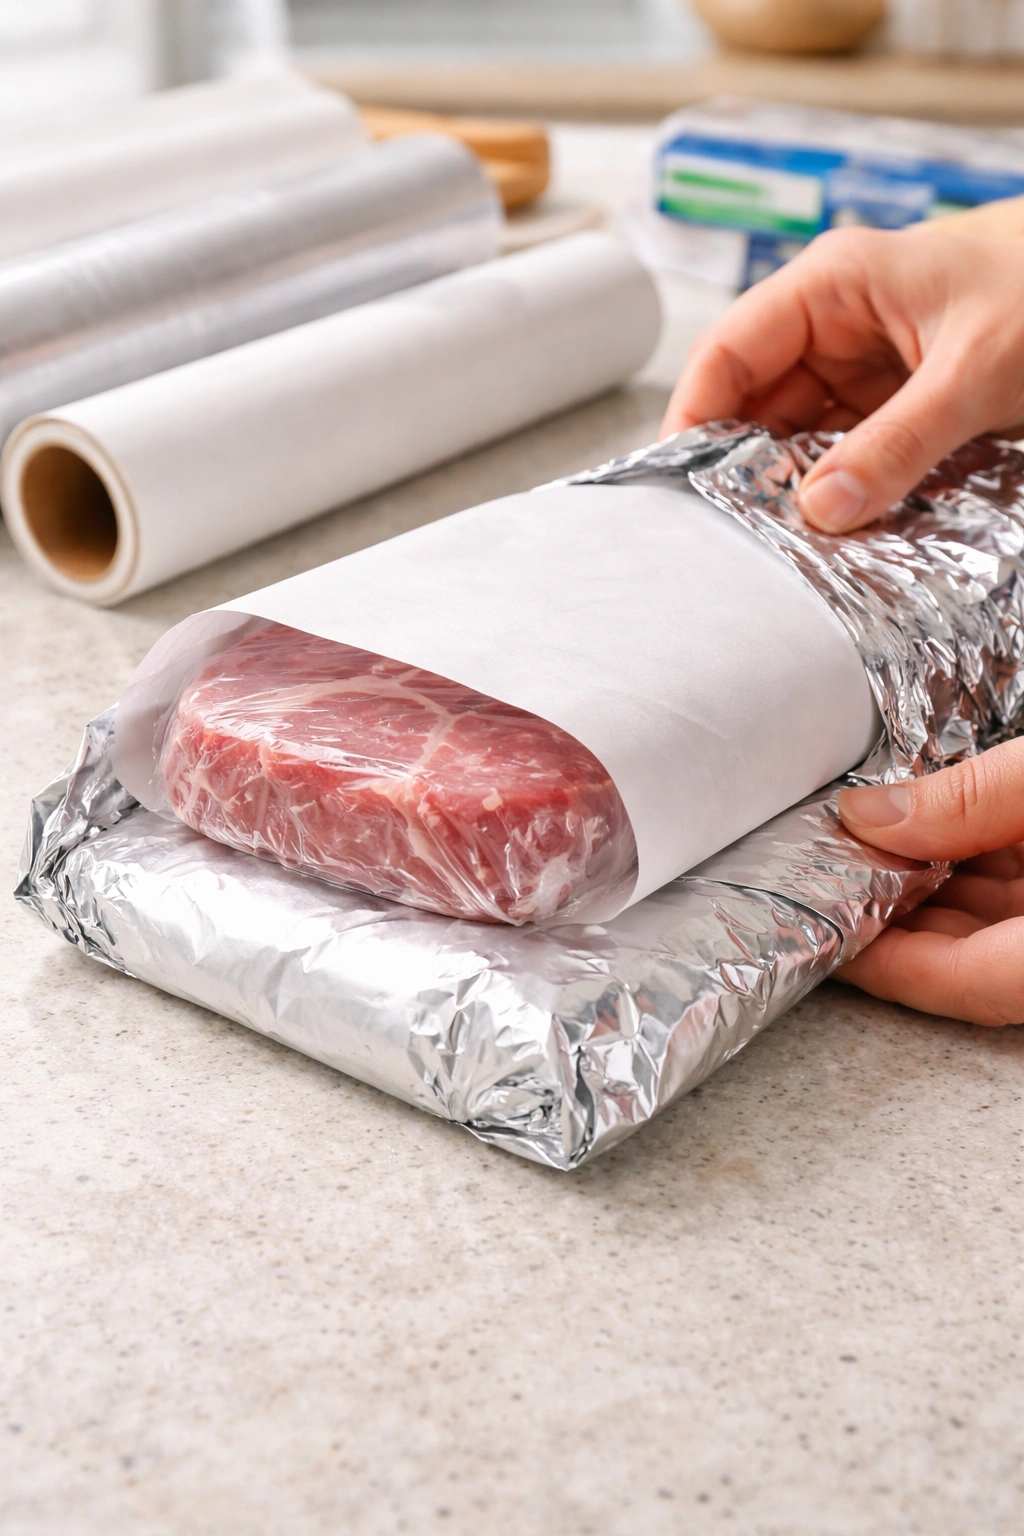
For maximum freezer burn prevention, especially if you’re planning to freeze meals for longer than three months, add an extra layer of protection. This is particularly important for sensitive items like meat, poultry, and fish.
Freezer paper is your best friend here. Unlike regular parchment paper, freezer paper has a plastic coating on one side that creates a moisture barrier. Wrap your food tightly in freezer paper, plastic wrap, or aluminum foil first, then place the wrapped package into a freezer bag. The wrapping creates an additional shield against air exposure, and the double-layer approach is far more effective than relying on a single container.
For meat and fish, this double-wrapping is especially valuable. Wrap individual portions tightly in plastic wrap or freezer paper—this is much more protective than throwing an entire package into a bag. Then place all your individually wrapped portions into a single freezer bag for organization. If a small area develops a tiny hole in the outer bag, the inner wrapping still protects your food.
For casseroles or baked goods, wrap tightly with plastic wrap first (pressing out air as you go), then cover with a layer of aluminum foil, then place in a freezer bag. This triple-layer approach is overkill for short-term storage, but if you’re freezing something for six months or longer, this is the way to ensure top quality.
One exception to layering: don’t use plastic wrap as your only layer for freezing. Plastic wrap alone doesn’t provide adequate air barrier protection for long-term freezing. It must be combined with a more substantial container or bag.
Freeze Food in Proper Portions
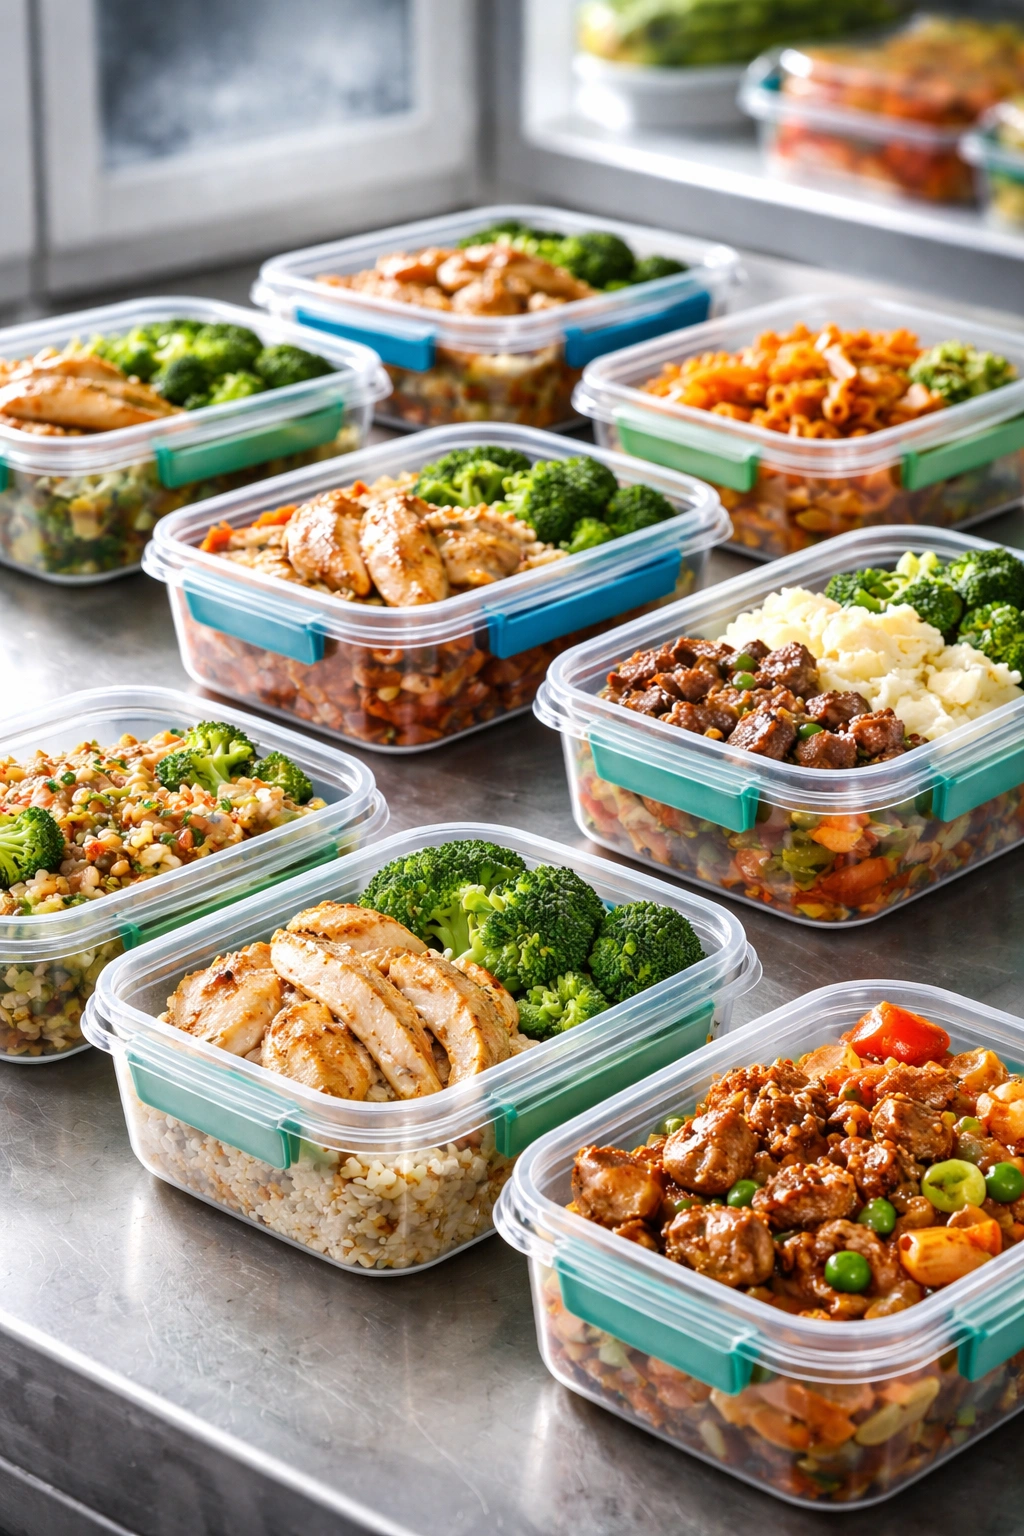
How you divide your food before freezing has enormous practical implications. Freeze meals in the exact portions you’ll actually eat, not in massive batches that you’ll have to thaw all at once. This matters for two reasons: convenience and quality.
From a practical standpoint, if you freeze an entire casserole and then only need to reheat half of it for two people, you have to thaw the entire thing, use what you need, and then refreeze the rest. Every time you thaw and refreeze, you degrade quality. Freezing in individual or two-person portions means you only thaw what you’ll actually use.
From a freezer burn prevention standpoint, smaller portions freeze more quickly and more uniformly. A single serving of soup or stew freezes in a couple of hours. That same amount in a large container might take six or eight hours, which means the food spends much longer vulnerable to ice crystal formation.
Portion sizes depend on your household. A family of four might freeze meals in four-serving portions. A single person might freeze single-serving portions. Think about how you actually eat—do you cook once and eat the same meal three nights in a row? Or do you like variety? Let your actual eating patterns guide your portioning strategy.
Use small containers, ice cube trays, or specialized silicone freezing trays for creating consistent, convenient portions. Silicone freezing trays designed for meal prep are excellent because they have multiple compartments of set sizes (typically 1-cup or 2-cup portions), and once frozen, you can pop the portions out and store them in bags, maximizing freezer space while maintaining portion control.
Keep Your Freezer Door Closed and Organized
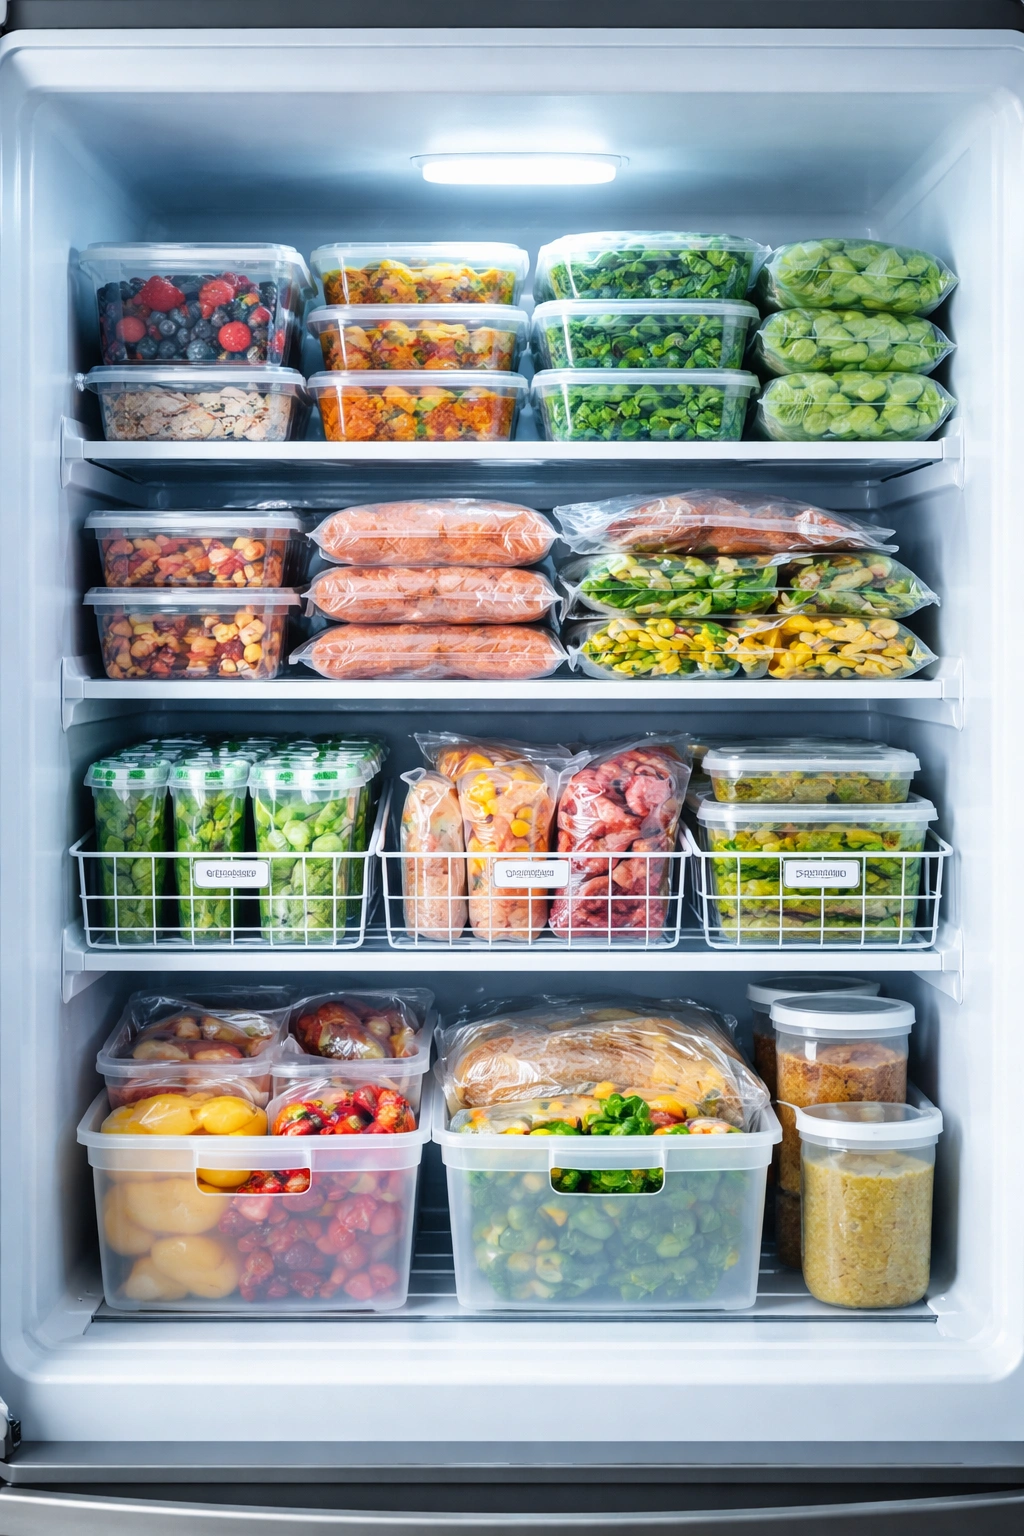
Every time you open your freezer door, the temperature inside rises slightly. Cold air escapes, warmer air from your kitchen enters, and all your frozen food suffers. Over many door openings throughout the day, this temperature cycling adds up—it directly contributes to freezer burn development.
Make it a rule to open your freezer door only when you have a specific purpose. Don’t open it to “see what’s in there.” Keep your freezer organized so you know exactly what you have and where it is, which means you can grab what you need quickly without extended searching.
Store frequently used items at eye level in your freezer so you can grab them without digging. Keep a simple inventory list or whiteboard near your freezer so you can scan what’s available without opening the door. Some people photograph their freezer contents and keep the photos on their phone—when they’re deciding what to cook, they check the photo instead of opening the freezer.
Foods stored in freezer door bins are especially vulnerable to freezer burn because the door is opened repeatedly and the temperature there fluctuates most dramatically. Reserve door space only for items you use very frequently, or skip door storage altogether for your most precious prepared meals.
Keep your freezer organized with plastic bins or dividers so items are grouped by type—soups together, casseroles together, breakfast items together. This organization serves double duty: it makes your freezer look neat and manageable, and it means you spend less time with the door open because everything is easy to find.
Don’t Overstuff or Underfill Your Freezer
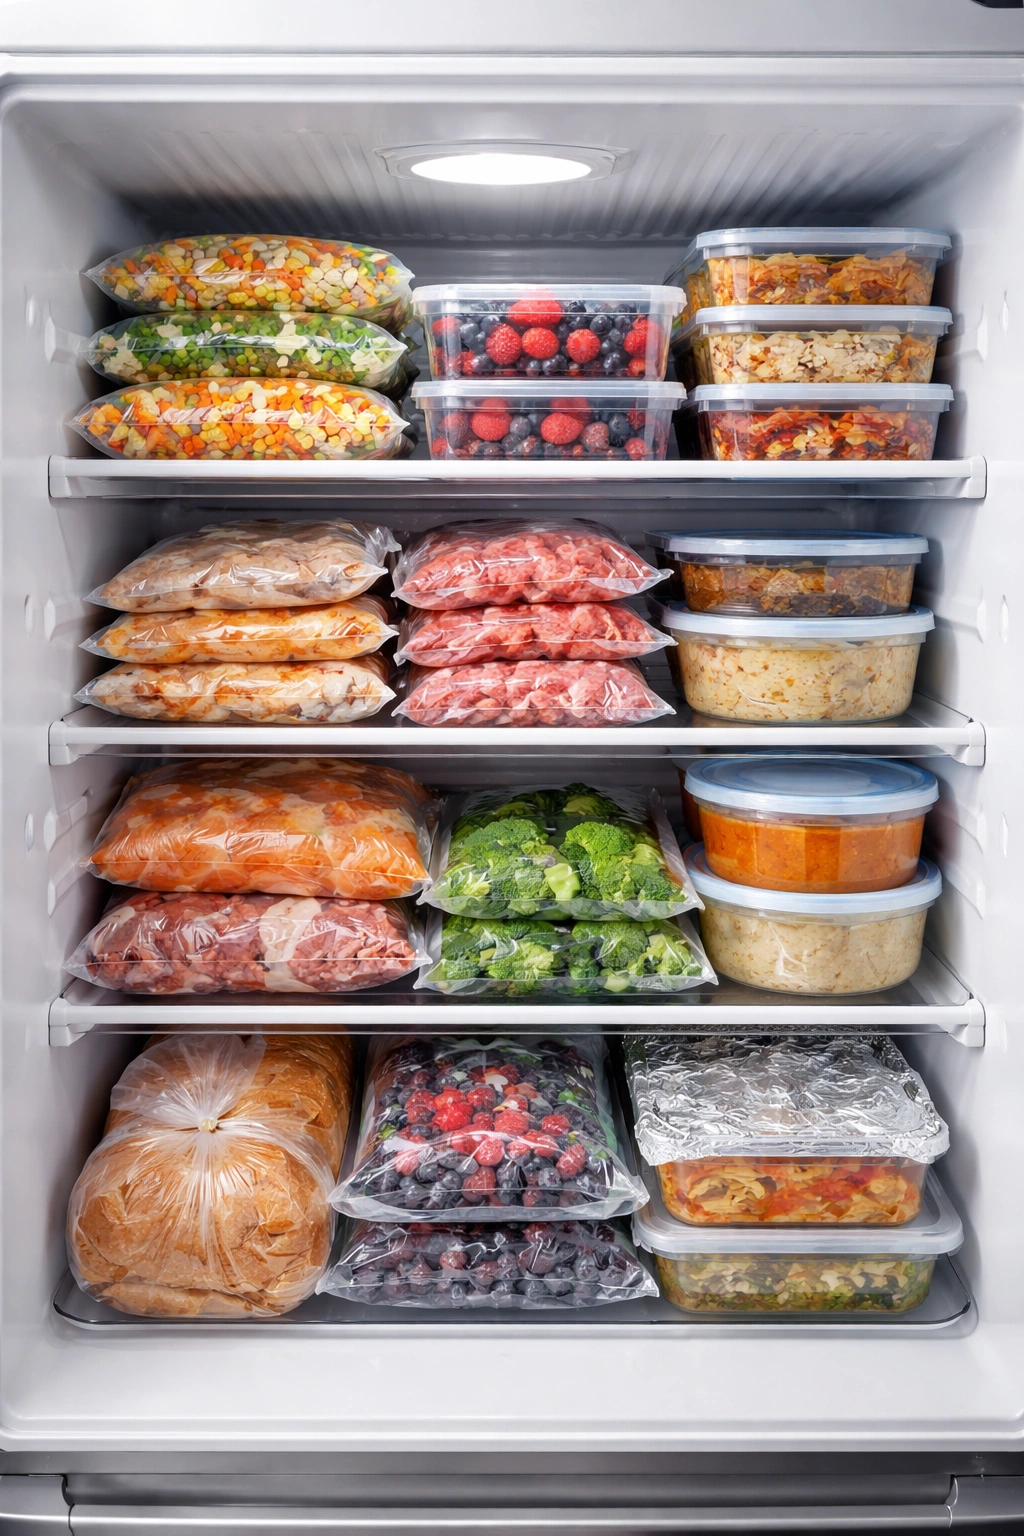
Your freezer operates most efficiently and maintains the most consistent temperature when it’s properly full—but not packed to overflowing. The ideal freezer is about 75% full. This means enough food to maintain steady temperatures (food acts as thermal mass, helping regulate temperature), but enough space for cold air to circulate properly.
If your freezer is completely empty, it has to work harder to maintain cold temperatures, which uses more energy and creates temperature fluctuations. If your freezer is packed so tightly that nothing can move and air can’t flow between items, you create warm pockets where freezer burn develops more easily.
If you have an underfilled freezer, solve the problem by freezing containers of water. They take up space, help maintain temperature, and you can use them as ice packs if needed. As you use your frozen meals and the freezer empties out, you’re already rotating the ice packs out anyway.
When you do add new food to your freezer, don’t add everything at once in large quantities. Freezing an enormous batch of unfrozen food at the same time will temporarily raise your freezer’s temperature, which affects all the frozen food already stored there. Instead, freeze new food in smaller batches—a few items at a time—which minimizes temperature fluctuation.
Use the Vacuum Sealing Method
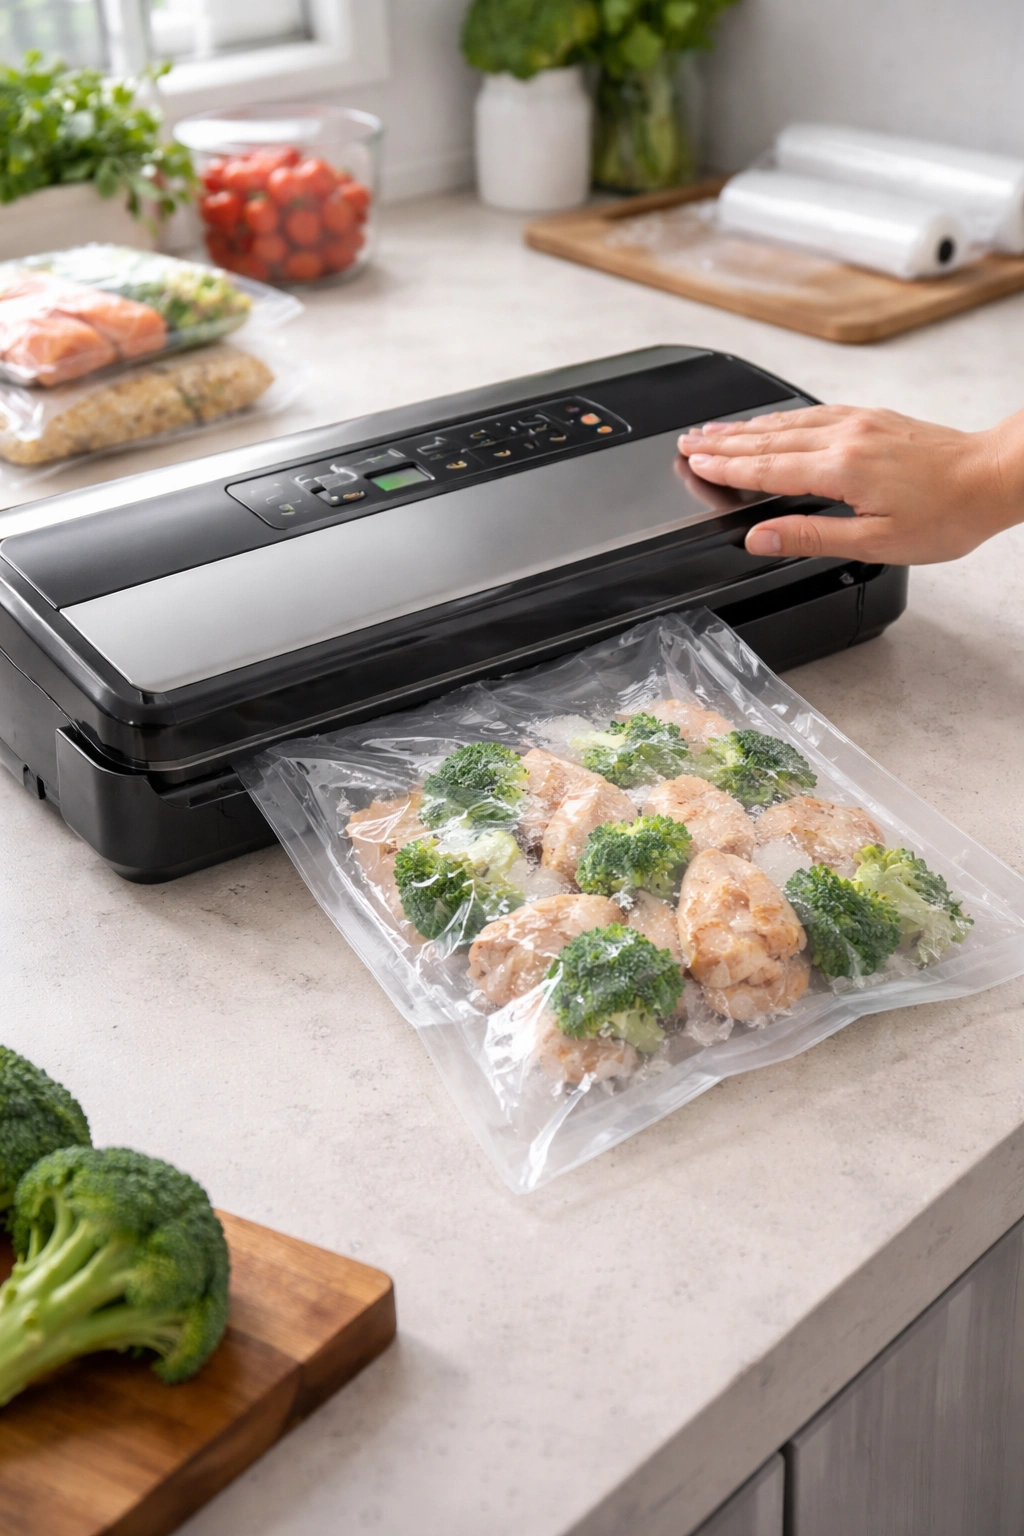
If you’re serious about long-term freezer meal prep and want the absolute best results, a vacuum sealer is the single most effective tool you can invest in. This method removes virtually all air from specially designed bags, creating an almost airtight seal that prevents any moisture escape.
Vacuum sealing works because it removes air entirely, eliminating the mechanism through which sublimation occurs. Food vacuum-sealed and frozen properly will last far longer—up to nine months or more—without developing noticeable freezer burn. In comparison, food stored in regular freezer bags should ideally be used within four months for optimal quality.
Vacuum sealers range from basic handheld models (around twenty dollars) to sophisticated food-saver style machines (fifty to one hundred dollars). The basic models work fine, though they’re not as durable as pricier versions. The key is to use proper vacuum-sealer bags—regular freezer bags won’t work with the machine because they’re not designed to create an airtight seal.
The technique is simple: place your cooled food in a vacuum-sealer bag, insert the open end into the machine’s sealing slot, and press the button. The machine removes the air and seals the bag in seconds. Some bags have a special valve that allows you to manually remove air as an alternative to running the machine.
If you don’t want to invest in a vacuum sealer, the water displacement method mentioned earlier (using a regular freezer bag and a pot of water) gives you about 80% of the benefit at zero cost.
Flash Freeze Items Before Final Storage
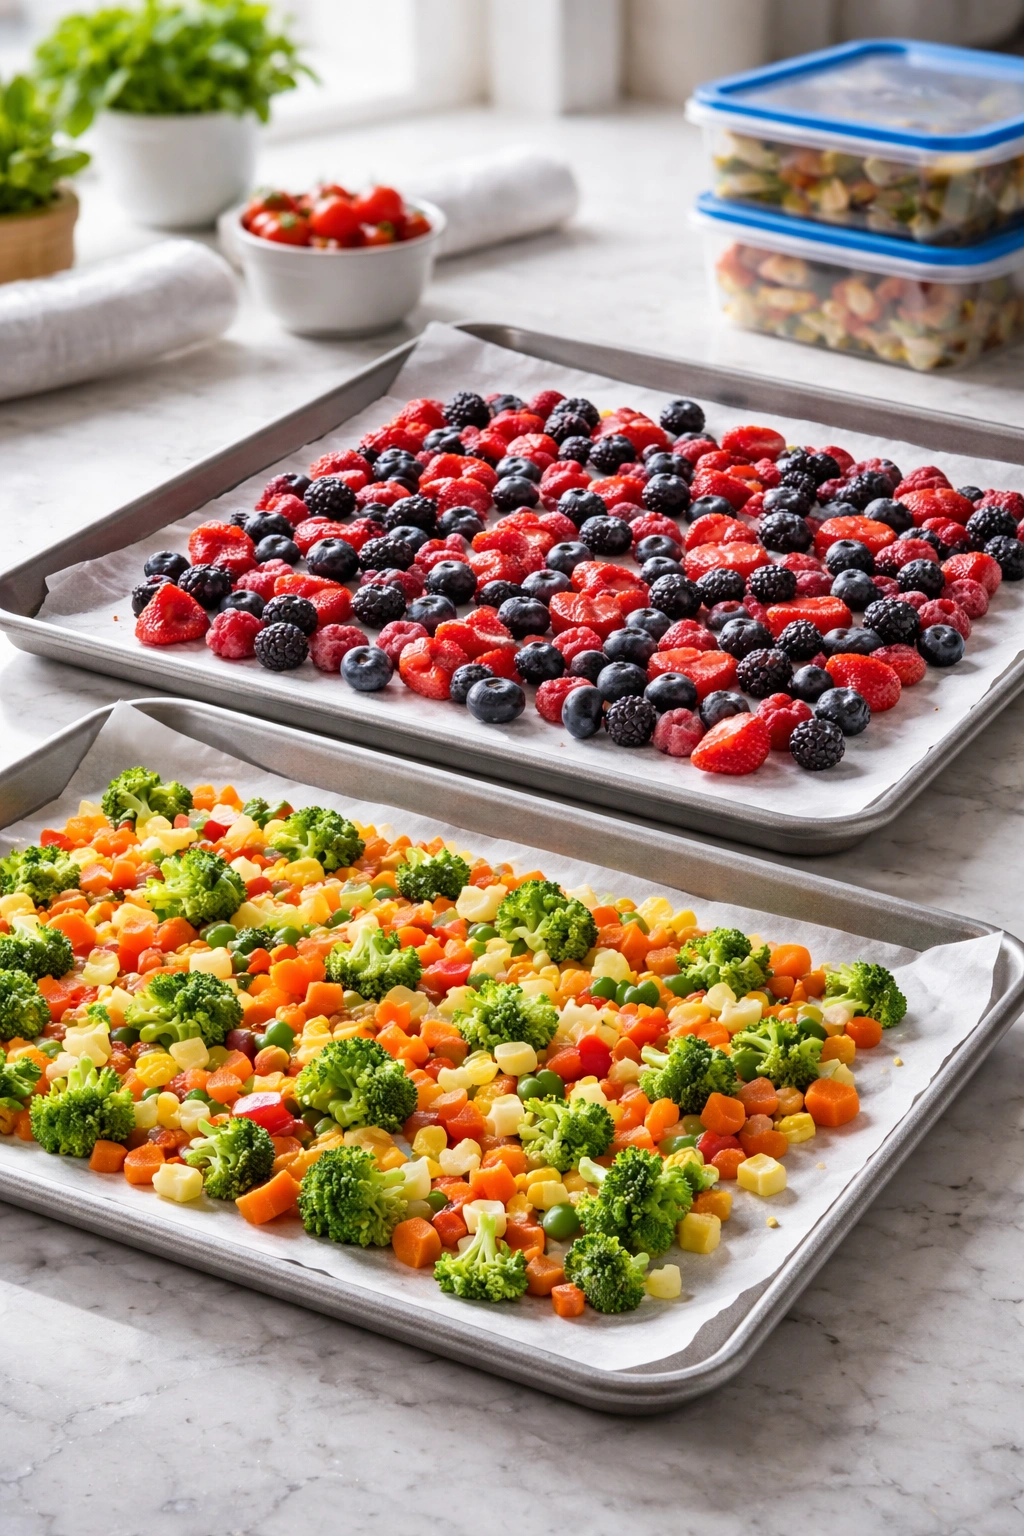
Flash freezing is a technique that’s especially valuable for items that stick together when frozen—berries, diced vegetables, individual portions of ground meat, or prepared meal components.
The principle is simple: freeze items individually on a baking sheet first, then transfer them to freezer bags for final storage. This prevents them from clumping together into one solid block, which is incredibly inconvenient when you just want a portion.
For berries or diced vegetables, spread them in a single layer on a parchment-lined baking sheet and freeze uncovered for two to three hours until completely solid. Then transfer them to a freezer bag, remove air, and seal. Now you can grab just the amount you need without thawing the entire batch.
For ground meat, brown it, let it cool completely, spread it on a parchment-lined sheet in a thin layer, freeze until solid, then break it into chunks and bag. This gives you portioned ground meat that you can thaw the exact amount you need.
Flash freezing also has the advantage of speeding up the overall freezing process. These items are on a thin sheet so they freeze quickly—which means smaller ice crystals and better quality. Then when you transfer them to bags, they’re already frozen solid so they don’t have to go through another slow freeze cycle.
Label Everything and Use FIFO Method
You can do everything perfectly when freezing, but if you don’t remember what’s in your freezer or how long it’s been there, you’ll end up throwing away good food. Every single item you freeze should be clearly labeled with the contents and the date frozen.
Use freezer tape or a dry-erase marker directly on bags and containers. Write the food name, any relevant details (like “beef stew with mushrooms” not just “stew”), and the date. Avoid fancy or vague labeling—when you’re hungry and in a hurry, you don’t want to have to guess whether that container is tomato soup or some other red sauce.
Use the FIFO method—First In, First Out—which means using the oldest frozen items first. When you add new food to your freezer, move older items to the front so you naturally grab them first. Keep your inventory list updated so you know what you have and how old each item is.
This practice serves multiple purposes. It prevents waste because you use food before it gets pushed to the back and forgotten. It also reduces the time food spends in your freezer, which automatically means less risk of freezer burn, even with perfect storage conditions.
Know How Long Different Foods Last
Freezing doesn’t preserve food forever. Different foods have different optimal frozen storage times based on their composition and how well they freeze. Understanding these guidelines helps you plan what to freeze and when to use it.
Soups, stews, and sauces (particularly those without cream) keep well for three to four months and often taste great for up to six months. Cooked meats and poultry last about three months. Raw meat, poultry, and fish last longer when raw—beef and pork can keep for six months, while fish should be used within three months. Baked goods last about three months. Cooked rice and pasta dishes keep for one to two months.
The key word here is “optimal.” Food doesn’t suddenly become unsafe after these timeframes. According to the USDA, food stays safe in a consistently cold freezer indefinitely. However, quality declines—freezer burn develops, flavors fade, texture suffers. After about nine months, even perfectly stored frozen food will show noticeable quality loss.
Plan your meal prep around these guidelines. If you’re freezing beef stew, plan to use it within three to four months. Don’t freeze it expecting to eat it in eight months. Keep your inventory list organized by type and date so you know at a glance what needs to be used sooner and what can wait.
How to Reheat and Use Frozen Meals Properly

How you thaw and reheat your frozen meals matters just as much as how you froze them. Improper thawing or reheating can undo all your careful freezing work, leaving your meal dry, overcooked, or unevenly heated.
The safest way to thaw anything is in the refrigerator—plan ahead and move your meal to the fridge the night before you want to eat it. This slow thaw is gentle on your food and allows even thawing without hot spots. This method takes time, but it preserves quality best.
If you’re in a hurry, you can thaw in cold water. Seal your frozen meal in a bag and submerge it in cold water, changing the water every thirty minutes to keep it cold. This takes about an hour for smaller portions but is much faster than refrigerator thawing.
Don’t thaw at room temperature—this puts food in the bacteria growth danger zone for too long. And while microwave thawing is fast, it often creates hot spots that begin cooking the food unevenly while other parts remain frozen.
When reheating, the “low and slow” method is safest and best for quality. Reheat on the stovetop over medium or medium-low heat, covered, adding a splash of water or broth to prevent sticking. This gradual reheating allows heat to penetrate evenly without drying out the food. Oven reheating works similarly—cover your food and reheat at 325°F to 350°F until heated through.
Microwave reheating is fastest but use it only for items that won’t be negatively affected by the dry heat. Use 50% power and stir occasionally for more even heating. Frozen soup reheated in the microwave often comes out unevenly hot, so the stovetop is really preferable.
Never refreeze thawed food unless it was thawed in the refrigerator and only partially cooked. Once thawed, use your meal within a few days.
Wrapping Up
Preventing freezer burn comes down to understanding the mechanism (air exposure causes moisture loss) and applying consistent techniques that eliminate that exposure. This isn’t complicated, but it does require attention—removing air, maintaining cold temperatures, organizing well, and using your frozen food within reasonable timeframes.
Start with the absolute easiest change: make sure your freezer is at 0°F and keep your food completely cool before freezing. These two simple steps eliminate the majority of freezer burn problems. From there, add layers of protection based on how long you plan to freeze items and how much quality matters to you.
With these techniques in place, your frozen meals will taste remarkably close to freshly prepared food, even months after freezing. That’s the whole point of freezing—not to settle for inferior food, but to preserve your work at its peak quality. You’ve invested time in meal prep; make sure that investment pays off by freezing intelligently.