When you’re hit with a sudden dessert craving at 11 PM, a craving that won’t quit, the last thing you want to do is fire up the full oven, measure out cup after cup of ingredients, and wait 30 minutes for a baked good to come together. Mug cakes are the answer to that exact frustration. These single-serving cakes microwave in just 3-5 minutes and deliver actual cake texture and flavor—not rubbery disappointment. Better yet, you probably already have everything you need in your kitchen right now.
The magic of mug cakes is that they meet you exactly where you are: impatient, hungry, and armed with a microwave. No mixer, no preheating, no cleanup nightmare. Mix a few ingredients in the mug you’ll eat from, hit the microwave button, and within seconds you’re biting into warm, fluffy cake. Whether you crave chocolate, vanilla, or something wild at midnight, mug cakes make it happen in less time than it takes to put on shoes and walk to a dessert shop.
The beauty isn’t just speed—it’s precision. A full-size cake recipe demands exact proportions and careful technique, but mess up slightly and you’ve wasted ingredients and effort. Mug cakes are forgiving. The small volume, short cooking time, and unique microwave environment actually work in your favor, creating a texture that’s often moister and more tender than traditionally baked cakes. This guide walks you through everything: how they work, exactly how to make them, common pitfalls and how to sidestep them, and creative variations that transform a simple mug cake into something genuinely special.
Why Mug Cakes Actually Work (The Science Behind the Magic)
The reason mug cakes work—when so many other single-serving microwave desserts taste like rubber—comes down to moisture, heat distribution, and the unique properties of microwave cooking. Traditional cake baking relies on dry heat that gradually sets proteins and starches while water evaporates. Microwaves work completely differently: they heat water molecules directly, causing them to vibrate and create steam that rises through the batter.
This steam is the secret. In a mug, steam gets trapped in the small enclosed space and penetrates the batter from all sides, creating a uniquely tender crumb. Traditional ovens produce drier cakes because steam escapes into the air; a mug cake keeps that moisture locked in. This is why microwave cakes, when done properly, often feel lighter and more delicate than you’d expect from something cooked in 90 seconds.
The small volume also matters tremendously. A mug cake cooks in the time it takes the center to set, before the edges can overcook and toughen. A full-size cake spends 25-35 minutes in the oven, which naturally dries it out somewhat. Your mug cake barely has time to become overdone, so it emerges with exceptional tenderness.
Ratio of ingredients matters more in mug cakes than in traditional recipes because there’s no buffer for error—everything is proportionally amplified. Too much flour and your cake feels dense; too much liquid and it’s gluey. But when you get the ratio right (and this guide shows you exactly how), the results are consistently impressive.
What You Actually Need: Equipment and Pantry Essentials
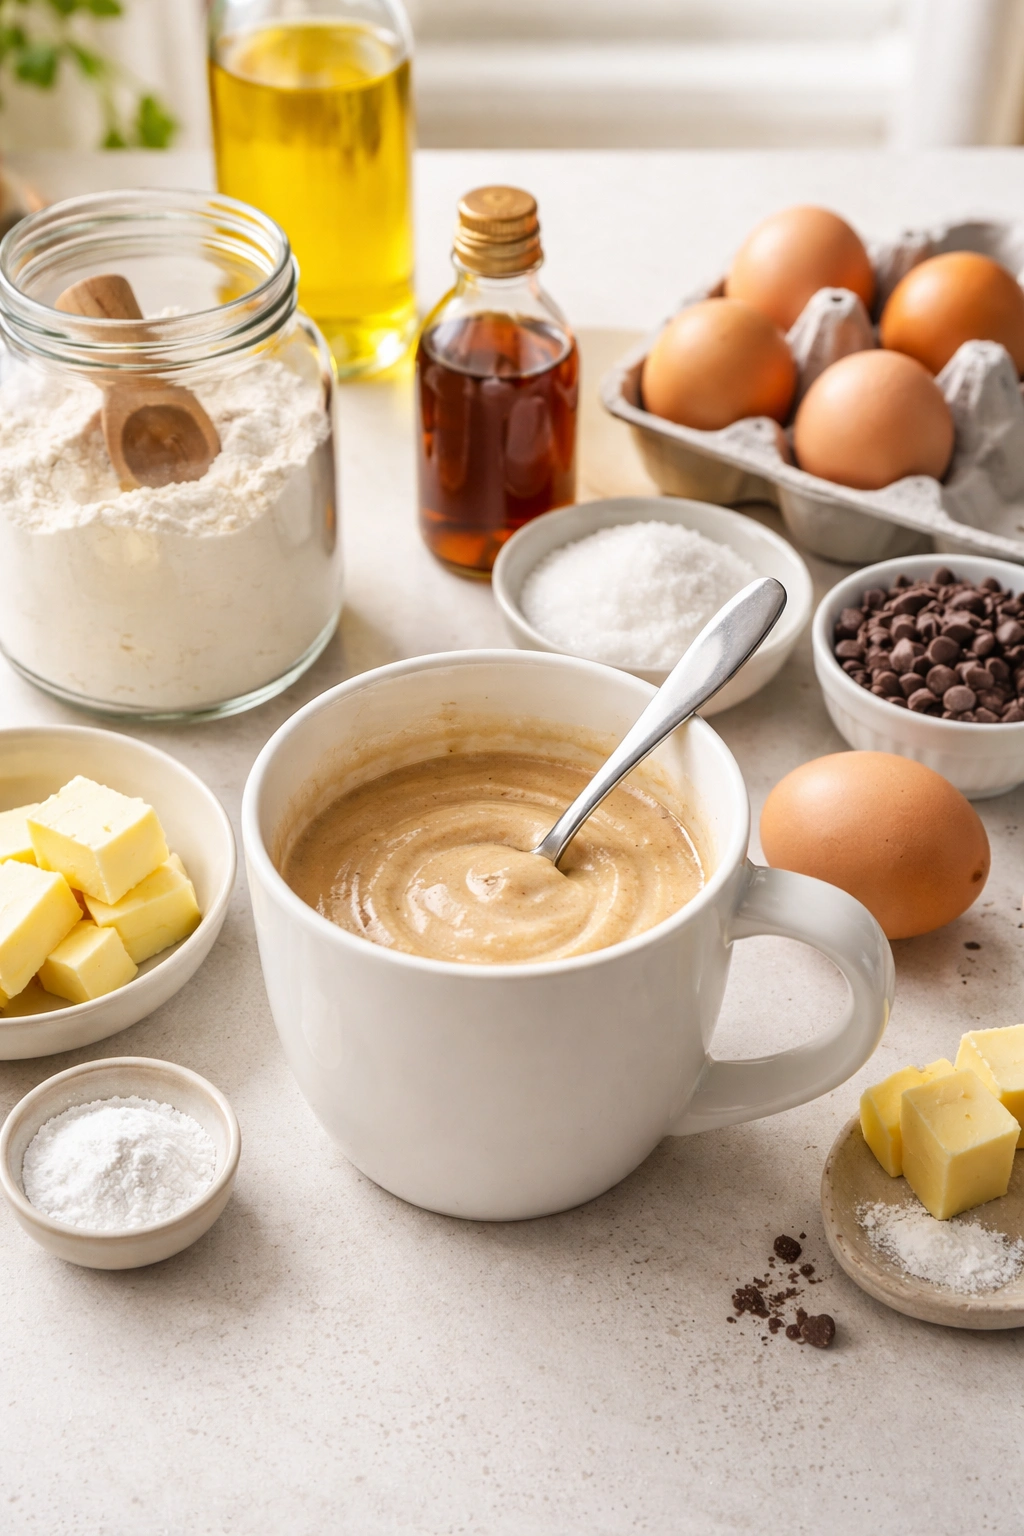
You don’t need much to make mug cakes, which is exactly the point. A microwave-safe mug is the essential starting point—choose ceramic or glass, never metal, and make sure it’s truly microwave-safe (check the bottom for a microwave symbol). A standard 8-12 ounce mug works best; it needs enough headroom so your cake can rise without overflowing, but not so much volume that the batter spreads too thin.
For mixing, a fork works perfectly. You’re not creaming butter or whipping eggs, just stirring ingredients together in less than a minute. A small spoon or your fork handle can incorporate everything right in the mug. This is the entire equipment list—literally that simple.
Regarding ingredients, keep these staples on hand for anytime mug cake emergencies: all-purpose flour, granulated sugar, cocoa powder, baking powder, salt, vegetable oil, water or milk, and vanilla extract. These basics unlock dozens of flavor variations. Eggs are optional (mug cakes work with or without them), but they do add richness and help the cake rise higher. Keep an eye on your cocoa powder especially—it has a long shelf life, but old cocoa tastes flat and bitter, which absolutely ruins a fast dessert like this.
The quality of cocoa powder makes a real difference in chocolate mug cakes. Dutch-process cocoa (the darker, more processed kind) creates richer flavor and deeper color. Natural cocoa powder tastes sharper and more traditionally chocolate-like. Both work beautifully; it’s a matter of preference. Similarly, vanilla extract isn’t optional if you want the finished cake to taste like more than just sweet flour—it adds warmth and complexity that makes people ask what you put in it.
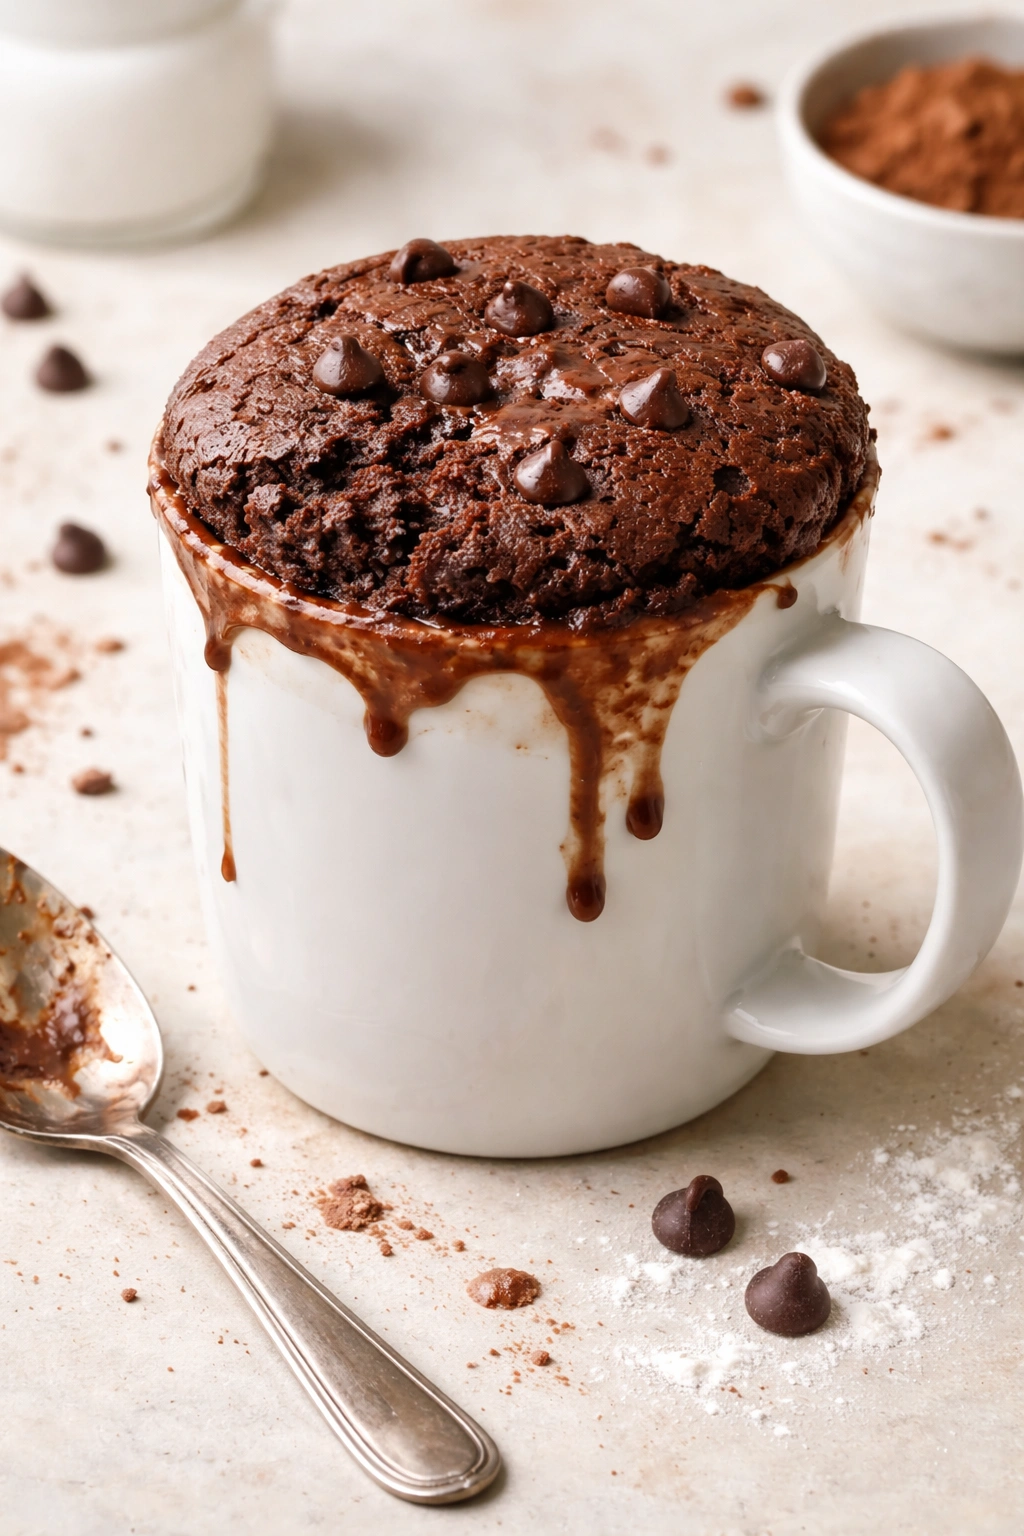
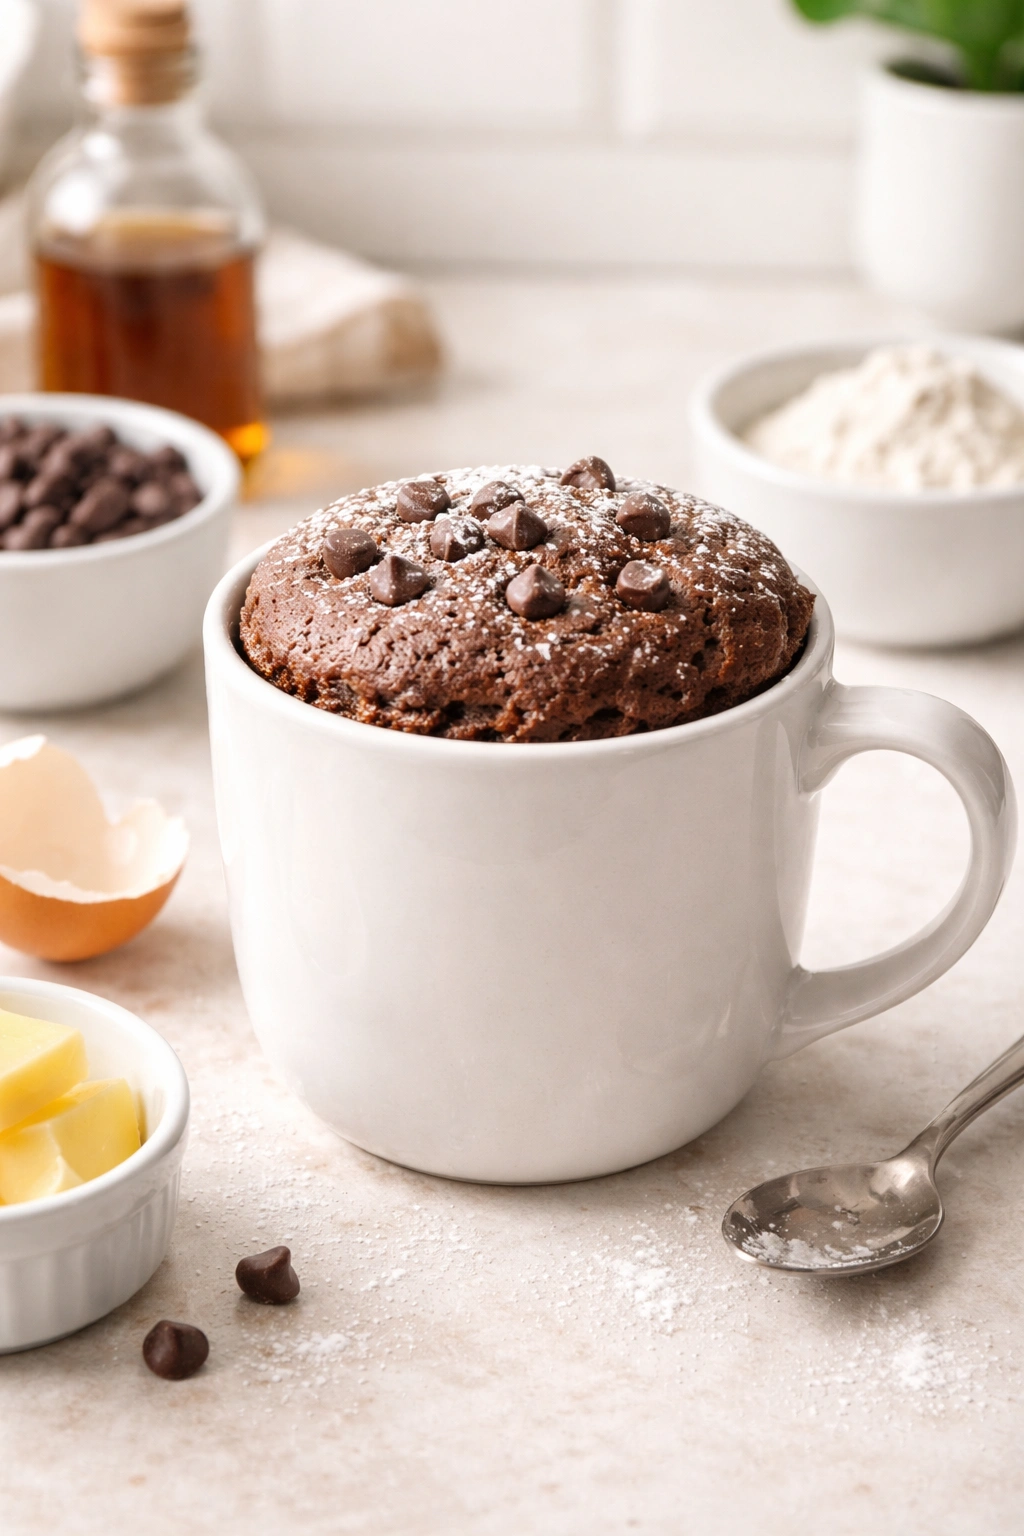
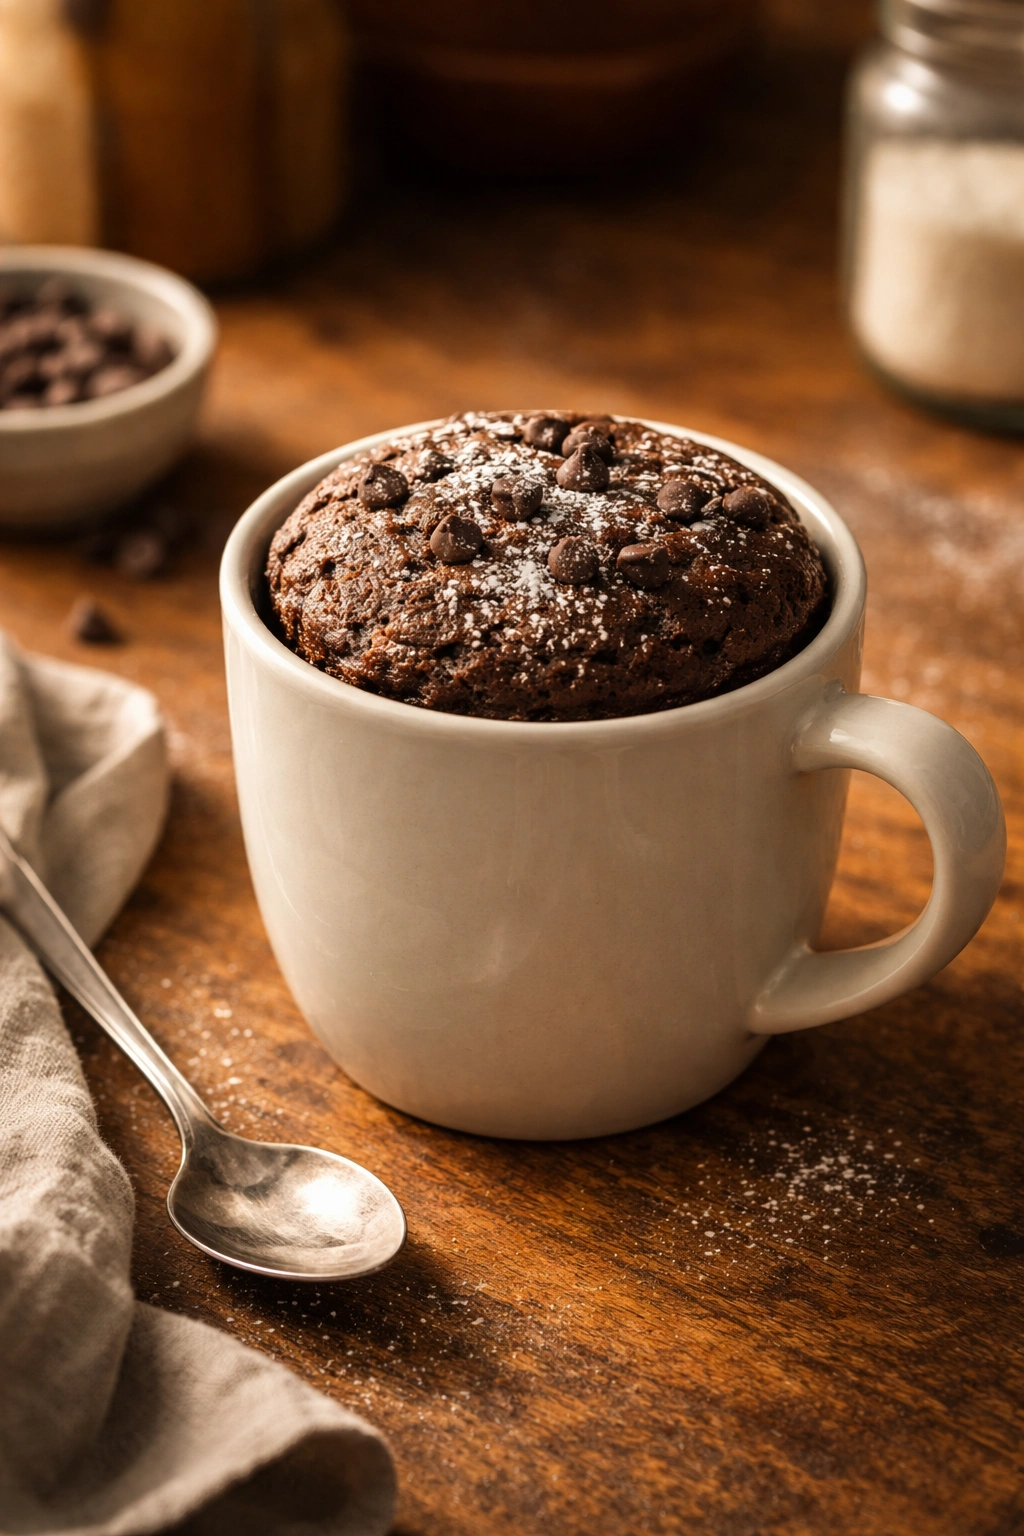
Classic Chocolate Mug Cake: The Foundation Recipe
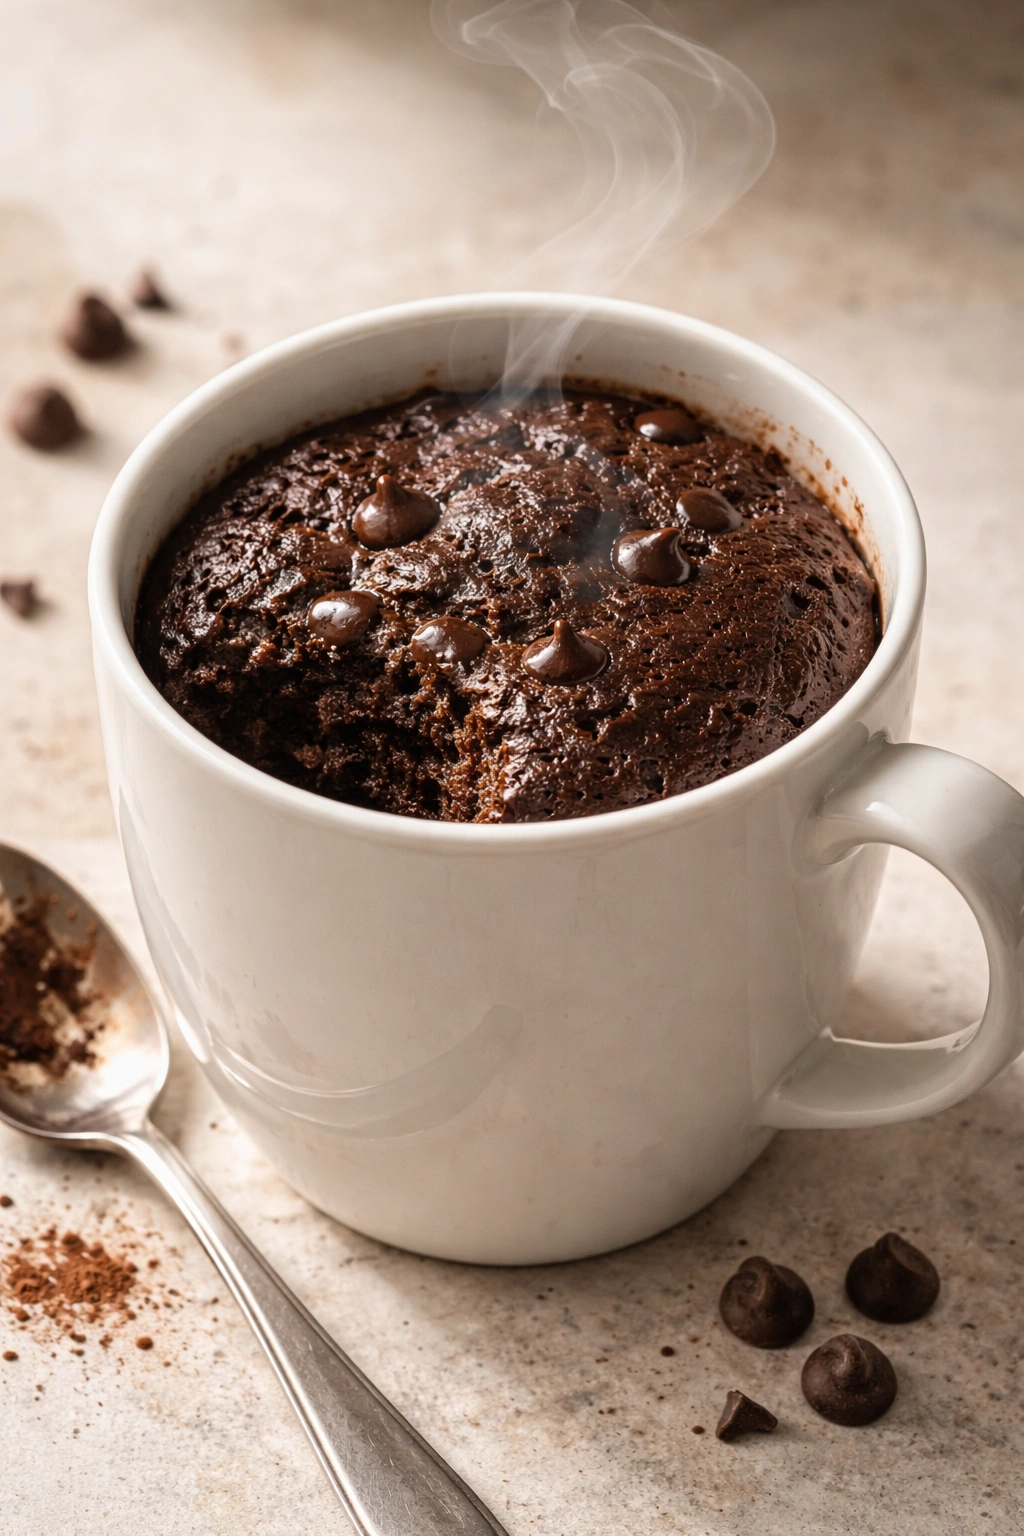
This is the recipe that started mug cake obsessions everywhere. It’s reliable, customizable, and genuinely delicious. The method is so straightforward that you can make this without measuring spoons if you’re willing to eyeball a bit—though proper measurements ensure better results every time.
Yield: Serves 1 | Makes one generous mug cake
Prep Time: 3 minutes
Cook Time: 2 to 3 minutes in the microwave
Total Time: 5 to 6 minutes
Difficulty: Beginner — No special equipment required beyond a mug and fork; the steps are completely straightforward.
Best Served: Immediately while warm and the cake is still steaming
For a Single Mug Cake:
- ¼ cup all-purpose flour
- ¼ cup granulated sugar
- 2 tablespoons unsweetened cocoa powder
- ⅛ teaspoon baking powder
- Pinch of fine salt
- 3 tablespoons whole milk (or water, or plant-based milk)
- 2 tablespoons neutral vegetable oil
- 3 tablespoons hot water
- ¼ teaspoon pure vanilla extract
- Optional: 1 tablespoon of your favorite add-ins (chocolate chips, mini marshmallows, crushed cookies, peanut butter swirl)
Instructions:
Mix the Dry Ingredients:
-
Add the flour, sugar, cocoa powder, baking powder, and salt directly into your microwave-safe mug. Use a fork to whisk these dry ingredients together until completely combined and you see no streaks of cocoa powder—this takes about 30 seconds. This step is critical because you won’t have a mixer to fully combine everything, and cocoa powder loves to clump.
Advertisements -
Make a small well in the center of the dry ingredients with the back of your fork—don’t mix it yet, just create a little indent where you’ll pour the wet ingredients.
Add the Wet Ingredients:
-
Pour the milk, oil, and hot water into the well. Add the vanilla extract. Stir everything together with your fork, mixing from the bottom of the mug outward, just until you don’t see any streaks of dry flour. Do not overmix—overmixing develops gluten and creates a tough, dense cake. A few tiny lumps are okay; they’ll disappear as the cake cooks. Aim for a smooth batter that looks like thick pancake batter.
-
If you’re adding any mix-ins (chocolate chips, marshmallows, or crushed cookies), fold them in now with just 2-3 gentle stirs. They’ll cook into the cake as it microwaves.
Microwave to Perfection:
-
Place your mug in the microwave and cook on high power for 1 minute 30 seconds to 2 minutes 30 seconds, depending on your microwave’s strength. Most standard microwaves work best at the 2-minute mark. The cake will rise dramatically—don’t be alarmed, this is supposed to happen. It will rise up the sides of the mug and look like it’s overflowing, but it rarely actually spills.
-
Stop the microwave after the first minute to check progress. At that point, the edges should look set and the very top should look slightly underdone—almost wet—but not completely liquid. Return it to finish cooking. Residual heat will continue cooking the center after you remove it.
-
Remove the mug carefully—it will be extremely hot, so use a kitchen towel to grab the handle. Let it cool in your mug for exactly 1 minute. This matters. Mug cakes finish cooking from residual heat during this rest, and the texture transforms in that 60 seconds. It goes from too-soft to perfectly set.
Why This Recipe Works:
The ratio of wet to dry ingredients is calibrated for microwave cooking specifically. Too much flour and microwaves don’t have enough moisture to work with, resulting in dense cake. Too much liquid and the batter never fully sets and tastes gluey. This balance—about 5 parts liquid to 4 parts dry—creates the tender crumb.
The oil is crucial for tenderness (butter works too but creates a slightly denser cake). Oil coats flour particles more completely than butter, which keeps gluten strands from linking tightly. This is the same reason pastry chefs use oil in tender cakes and why mayonnaise makes outrageously moist chocolate cake.
The hot water is there for a specific reason: it blooms the cocoa powder, meaning the heat opens up the cocoa particles and allows them to fully hydrate and release flavor. When you combine hot water with cocoa, you’re unlocking maximum chocolate intensity in minimal time. If you substitute cold water, your chocolate flavor will taste muted and flat.
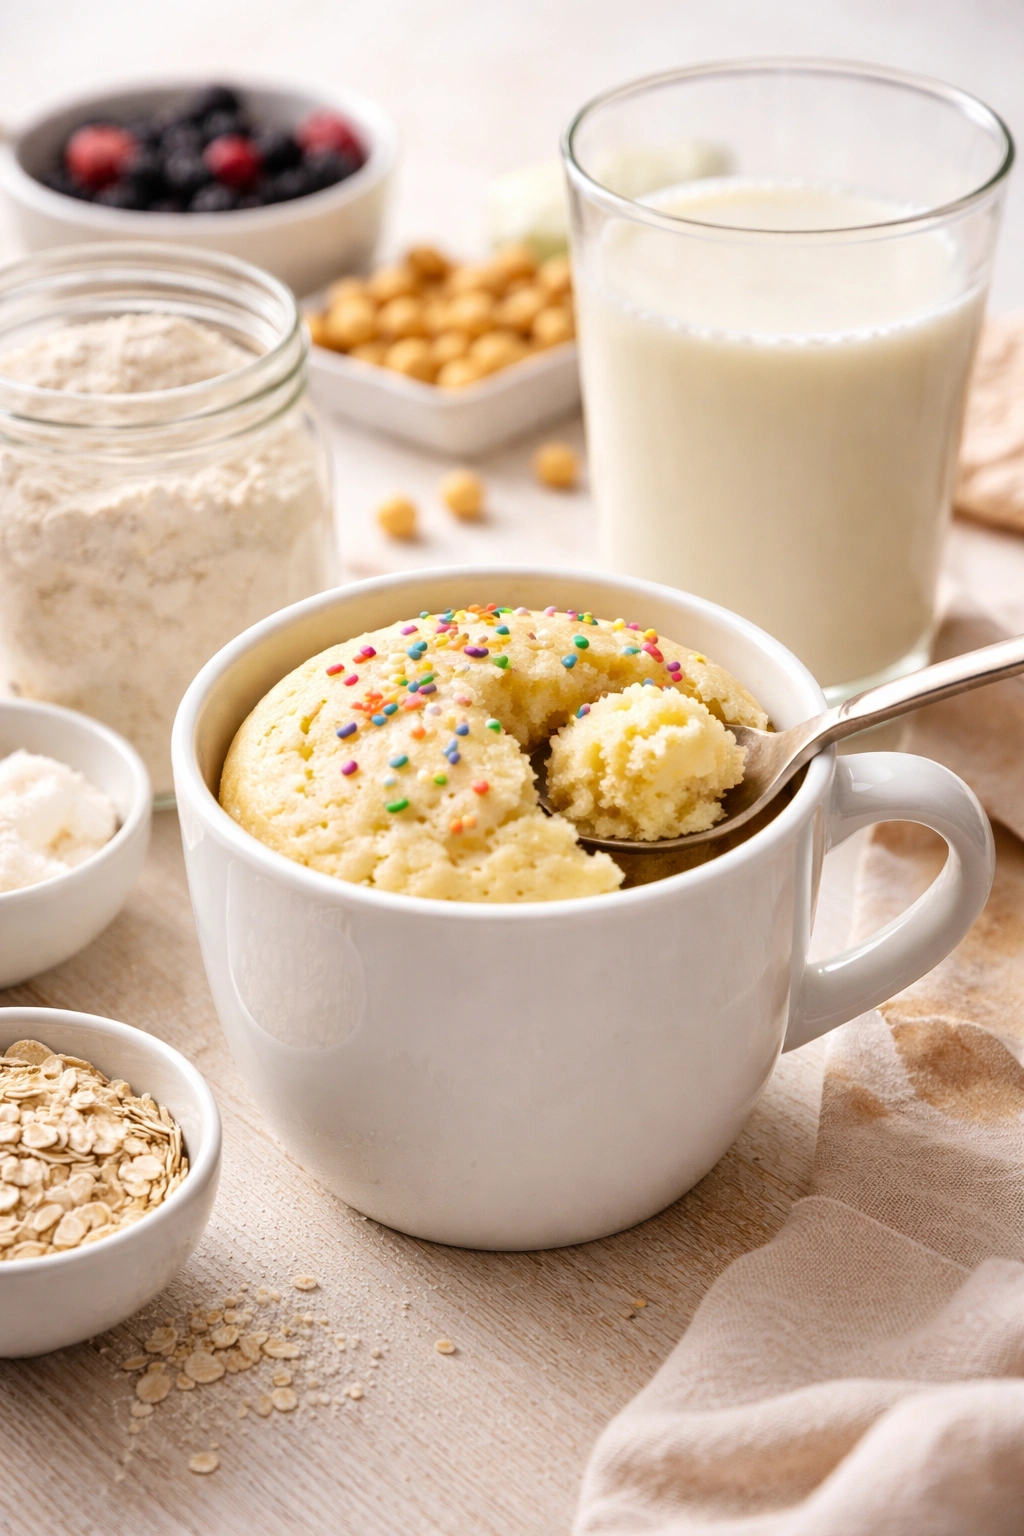
Vanilla Mug Cake (The Blank Canvas)
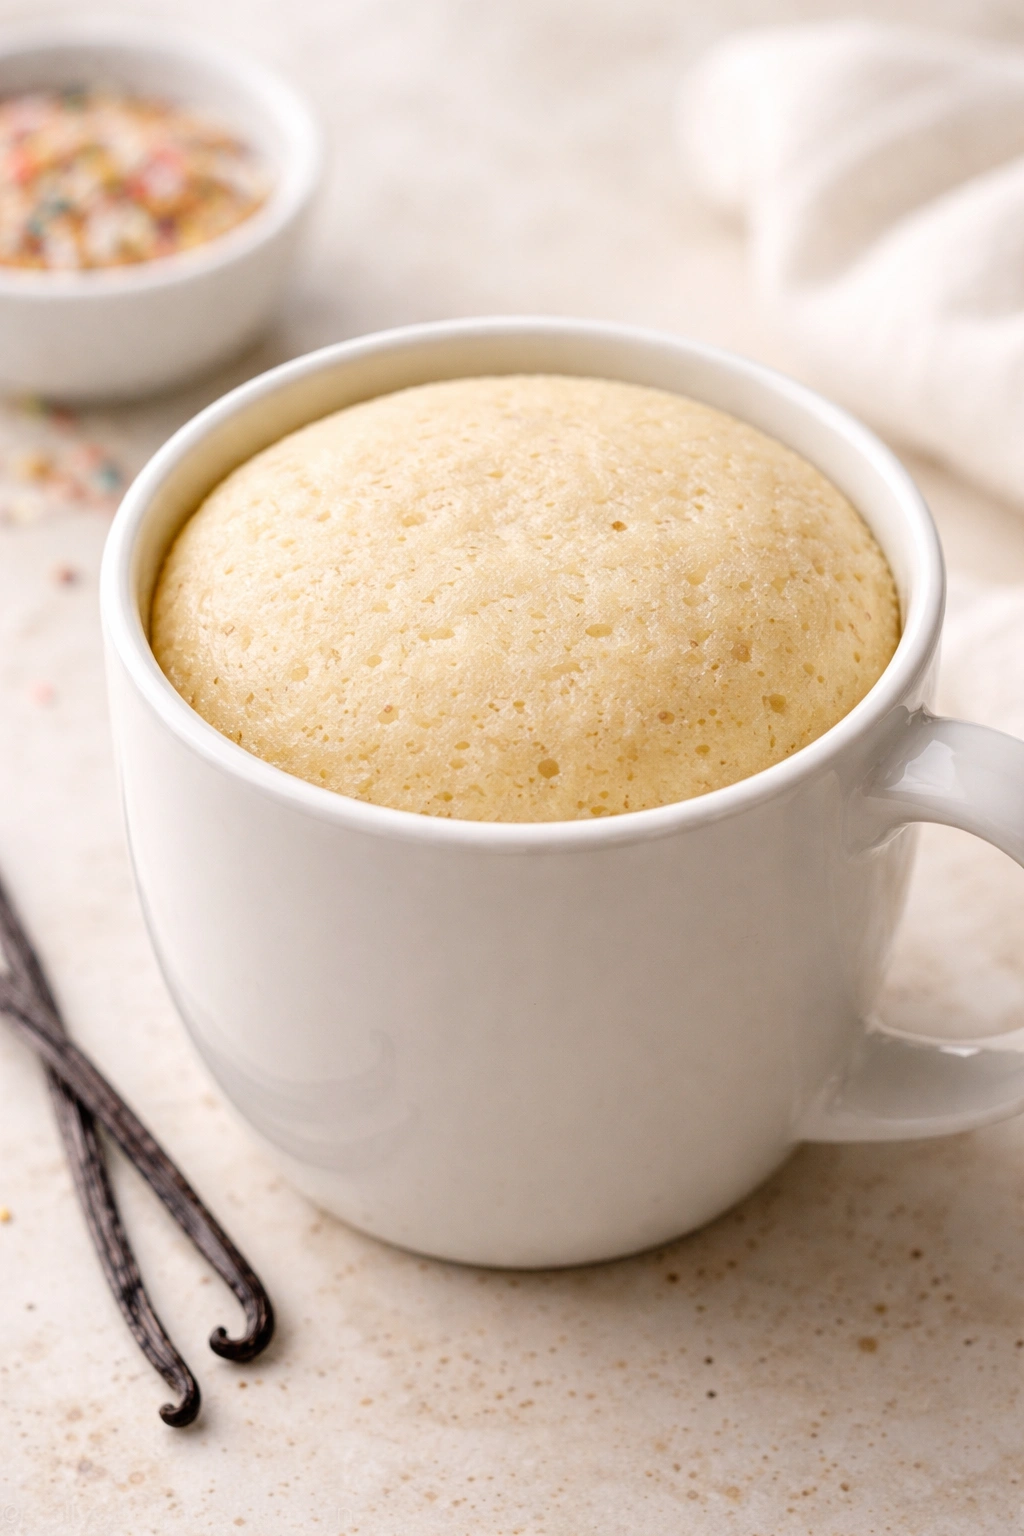
Not everyone wants chocolate for their 10 PM mug cake emergency. Vanilla is lighter, more versatile, and honestly more elegant if you’re planning to top it with fancy frosting or fresh fruit. This recipe uses the same technique and similar proportions, but skips the cocoa and emphasizes vanilla’s subtle complexity.
Yield: Serves 1
Prep Time: 3 minutes
Cook Time: 2 to 2½ minutes
Total Time: 5 to 6 minutes
For a Single Vanilla Mug Cake:
- ⅓ cup all-purpose flour
- ¼ cup granulated sugar
- ⅛ teaspoon baking powder
- Tiny pinch of fine salt
- 3 tablespoons whole milk
- 2 tablespoons neutral oil
- ¼ teaspoon pure vanilla extract (use good-quality vanilla; the flavor difference is dramatic in such a simple cake)
- Optional: ¼ teaspoon almond extract for subtle depth, or 2-3 drops of lemon extract for brightness
Instructions:
-
Add flour, sugar, baking powder, and salt to your mug. Whisk with a fork until completely combined. Create a well in the center.
-
Pour in milk, oil, and vanilla extract (plus any optional extract). Stir until just combined—no lumps, but don’t overmix.
-
Microwave on high for 2 to 2 minutes 30 seconds. Vanilla cakes cook slightly faster than chocolate because cocoa absorbs some microwave energy. Check at the 1-minute 30-second mark; the top should look almost underdone.
-
Let rest in the mug for 1 minute before eating.
Advertisements
The vanilla base is intentionally simple because vanilla cakes benefit from toppings and mix-ins. Add chocolate chips halfway through cooking, make a quick frosting swirl on top, dust with cinnamon sugar, or top with fresh berries. Vanilla mug cakes are your blank canvas for creativity.
Flavor Variations That Actually Taste Different
Once you understand the basic formula, you can create dozens of flavors. These aren’t guesses—they’re tested variations that work reliably in the mug cake method.
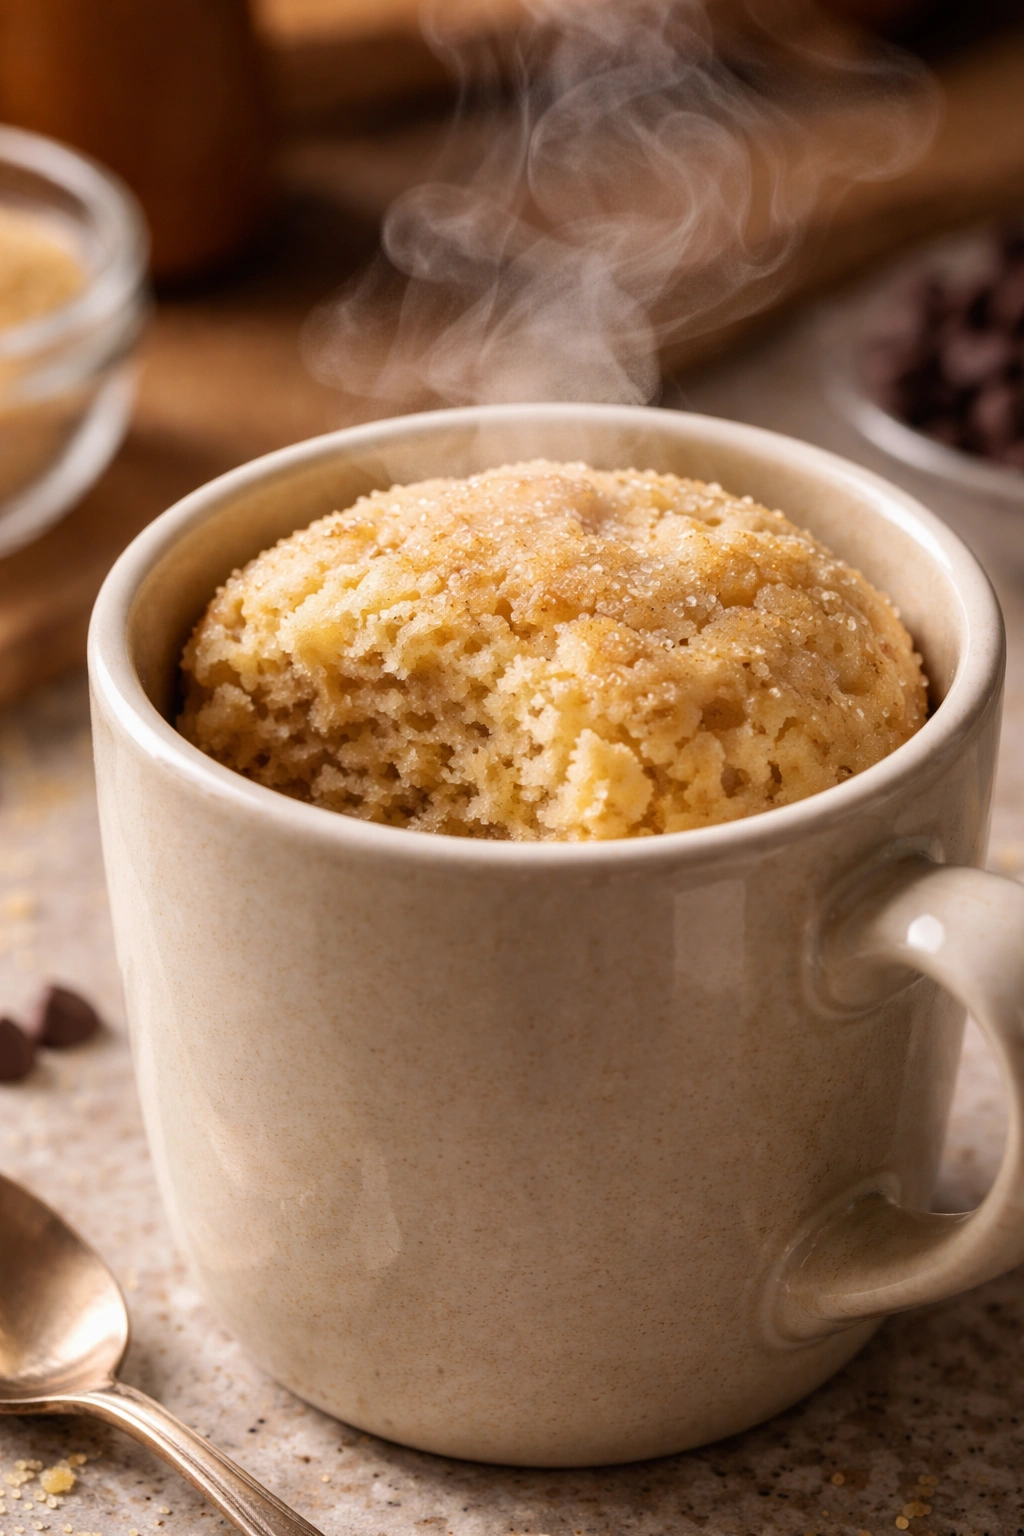
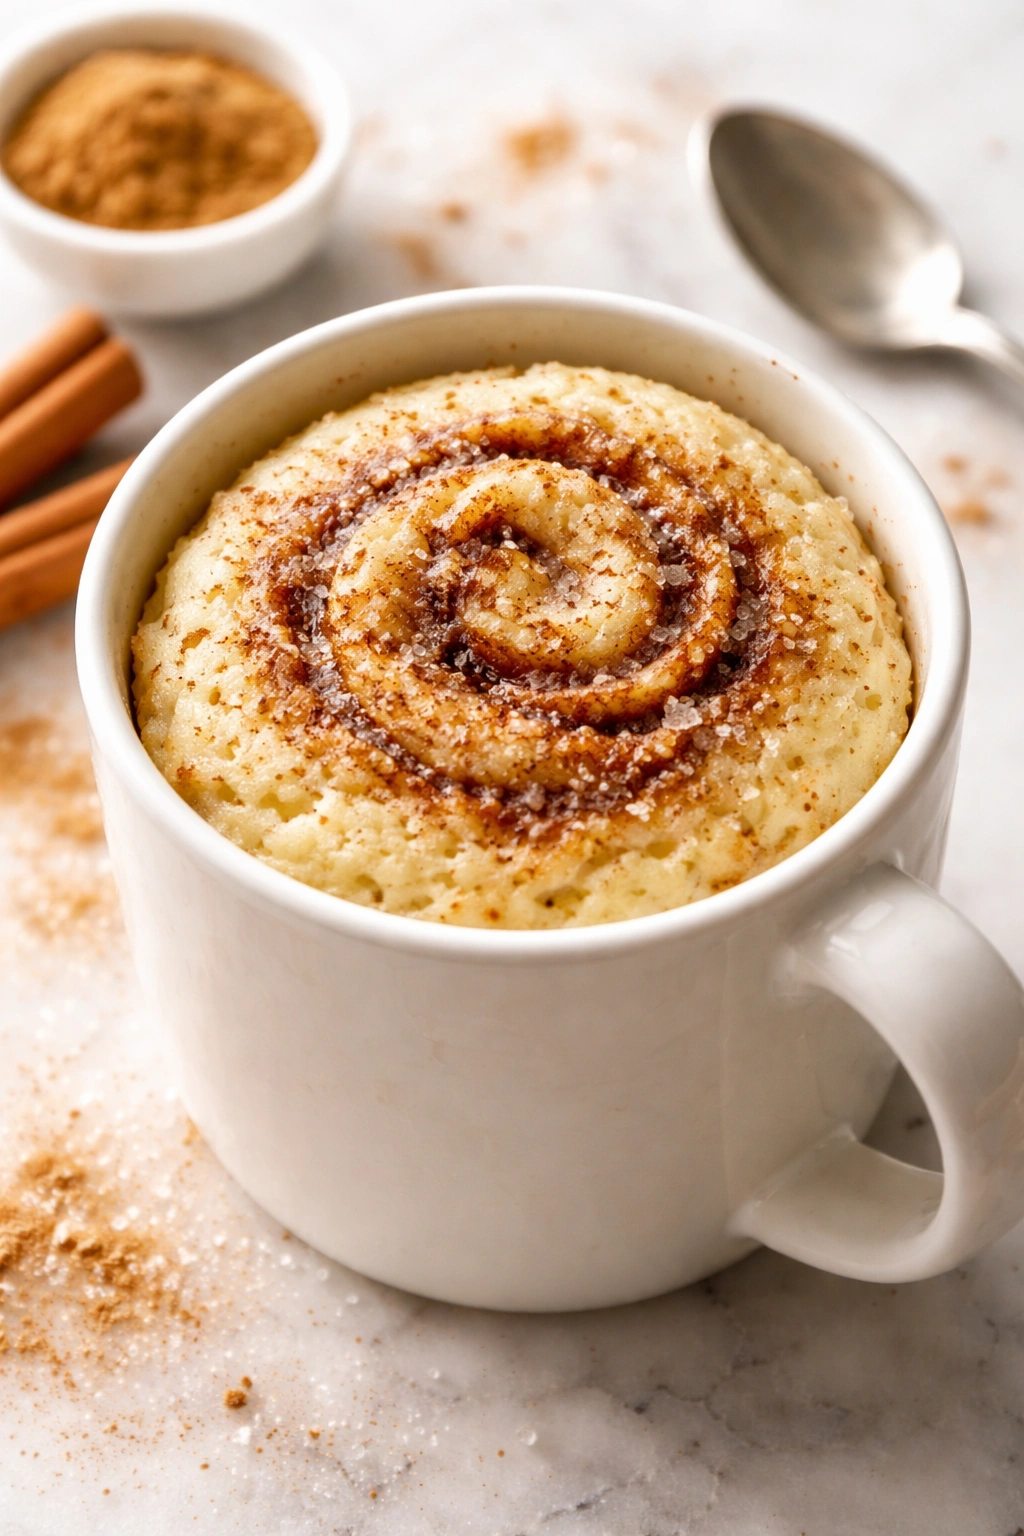
Cinnamon Roll Mug Cake
Use the vanilla recipe as your base. Before pouring into the mug, mix 1 tablespoon granulated sugar with ½ teaspoon ground cinnamon. Pour half your batter into the mug, sprinkle the cinnamon-sugar mixture over it, then top with the remaining batter. Swirl it together with your fork. The cinnamon sugar creates pockets of intense flavor as it melts into the cake. Top with a drizzle of cream cheese frosting if you’re feeling fancy.
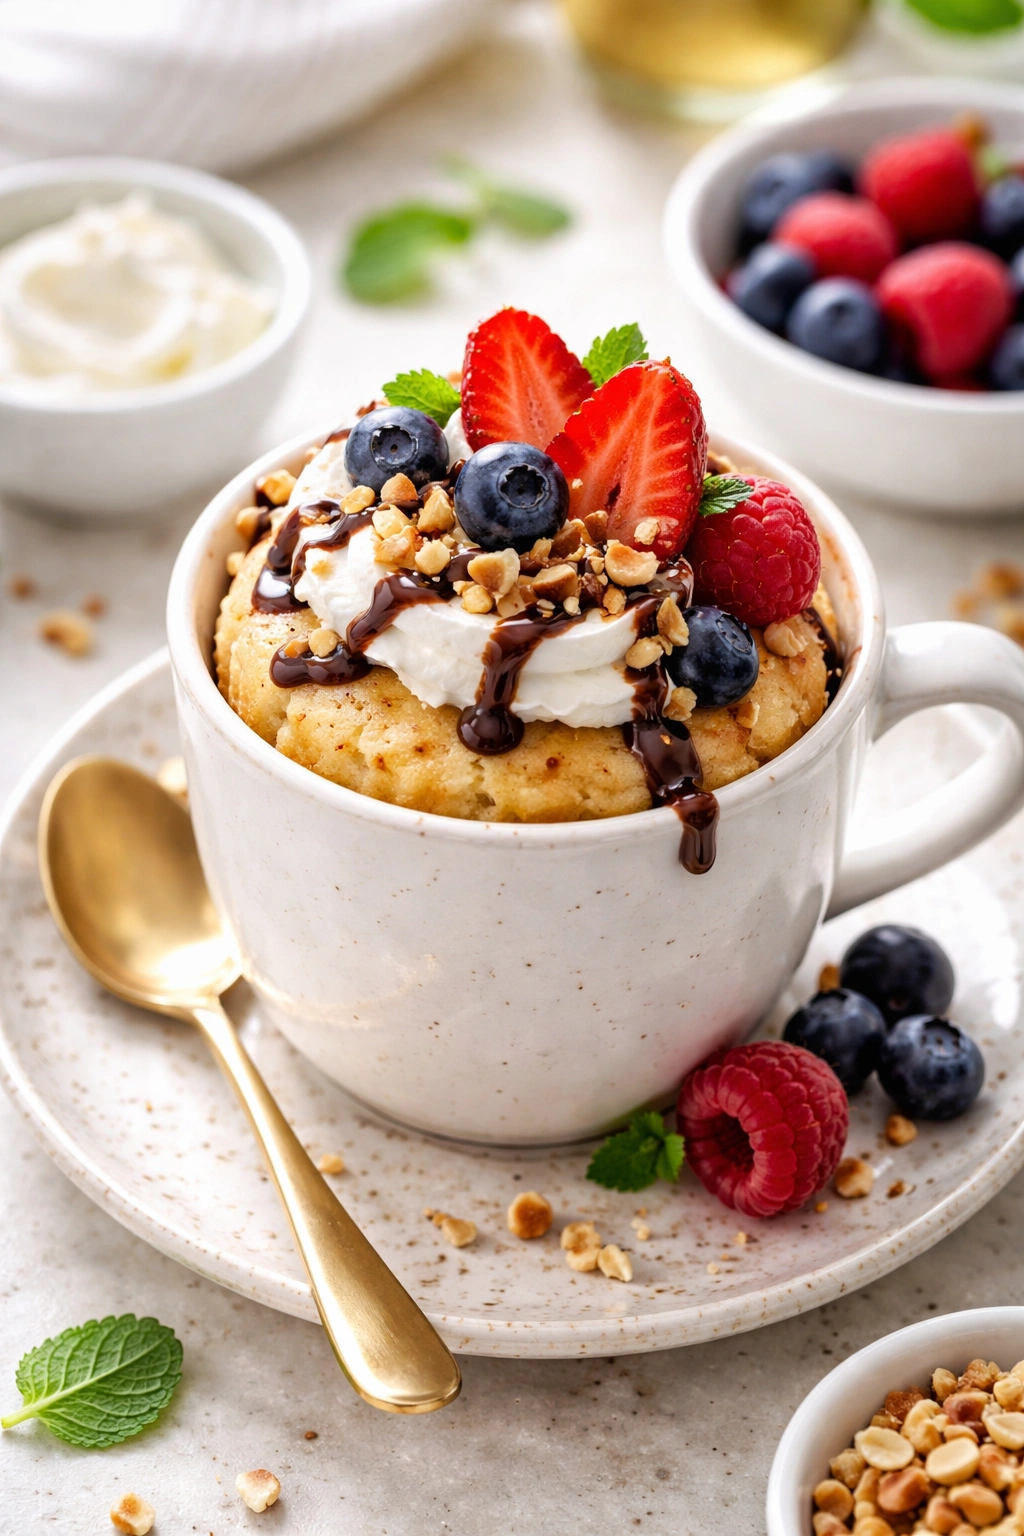
Strawberry Shortcake Mug Cake
Make the vanilla cake, but replace 1 tablespoon of the milk with fresh strawberry puree (just mash or blend fresh strawberries). Add a tiny pinch of lemon zest if you have it. When the cake is done, top it with whipped cream and sliced fresh strawberries. The strawberry juice soaks into the warm cake, creating a flavor that’s genuinely reminiscent of summer shortcake.
Espresso Chocolate Intensity
Add 1 teaspoon of instant espresso powder to the chocolate cake recipe. It doesn’t make the cake taste like coffee—instead, it deepens the chocolate flavor enormously, making it taste more complex and sophisticated. If you have strong brewed coffee, replace the hot water with cold brewed coffee and slightly reduce the milk (use 2½ tablespoons instead of 3).
Peanut Butter Cup Fusion
Make the chocolate cake, but replace 1 tablespoon of the flour with creamy peanut butter. Stir it in extra well so it distributes evenly. Add a few chocolate chips. When baked, you get ribbons of peanut butter throughout, creating that chocolate-peanut butter combination everyone loves.
Banana Bread Mug Cake
Use the vanilla base, but mash ¼ of a ripe banana and add it to the wet ingredients. Add ⅛ teaspoon of nutmeg to the dry ingredients. Top the finished cake with a sprinkle of chopped walnuts. It tastes like proper banana bread, not a weird fruit-flavored cake.
Gingerbread for Cozy Nights
Add ⅛ teaspoon each of ground ginger, cinnamon, and cloves to the chocolate cake base (the cocoa provides depth that balances the spices beautifully). The result tastes like winter dessert, warm and complex.
Common Mistakes That Ruin Mug Cakes (And Exactly How to Avoid Them)
Mug cakes are forgiving, but a few specific errors will consistently result in disappointing results. Understanding these lets you avoid them every single time.
Overmixing the batter is the single most common mistake. You’re not trying to create a perfectly smooth batter like you would for a traditional cake. You just need to combine all the dry ingredients into the wet ingredients so there aren’t visible streaks of flour. Three extra stirs that incorporate air and activate gluten will make your cake tough and dense. Mix until combined, then stop. Seriously stop mixing.
Using an undersized mug might seem clever (less cake to cook), but it creates a completely different problem. The batter rises as it cooks, and in a small mug with limited headroom, it overflows all over your microwave or creates a cake that’s too dense because the pressure is too high. Use at least an 8-ounce mug—preferably one that holds 10-12 ounces.
Cooking time is almost never one-size-fits-all. Microwaves vary wildly. A 2-minute cake in one microwave might be a sloppy puddle in another and completely overcooked in a third. The best approach: start at 1 minute 30 seconds, check the top of the cake, and add 15-second increments as needed. When the top looks almost undone but not liquid, stop. It’ll finish cooking while resting.
Skipping the rest period means your cake stays too soft and won’t have the proper texture. One full minute in the mug is not optional. During that minute, residual heat finishes cooking the center, moisture redistributes, and the cake firms up enough to eat with a fork instead of a spoon.
Using very old baking powder or baking soda means your cake won’t rise properly. It’ll be dense and flat. If your baking powder has been open for more than 6 months, replace it. This is not the place to experiment with aging ingredients.
Overfilling the mug with batter is tempting if you want a bigger cake, but it guarantees overflow. Fill the mug about two-thirds full with batter—the cake will rise and nearly fill the mug, but it won’t spill over.
Adding wet mix-ins (like fresh fruit or jam) instead of dry ones creates cold spots that don’t cook through properly. If you want fruit, either add it to the toppings after the cake is done, or use freeze-dried fruit that doesn’t release moisture.
Storage, Reheating, and Make-Ahead Strategies
Most of the appeal of mug cakes is their immediacy—the ability to have fresh warm cake in 5 minutes. But there are situations where you might want to make ahead or save leftovers.
Eating fresh is always best. A mug cake is at its peak when still warm, the crumb tender and the flavors bright. The moment it cools to room temperature, it stays perfectly good, but it loses that appealing warmth. If you’re making one for immediate eating, enjoy it within 10 minutes of cooking.
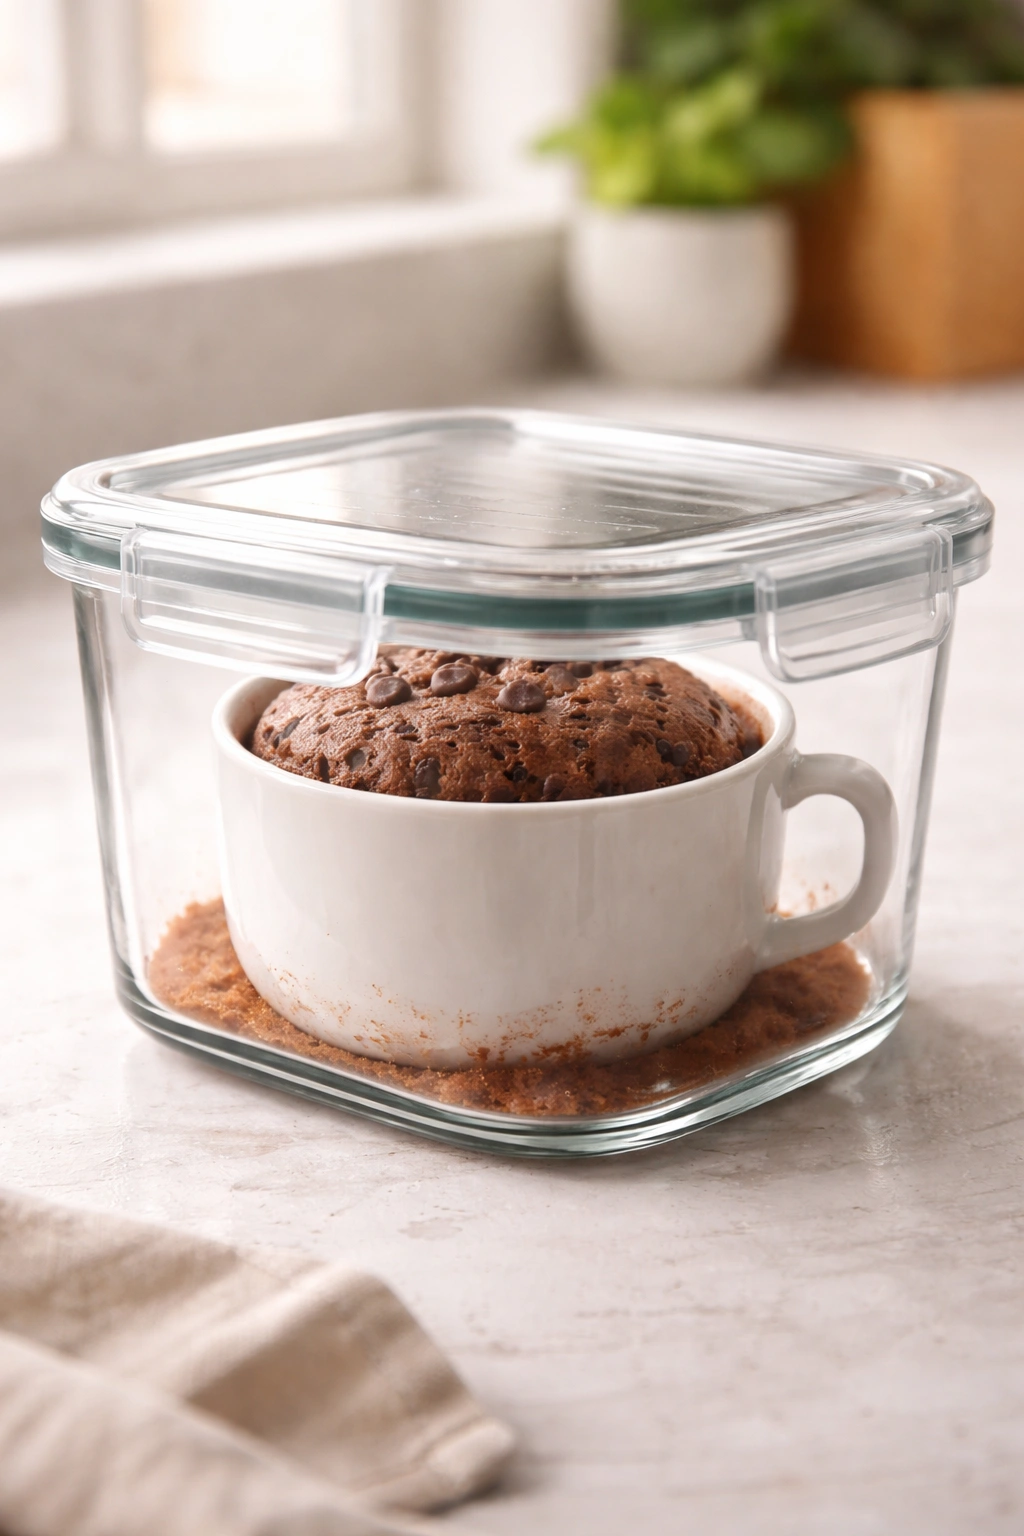
Storage at room temperature works for 1 day. Once cooled, transfer your mug cake to an airtight container or cover the mug tightly with plastic wrap. It’ll stay moist and palatable for 24 hours. After that, it begins to dry out noticeably.
Refrigerator storage extends things to 3 days. Keep it in an airtight container on a shelf (not the door, where temperature fluctuates). Cold mug cakes are denser than warm ones, but they’re still pleasant, especially if you reheat them.
Freezing works surprisingly well. Let the cake cool completely, wrap it very tightly in plastic wrap, then place it in a freezer bag. It keeps frozen for up to 2 weeks. Thaw it at room temperature for 30 minutes, then reheat (see below).
To reheat a mug cake, place it back in its original mug (or a microwave-safe mug) and heat on high for 20-30 seconds if it’s refrigerated, or 40-45 seconds if it came straight from the freezer. Don’t go longer—you’ll end up with an overcooked cake. The goal is warming it through until it’s steaming again, not re-cooking it.
Make-ahead option: Prepare dry ingredients in advance. Mix your flour, sugar, cocoa powder, baking powder, and salt in a small jar or container. When the craving hits, add wet ingredients and microwave. This speeds things up by a minute and a half, and it means you only have to wash one bowl instead of zero (since you mix directly in the mug anyway).
Toppings and Serving Suggestions That Elevate Mug Cakes
A plain mug cake is wonderful, but the right topping transforms it into something restaurant-worthy. The beauty is that mug cakes stay warm long enough to melt toppings slightly, creating a gooey, luxurious texture.
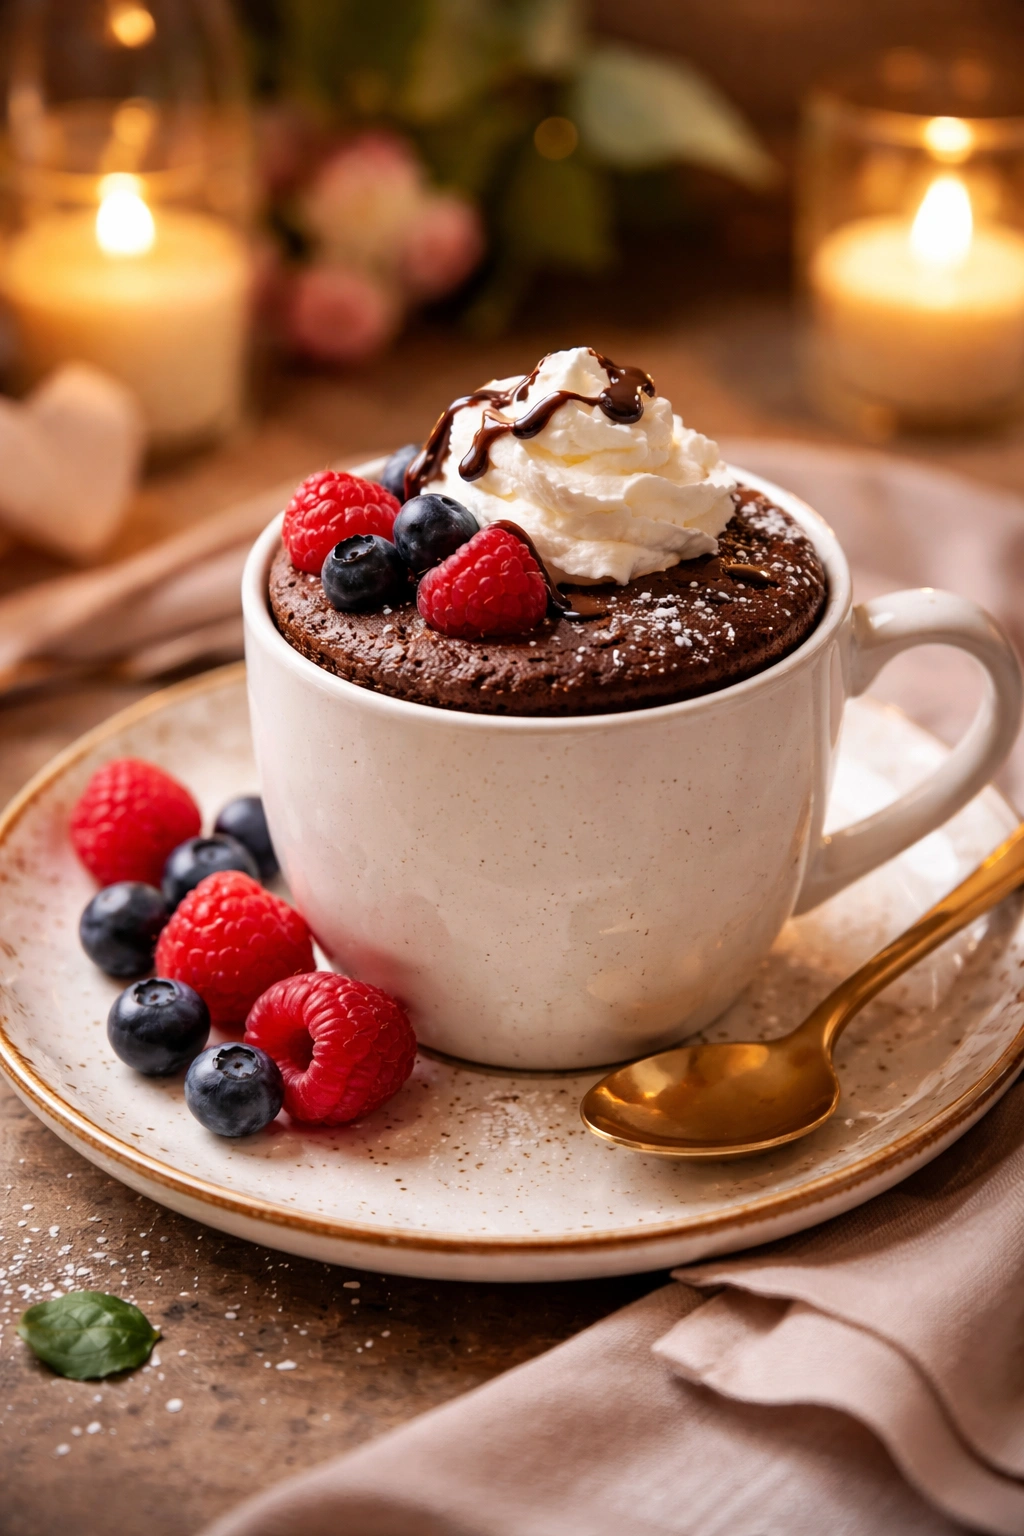
Whipped cream is the classic for a reason. A dollop of freshly whipped cream on a warm chocolate mug cake is nearly perfect. If you don’t want to whip cream, a spoonful of whipped cream from a can works in a pinch.
Frosting adds elegance without much effort. Cream cheese frosting, buttercream, or even simple ganache all work. Spread it on the warm cake (it’ll soften and become creamy) or drizzle it over top. A basic ganache takes 2 minutes: melt chocolate chips with heavy cream in the microwave and drizzle over warm cake.
Fresh fruit pairs beautifully with vanilla mug cakes. Sliced strawberries, raspberries, blueberries, diced peaches, or even pomegranate arils add freshness and slight tartness that balances richness. The warm cake contrasts wonderfully with cold fruit.
Nuts add texture and sophistication. Chopped toasted almonds, walnuts, pecans, or pistachios scattered over the top (especially with vanilla cake and whipped cream) create a completely different eating experience than plain cake.
Caramel or chocolate sauce transforms things into something indulgent. Drizzle warm salted caramel over chocolate cake, or spoon chocolate sauce over vanilla cake. The warm cake gently melts the sauce into something almost fudgy.
Spiced sugar creates complexity from nearly nothing. Mix 1 tablespoon granulated sugar with ¼ teaspoon ground cinnamon, a pinch of nutmeg, and a tiny bit of salt. Sprinkle over the warm cake just after it comes out of the microwave. The heat will slightly caramelize the sugar and the spices bloom beautifully.
Coffee or espresso pairs unexpectedly well with both chocolate and vanilla cakes. Serve your mug cake with a strong cup of coffee or espresso on the side. The bitterness of coffee balances the sweetness of cake in a way that feels quite grown-up and sophisticated.
Pro Tips for Consistently Perfect Mug Cakes Every Single Time
These are the small details that separate mediocre mug cakes from genuinely memorable ones.
Room temperature ingredients matter more than most recipes acknowledge. Cold milk doesn’t mix evenly with oil, and cold eggs won’t fully incorporate. It only takes 30 seconds—let your milk and any eggs sit out while you gather other ingredients.
Don’t skip the vanilla. Even a hint of real vanilla extract adds warmth and complexity that makes people ask what the secret is. It’s worth buying decent vanilla; the flavor difference between extract and imitation is noticeable in something this simple.
Use a mug you actually like eating from. You’ll be eating the cake directly from the mug, so choose one that feels good in your hands and is a size you actually enjoy. A standard coffee mug is perfect.
Check doneness by look, not by strict time. Your microwave’s power might differ from others. The top of the cake should look set but still slightly undone—almost wet but not liquid. This requires a quick glance after the first minute, but it’s worth the 5 seconds of attention.
Add mix-ins strategically. If you’re adding chocolate chips or nuts, stir them in after the wet and dry are combined but before you microwave. They’ll cook into the cake and distribute evenly. Toppings go on after baking.
Let it rest fully before eating. One minute feels short, but it’s when the cake transforms from too-soft pudding to perfect cake. Use this minute to get a spoon, a napkin, maybe a fork if you want to be fancy.
Keep your microwave power consistent. If possible, always use the same microwave for your mug cakes. Once you dial in the perfect cooking time in a specific microwave, you can hit it consistently every time.
Dietary Adaptations and Special Ingredient Swaps
Mug cakes are remarkably adaptable to different dietary needs. These swaps actually work reliably—they’re not just guesses.
For gluten-free mug cakes, use a 1:1 gluten-free flour blend instead of all-purpose flour. Most good blends work well in mug cakes because they’re already formulated to work in quick recipes. The texture might be fractionally more tender (not a bad thing), but it’s barely noticeable.
For dairy-free mug cakes, substitute any plant-based milk (almond, oat, coconut—they all work) for regular milk. The oil base already makes dairy unnecessary. If you want richer flavor, use canned full-fat coconut milk instead of regular milk.
For vegan mug cakes, skip the egg entirely or use a flax egg (mix 1 tablespoon ground flaxseed with 3 tablespoons water and let it sit 5 minutes). The cake will be fractionally less moist if you skip the egg, but it’s still very good.
For lower-sugar versions, replace half the sugar with a granulated sugar substitute like erythritol or monk fruit. It works best if you blend it smooth (quick pulse in a food processor) before adding to your dry ingredients, which prevents grittiness.
For protein-boosted mug cakes, add 1 tablespoon of vanilla protein powder to the dry ingredients and reduce the flour slightly (use 3 tablespoons instead of ¼ cup). The cake will be slightly denser but higher in protein, and the vanilla powder enhances rather than interferes with flavor.
For nut-free mug cakes, simply avoid adding nuts as mix-ins or toppings. The base recipes contain no nuts. If you want richness without nuts, use more chocolate chips or add a swirl of peanut butter or sunflower seed butter.
Troubleshooting: What Went Wrong and How to Fix It Next Time
Sometimes mug cakes don’t turn out perfectly. Here’s what caused each problem and exactly how to prevent it.
Cake came out dense and heavy. Culprit: Overmixing the batter, using old baking powder, or cooking too long. Next time, mix until ingredients are barely combined, check that your baking powder is fresh, and reduce cooking time by 15 seconds.
Cake spread too thin and didn’t rise properly. Culprit: Mug was too large, or batter was too thin (too much liquid, not enough flour). Next time, use an 8-12 ounce mug and double-check your ingredient measurements.
Top looks raw but center is overcooked. Culprit: Microwave’s heat distribution is uneven, or the mug was positioned somewhere that gets intense direct heat. Next time, rotate the mug halfway through cooking if your microwave has a dead zone.
Cake overflowed all over the microwave. Culprit: Mug was too small, or you filled it too full. Next time, use a larger mug and fill only two-thirds full with batter.
Cake is wet and gluey in the middle. Culprit: Too much liquid, not enough flour, or the cake didn’t rest long enough. Next time, measure carefully, use a scale if you have one, and always rest for a full minute before eating.
No rise at all; cake came out flat. Culprit: Baking powder is old or the batter was overmixed (overmixing breaks down the leavening). Next time, verify your baking powder isn’t stale and stop mixing the moment you don’t see dry flour streaks.
Unevenly cooked or partially raw spots. Culprit: Uneven batter distribution or your microwave has power hot spots. Next time, make sure batter is evenly distributed in the mug before cooking, and rotate the mug at the halfway point.
Creative Occasions for Mug Cakes Beyond Late-Night Cravings
While mug cakes are perfect for sudden dessert emergencies, they work surprisingly well for other situations too.
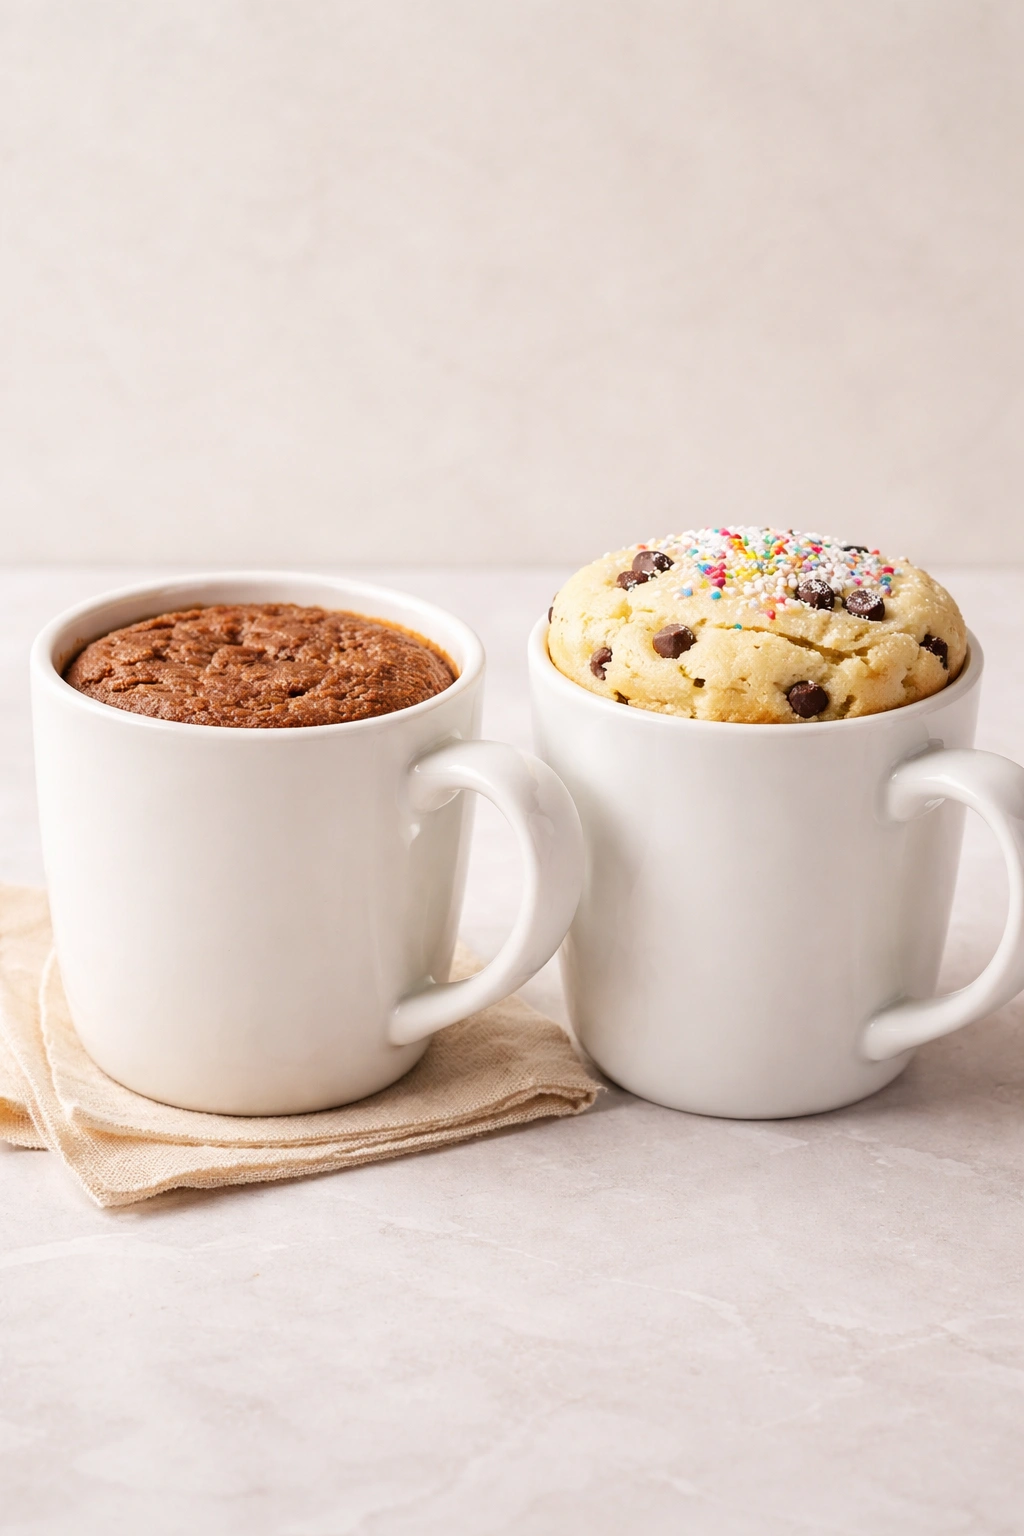
Single-serving dessert for date night at home. Skip the restaurant and instead cook two mug cakes while you eat dinner. Plate them nicely, add whipped cream and berries, and you have a restaurant-quality dessert without the noise and expense.
Travel and camping. If you’re staying somewhere with a microwave (hotel room, cabin), mug cakes let you have warm fresh cake without any of your normal baking equipment. Bring ingredients in small containers and mix in a mug.
Teaching kids to bake. Mug cakes have way fewer steps and ingredients than traditional cakes, and the short cooking time means kids stay engaged. They can measure, mix, and see results in 5 minutes instead of waiting 30 minutes for something to bake. It builds confidence.
Portion control. If you struggle with eating a whole cake or controlling portions, making single-serving mug cakes means you eat exactly one cake and then you’re done. No willpower required.
Customized gifts. Make a themed mug cake gift set: provide a nice mug, printed recipe cards, and small containers of measured dry ingredients. It’s thoughtful, practical, and costs a fraction of store-bought gifts.
Final Thoughts
Mug cakes solve a real problem: the gap between wanting dessert and willing to do the work for it. They live in that sweet spot where effort drops dramatically but quality doesn’t. You’re not settling for a sad, rushed dessert—you’re eating actual, genuinely delicious cake that happens to be fast.
The beauty is that once you understand the basic technique, you’ve unlocked hundreds of possibilities. Change the flavor, swap ingredients for dietary preferences, add toppings that match your mood. A mug cake takes 5 minutes start to finish, which means dessert is never off the table, even on the most chaotic nights.
Most importantly, a good mug cake reminds you that baking doesn’t have to be complicated. You don’t need special equipment, a stand mixer, perfectly measured dry ingredients mixed with butter beforehand, or 30 minutes of oven time. Sometimes a fork, a mug, and 3 minutes of microwave time are all you need for something genuinely worth eating. Keep the basics in your pantry, remember these proportions, and you’ll never have to ignore a dessert craving again.