There’s something almost magical about biting into a warm, soft breadstick with that buttery, garlicky exterior—the kind that melts in your mouth and makes you reach for another before you’ve even finished the first one. If you’ve ever sat at an Olive Garden table, you know exactly what I’m talking about. Those warm, pillowy breadsticks served with unlimited refills have become the stuff of legend, and honestly, they’re often the real reason people keep going back. But here’s the secret: you don’t have to wait for a restaurant visit or settle for delivery to have fresh, hot breadsticks on your table. With a straightforward recipe and about an hour of your time, you can bake breadsticks at home that rival—or even surpass—the restaurant version. The difference between a mediocre breadstick and an outstanding one comes down to understanding a few key techniques and ingredient interactions. Once you grasp those, you’ll have the confidence to make these whenever the craving strikes.
Why These Breadsticks Become a Favorite

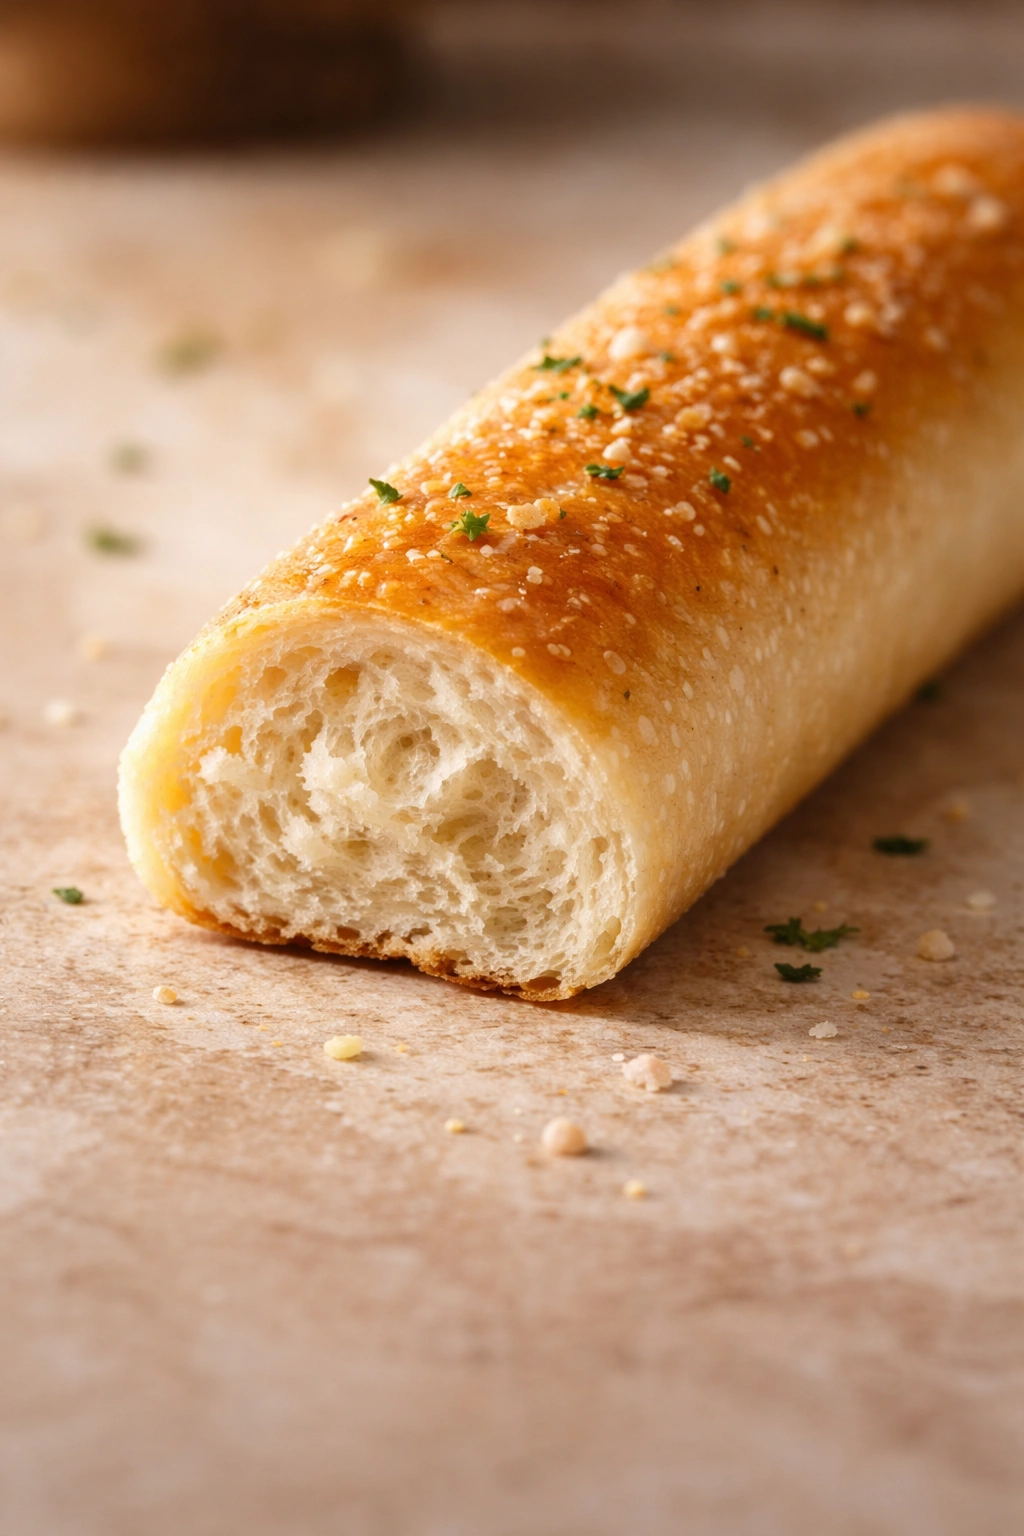
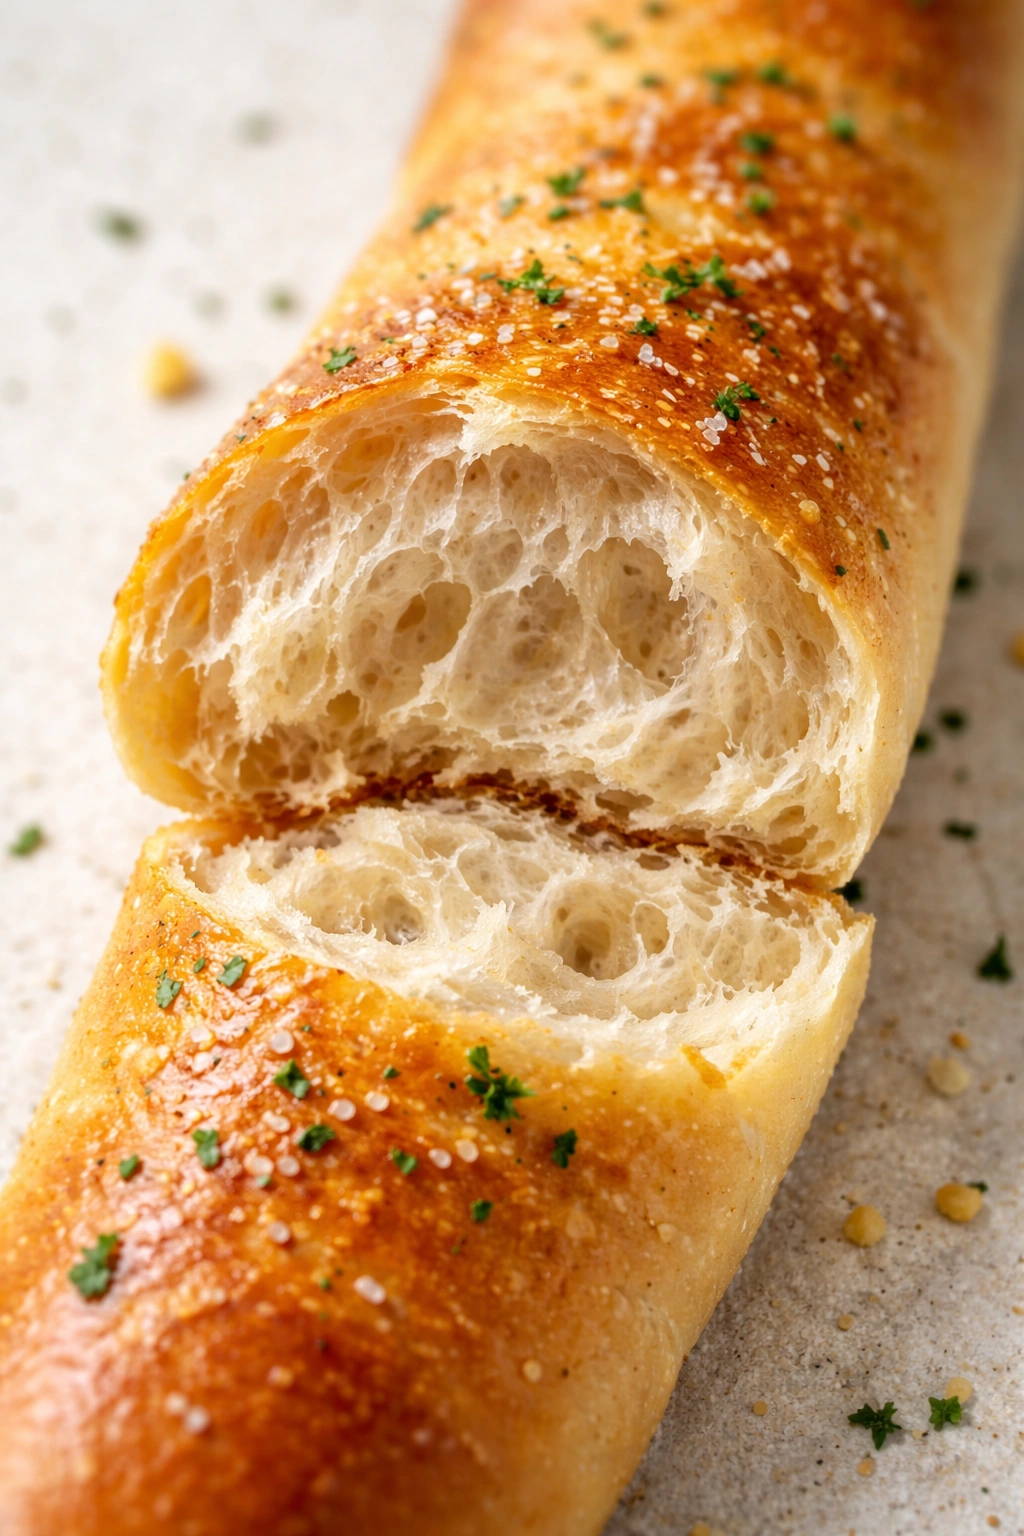
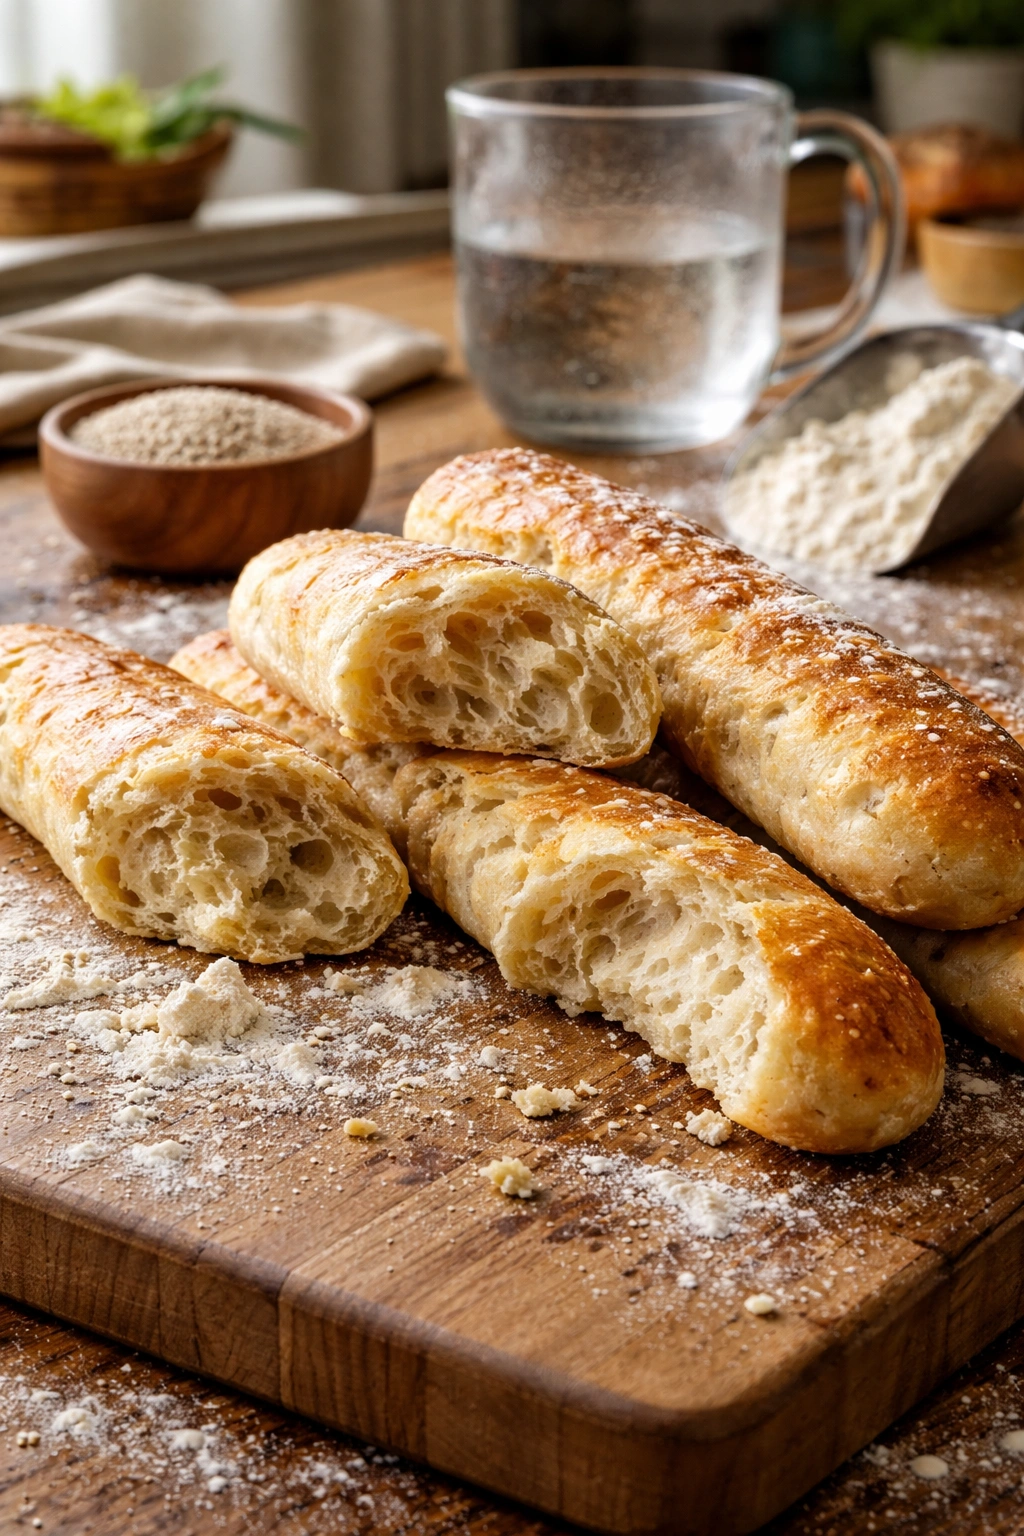
Most people don’t realize why Olive Garden breadsticks are so addictive. It’s not just the garlic butter, though that’s certainly part of the appeal. The magic is in the texture itself—that specific combination of a soft, pillowy interior with just enough chew to make each bite interesting, all wrapped in a delicate, lightly golden exterior that’s barely crisp enough to hold the stick together. This texture doesn’t happen by accident.
The breadsticks achieve their signature softness through a balance of proper hydration in the dough and the right baking temperature. Too much water and the dough becomes sticky and difficult to shape. Too little and you end up with dense, dry sticks that taste like store-bought rolls. The dough needs enough water to create steam during baking—that steam is what creates the soft crumb and helps the dough expand fully.
What makes the home version exciting is that you have complete control over every variable. You’re not limited by what a massive commissary kitchen decided to standardize. You can adjust the garlic intensity, experiment with herb additions, or create completely new variations. More importantly, you know exactly what’s going into your breadsticks—no mystery ingredients, no preservatives, just real butter, flour, yeast, and seasoning.
The Secret to Restaurant-Quality Soft Breadsticks
If you’ve tried breadstick recipes before and ended up with something disappointingly dense or tough, the problem usually traces back to one of three places: flour measurement, hydration level, or baking technique. Each one plays a crucial role in determining whether your breadsticks come out pillowy or disappointing.
Measuring flour correctly makes an enormous difference. The most common mistake is scooping flour directly from the bag and leveling it off. This method compacts too much flour into the cup, and your dough ends up with way more flour than the recipe intended. Instead, spoon flour gently into your measuring cup and level it with a knife without pressing down. Even better, if you have a digital kitchen scale, weigh your flour. One cup of all-purpose flour should weigh approximately 120-125 grams. Using a scale eliminates guesswork entirely and makes your breadsticks come out consistently perfect.
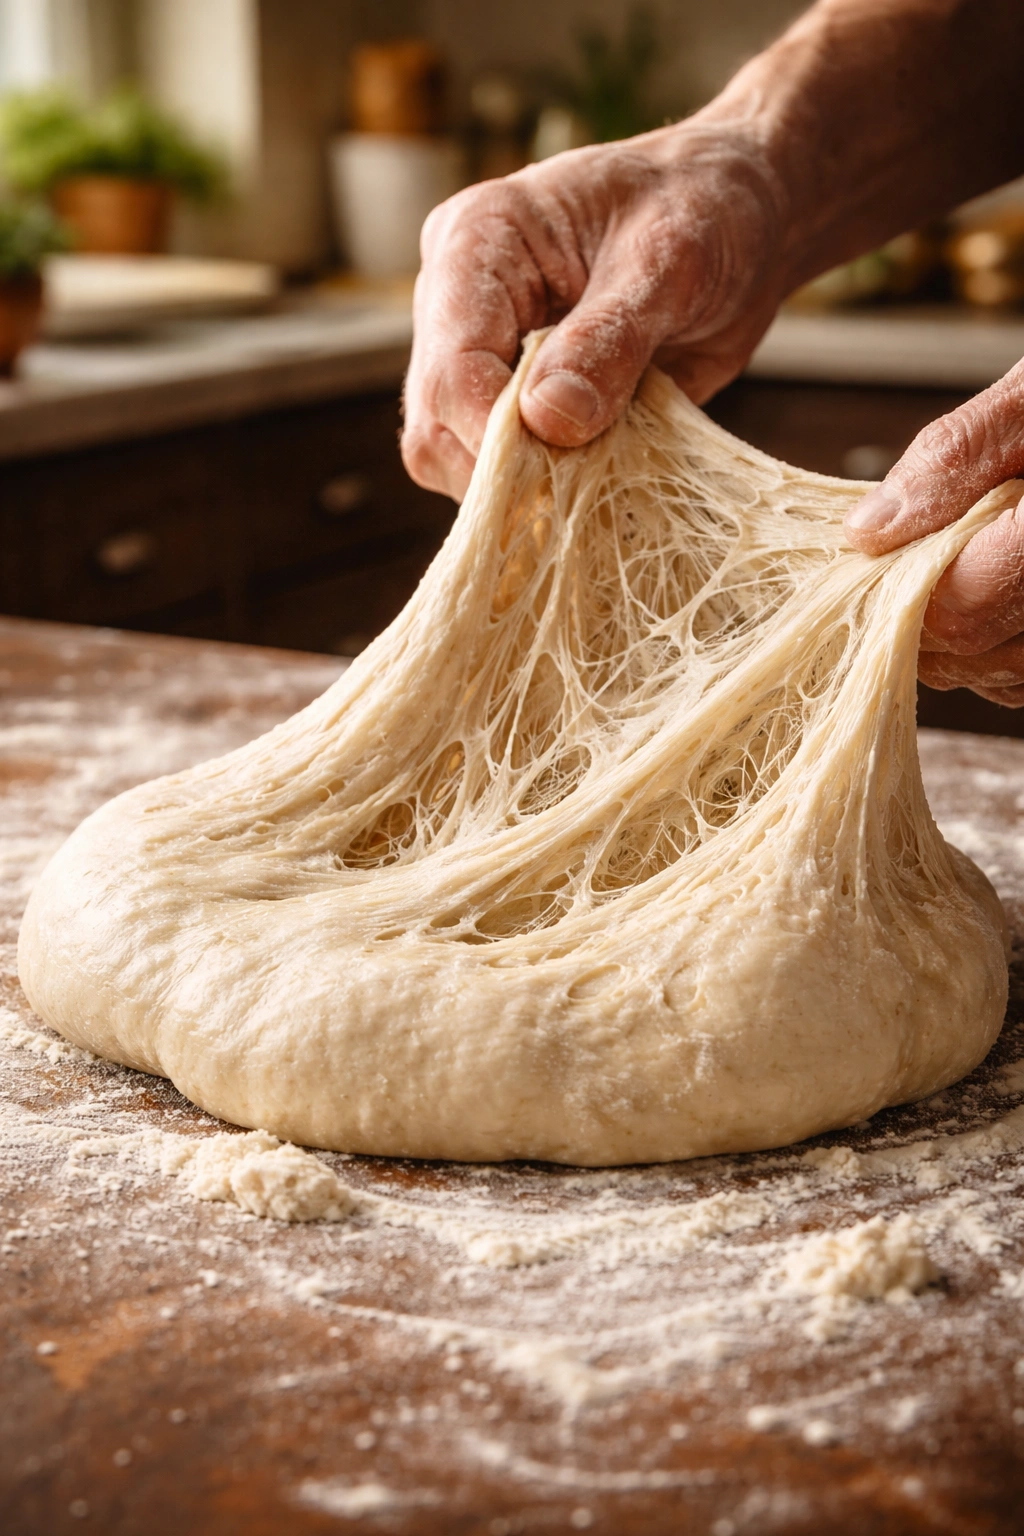
The second factor is hydration—the ratio of liquid to flour. Breadsticks need enough water to create a soft, slightly sticky dough that’s just barely manageable. If you’ve ever watched a professional bread baker work, you’ve probably noticed their dough looks wetter and stickier than you’d expect. That’s intentional. A wetter dough, when handled properly, produces a softer crumb and better oven spring. It takes a bit of confidence to work with dough that feels tacky, but it’s absolutely worth it.
Third, the baking environment matters tremendously. Steam in the oven during the first few minutes of baking allows the dough to expand fully before the crust sets. Some home bakers create steam by placing a pan of boiling water on the bottom rack of the oven, or by spraying the dough with water before baking. This simple technique elevates your breadsticks from good to genuinely restaurant-quality.
Understanding the Ingredient Roles
Every ingredient in a breadstick dough serves a specific purpose—there are no filler ingredients here. Understanding what each one does gives you the power to troubleshoot problems and make intentional modifications.
Flour is the structural foundation. It contains proteins that form gluten when mixed with water and agitated through kneading. Gluten creates the network that traps gases produced by the yeast, allowing the dough to rise and giving breadsticks their characteristic chewy texture. Bread flour has slightly higher protein content than all-purpose flour, which creates a chewier crumb. All-purpose flour produces a softer, more tender breadstick—which is exactly what you want here.
Water activates the gluten formation and creates steam during baking. The temperature of your water matters significantly. Water that’s too hot (above 120°F) will kill the yeast. Water that’s too cool (below 90°F) will slow down yeast activity and extend rising times dramatically. Aim for water between 100-110°F—warm enough that you can barely keep your finger in it, but not so hot that it’s uncomfortable.
Yeast is the living organism that ferments the dough, producing carbon dioxide gas (which makes the breadsticks rise) and alcohol (which contributes to flavor complexity). Instant yeast, also called rapid-rise or bread machine yeast, is finely milled and can be mixed directly into dry ingredients without proofing. Active dry yeast, which is coarser, benefits from being proofed in warm water first to ensure it’s alive and active before you combine it with flour.
Salt does two things that seem contradictory. It slows down yeast activity slightly, which is actually a good thing—it prevents the dough from over-fermenting and developing an unpleasant sour flavor. Salt also strengthens gluten strands, making the dough more elastic and giving the breadsticks better structure. It seasons the dough directly and enhances all the other flavors without making the final product taste salty.
Sugar feeds the yeast and helps it ferment more efficiently. The small amount of sugar in this recipe (usually 2 tablespoons) won’t make the breadsticks taste sweet—that’s not the intention. Instead, it provides quick energy for the yeast, allowing the dough to rise faster. Sugar also helps create a slightly softer crumb by tenderizing the gluten strands.
Butter adds richness and flavor while creating a more tender crumb. Adding melted butter directly to the dough rather than brushing it on top afterward helps distribute the fat throughout, making the entire breadstick tender, not just the exterior.
Yeast: The Magic Behind the Rise
If yeast seems mysterious or intimidating to you, you’re not alone. But once you understand what yeast actually does, it becomes your best friend in baking. Yeast is a single-celled fungus that exists all around us. In bread baking, we cultivate yeast in a warm, moist environment where it thrives.
When yeast gets the right conditions—warmth, moisture, food (sugar), and time—it reproduces and ferments, producing two byproducts: carbon dioxide gas and ethanol. The carbon dioxide gas gets trapped in the gluten network of your dough, creating millions of tiny bubbles. This is what makes bread rise. The ethanol evaporates during baking but contributes subtle flavors to the finished breadstick.
Different types of yeast behave slightly differently. Instant yeast, because it’s finely milled and has more yeast cells per teaspoon, works faster than active dry yeast. If a recipe calls for instant yeast and you only have active dry, use the same amount but add about 20% more time for rising. Alternatively, you can proof the active dry yeast in warm water with a pinch of sugar for 5-10 minutes until it’s foamy before mixing it into the dough.
Temperature affects yeast activity dramatically. Ideally, dough should rise in a spot between 75-85°F. If your kitchen is cool, the rise will take longer, sometimes significantly longer. If your kitchen is warm, the dough might rise faster than expected. On very hot days, you might find that dough rises in just 45 minutes instead of the typical 1.5 hours. This is completely normal—just watch your dough visually rather than relying strictly on the timer.
One of the best ways to check if dough has risen enough is the “poke test.” Gently poke the risen dough with your finger. If the indentation springs back slowly and incompletely, the dough is ready to shape. If it springs back completely, the dough needs more time. If your finger leaves a dent that stays, the dough might be slightly over-proofed, but it’s usually still fine to bake.
Yield: Makes 12 breadsticks | Prep Time: 25 minutes | Cook Time: 15 minutes | Rising Time: 2 hours | Total Time: 2 hours 40 minutes
Difficulty: Beginner — Though this recipe involves yeast, the process is straightforward and forgiving. If you follow the temperature guidelines for your water and allow adequate rising time, you’ll have success even on your first attempt.
For the Dough:
- 1 cup plus 2 tablespoons (250 grams) warm water, between 100-110°F — this temperature is crucial; too hot kills the yeast, too cool slows fermentation
- 1½ teaspoons instant yeast — also labeled as rapid-rise or bread machine yeast
- 2 tablespoons (25 grams) granulated sugar — food for the yeast to ferment
- 3 tablespoons (42 grams) unsalted butter, melted and cooled slightly — adds richness and tenderness to the crumb
- 1¾ teaspoons fine sea salt — seasons the dough and strengthens gluten development
- 3 cups (381 grams) bread flour, plus additional flour as needed for kneading — bread flour creates a slightly chewier, more substantial breadstick than all-purpose flour, though all-purpose works fine too
For the Garlic Butter Topping:
- 2 tablespoons (28 grams) unsalted butter, melted — brushed on immediately after baking while breadsticks are still hot
- ½ teaspoon kosher salt — coarse salt gives visible seasoning texture
- ¼ teaspoon garlic powder — use fresh garlic powder, not garlic salt, so you can control the salt level
Prepare the Pan and Activate the Yeast:
-
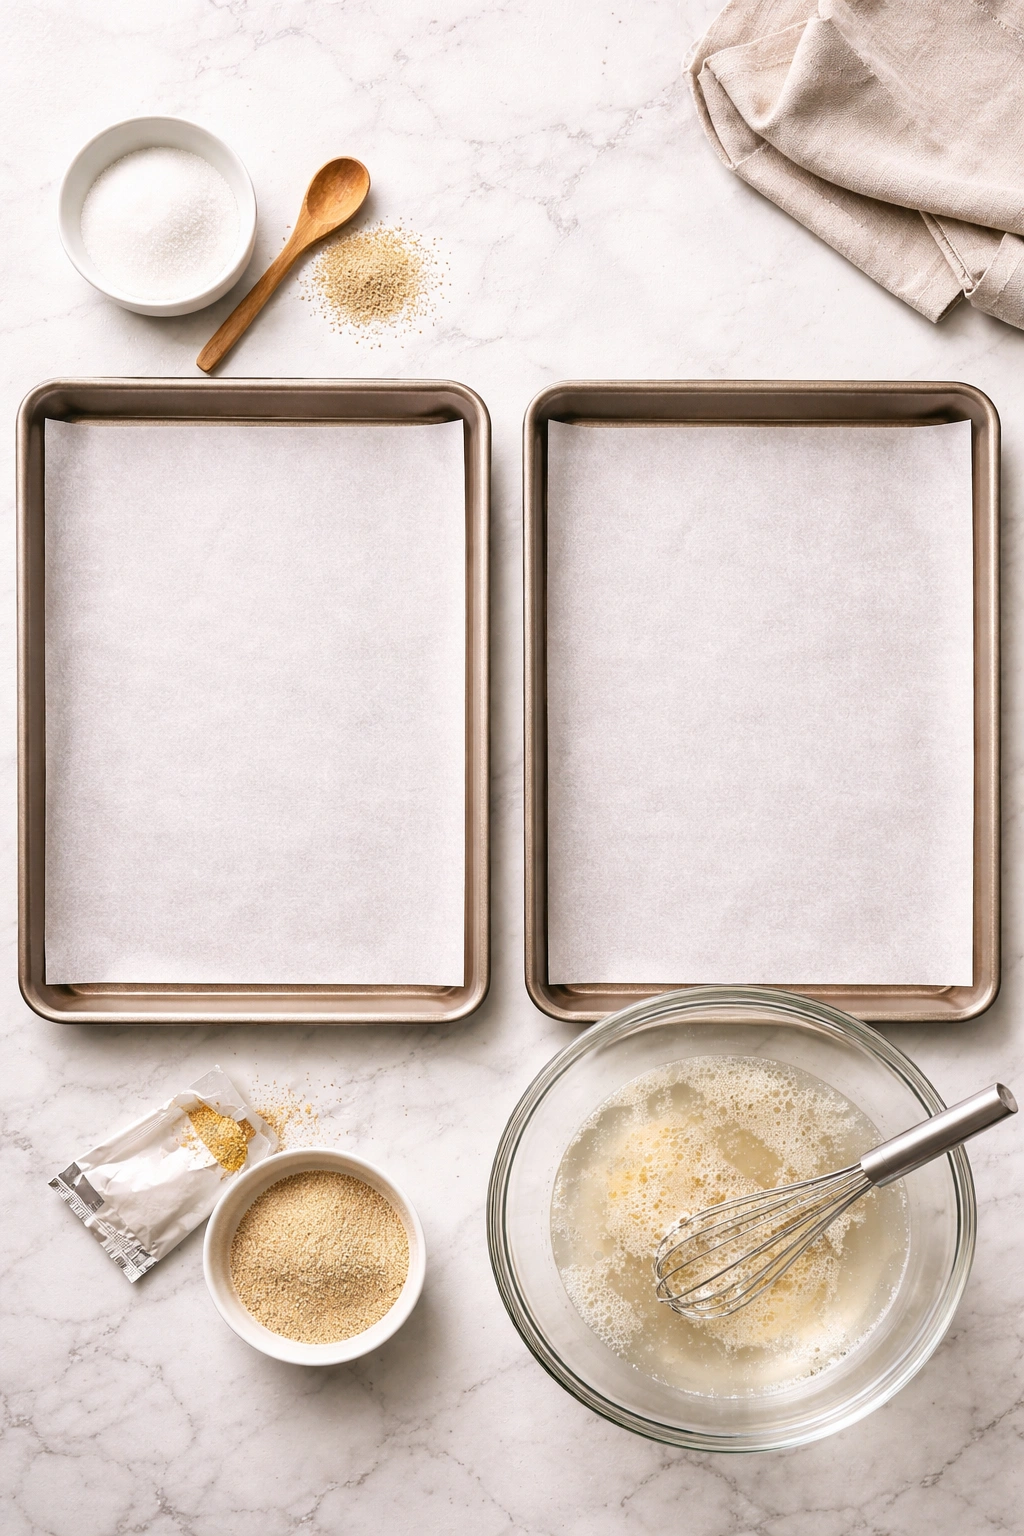
Line two baking sheets with parchment paper and set aside — parchment prevents sticking and allows air to circulate underneath, helping the bottoms bake evenly.
-
In the bowl of a stand mixer fitted with the dough hook attachment, combine the warm water, yeast, and sugar. Let this mixture rest for about 2-3 minutes, just until the yeast begins to bloom and show signs of activation. Do not wait the full 10 minutes if using instant yeast — instant yeast is designed to work quickly and will be ready to mix immediately.
-
Add the melted butter and salt to the yeast mixture. The butter should be cooled slightly so it doesn’t shock the yeast with intense heat.
-
Begin adding flour gradually while the mixer runs on low speed. Add about 1 cup of flour and let the mixer incorporate it fully before adding more. This gradual approach prevents the flour from flying out of the bowl and ensures even mixing.
Knead and Develop the Dough:
-
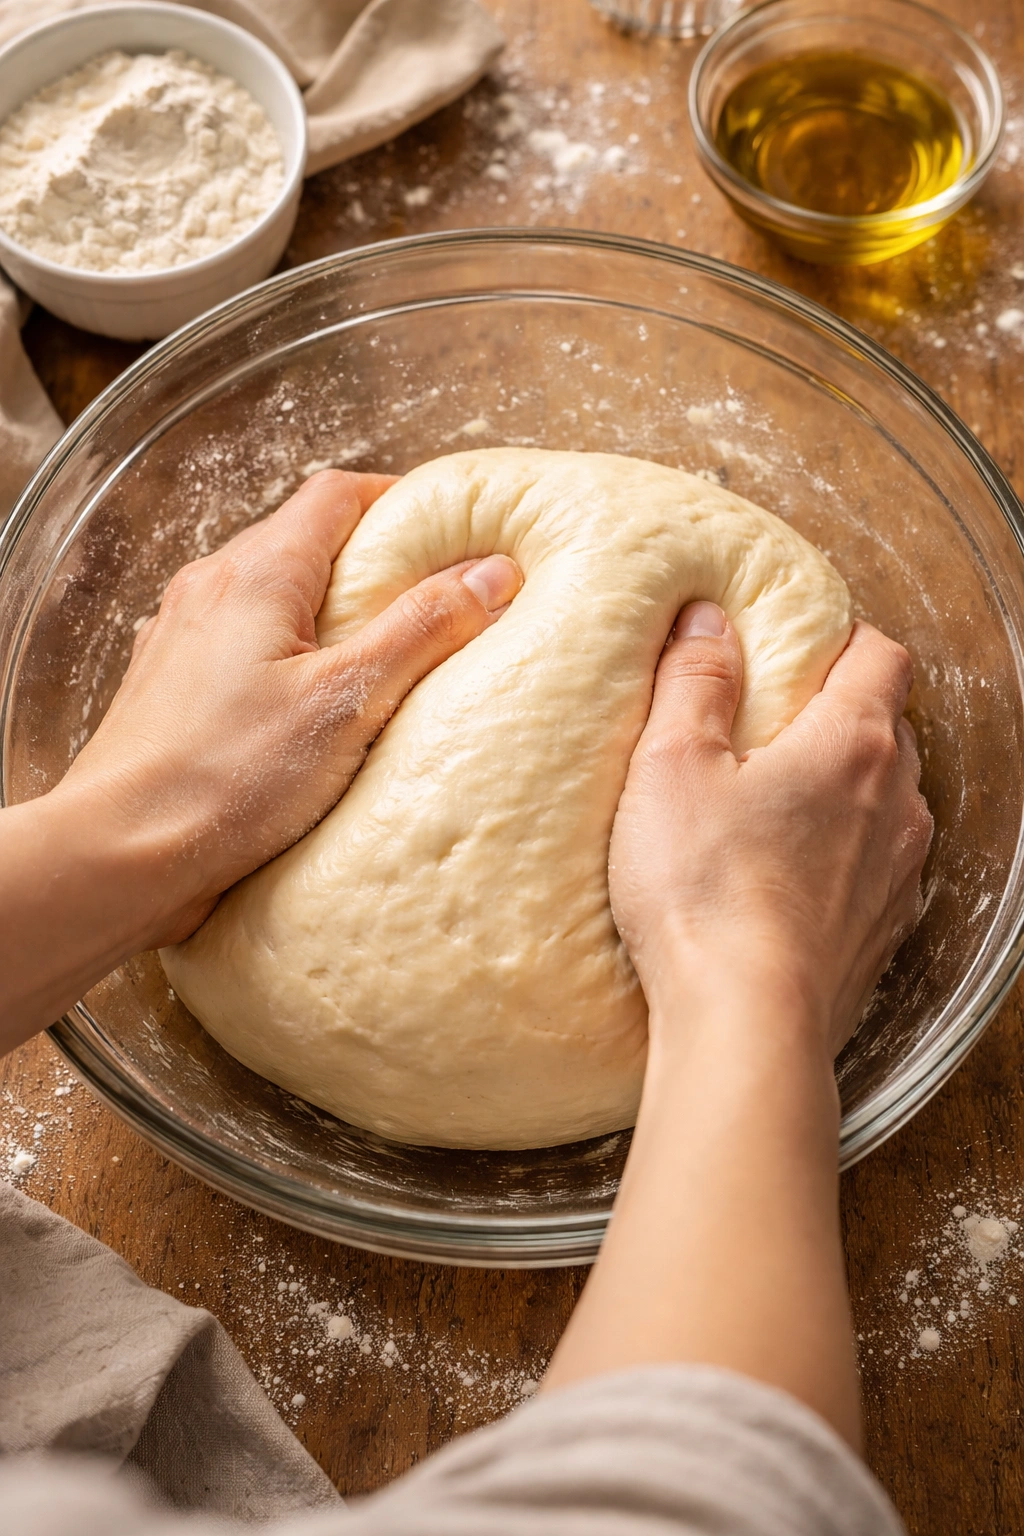
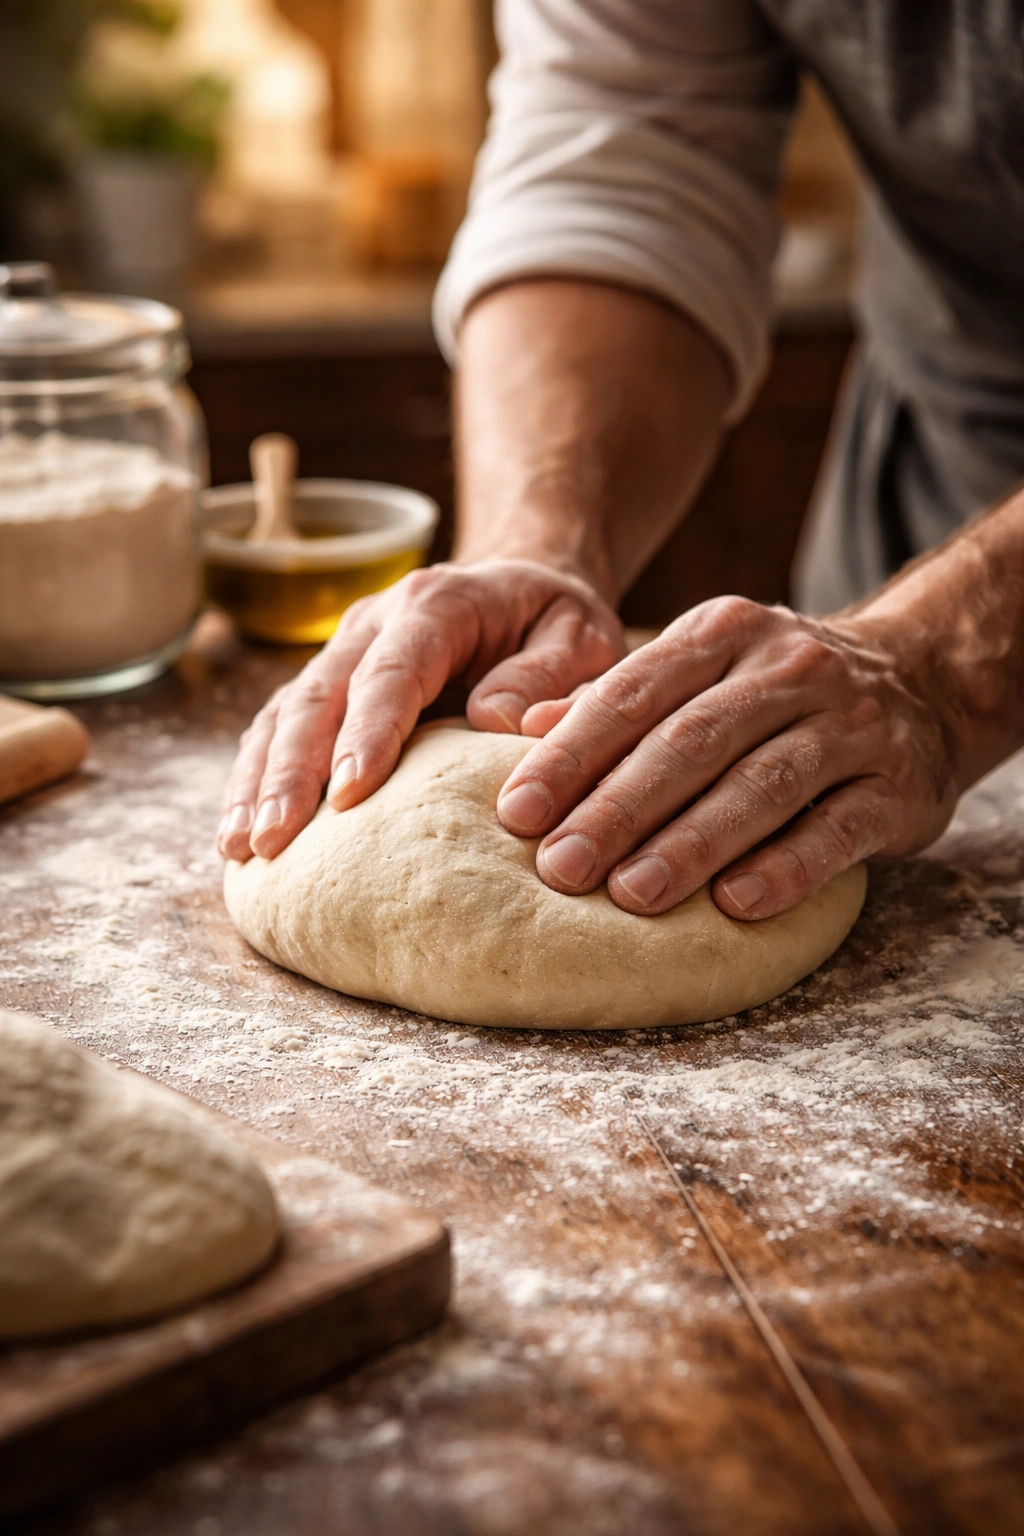
Once all the flour has been added and the dough comes together, increase the mixer speed to medium. Knead the dough for 10-12 minutes. The dough should transform from shaggy and rough to smooth, elastic, and slightly tacky. At this point, the dough might look a bit sticky — this is correct. A slightly sticky dough produces softer breadsticks than a stiff, dry dough.
-
If the dough is extremely sticky and sticking to the sides of the bowl during mixing, add flour 1 tablespoon at a time until the dough pulls away from the sides but remains soft and slightly tacky. You shouldn’t need more than an extra 2-3 tablespoons total.
-
Transfer the dough to a lightly oiled bowl and turn it to coat all sides with oil. This prevents the surface from drying out and sticking. Cover the bowl with plastic wrap or a clean kitchen towel.
First Rise:
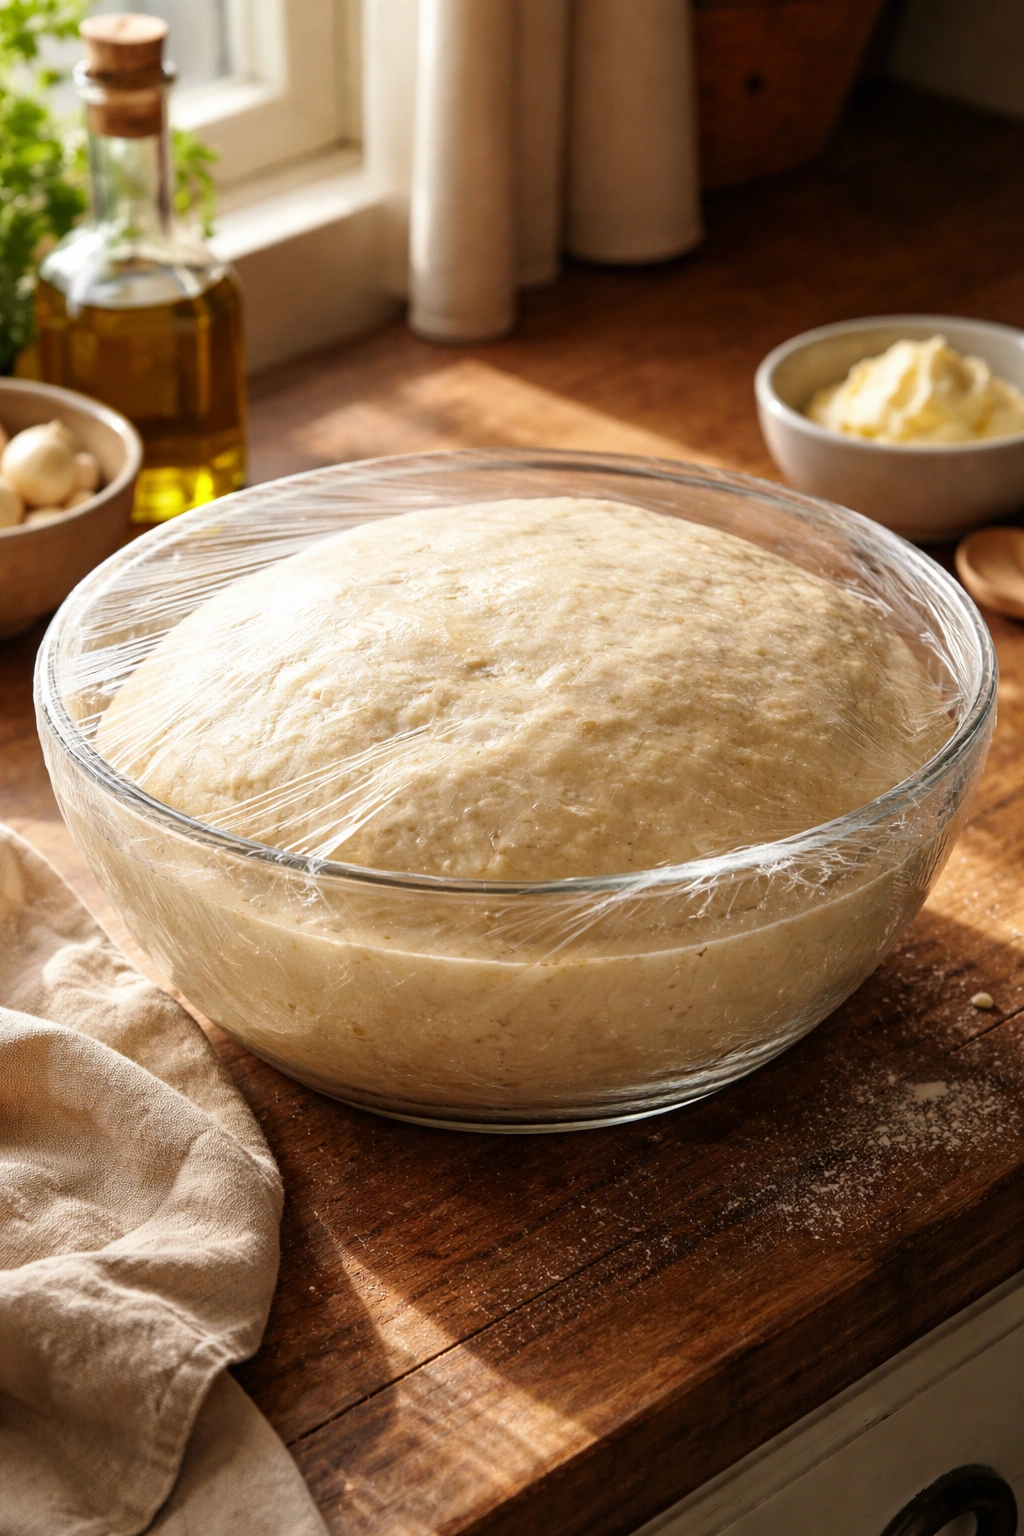
-
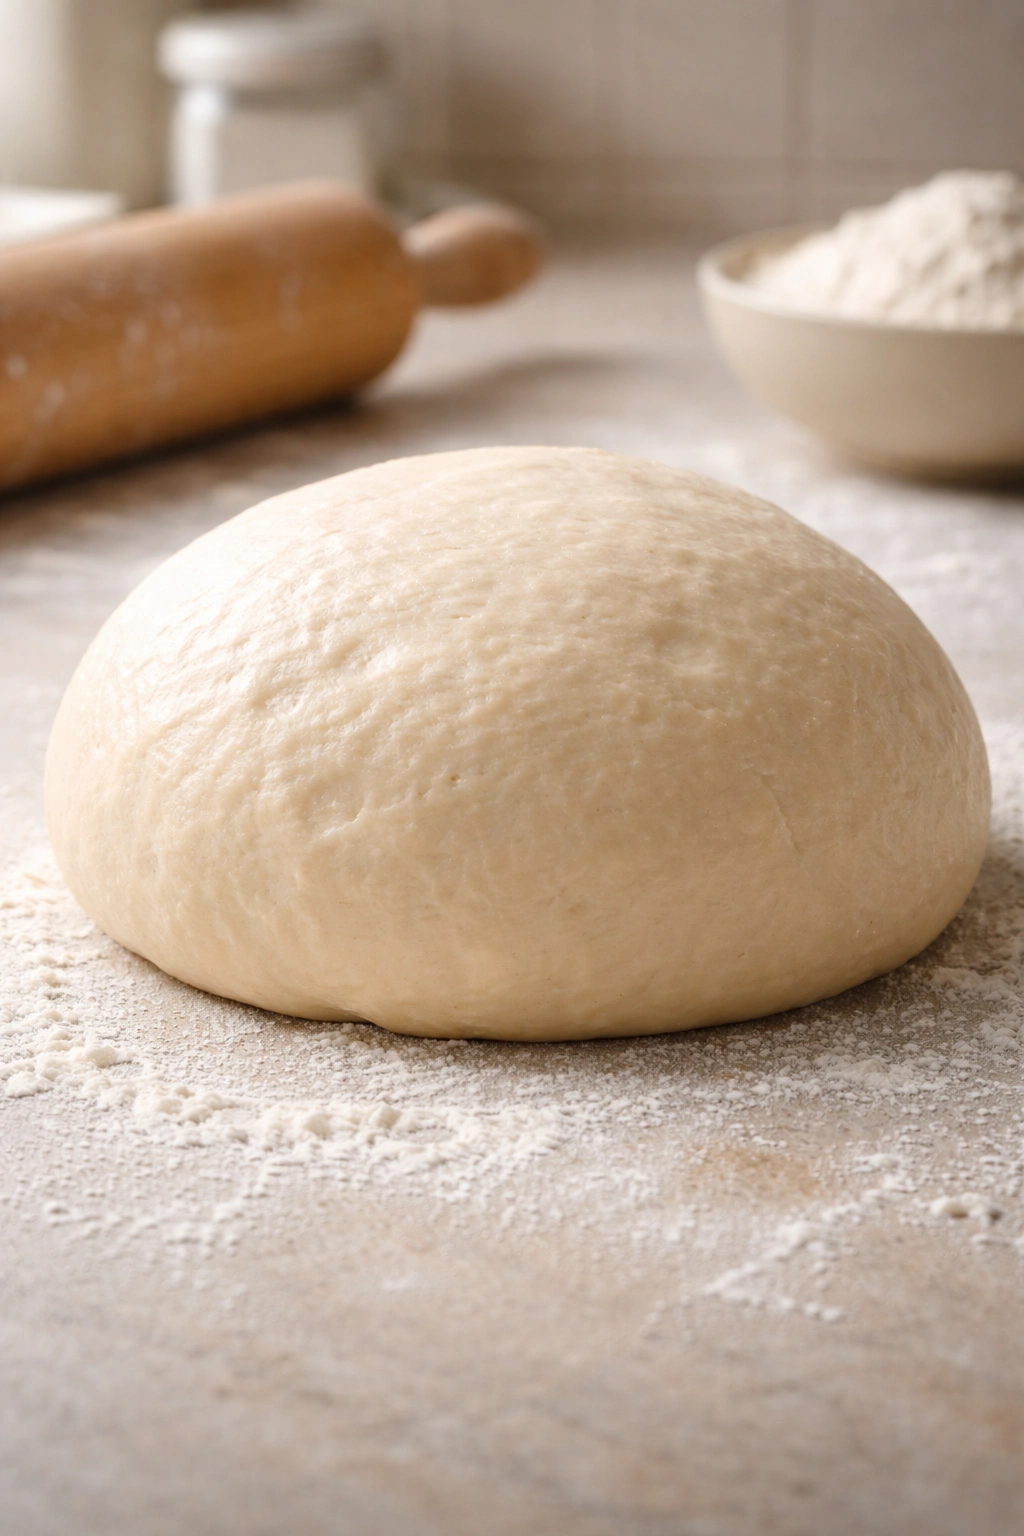
Let the dough rise in a warm, draft-free spot for 1.5 to 2 hours, until it has approximately doubled in size. The exact time depends on your kitchen temperature — if your kitchen is warm (75-80°F), it might rise in closer to 1.5 hours; if it’s cool, it could take closer to 2 hours. Don’t be tempted to skip this rise or rush it — this bulk fermentation is where much of the flavor develops.
-
To check if the dough is ready, gently poke it with your finger. If the indentation remains and springs back slowly, the dough is properly risen. If the indentation bounces back immediately, give it another 15 minutes.
Advertisements
Shape the Breadsticks:
-
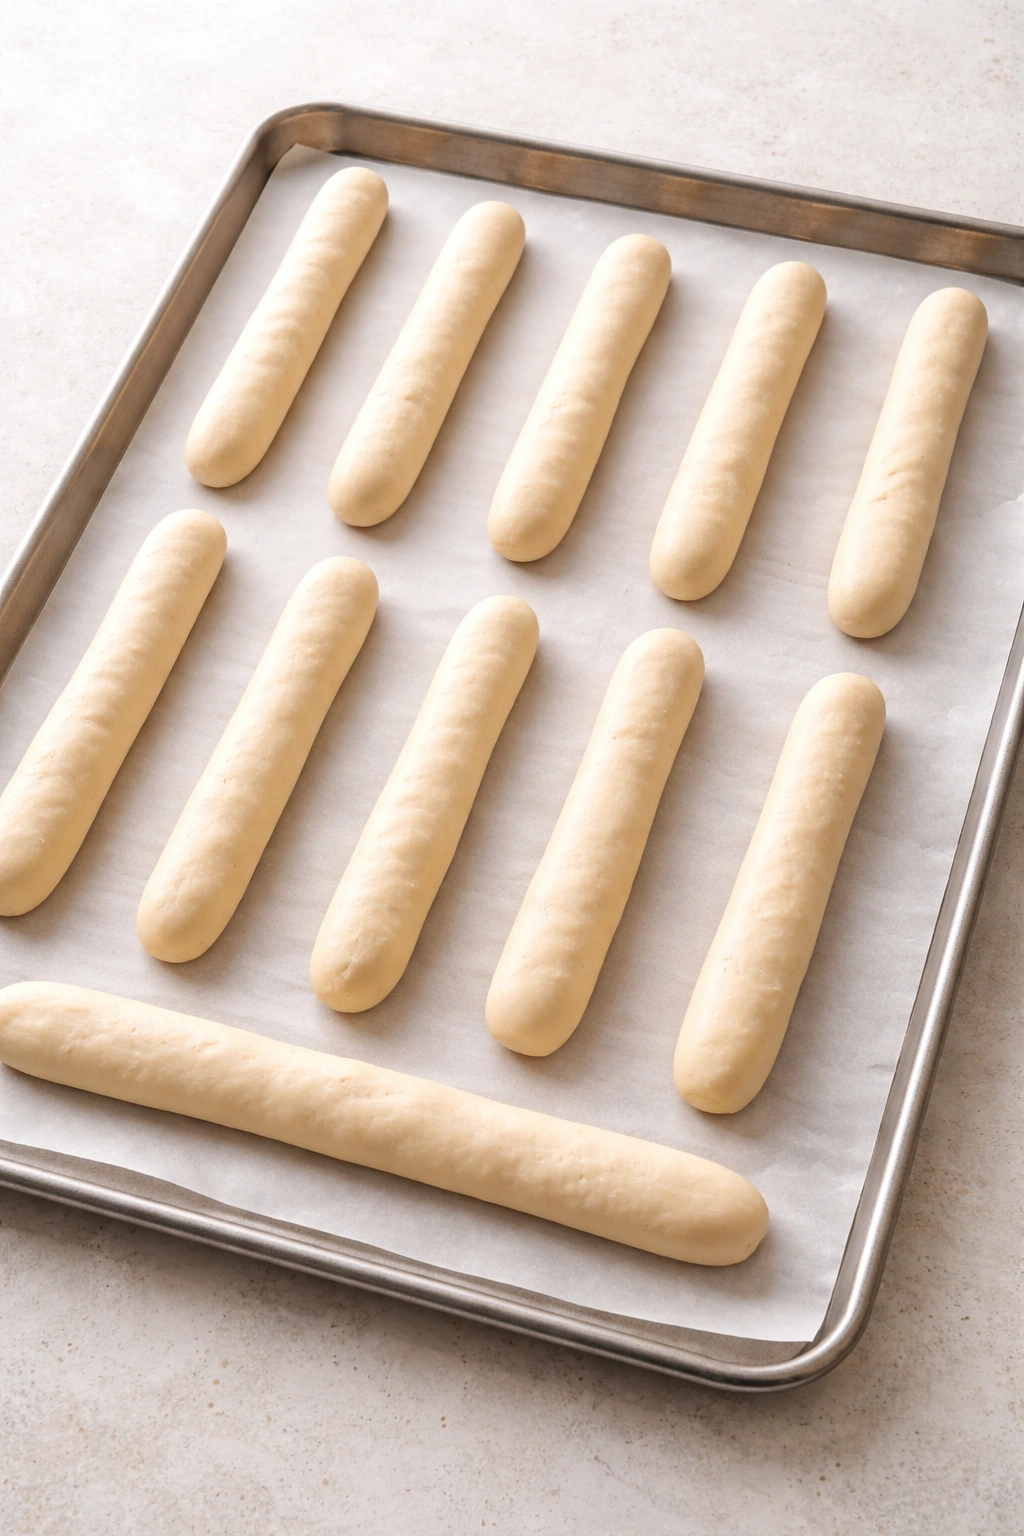
Punch the dough down gently to deflate it slightly. Turn it out onto a clean, lightly floured work surface. Using a bench scraper or sharp knife, divide the dough into 12 equal pieces. For the most precise portions, weigh the entire mass of dough, divide by 12, and portion by weight — each piece should be approximately 57-60 grams. If you don’t have a scale, divide the dough visually, trying to make each piece roughly the same size.
-
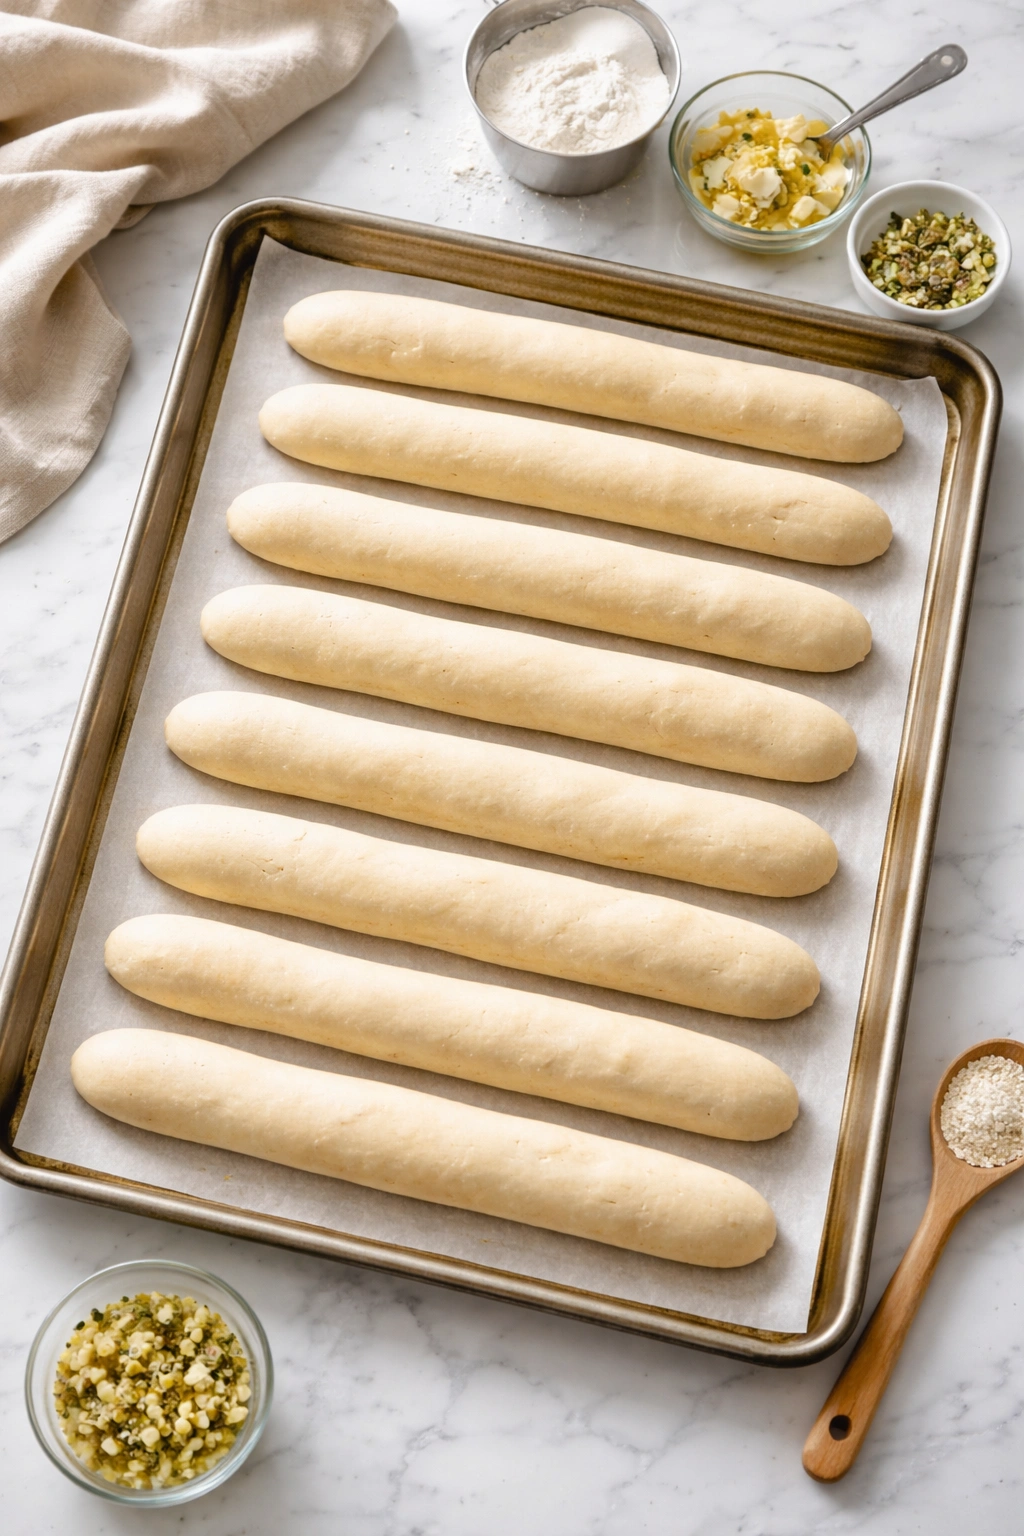
Take one piece of dough and gently shape it into a ball, then use your hands to roll it into a long, even log about 8-9 inches long and ½ inch thick. The dough should be smooth on the outside but doesn’t need to be perfectly uniform. Repeat with the remaining dough pieces.
-
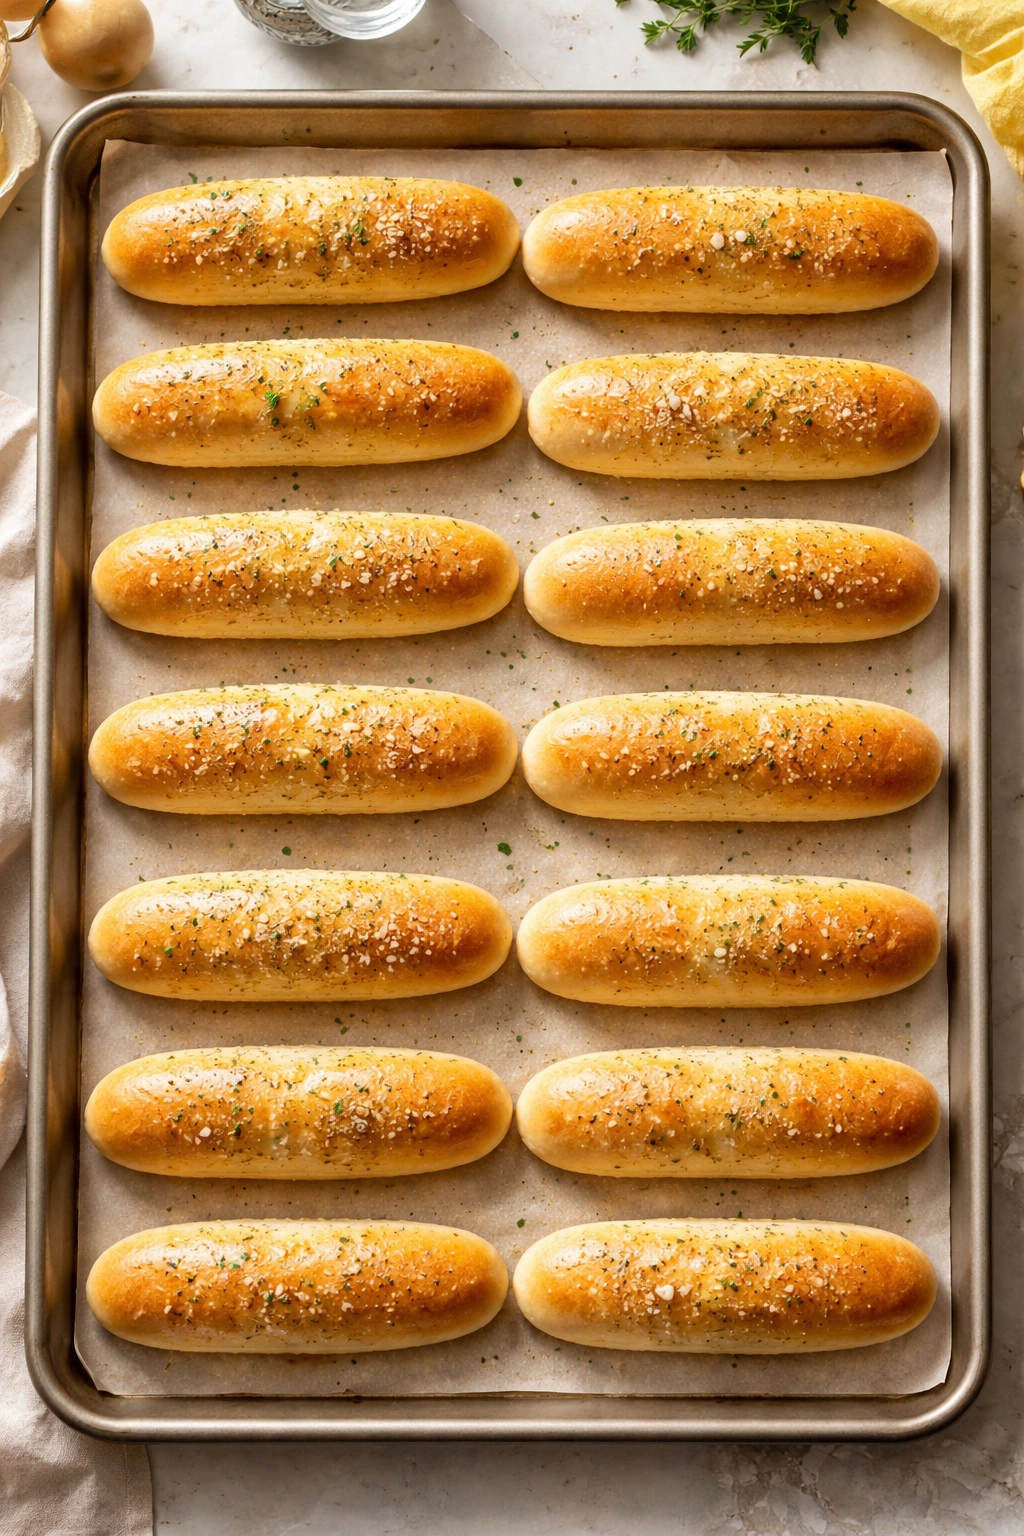
Place each breadstick on the prepared parchment-lined baking sheets, spacing them about 2 inches apart. They’ll expand slightly during the second rise and baking, so don’t crowd them.
Second Rise:
-
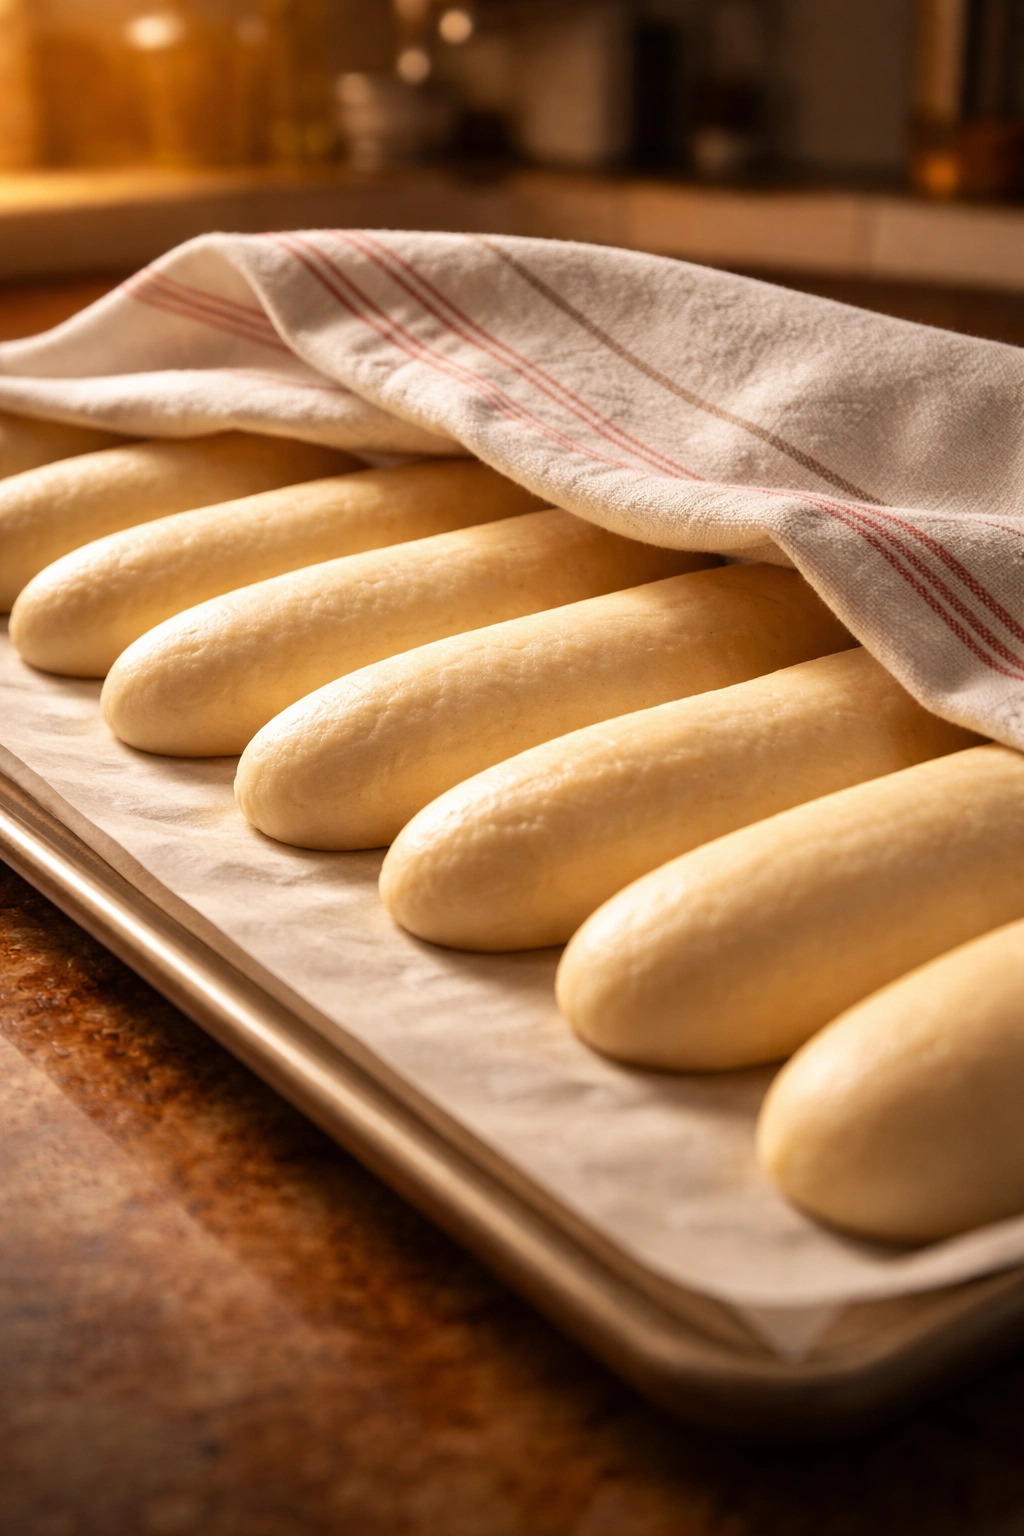
Cover the shaped breadsticks loosely with plastic wrap or a clean tea towel. Let them rise for 1 to 1.5 hours until they’re noticeably puffed and have increased in volume by about 50% (they should not double in size for the second rise). The dough should feel airy when you gently touch it.
-
About 10 minutes before the rise is complete, preheat your oven to 400°F and position an oven rack in the center of the oven.
Bake:
-
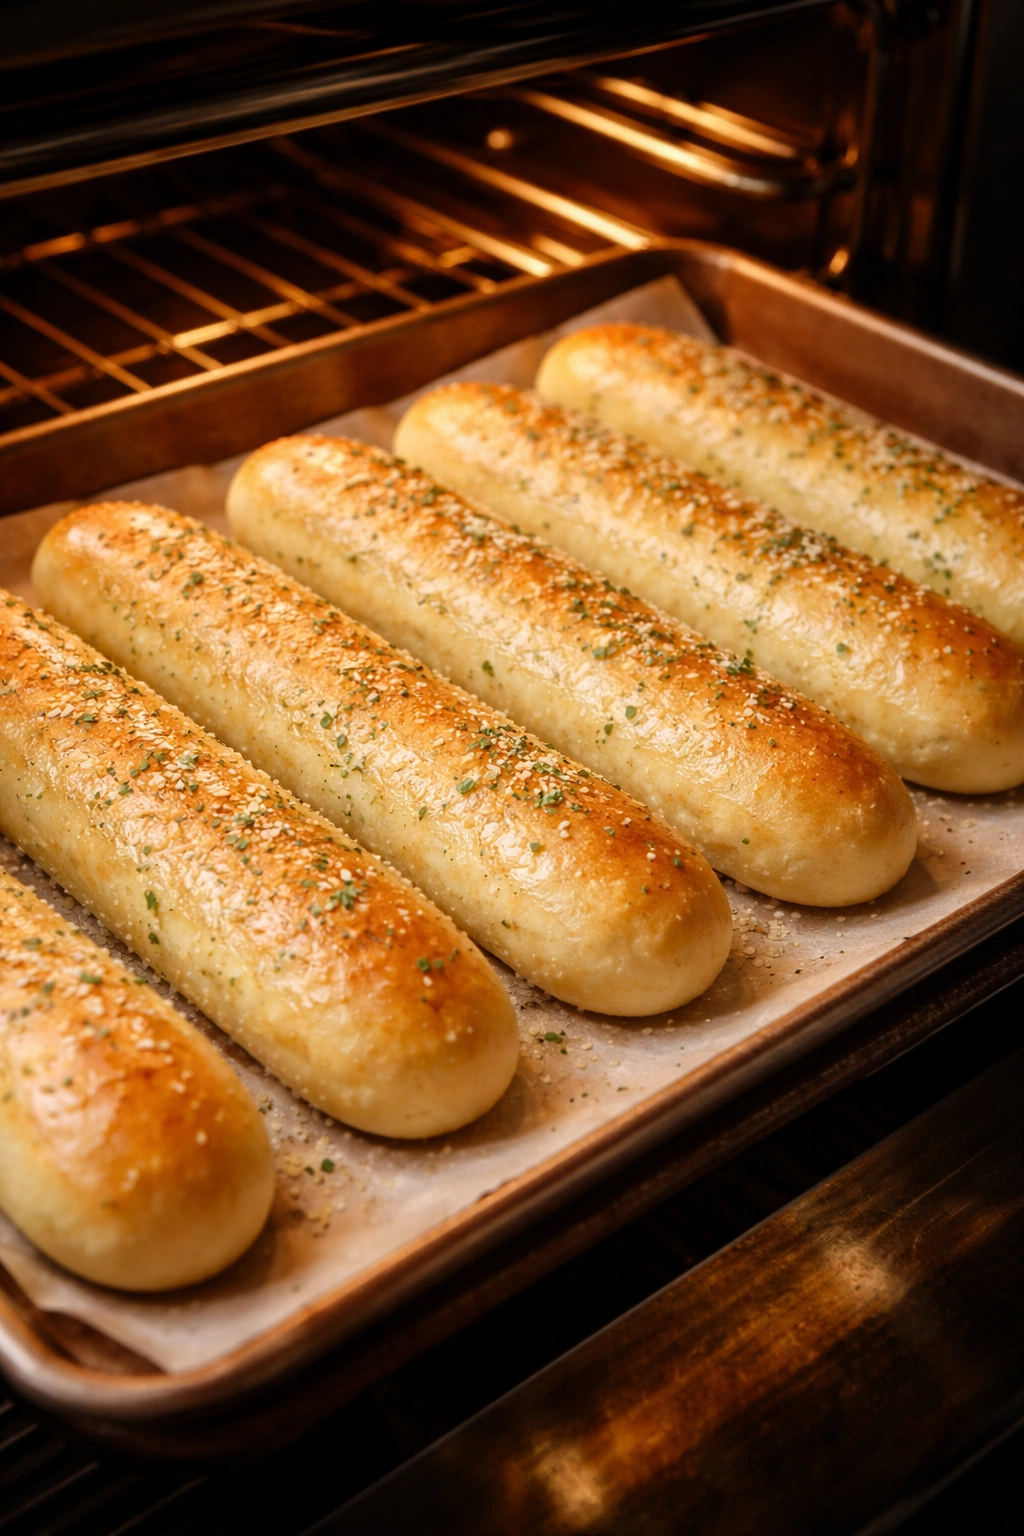
Bake the breadsticks for 12-14 minutes, until the tops are light golden brown. Rotate the baking sheets halfway through baking if one sheet is browning faster than the other. Do not overbake — the breadsticks will continue to brown slightly even after you remove them from the oven.
-
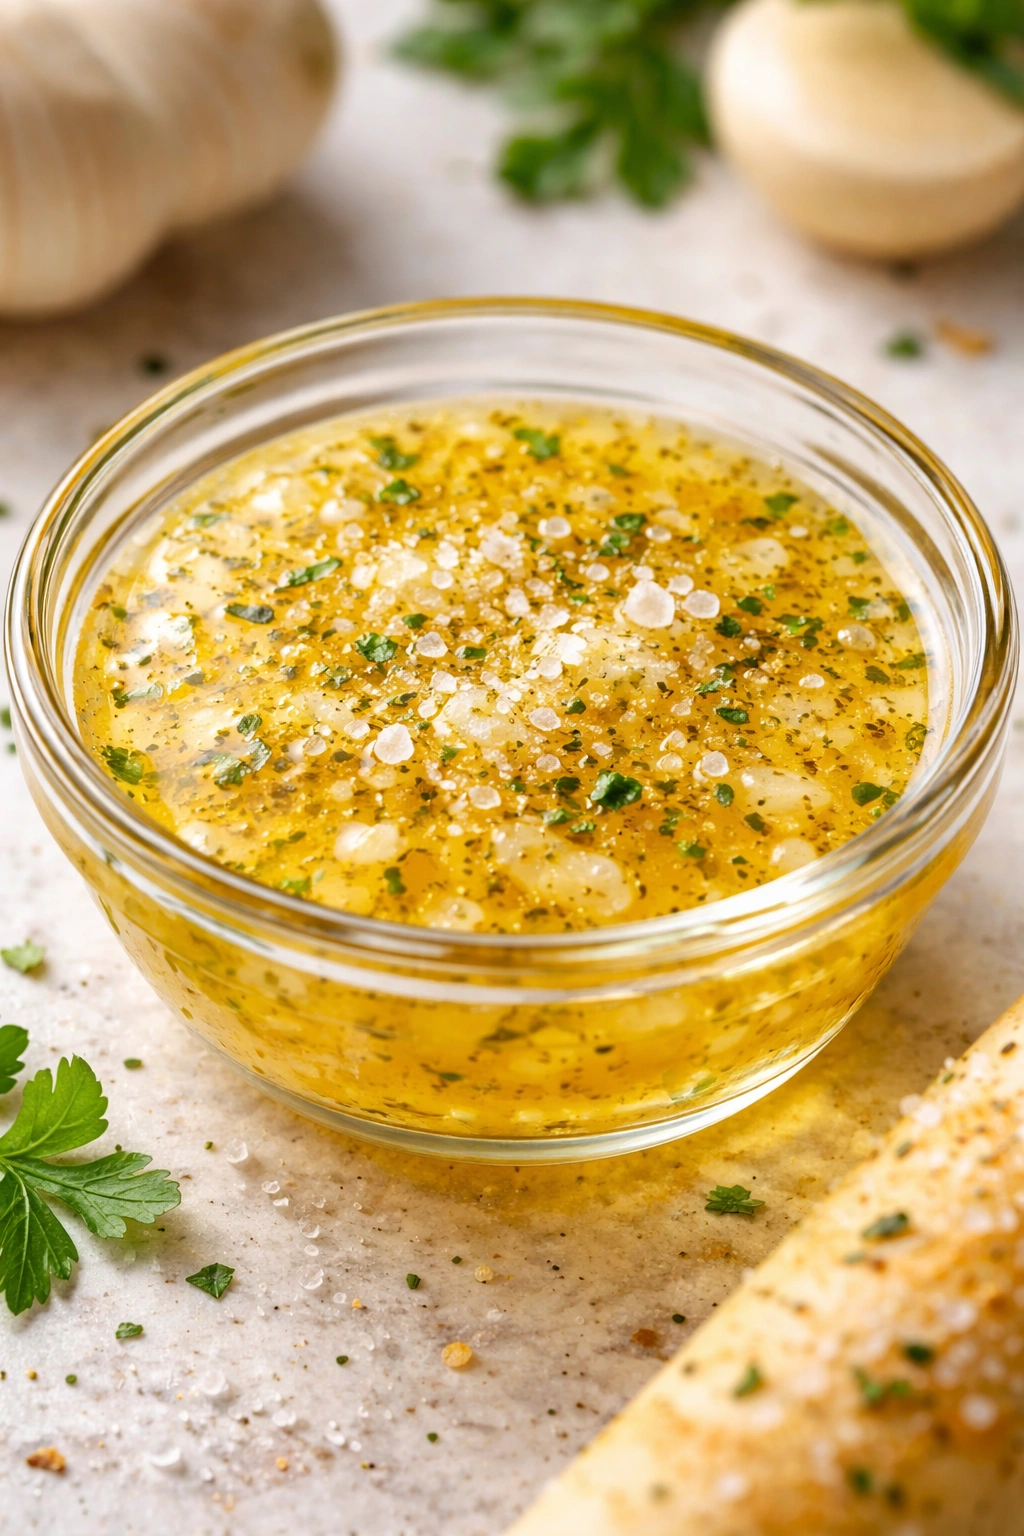
While the breadsticks bake, combine the melted butter, kosher salt, and garlic powder in a small bowl, whisking until the salt and garlic powder are evenly distributed through the butter.
-
Immediately upon removing the breadsticks from the oven, while they’re still hot, brush each one generously with the garlic butter mixture. The heat helps the butter absorb into the surface of the breadstick, flavoring it throughout rather than creating a greasy coating.
-
Serve the breadsticks warm. They’re best enjoyed within the first 30 minutes of baking, but they remain good for several hours at room temperature.
Bread Baking Science Explained
Understanding the science behind what’s happening in your dough transforms you from someone following instructions to someone who genuinely understands bread baking. This knowledge lets you troubleshoot problems and adapt recipes with confidence.
When flour combines with water, proteins called glutenin and gliadin hydrate and begin bonding together. Physical agitation—through kneading by hand or mixer—aligns these proteins into a network structure. This gluten network is what gives bread its structure, elasticity, and chew. Kneading continues until the gluten network is strong enough to trap gas bubbles and stretch without tearing.
The windowpane test, beloved by bread bakers everywhere, checks whether you’ve developed enough gluten. Pinch a small piece of dough and gently stretch it with your fingers. If you can stretch it thin enough that light passes through it without tearing, the gluten is adequately developed. If it tears immediately, keep kneading for a few minutes longer.
During fermentation, yeast consumes the sugars in the dough (both from the added sugar and from the breakdown of starch in the flour). This produces carbon dioxide, which gets trapped in the gluten network and causes the dough to rise. Fermentation also produces ethanol and various organic compounds that contribute subtle, complex flavors—this is why slow fermentation often produces more flavorful bread than quick fermentation.
Salt plays a role in gluten structure too. Salt ions interact with the gluten proteins, making them stronger and less extensible. This sounds like it would make bread tougher, but actually it creates a more stable dough that’s easier to work with and produces breadsticks with better texture and structure.
Steam during baking is absolutely critical for soft breadsticks. As water in the dough surface heats up, it evaporates into steam. This steam keeps the crust soft and flexible, allowing the dough to expand fully before the crust sets. Without adequate steam, the crust sets too quickly and the breadstick can’t expand, resulting in dense, short breadsticks.
Common Mistakes That Ruin the Texture
Even small errors in technique or ingredient handling can affect your final result. Understanding what goes wrong helps you avoid these pitfalls.
Using water that’s too hot is the most common fatal error. If your water temperature exceeds 120°F, you’ll kill the yeast, and your dough won’t rise at all. You’ll end up with dense, flat breadsticks that taste like they came from a convenience store. Always use a thermometer or test the temperature with your finger—it should feel warm but not hot, like a lukewarm bath.
Over-measuring flour is the second most common problem. Scooping directly from the bag and leveling it off compacts too much flour into your measuring cup. This makes the dough stiff and dry, resulting in dense, tough breadsticks. Always spoon flour gently into your measuring cup, or better yet, weigh it.
Skipping the bulk fermentation or rushing it won’t ruin your breadsticks, but it will make them less flavorful. The 1.5-2 hour first rise isn’t just about volume expansion—it’s about flavor development. Fermentation creates organic compounds that make bread taste more interesting and complex.
Over-proofing the second rise happens when you let shaped breadsticks rise too long before baking. Over-proofed dough loses its structure and collapses in the oven. Instead of puffing up when baked, it spreads into thin, flat breadsticks. Watch your shaped dough visually—they should be noticeably puffed and airy, but they shouldn’t have doubled in size.
Not brushing with butter immediately after baking means missing a crucial opportunity for flavor absorption. The hot surface of freshly-baked breadsticks absorbs butter and seasonings quickly. If you wait until they’ve cooled, the butter will just sit on the surface, creating a greasy coating instead of flavoring the breadstick throughout.
Baking too long creates dry breadsticks. Bake just until the tops are light golden brown—not deep brown, not tan, but the color of light caramel. Remember that the residual heat continues to bake the breadstick for a couple of minutes after you remove it from the oven.
Pro Tips for Perfect Results Every Time
These tips come from making breadsticks repeatedly and learning what really matters.
Invest in a kitchen scale if you don’t already own one. A basic digital scale costs under $15 and eliminates the most common source of baking failure—incorrect flour measurement. When your flour is measured accurately, everything else becomes easier and more predictable.
Use an instant-read thermometer for water temperature. You can eyeball it and usually be close, but a thermometer removes all guesswork. Yeast is finicky about temperature, and a thermometer costs just a few dollars and lasts forever.
Let the dough rise in your oven with just the light on. This creates a warm, draft-free environment that’s perfect for rising. Your dough will rise more evenly than on the counter where there might be drafts or cool spots. Just remember to remove the dough before preheating the oven for baking!
Don’t be afraid of slightly tacky dough. Many beginner bakers add too much flour because their dough feels too sticky. Resist this urge. A slightly sticky dough produces softer, more tender breadsticks. Lightly flour your hands and work surface as needed, but don’t add more flour to the dough itself.
Create steam during baking by placing a pan of boiling water on the bottom rack a few minutes before the breadsticks go into the oven. This simple step noticeably improves the softness and texture of your finished breadsticks.
Brush the butter on while the breadsticks are still hot. The heat opens up the surface and allows the butter and seasonings to absorb rather than just coating the outside. This is what makes the difference between breadsticks that taste uniformly garlicky throughout versus breadsticks that taste garlicky on the outside but plain inside.
Variations and Flavor Twists
Once you master the basic recipe, endless variations become possible. The dough is your blank canvas.
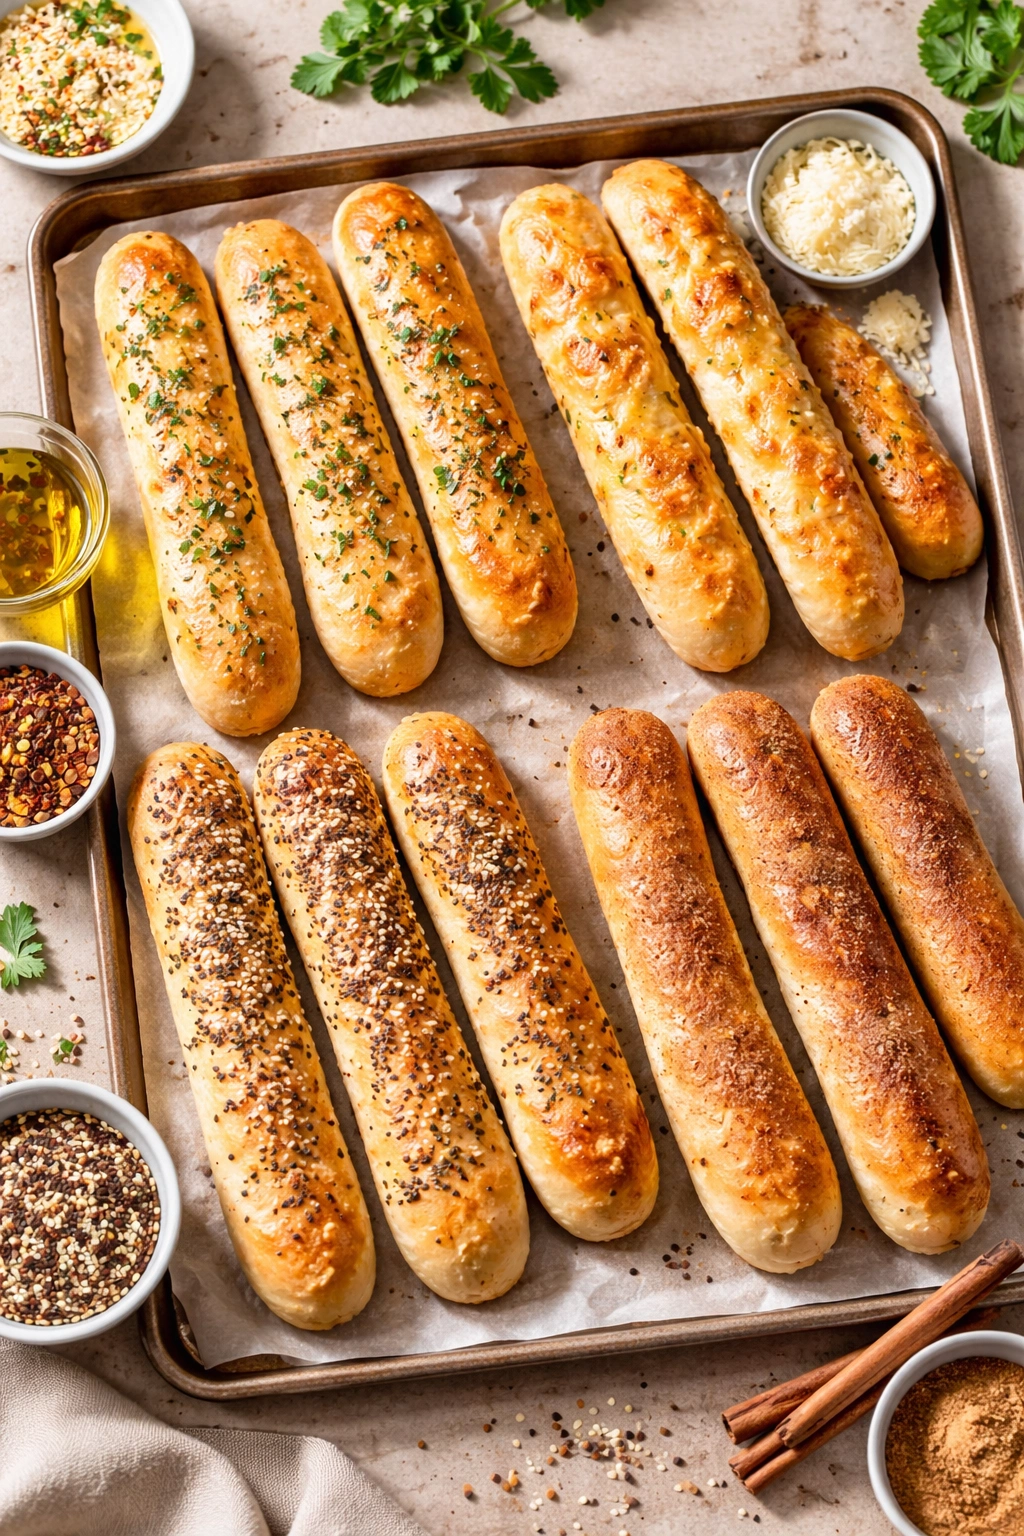
Herb-seasoned breadsticks are simple—add 1 teaspoon of dried Italian seasoning, dried basil, dried oregano, or a combination to the dough when you add the other dry ingredients. This distributes the herbs throughout the breadstick rather than just on top. You can still brush with garlic butter afterward if you like.
Cheese breadsticks work beautifully. Fold 1 cup of finely shredded sharp cheddar, Parmesan, or a combination into the dough just before shaping. The cheese melts slightly during baking and creates pockets of extra flavor throughout. You can skip the garlic butter and just brush with plain melted butter and a sprinkle of salt if you prefer.
Everything bagel breadsticks play with texture. Brush shaped, un-risen breadsticks with egg wash (1 egg beaten with 1 tablespoon water), then sprinkle generously with everything bagel seasoning. Bake as directed. The seasoning adheres better to the dough before baking than after.
Cinnamon sugar breadsticks for a sweet option: reduce the salt in the dough to ¾ teaspoon, then after baking and brushing with plain melted butter, immediately roll the hot breadsticks in a mixture of ½ cup granulated sugar combined with 1 tablespoon ground cinnamon. These taste almost like dessert but pair surprisingly well with coffee.
Rosemary and sea salt breadsticks skip the garlic entirely. Brush baked breadsticks with melted butter mixed with finely chopped fresh rosemary, then sprinkle with flaky sea salt. This version has a more sophisticated, savory flavor.
Sun-dried tomato and basil adds complexity. Mix 3 tablespoons of finely chopped sun-dried tomatoes (oil-packed, drained) and 1 teaspoon of dried basil into the dough before the first rise. Brush with butter and sprinkle with salt after baking. This variation pairs beautifully with Italian soups or pasta.
How to Store and Reheat Your Breadsticks

Fresh breadsticks are best served immediately, but proper storage extends their life considerably.
At room temperature, breadsticks stay good for 3-4 days in an airtight container. They’ll gradually become drier, but they’re still edible. After a day or two, the texture becomes more bread-like and less pillowy, but the flavor remains good.
To reheat room-temperature breadsticks, wrap them loosely in foil and warm them in a 400°F oven for about 5 minutes until they’re heated through and the crust crisps up slightly. The foil traps steam that re-moisturizes the breadstick while gentle heat wakes up the flavors.
In the freezer, cooled breadsticks keep for up to 3 months. Wrap them individually in plastic wrap, then place them in a freezer bag with as much air removed as possible. Individually wrapping prevents them from freezing into one solid block.
To thaw frozen breadsticks, let them sit at room temperature for 1-2 hours, then reheat as directed above. Alternatively, you can reheat them directly from frozen—just add a few extra minutes to the warming time and tent them loosely with foil to prevent over-browning.
You can also freeze the shaped dough before the second rise. After shaping, place breadsticks on a baking sheet and freeze until solid (about 3-4 hours), then transfer to a freezer bag. To bake, place them on a baking sheet and let them thaw at room temperature while the oven preheats. Once they’ve risen noticeably (about 1 hour), bake as directed.
Serving Ideas and Perfect Pairings

Breadsticks aren’t just a side dish—they’re an experience. Thoughtful pairing makes them even better.
Traditionally, breadsticks pair best with soups and stews. A warm bowl of creamy tomato soup with a basket of warm, buttery breadsticks is comfort food at its finest. Minestrone soup, chicken gnocchi soup, creamy vegetable soups, or robust bean soups all benefit from breadsticks alongside. The breadsticks serve a practical purpose too—they’re perfect for soaking up the last delicious spoonfuls of soup.
Pasta dishes become more special with fresh breadsticks. Serve them alongside spaghetti and marinara, creamy Alfredo pasta, or baked ziti. The breadsticks add textural contrast and give your guests something to enjoy while waiting for pasta to cook.
Salads get elevated with breadsticks. A simple green salad with vinaigrette becomes more substantial and satisfying when paired with warm, garlicky breadsticks. The breadsticks’ buttery richness complements the acidity of the dressing beautifully.
Dipping sauces make breadsticks interactive and fun. Marinara sauce is traditional, but try also serving with warm Alfredo sauce, garlic-herb olive oil with balsamic vinegar, pepperoni pizza dipping sauce, creamy ranch dip, or pesto. Let guests choose their favorites.
Appetizer platters benefit from breadsticks. Arrange them standing up in a basket or glass alongside olives, cured meats, cheeses, and marinated vegetables for a casual but elegant starter course.
Simple olive oil and herbs is often all you need. If you don’t have elaborate sauces on hand, just drizzle the breadsticks with excellent olive oil and sprinkle with flakes of sea salt, freshly cracked pepper, and fresh herbs like parsley or basil.
Make-Ahead Strategies
Making breadsticks ahead takes pressure off your cooking day and lets you serve fresh, warm breadsticks whenever you want.
The dough itself is make-ahead friendly. After the first rise, you can punch it down, wrap it tightly, and refrigerate it for up to 2 days. The cold slows fermentation, allowing flavor to develop further. When you’re ready to bake, let the dough come to room temperature for about 1 hour, then shape and proceed with the second rise and baking.
Shaped, unbaked breadsticks can be refrigerated after shaping. Cover them well with plastic wrap so they don’t dry out, and refrigerate for up to 24 hours. Bring them to room temperature as the oven preheats—this takes about 1 hour. If they haven’t risen noticeably by the time the oven is preheated, give them another 15-30 minutes at room temperature before baking.
Bake them partway ahead of time. You can bake the breadsticks for just 6-8 minutes—until they’re barely golden but still quite pale. Cool them completely, then store in an airtight container. Just before serving, reheat them at 425°F for 3-4 minutes until golden and warm through, then brush with fresh garlic butter. This technique lets you have the satisfaction of freshly baked breadsticks without having to commit to baking earlier in the day.
For dinner parties, bake the breadsticks completely in the morning, store them at room temperature, then reheat gently just before guests arrive. Your kitchen will smell amazing, they’ll be perfectly warm and fresh, and you won’t have any last-minute prep stress.
Final Thoughts

These copycat Olive Garden breadsticks represent something more than just a recipe—they’re proof that restaurant-quality results are absolutely achievable at home with basic ingredients and fundamental techniques. The beauty of homemade breadsticks is that they’re so much better when warm and fresh. You’re not getting breadsticks that have been sitting in a warming bin; you’re getting breadsticks that came out of your oven minutes ago.
The first time you pull a batch of golden, fragrant breadsticks from your oven and brush them with that garlicky butter, watching them absorb the butter while steam rises off the tray, you’ll understand why people keep coming back to Olive Garden for these. And the second time you make them, when you’ve internalized the process and the rhythm of the rise, you’ll feel like a genuine baker. That’s when the real magic happens—when bread baking stops being intimidating and becomes something you do with quiet confidence.
Your family will be amazed. They’ll reach for second and third breadsticks. Someone will inevitably say, “These are better than Olive Garden’s,” and you’ll smile because you know it’s true. Once you’ve made these a few times and adjusted them to suit your preferences—maybe adding extra garlic, maybe experimenting with herbs—they’ll become your signature bread. And that’s perhaps the greatest reward of baking from scratch: creating something that becomes beloved, something that brings people to your table eager and happy.