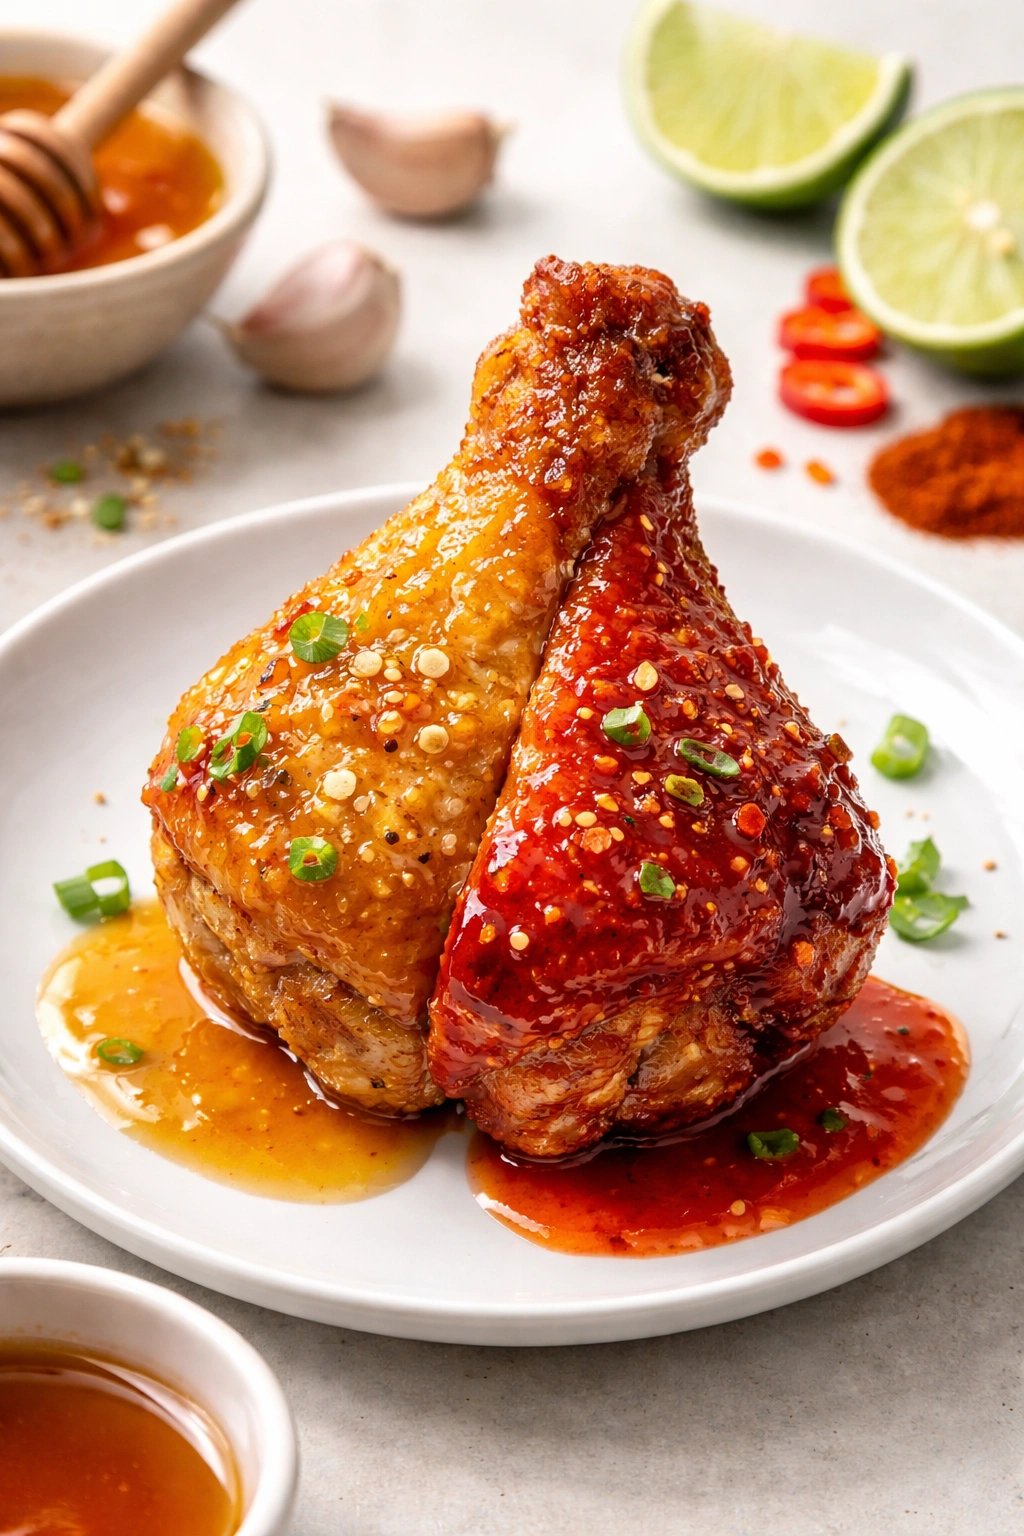
Sticky honey garlic wings have earned their place as one of the ultimate crowd-pleasing appetizers — crispy, glossy, packed with garlic, and coated in a sauce that tastes like it came straight from a take-out order. The magic of this recipe? You can have restaurant-quality wings on the table in roughly the time it takes to binge an episode of your favorite show. What makes the 30-minute timeline possible is a strategic combination of high-heat baking, a quick-simmering glaze, and a few technique tweaks that eliminate unnecessary waiting without compromising that essential golden crispiness everyone craves.
The traditional honey garlic wing has roots in Asian cuisine, particularly in Korean-style marinades where honey and garlic form the backbone of countless beloved dishes. Over time, this flavor combination migrated to chicken wings and became a staple at gatherings, game-day parties, and casual family dinners because it delivers complexity without demanding hours of advance prep. Sweet, savory, garlicky, and with just enough spice if you want it — honey garlic wings check every box. The 30-minute version strips away unnecessary marinating time by using a high-heat cooking method and a sauce that cooks down while your wings are in the oven, meaning no downtime, no hidden waiting periods, and no excuses not to make these tonight.
Why This 30-Minute Version Actually Works
You might be skeptical that wings can get truly crispy in under half an hour. The key lies in three interconnected strategies that, when used together, produce wings with shatteringly crispy skin and perfectly cooked meat without any of the greasiness associated with deep-frying.
First, baking at a high temperature — around 425°F to 450°F — creates an environment where the wings’ natural fat renders out quickly and efficiently. The elevated heat causes moisture to evaporate from the skin’s surface, which is what transforms soft, flabby skin into that satisfying crunch you’re after. Higher heat accomplishes in 35-40 minutes what lower temperatures require 50-60 minutes to achieve.
Second, patting the wings completely dry before seasoning is non-negotiable. Any surface moisture acts as a barrier between the skin and the hot air circulating in your oven, preventing crisping. Taking 30 seconds to thoroughly dry your wings with paper towels is the single most impactful step you can take toward success. Many home cooks skip this step and wonder why their baked wings come out rubbery instead of crispy — they’ve essentially created steaming conditions instead of roasting conditions.
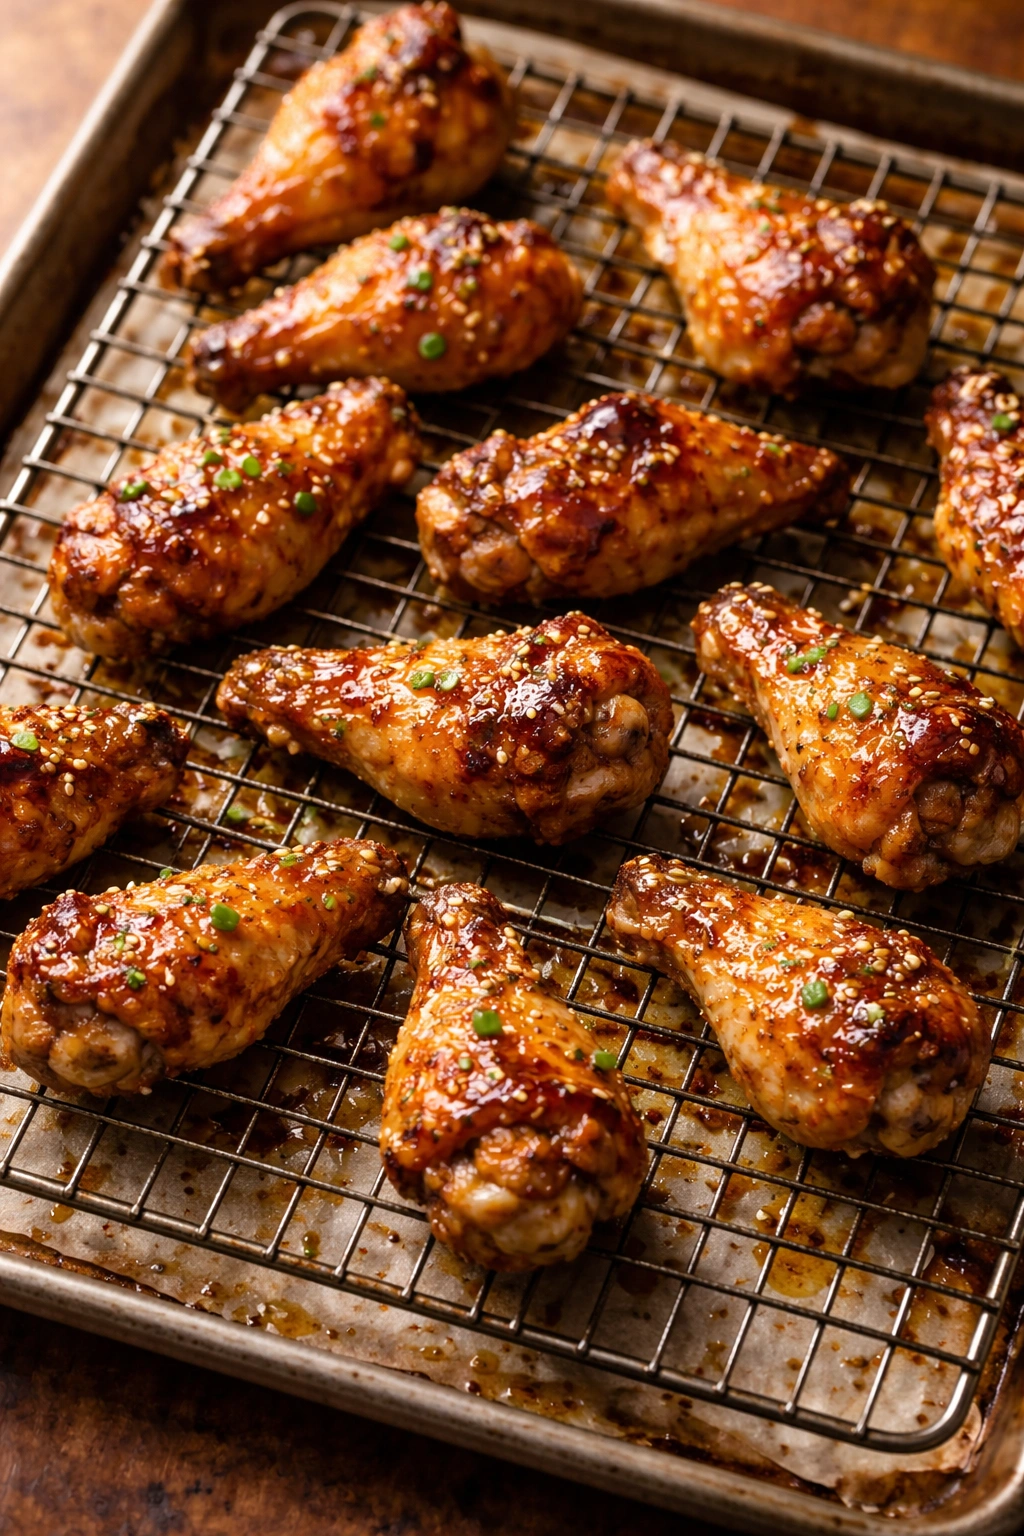
Third, using a wire rack elevated above your baking sheet allows air to circulate beneath the wings as they cook. This is crucial. Wings sitting directly on a baking sheet trap heat underneath them and essentially steam that bottom side. A simple cooling rack or wire rack turns your baking sheet into a mini convection setup, ensuring both the top and bottom of each wing develop that golden, crispy exterior.
The Essential Ingredients for Speed and Flavor
For the Chicken Wings:
- 2 to 2½ pounds chicken wingettes, whole wings separated at the joints, or drumettes (whatever you prefer — drumettes cook slightly faster)
- ½ teaspoon kosher salt
- ½ teaspoon freshly cracked black pepper
- ¼ teaspoon garlic powder (optional but helpful for layered flavor)
- 1 tablespoon vegetable or olive oil (for brushing)
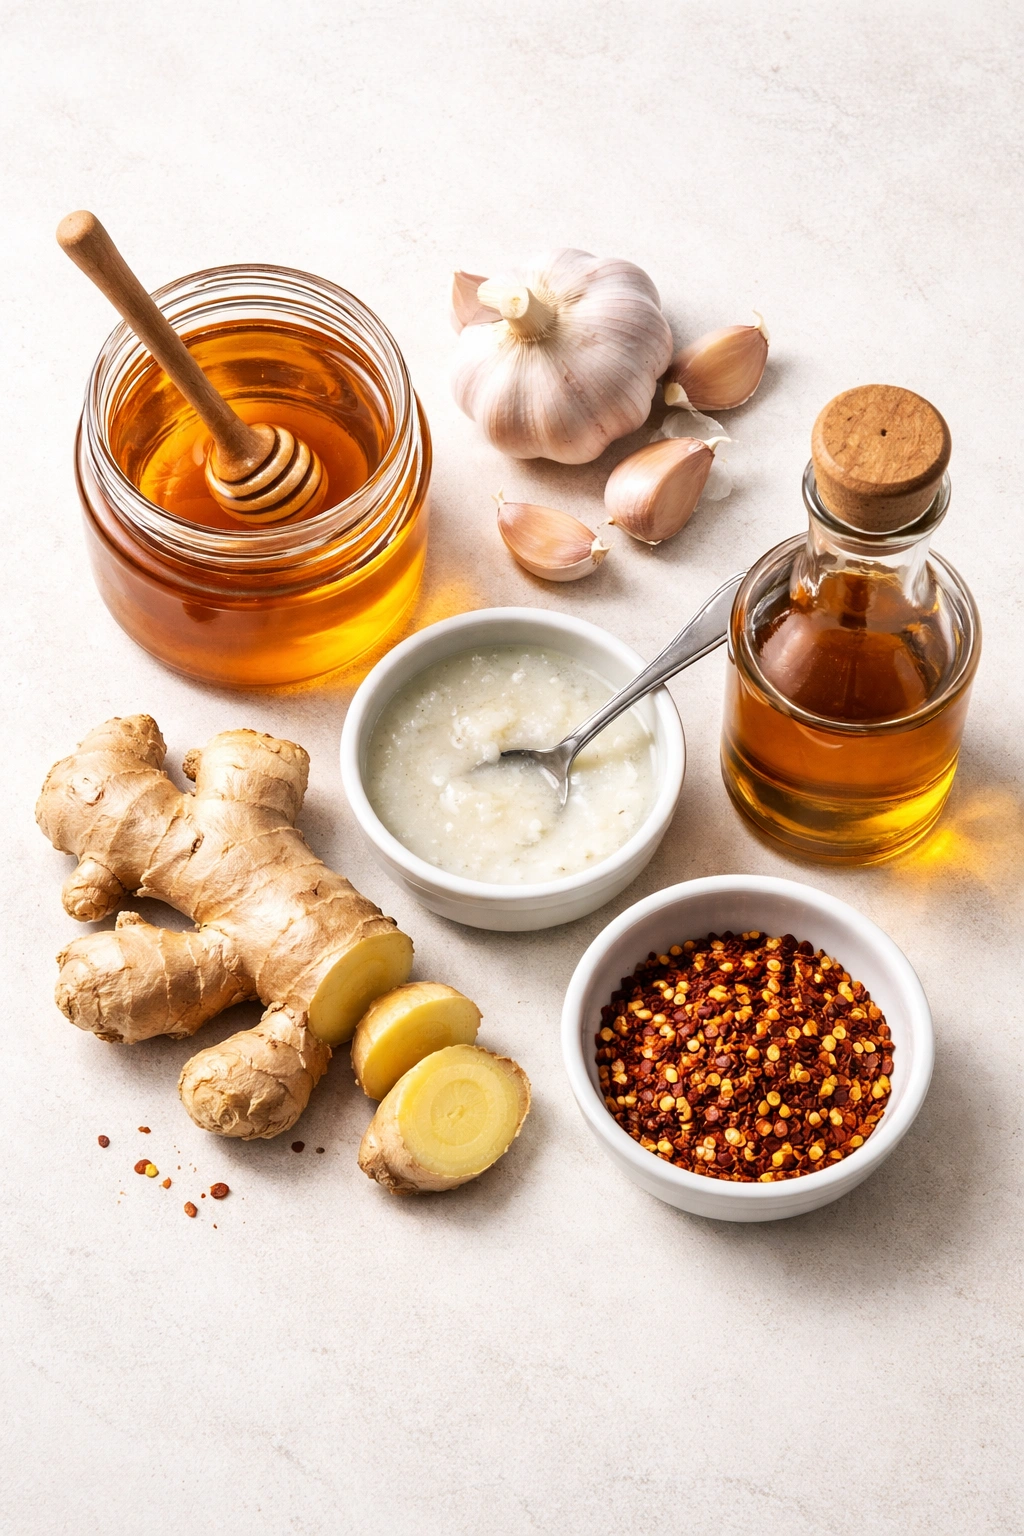
For the Sticky Honey Garlic Sauce:
- ½ cup honey (use real honey, not corn syrup honey — the difference in flavor is real)
- ¼ cup low-sodium soy sauce
- 5 to 6 cloves fresh garlic, minced (this is not the time to use jarred garlic — fresh garlic cooks quickly and tastes infinitely better)
- 1 tablespoon fresh ginger, grated (fresh ginger adds brightness; bottled ginger paste is a distant second choice)
- 1 teaspoon sesame oil (adds nuttiness and depth)
- ½ teaspoon crushed red pepper flakes (adjust up or down based on your heat tolerance)
- 1½ teaspoons cornstarch mixed with 2 tablespoons water (this slurry thickens the sauce without lumps)
- Optional garnish: toasted sesame seeds, thinly sliced green onions, chopped fresh cilantro
The beauty of this ingredient list is that nearly everything lives in your pantry or fridge year-round. You’re not hunting for obscure specialty items or expensive components. Honey, soy sauce, garlic, ginger — these are workhorses in any kitchen that welcomes bold flavor.
Yield, Timing & Difficulty
Yield: Serves 4 to 6 as an appetizer | Makes approximately 20 to 24 pieces
Prep Time: 10 minutes (patting wings dry, mincing garlic, grating ginger, measuring sauce ingredients)
Cook Time: 20 minutes (wings bake while you make the sauce)
Total Time: 30 minutes active time from start to serving
Difficulty: Beginner — no special equipment required beyond a wire rack and basic kitchen tools. The instructions are straightforward, the timing is forgiving, and even first-time wing makers will succeed by following the sensory cues.
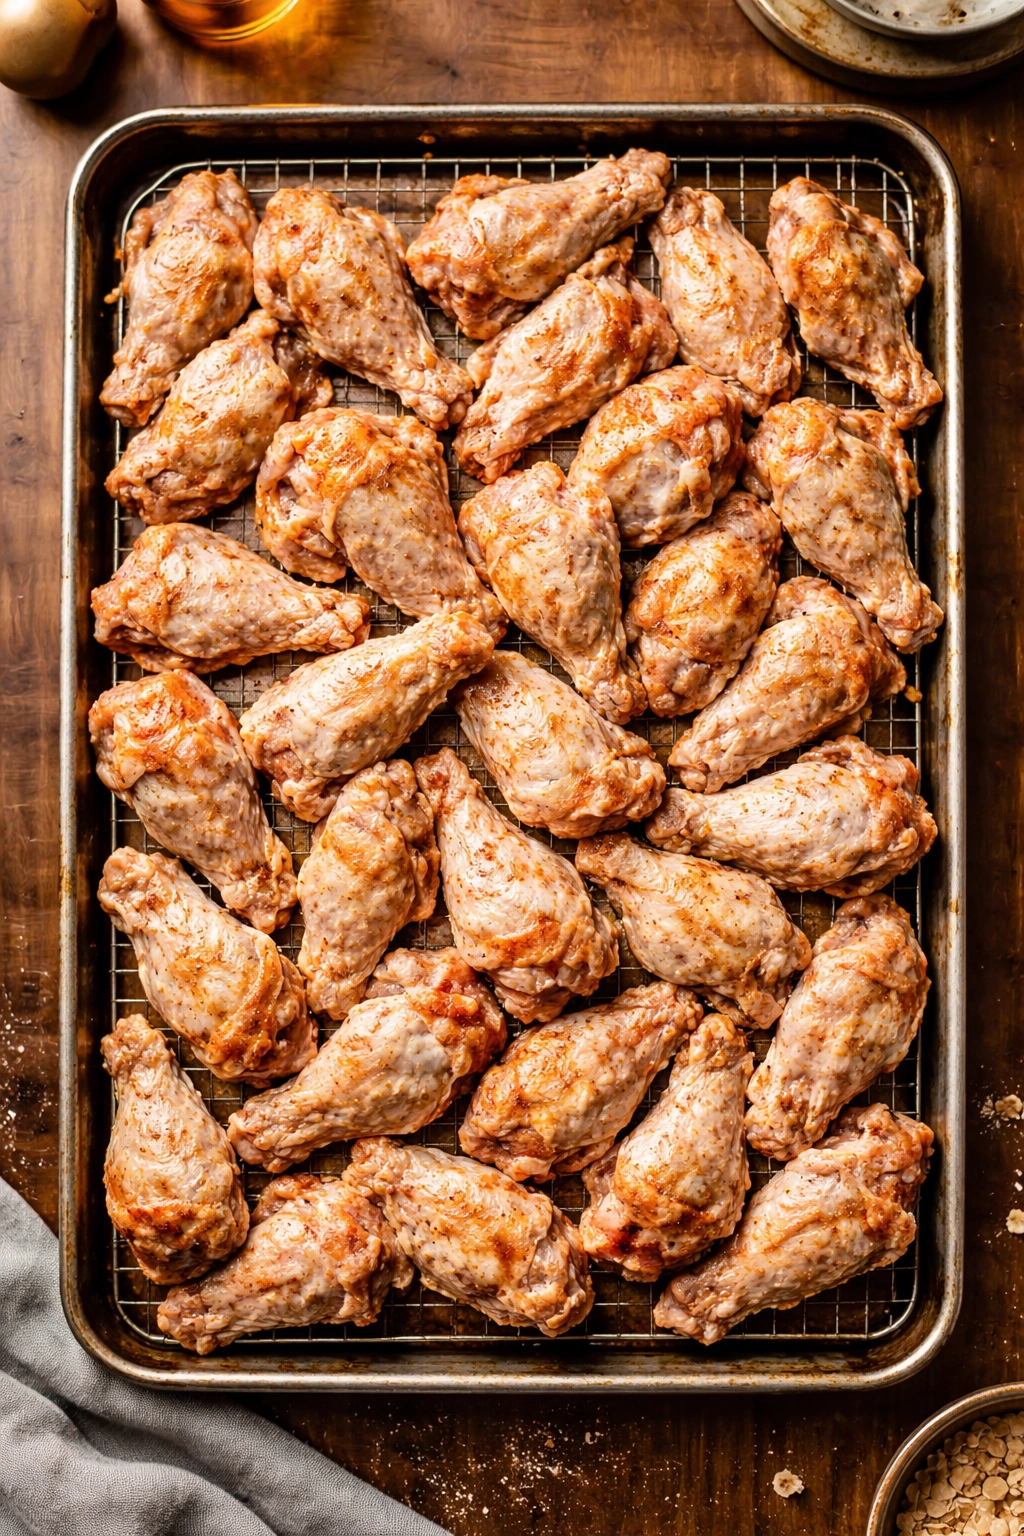
Preparing Your Wings and Oven
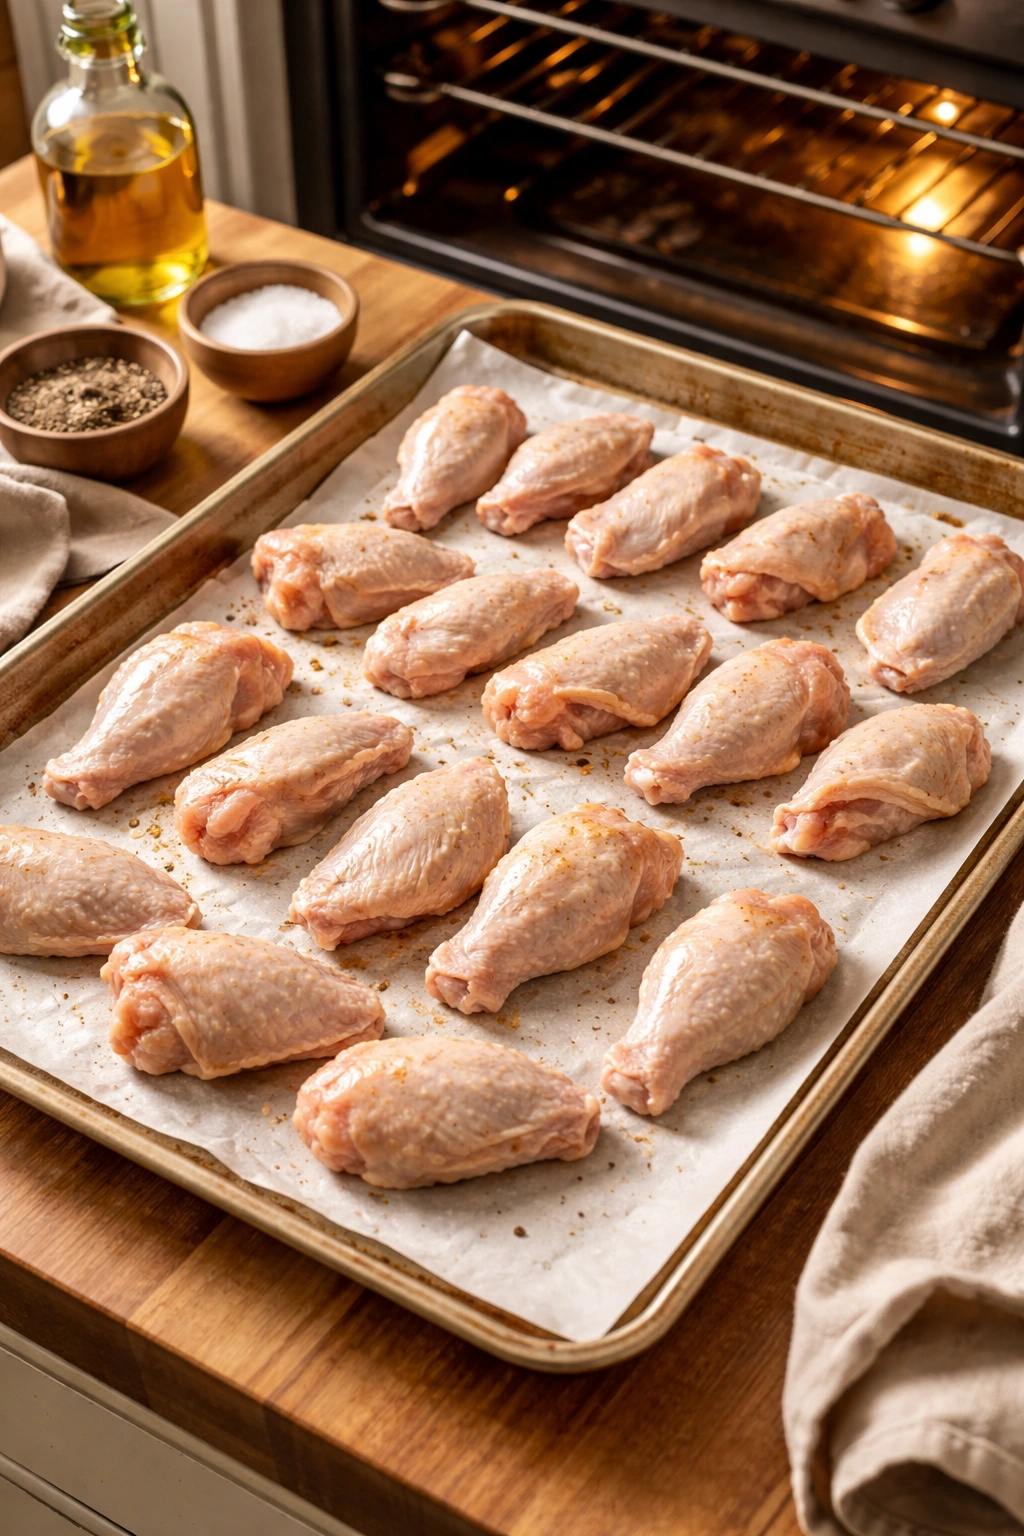
Start by preheating your oven to 425°F (220°C) and positioning a rack in the center. Line a large baking sheet with parchment paper — this saves you from scrubbing baked-on soy sauce and honey later, which is worth its weight in gold.
Rinse your chicken wings under cool water and pat them completely dry with paper towels. Don’t rush this step. Take your time blotting away every visible drop of moisture from the skin. Soggy wings will steam instead of roast, and you’ll end up disappointed. If you have time and plan ahead, you can even place dried wings uncovered on a plate in the refrigerator for 30 minutes to an hour — the cool, dry air helps dehydrate the surface even further. This is a restaurant trick that genuinely works, but it’s not required if you’re working within your 30-minute window.
If your wings are whole (still attached at the joints), separate them into three pieces: the drumette (the meaty part that looks like a tiny drumstick), the flat (the two-bone piece), and the wing tip (which most people discard, though some save these for making stock). If you’ve already purchased wingettes or drumettes, you’re ahead of the game.
In a large bowl, toss your dried wings with 1 tablespoon of oil, salt, pepper, and garlic powder if you’re using it. You want each wing to be lightly glossed with oil — this helps the seasoning adhere and promotes browning. The oil doesn’t make the wings greasy; it’s the vehicle that carries heat to the skin and facilitates crisping.
Spread the wings in a single layer on your prepared baking sheet, placing them skin-side up if you can tell which side is which. Arrange them so they’re not touching each other if possible — crowding creates pockets of steam, and steam is the enemy of crispy skin. If your baking sheet is small, it’s better to use two baking sheets than to overcrowd one. Pop them into your preheated 425°F oven.
Making the Sauce While Wings Bake
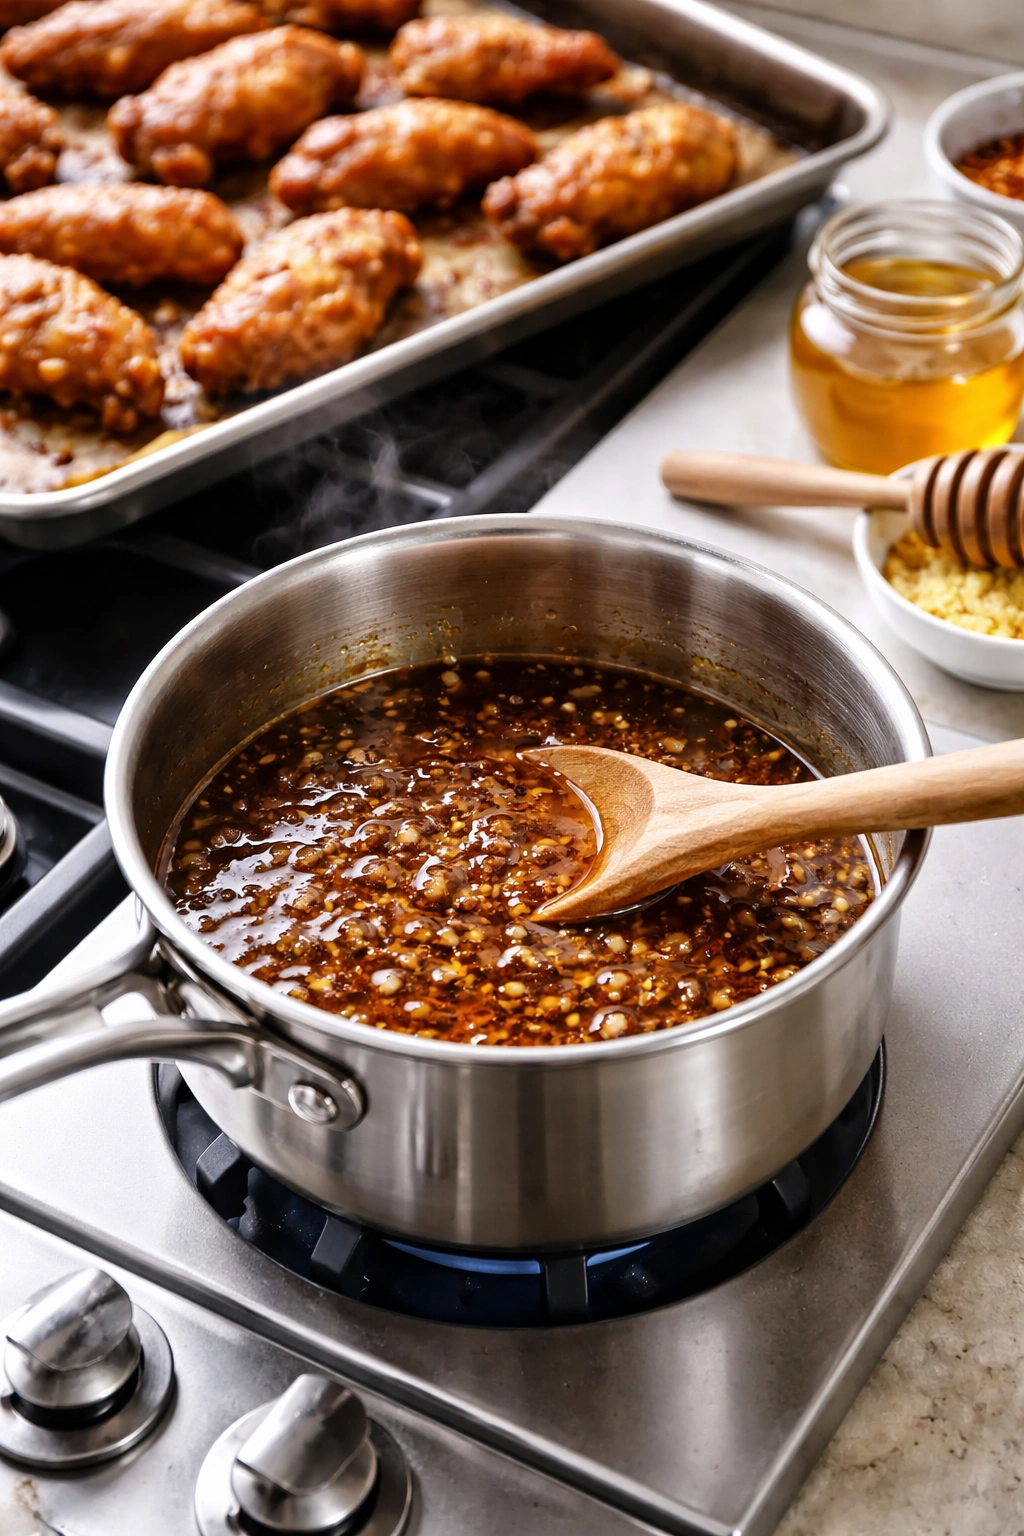
While your wings are roasting, you’ll have roughly 15-20 minutes to prepare the sauce. This is elegant timing because your sauce will be ready right when your wings emerge from the oven, and you can toss everything together while everything is still hot.
Combine the honey, soy sauce, minced garlic, grated ginger, sesame oil, and red pepper flakes in a small saucepan over medium-high heat. Stir to combine and bring the mixture to a boil — you’ll see it bubble vigorously and the garlic will soften and perfume your kitchen. Let it boil for about 1 minute, then reduce the heat to medium-low.
In a small bowl or measuring cup, whisk together your cornstarch slurry: 1½ teaspoons cornstarch mixed with 2 tablespoons of water until completely smooth with no lumps. Whisk this into your simmering sauce. The sauce will immediately thicken noticeably — you want it to thicken enough that it coats the back of a spoon and drips slowly when you tilt the spoon. This usually takes 2-3 minutes of simmering. If it’s still too thin, let it simmer another minute. If it becomes too thick and pasty, add a splash of water and stir.
The cornstarch slurry is what transforms the sauce from a watery glaze into something sticky and clingy that actually coats your wings instead of running off them. Don’t skip this step or try to substitute it with regular flour — flour will make the sauce grainy and taste pasty. Cornstarch dissolves smoothly and thickens without adding any perceptible flavor.
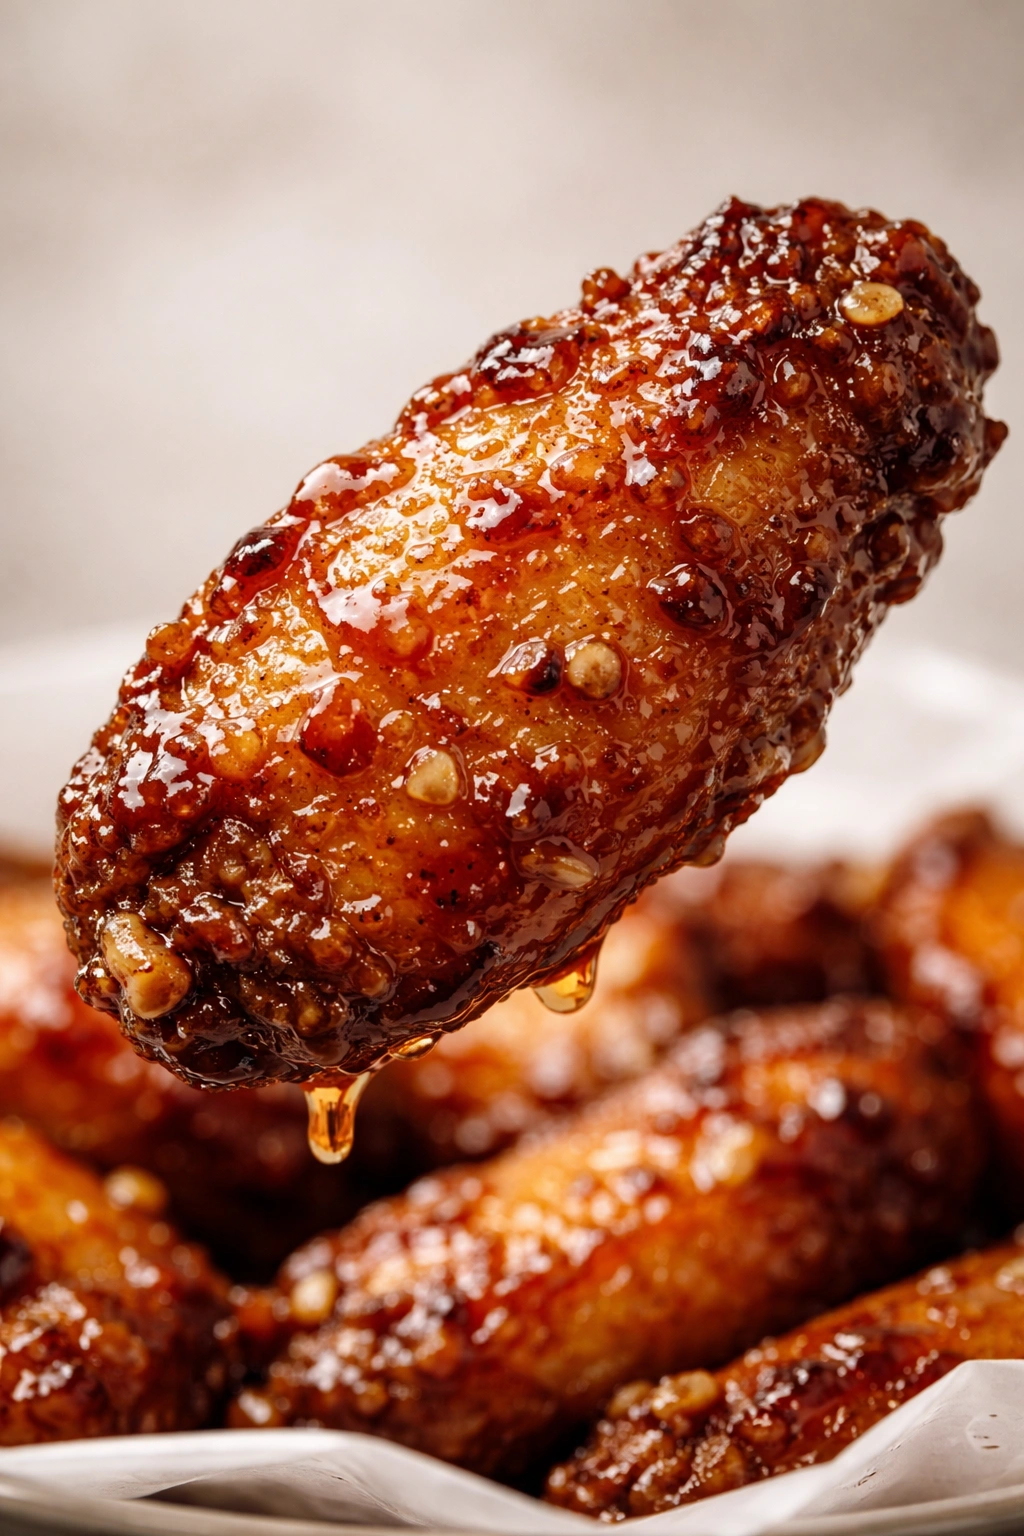
The Moment of Crispy Perfection
At the 18-20 minute mark, check your wings. They should be golden brown or even showing some blistering on the skin, with the meat cooked through (165°F internal temperature registered with a meat thermometer, though 180-185°F will be crispier). If they need another 2-3 minutes, give them that time — don’t pull them out too early just to stay on schedule. An extra 2 minutes of crispiness is worth a slightly longer overall time.
Once your wings are done, immediately remove them from the oven and transfer them to a large, clean bowl using tongs. This is important: use a clean bowl, not the one you used to toss the raw wings with oil. The warm wings will go directly into the sauce, and you don’t want any raw residue in there.
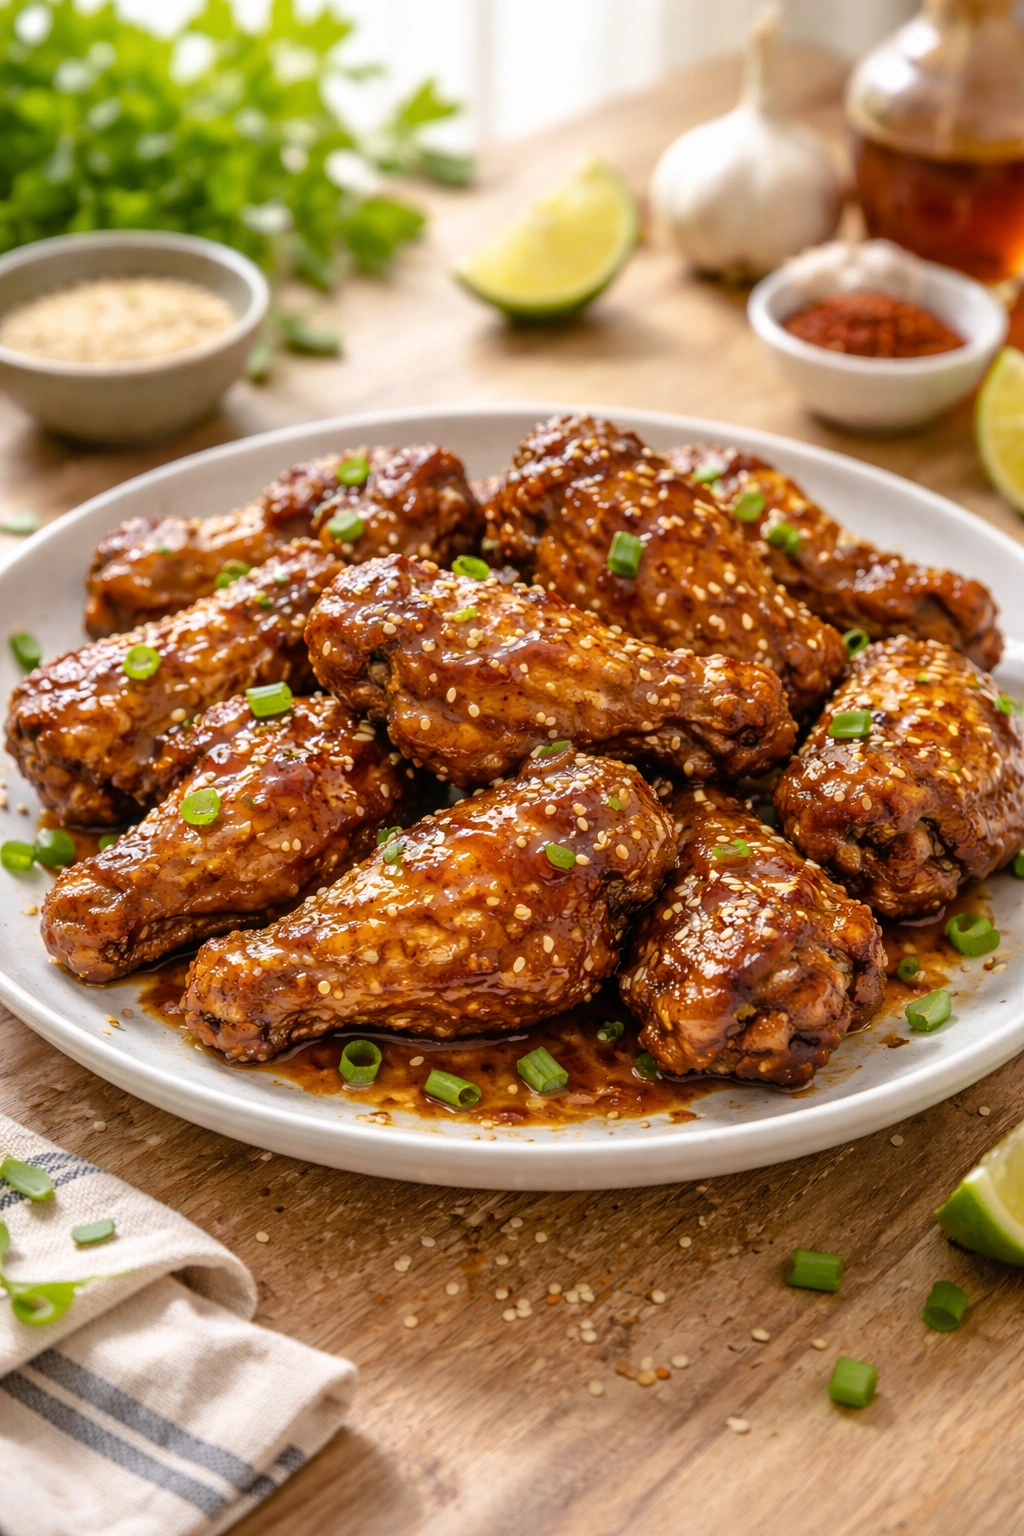
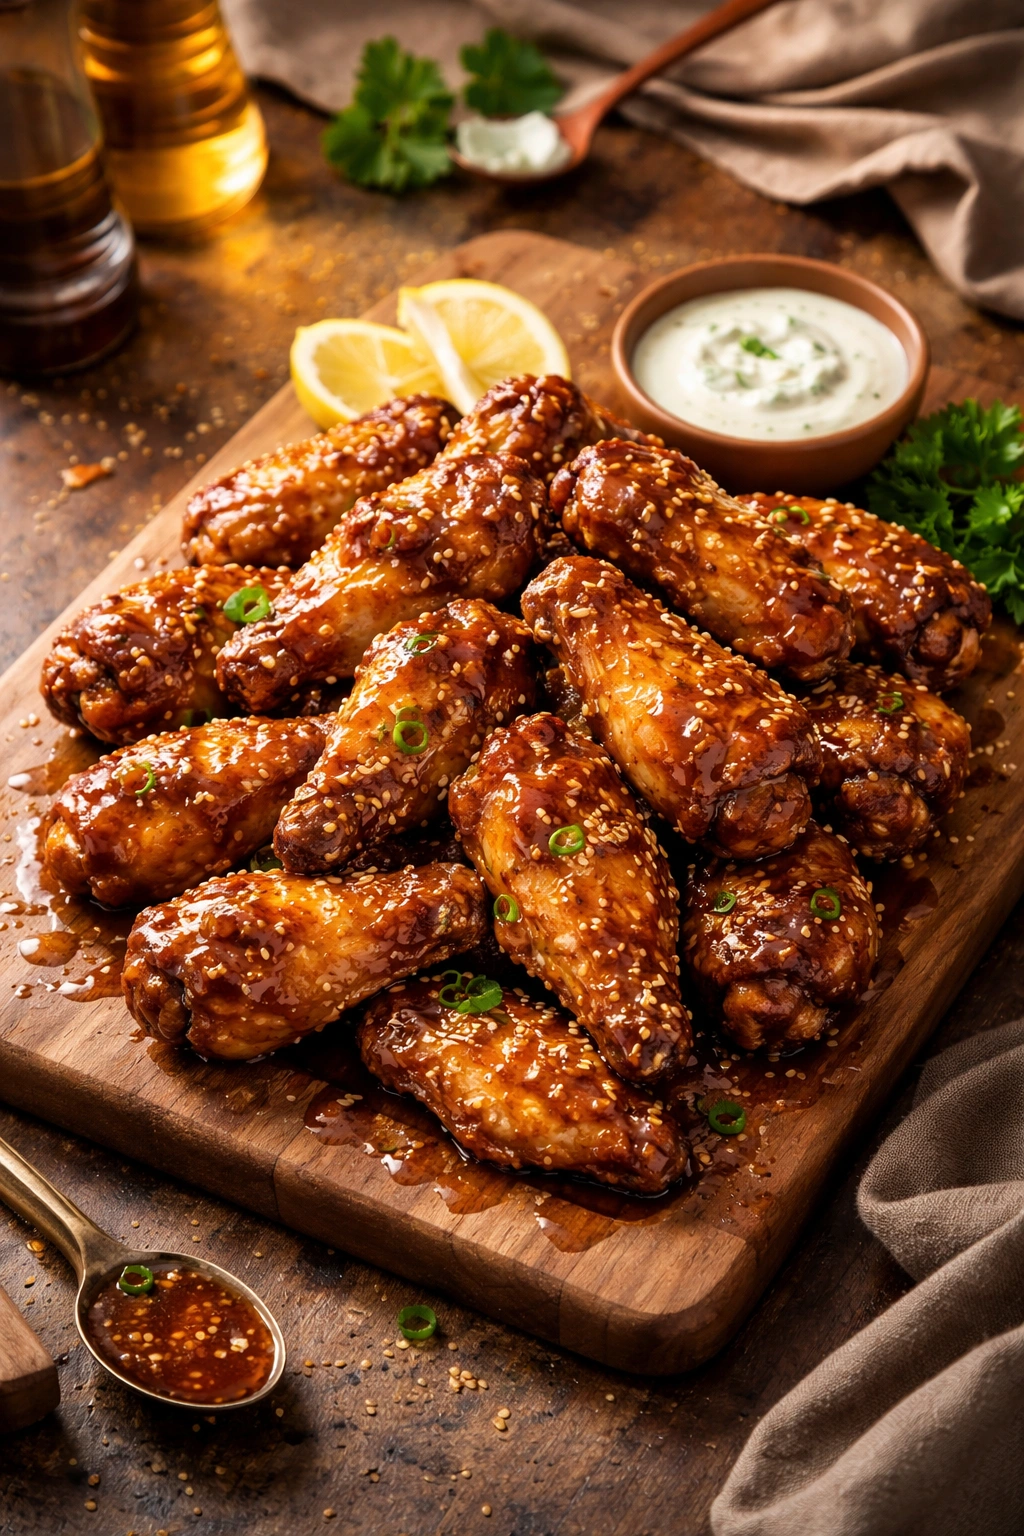
Pour your finished honey garlic sauce over the hot wings and toss well, using two forks or tongs to turn the wings over and over until every piece is coated with that glossy, sticky glaze. The sauce will cling beautifully to the hot wings and start to set as it cools slightly. This is the moment when everything comes together.
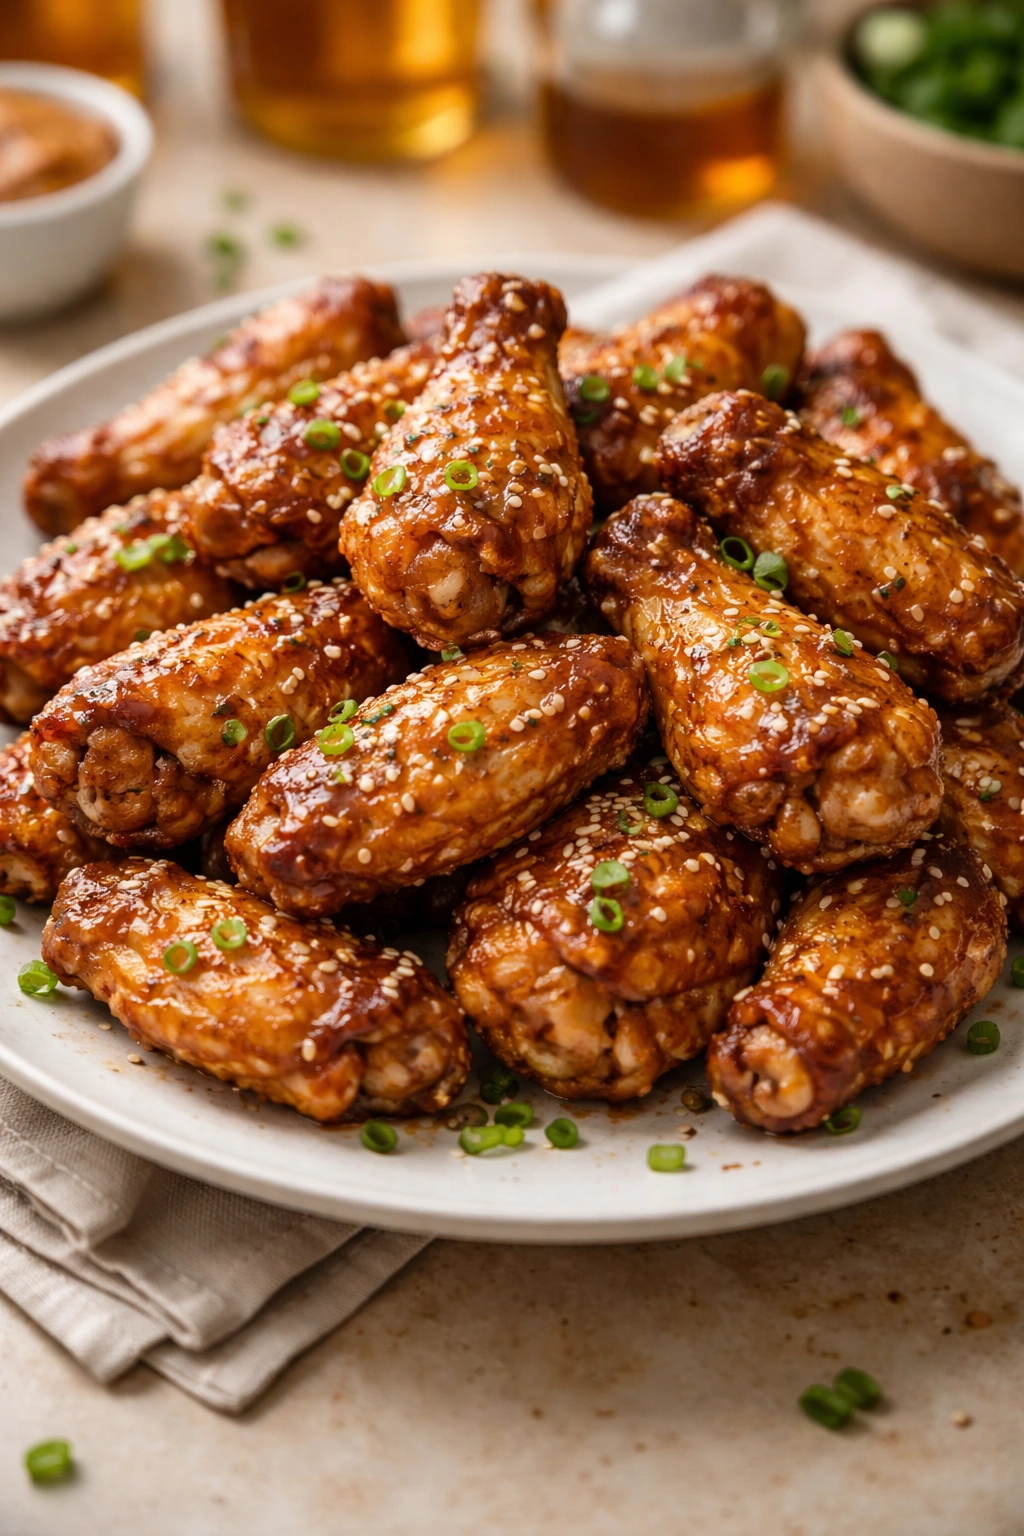
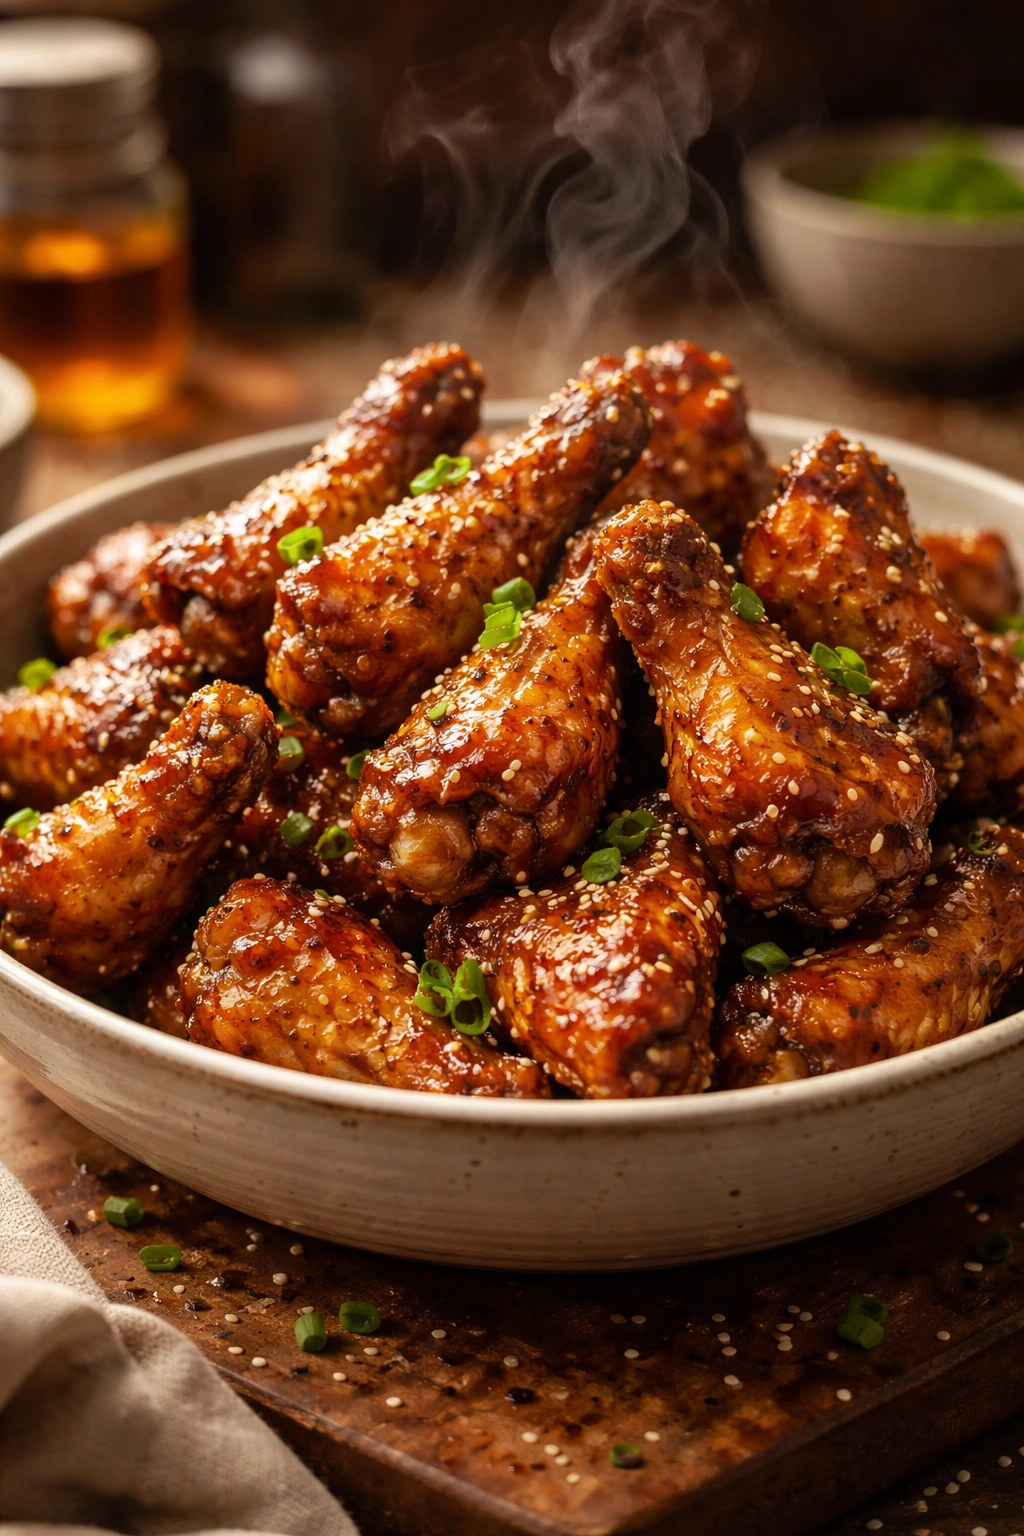
Serving Your Wings Immediately
Transfer your sauced wings to a serving platter or keep them in the bowl you just tossed them in — honestly, hot wings from a bowl have a casual, party-friendly appeal that works well. Garnish with sesame seeds if you have them toasted (raw sesame seeds lack the depth), thinly sliced green onions for a fresh bite, or fresh cilantro if you like that flavor profile.
Serve these wings hot. Absolutely hot. Crispy skin is only crispy when warm — as the wings cool, the rendered fat re-solidifies and the skin softens. If you need to hold them for a few minutes before serving, transfer them to a barely warm oven (170°F) to keep them warm without overcooking them further. But ideally, these go from oven to table to mouth within minutes.
Tips That Make a Real Difference
Don’t skip drying the wings. I’ve mentioned this twice already because it’s truly that important. Moisture is the enemy of crispiness. If your wings come out soft or chewy rather than crispy, the first place to look is whether you dried them adequately.
Arrange wings skin-side up. The skin-side is what you see when they’re served, and it’s what develops that appetizing brown color. Placing them skin-side up allows the top to brown while the bottom cooks through via the ambient heat in the oven. If you’re worried about the bottoms not cooking, flip the wings halfway through the baking time — this is actually helpful and ensures even browning on both sides.
Don’t let the sauce cool completely before tossing. Hot wings absorb sauce better than cool ones. A warm sauce also clings differently than a cold sauce. The timing works out perfectly: your sauce will be done simmering right around when your wings are ready, so toss them immediately.
Taste your sauce before serving. Garlic intensity varies based on how fresh your garlic is and how finely you minced it. Salt content also varies between soy sauce brands. If your sauce tastes too strong in garlic, it means you added too much — there’s no fix mid-cook. But you can taste a tiny spoonful before committing to the full batch. If it tastes perfectly balanced, you’re golden. If you want more heat, add another pinch of crushed red pepper.
Use a wire rack for maximum crispiness. This cannot be overstated. The difference between wings cooked on a rack and wings cooked directly on a baking sheet is the difference between “these are good” and “these taste like restaurant wings.” The rack allows air circulation, and air circulation creates crispiness.
Watch for window condensation in your oven. If your oven window gets very steamy while the wings bake, this suggests moisture is escaping from the wings. This is actually desirable and means crisping is happening. Don’t open the oven frequently to check, though — each opening lets heat escape and extends cooking time.
Flavor Variations Worth Exploring
The base honey garlic formula is perfect, but once you’ve mastered it, the door opens to interesting variations that build on this foundation.
Heat lovers can increase the red pepper flakes to ½ to ¾ teaspoon, or add 1-2 tablespoons of sriracha to the sauce. Sriracha adds chili heat plus a subtle sweetness that complements honey beautifully. Add it during the simmering phase so the heat mellows slightly and integrates with the other flavors.
For a spicy-sweet knockout, add ½ teaspoon of smoked paprika and a pinch of cayenne pepper to the wing seasoning mixture. This gives the cooked wings a more complex, layered spice before they even hit the sauce.
Try substituting part of the honey with maple syrup — use ¼ cup honey and 2 tablespoons maple syrup. Maple adds a deeper, earthier sweetness that shifts the flavor profile in an unexpected direction. This version pairs beautifully with bourbon if you’re making a cocktail pairing.
Add fresh lime zest or juice — about ½ teaspoon of zest or ½ teaspoon of fresh lime juice stirred into the finished sauce. The acid cuts through the sweetness and adds brightness. This variation feels lighter and more tropical.
For a Korean-leaning version, add 1 tablespoon of mirin (sweet rice wine) to the sauce and reduce the honey slightly to compensate. Mirin adds a subtle sweetness and a glossy finish that’s distinctly Korean. If you don’t have mirin, dry sherry works in a pinch.
Make them smoky by adding ¼ teaspoon of smoked paprika and a pinch of liquid smoke to the sauce. This tastes like wings that were grilled over charcoal, even though they came from your oven.
For an Asian-fusion version, add 1 teaspoon of rice vinegar and ½ teaspoon of white miso paste to the sauce. These additions add depth and umami — the miso dissolves into the sauce and adds savory richness without tasting like miso explicitly.
Storage, Reheating & Make-Ahead Strategies
Sticky honey garlic wings are best served immediately, when the sauce is glossy and the skin is crispy. However, real life doesn’t always align with ideal serving conditions, so here’s what you need to know about keeping them.
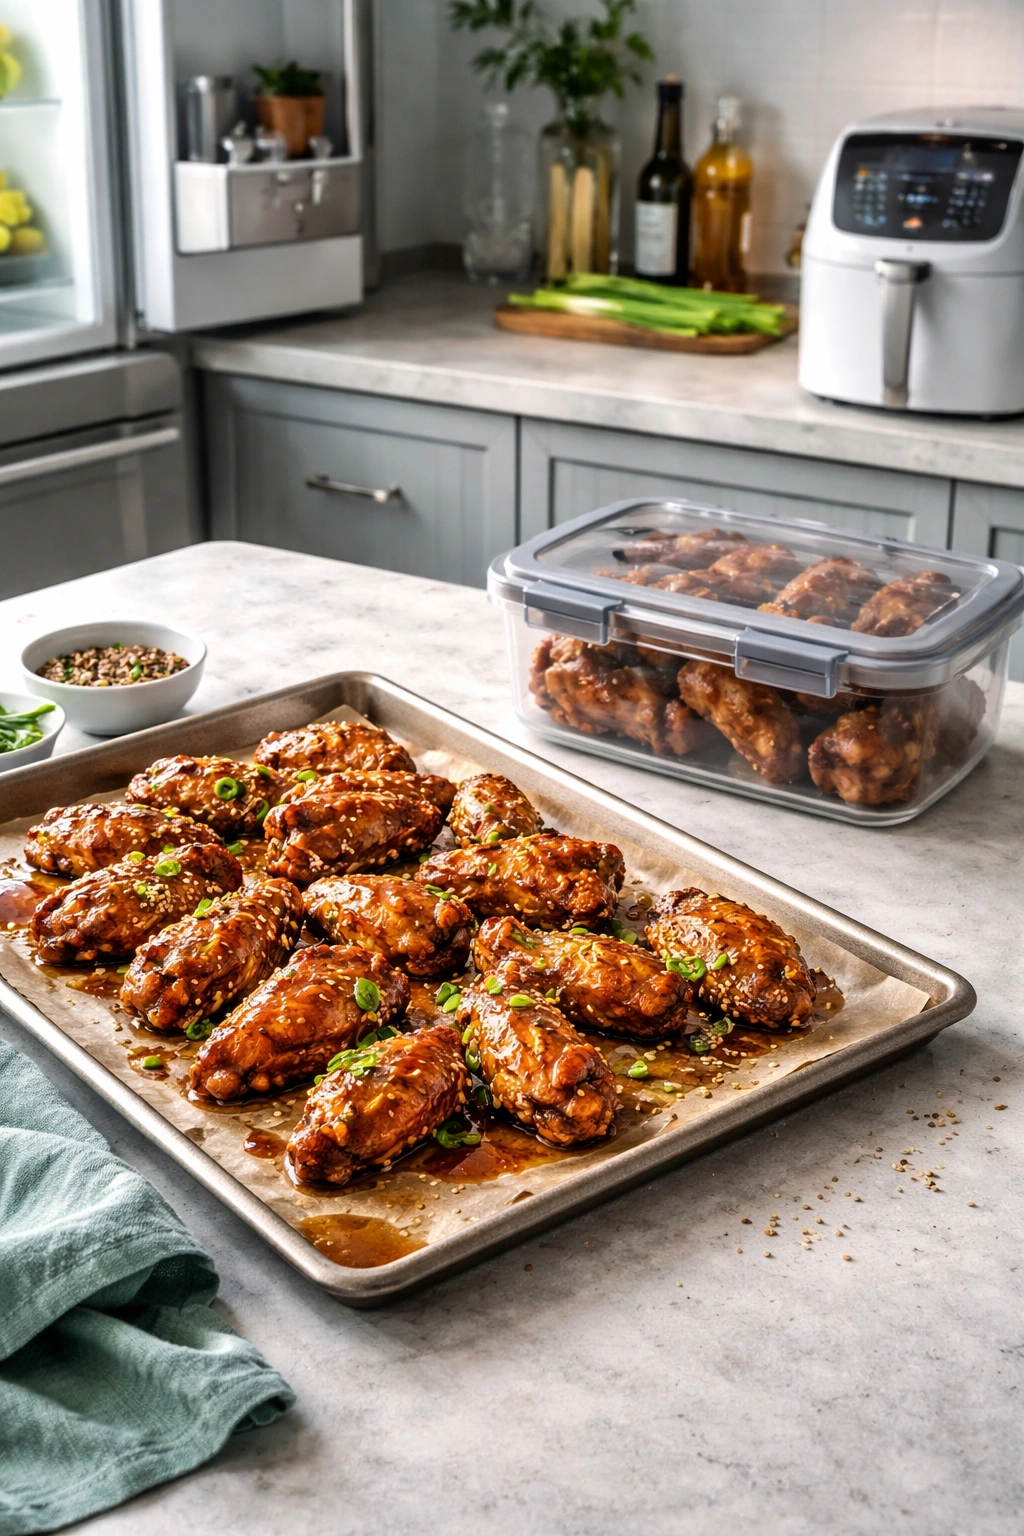
Store leftover wings in an airtight container in the refrigerator for up to 3-4 days. The sauce will thicken further as it cools, and the wings will taste good even at room temperature or straight from the fridge — just don’t expect the same textural crispiness as when they were hot.
To reheat and restore crispiness, place wings on a wire rack over a baking sheet and warm them in a 375°F oven for 8-10 minutes. This re-crisps the skin without drying out the meat. Avoid the microwave if possible — it will make the wings rubbery and the skin soggy.
You can also reheat wings in an air fryer at 375°F for about 6-8 minutes, which actually restores crispiness beautifully. Air fryers are secretly excellent for wing reheating.
You can freeze cooked wings in a single layer on a baking sheet (don’t store them stacked yet), then transfer the frozen wings to a freezer bag or airtight container for storage up to 3 months. Freeze them without sauce if you can — sauce in the freezer tends to separate and weep when thawed. Instead, make fresh sauce when you’re ready to eat them, or reheat the wings first and then toss with either reheated sauce or fresh sauce.
Make-ahead strategy: Prepare the wings through the baking phase, cool them completely, and store them covered in the refrigerator for up to 2 days. Make the sauce fresh on the day you want to serve, warm the wings gently in a 300°F oven for 5 minutes to take the chill off them, then toss with the freshly made sauce. This approach gives you advance-work convenience while ensuring maximum texture quality when served.
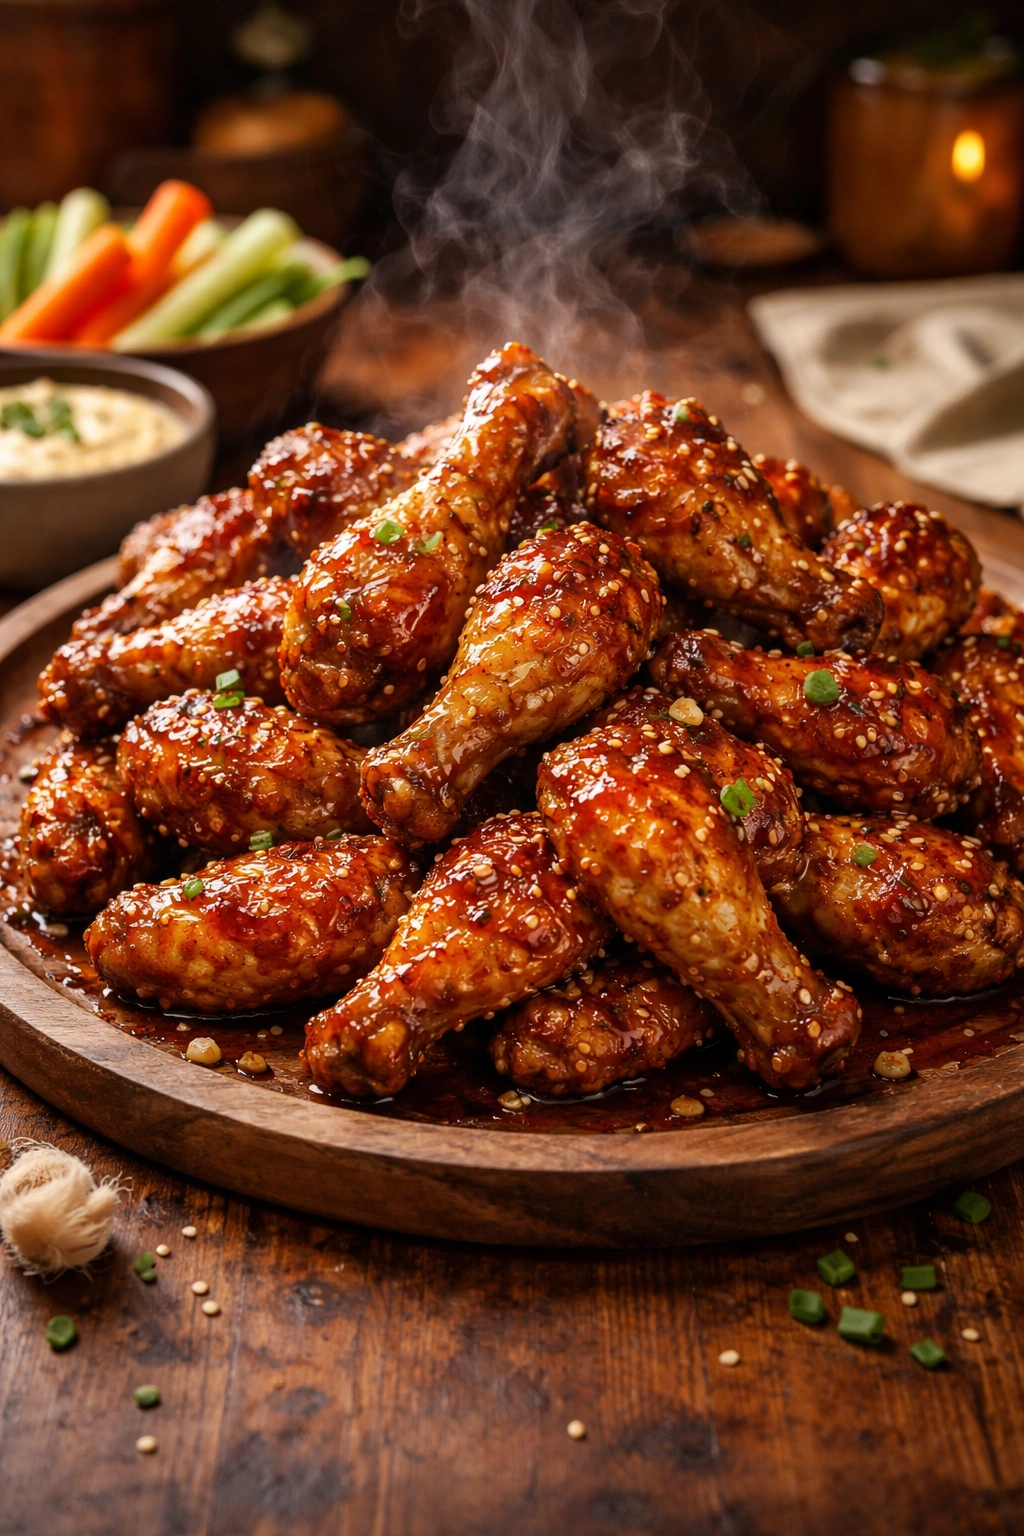
What to Serve Alongside Honey Garlic Wings
These wings are complete enough to stand on their own, but a few thoughtful sides elevate them from snack to meal or make them fit seamlessly into a gathering.
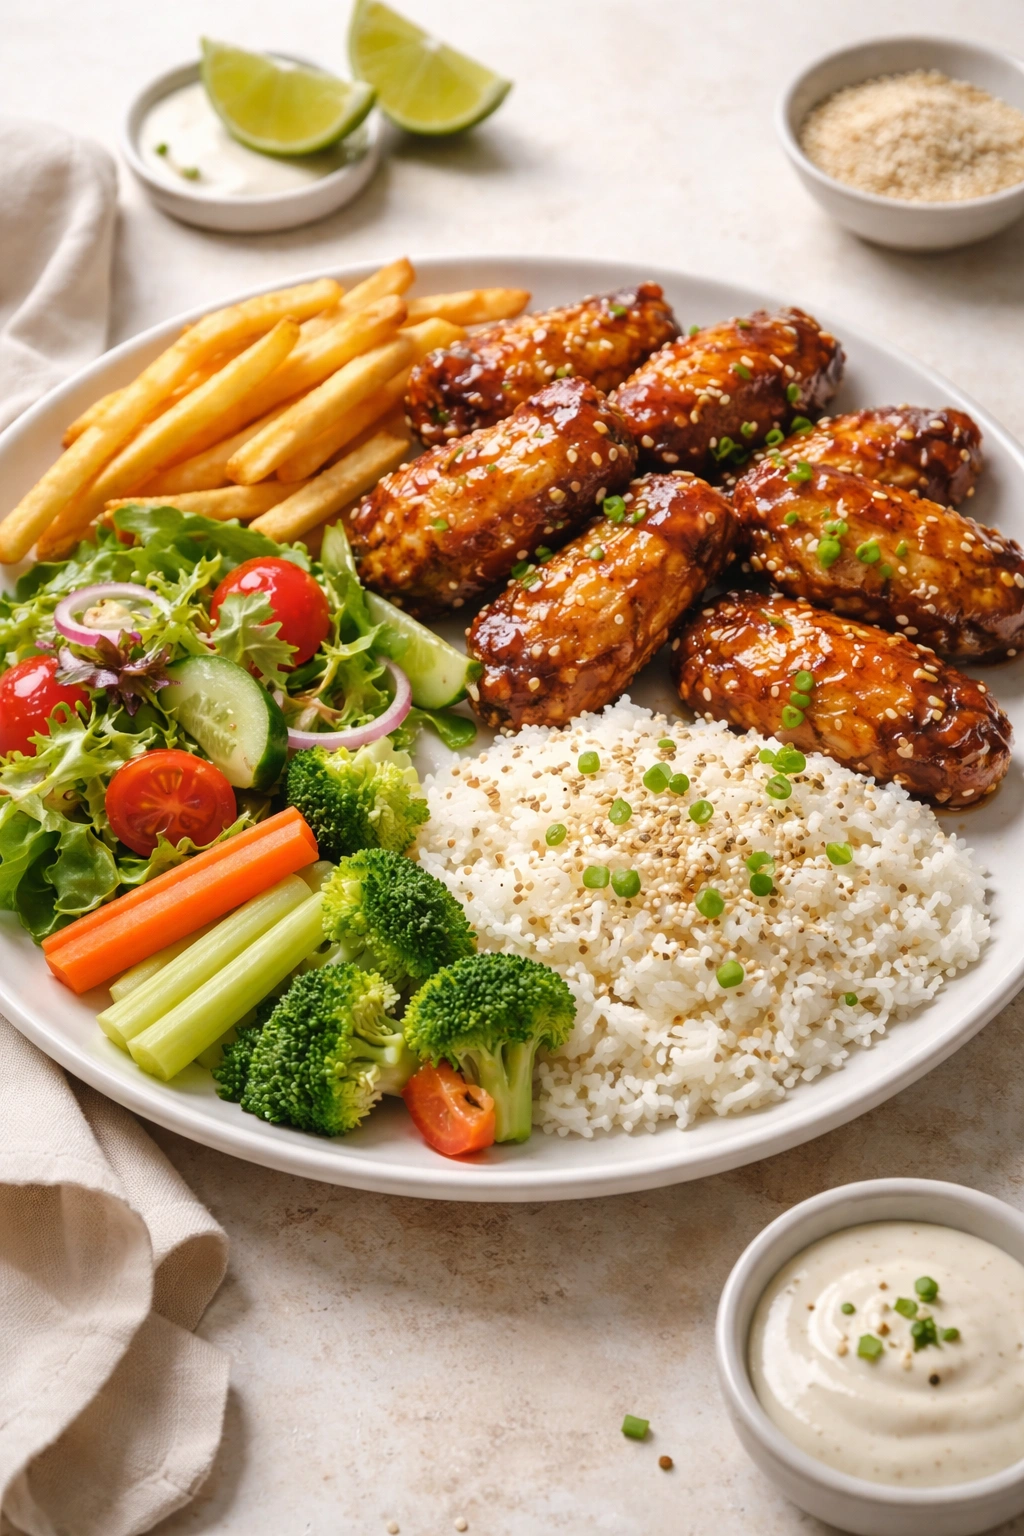
Serve with steamed white or brown rice to soak up every drop of sauce. This transforms wings from an appetizer into a dinner. A bowl of fragrant rice next to a pile of sticky wings is genuinely satisfying.
Crispy fries or roasted potato wedges provide a contrast in texture while picking up flavors from any sauce that drips. Steak fries or thick-cut shoestring fries work beautifully.
A simple green salad — just greens, a light vinaigrette, and maybe some sesame seeds — offers freshness and crunch. The acidity of the vinaigrette also cuts through the richness of the glazed wings.
Roasted broccoli or stir-fried bok choy continues the Asian flavor profile. These vegetables become vehicles for sauce absorption.
A cooling dip like ranch, blue cheese dip, or a quick yogurt-based cucumber sauce provides relief if anyone finds the wings too rich or wants to cut the sweetness.
For a game-day spread, pair wings with buffalo chicken dip, crispy vegetables, nachos, or other shareable appetizers. Wings are the star, but they play well with other crowd-pleasers.
If serving as a main course for dinner, round out the plate with a vegetable side and rice, plus maybe a simple soup or salad to start.
Why This Recipe Beats Restaurant Takeout
You might think: why make wings at home when I can order takeout? Fair question, and here are the actual reasons beyond just cost savings.
Control over salt and sugar levels. Restaurant sauces often veer toward excessive sweetness or saltiness to create crave-able intensity that keeps you coming back. This recipe lets you adjust both variables to your preference. Too sweet? Add more soy sauce or garlic. Too salty? Reduce the soy sauce slightly and taste as you go.
Actual crispy skin that stays crispy. Takeout wings get packaged and transported, which softens the skin. Your wings go from oven to table in minutes, maintaining peak crispiness.
No mystery ingredients or off-flavors. You know exactly what’s in your sauce — no corn syrup, no thickeners other than cornstarch, no preservatives. The flavors are pure and bright.
Speed and spontaneity. Want wings in 30 minutes? You’ve got them. No calling ahead, no delivery wait times, no hoping the restaurant got your order right.
Cost. A 2-pound package of chicken wings costs a fraction of what you’d pay for takeout wings, and you’ll have leftovers or meals for multiple servings.
Common Mistakes and How to Avoid Them
Overcrowding the baking sheet. Crowded wings steam instead of roast. If you don’t have space to spread them in a single layer, use two baking sheets and increase oven time by a few minutes.
Opening the oven repeatedly to check on wings. Each time you open the oven door, heat escapes and cooking time extends. Check your wings once, at the 18-minute mark, if you’re unsure about doneness.
Not using a wire rack. This is the fastest way to end up with unevenly cooked wings — soft on the bottom, overcooked on top. A simple cooling rack costs a few dollars and transforms results.
Adding sauce too early. Sauce added before wings are fully cooked can burn or become overly thick. Wait until wings are out of the oven and ready to eat before tossing with sauce.
Using jarred garlic or ginger. Jarred versions have been sitting around and taste flat compared to fresh. Mincing fresh garlic takes 30 seconds and makes a real flavor difference.
Letting the sauce get too thick. If your cornstarch slurry is too concentrated or you simmer too long, the sauce becomes paste-like. It should coat the back of a spoon but still drip slowly. If it happens, add a tablespoon of water and stir.
Pulling wings from the oven too early. 30 minutes is a guideline, not a law. If your wings aren’t golden at 18 minutes, give them the full 20-22 minutes. Skin color is a better indicator of doneness than time alone.
Final Thoughts
Sticky honey garlic wings represent everything good about approachable, delicious home cooking: bold flavor, minimal complexity, quick execution, and results that impress everyone who eats them. The 30-minute timeline isn’t a gimmick or an exaggeration — it’s genuinely achievable when you follow the key techniques: high heat, completely dry wings, a wire rack, and a sauce that cooks simultaneously with your protein. You’re not sacrificing quality for speed; you’re simply being efficient with your time and oven space.
The first time you pull a batch of these wings from the oven, watching that honey garlic glaze cling to each piece and fill your kitchen with the aroma of caramelized honey and roasted garlic, you’ll understand why this recipe has become a go-to for so many home cooks. Make these for a weeknight dinner, a party, a game-day gathering, or just because you’re craving something crunchy and sticky and delicious. They’re forgiving enough for beginners and interesting enough to keep making over and over. Your 30 minutes of active time will feel like the best investment you could have made.