There’s a reason some recipes become kitchen fixtures while others fade from memory. A truly great basic muffin recipe isn’t flashy — it doesn’t need chocolate chips, streusel, or exotic flavorings to earn a permanent spot in your baking rotation. What it does need is reliability. It needs to turn out fluffy and tender every single time, whether you’re baking before sunrise on a Tuesday or whipping up a batch for last-minute brunch guests. It needs to taste genuinely good on its own, with a subtle sweetness and that signature tender crumb that makes people reach for a second one. Most importantly, it needs to be flexible enough that you can dress it up with virtually any flavor twist you can imagine, from chocolate and raspberries to brown butter and cardamom.
After years of testing, comparing, and refining, there is a formula that checks every box. This isn’t a complicated recipe that requires folding in egg whites or tempering chocolate or any other fussy technique. It’s straightforward enough that a beginner can nail it on the first try, yet the results are sophisticated enough that anyone would be proud to serve these muffins. The secret isn’t in some hidden ingredient or strange technique — it’s in understanding the why behind each component and respecting a few simple rules that separate perfect muffins from dense, dry disappointments.
The difference between a truly great muffin and a mediocre one almost always comes down to mixing method and not over-developing the gluten. This single recipe will become your foundation for every muffin you ever want to make, because once you understand how it works, you can adapt it endlessly without losing what makes it so reliable. Whether you’re feeding a family, preparing for a bake sale, or simply craving warm muffins on a weekend morning, this is the only formula you’ll need to master.
Why This Is The Only Muffin Recipe You’ll Ever Need
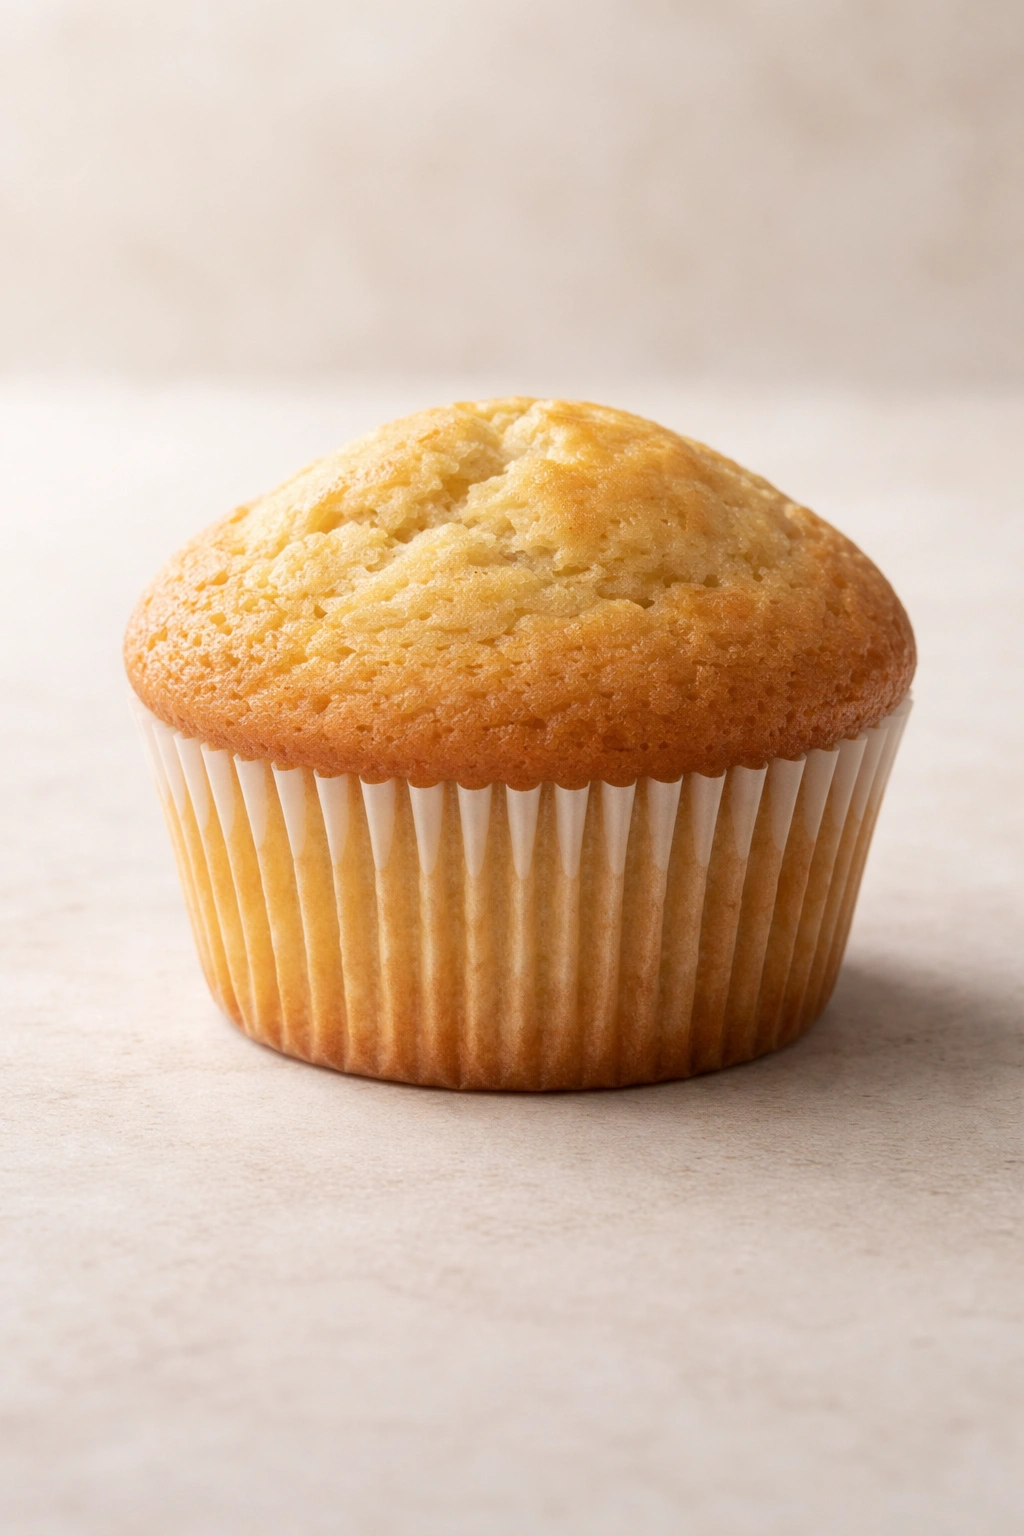
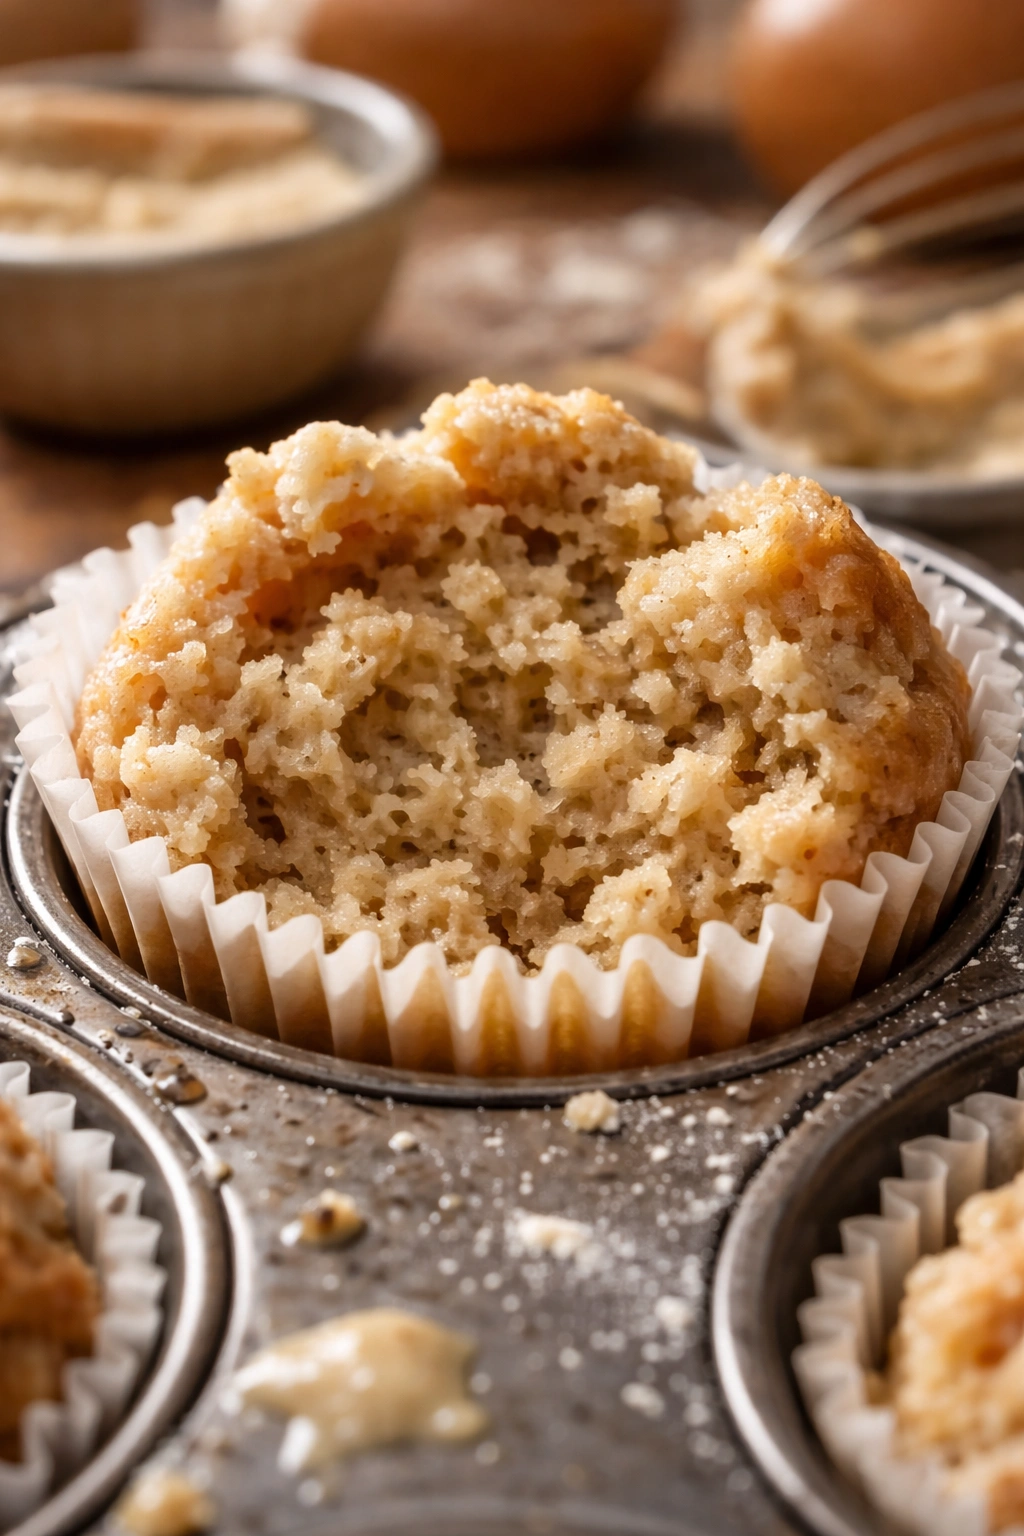
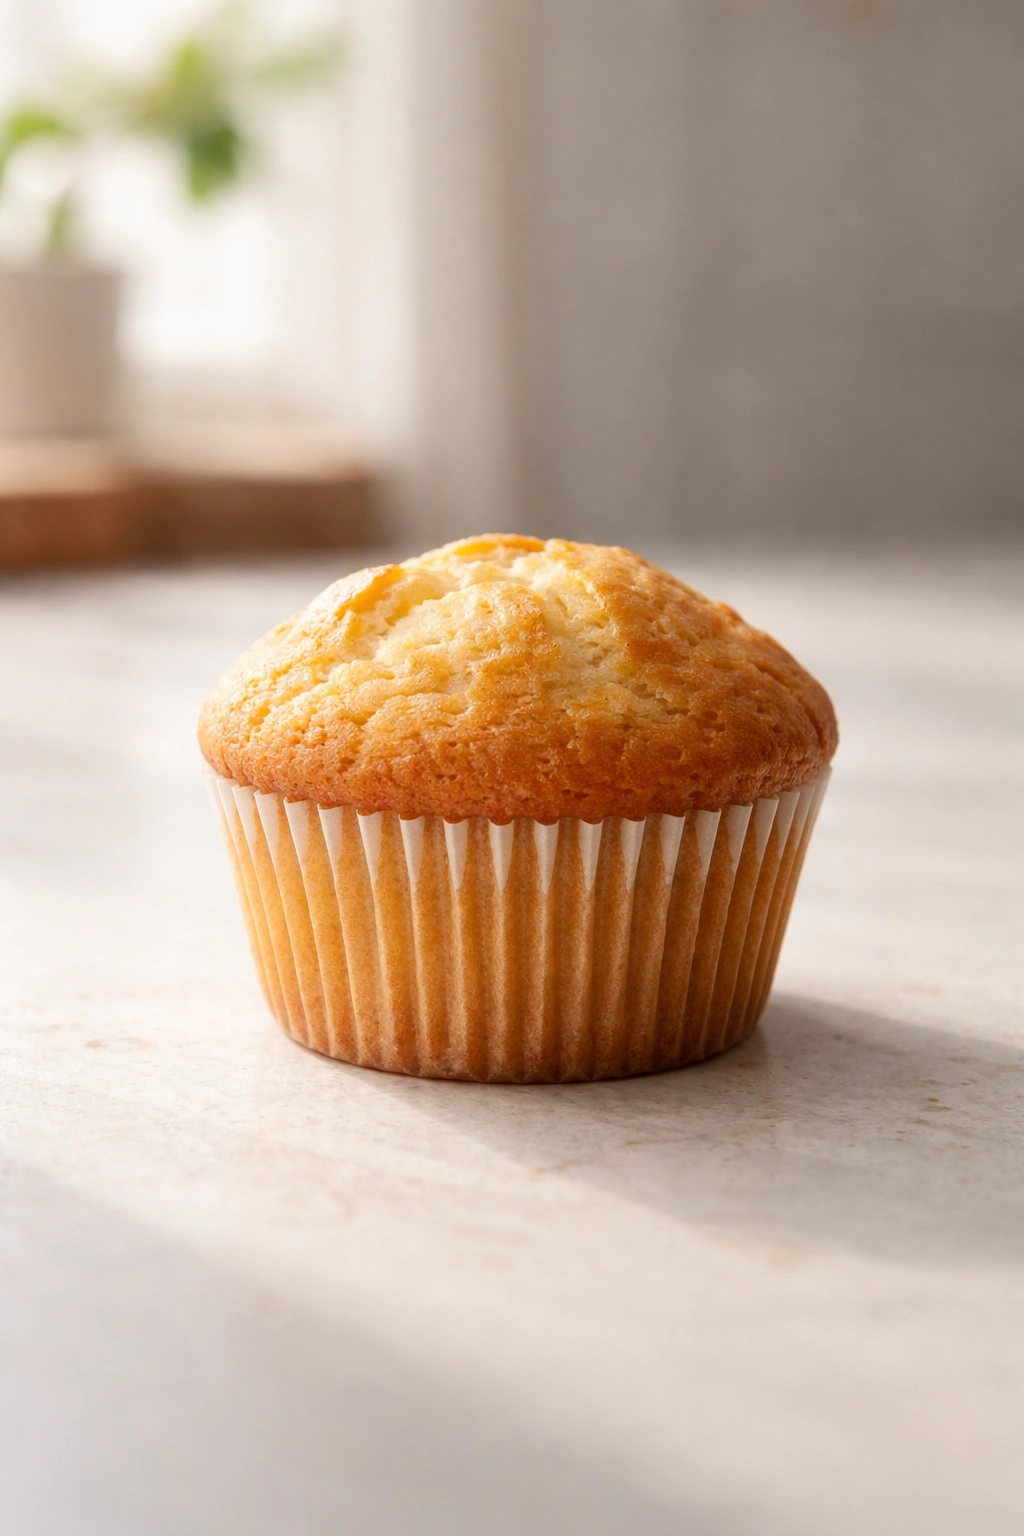
A properly made basic muffin has qualities that might seem simple but are surprisingly hard to achieve at scale. The crumb should be tender and delicate, with a slight moisture to it that makes it feel indulgent without being gummy or dense. The flavor should be sweet but not overpoweringly so — the muffin should taste like butter and vanilla and a touch of sweetness, not like a cupcake. The texture should be consistent from the very center to the edges, with a gentle doming on top that’s golden and inviting.
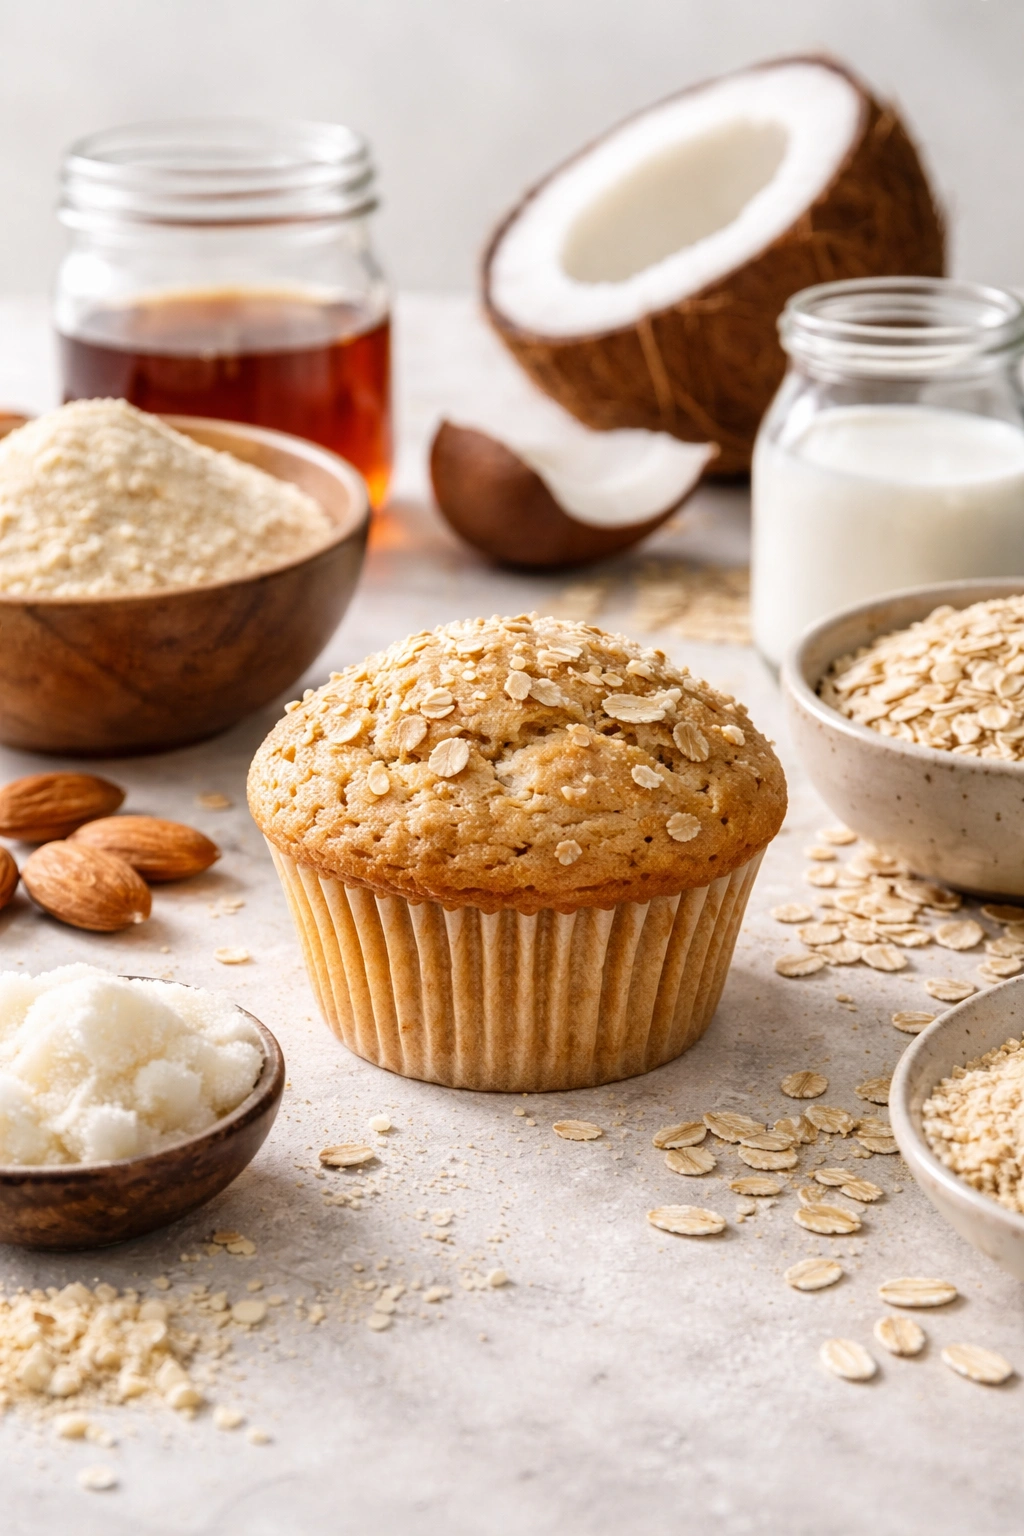
This recipe delivers all of that because it’s built on two foundational principles that govern every muffin ever made. First, it uses oil instead of butter, which keeps the crumb more tender and moist over time. This matters because oil-based cakes stay fresh longer and maintain a better texture than butter cakes, which can dry out more quickly. Second, it uses the reverse creaming method for mixing, which means you cream the oil with the flour first, then add the wet ingredients. This unusual order prevents overdeveloping gluten while still creating enough structure to support the muffins as they rise.
The recipe yields enough for two standard dozen batches (or one extra-large batch if you prefer bigger muffins), making it perfect for actually using rather than just reading about. It’s economical, requires ingredients you almost certainly have on hand, and bakes in roughly 35 minutes from bowl to cooling rack.
What Makes This Recipe Different From Others
Most basic muffin recipes follow a traditional creaming method: cream butter and sugar, add eggs, alternate milk and flour, mix until combined. This works fine, but it often results in muffins that are either dense or cake-like, depending on whether you under-mix or over-mix. The problem is that mixing butter and sugar first, then adding flour, makes it nearly impossible to avoid activating gluten. Even a few extra turns of the mixing bowl can change the texture from tender to tough.
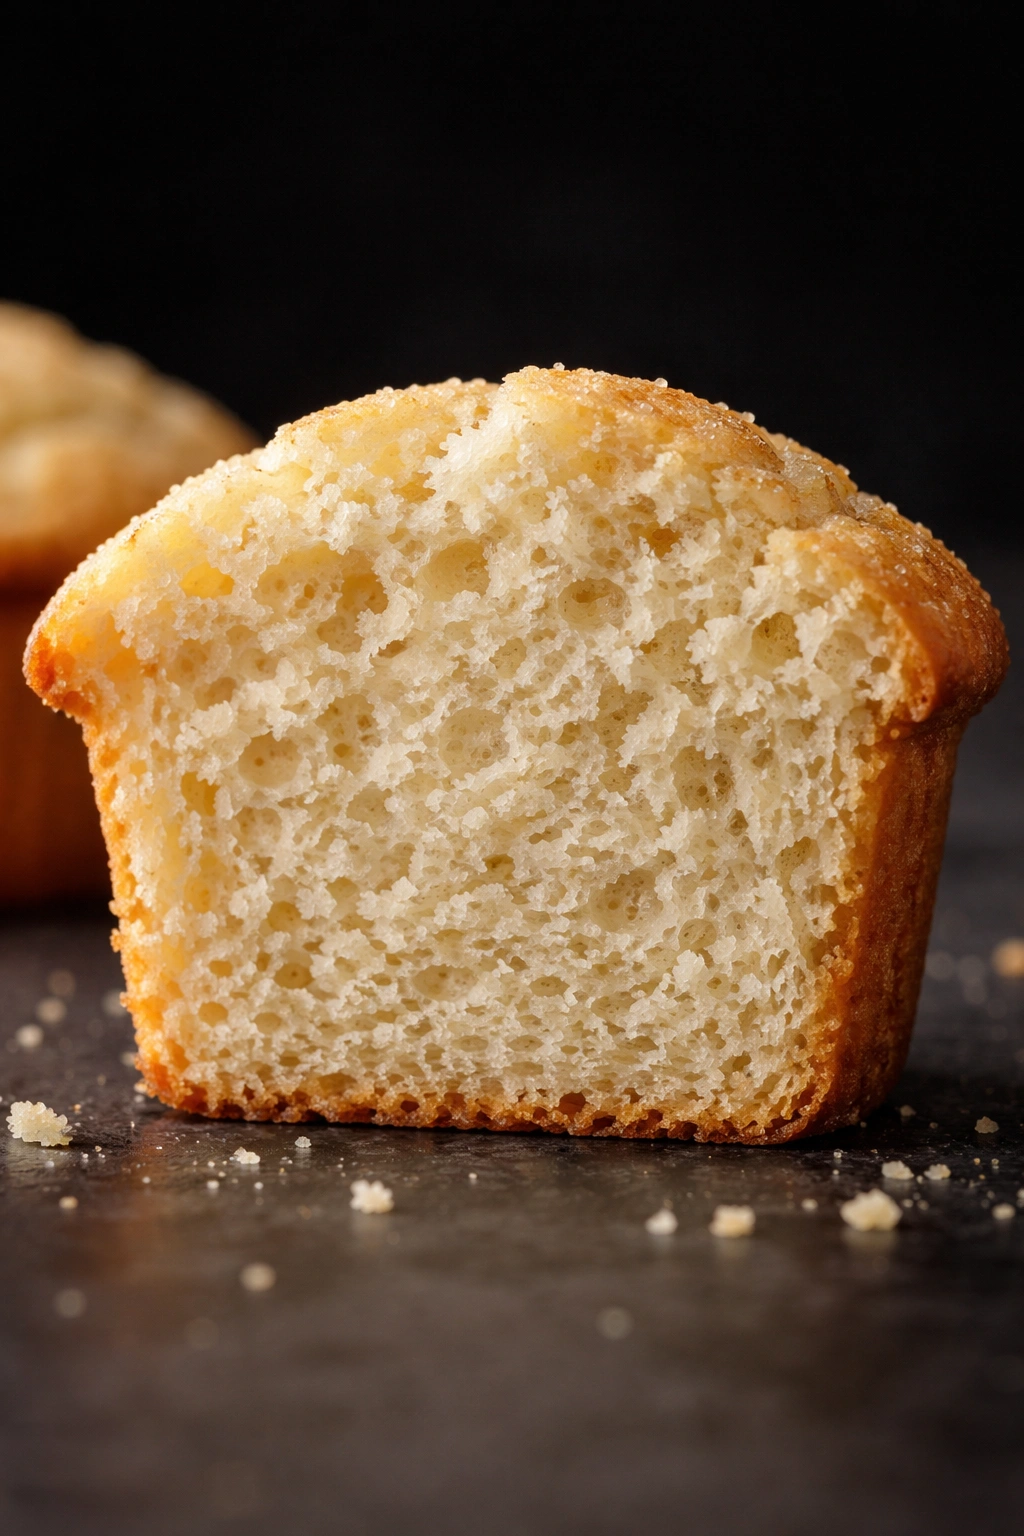
The reverse creaming method flips this around. By mixing the oil with the flour first, you coat each flour particle in fat before the liquid ever gets added. This coating prevents water molecules in the eggs and milk from fully hydrating the gluten proteins, so the resulting crumb stays tender no matter how carefully (or carelessly) you mix. It sounds strange until you taste the results — muffins that are impossibly tender, with a crumb fine enough to rival any bakery version.
This approach also allows you to mix more confidently. You don’t need to count your stirring motions or worry that you’re overdoing it. You can simply blend until everything is combined and move on, which means even a distracted baker gets professional results. That reliability is why this becomes the only recipe you’ll reach for.
Yield, Timing, and Difficulty Level
Yield: Makes 24 standard muffins (12 large muffins if using jumbo muffin tin) | Serves 8 to 12
Prep Time: 15 minutes (mixing and portioning into muffin cups)
Cook Time: 20 to 25 minutes for standard muffins; 30 to 35 minutes for jumbo muffins
Total Time: 35 to 40 minutes active baking time, plus 10 minutes cooling in the pan
Difficulty: Beginner — no special equipment required, no fussy techniques, and the steps are straightforward even for someone who has never baked muffins before. The reverse creaming method is actually easier than traditional methods because you have more flexibility with mixing.
The Science Behind Perfect Muffins
Understanding why this recipe works will make you a better muffin baker overall. You’ll know exactly what each ingredient is doing and feel confident adapting the formula for your own flavor variations.
Why Oil Beats Butter in Muffins
Oil contains 100% fat, while butter contains only about 80% fat and roughly 15-20% water. When oil coats the flour particles, it creates a very efficient barrier that prevents excessive gluten development and keeps the crumb exceptionally tender. Butter, with its water content, doesn’t coat quite as effectively. Additionally, oil stays liquid at room temperature, which keeps the muffin’s crumb more moist and tender for days after baking. Butter-based muffins tend to be firmer and more crumbly after a day or two.
This doesn’t mean butter muffins are bad — they’re delicious — but they don’t have the same lasting tenderness that oil provides. For a recipe you want to bake and keep for several days, oil is the better choice.
The Reverse Creaming Method Explained
When you cream butter and sugar together, you’re beating air into the fat, which creates a light, fluffy mixture. This air helps leaven the cake, but it also requires careful mixing of the remaining ingredients to avoid overdeveloping gluten. By the time you’ve added eggs, milk, and flour with this method, you’re essentially asking for trouble — either you mix enough to properly incorporate everything and risk activating gluten, or you under-mix and end up with streaks of flour in your batter.
The reverse creaming method works differently. You mix the oil with the flour first, coating every particle in fat. Then you whisk your wet ingredients separately before folding them in. This way, the flour is already protected before it ever encounters the liquid. The result is a tender crumb with a finer, more delicate texture than traditional methods produce.
The muffins still rise perfectly because you’re not relying on air beaten into fat — you’re relying on baking powder and baking soda, which create the rise as the batter bakes. This is actually more reliable than creaming, because chemical leaveners are more predictable than mechanical air incorporation.
The Ingredients You’ll Need
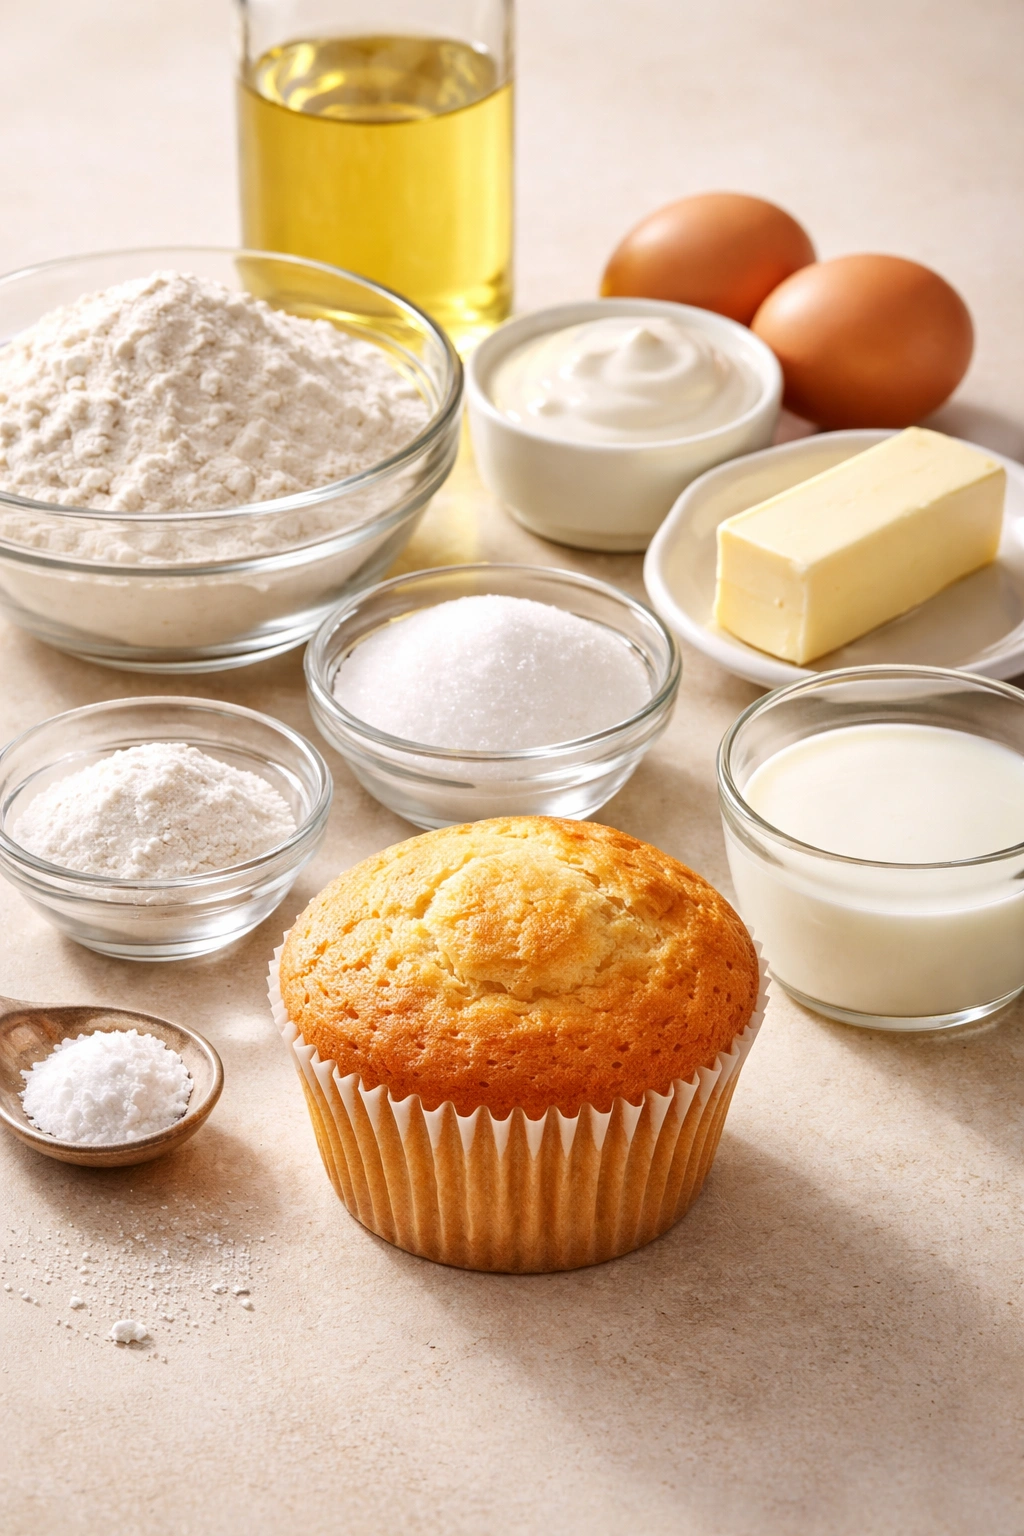
For the Muffins:
- 2 cups all-purpose flour
- ¾ teaspoon fine sea salt
- 2 teaspoons baking powder
- ½ teaspoon baking soda
- ¾ cup neutral oil (vegetable, canola, or light olive oil)
- ¾ cup granulated sugar
- 2 large eggs, room temperature
- 1 teaspoon pure vanilla extract
- ¾ cup whole milk (or buttermilk for a tangier flavor), room temperature
Optional: Cinnamon Swirl
- 2 tablespoons granulated sugar
- 1 teaspoon ground cinnamon mixed together
The oil should be neutral in flavor — this is not the time for extra-virgin olive oil or any oil with a strong taste. Neutral oils ensure the muffins taste like muffins, not like the oil used to make them. Vegetable, canola, and light olive oil all work beautifully.
Room temperature eggs and milk mix into the batter more smoothly and create a more homogeneous crumb. Cold eggs can cause small lumps and result in uneven texture. If you forget to set them out ahead of time, you can warm them quickly by placing eggs in a bowl of warm water for 5 minutes and letting milk sit on the counter for 10 minutes before using.
The baking powder should be double-acting, which is standard for most baking powders sold in grocery stores. Double-acting means it releases some gas when it hits wet ingredients and more gas when exposed to heat in the oven — giving you a better rise.
All-purpose flour is perfect for this recipe. Don’t use cake flour, which is softer and lower in protein — it will result in a different texture. Don’t use bread flour, which is higher in protein and will make the muffins tougher.
Step-by-Step Instructions

Prepare Your Pan and Preheat:
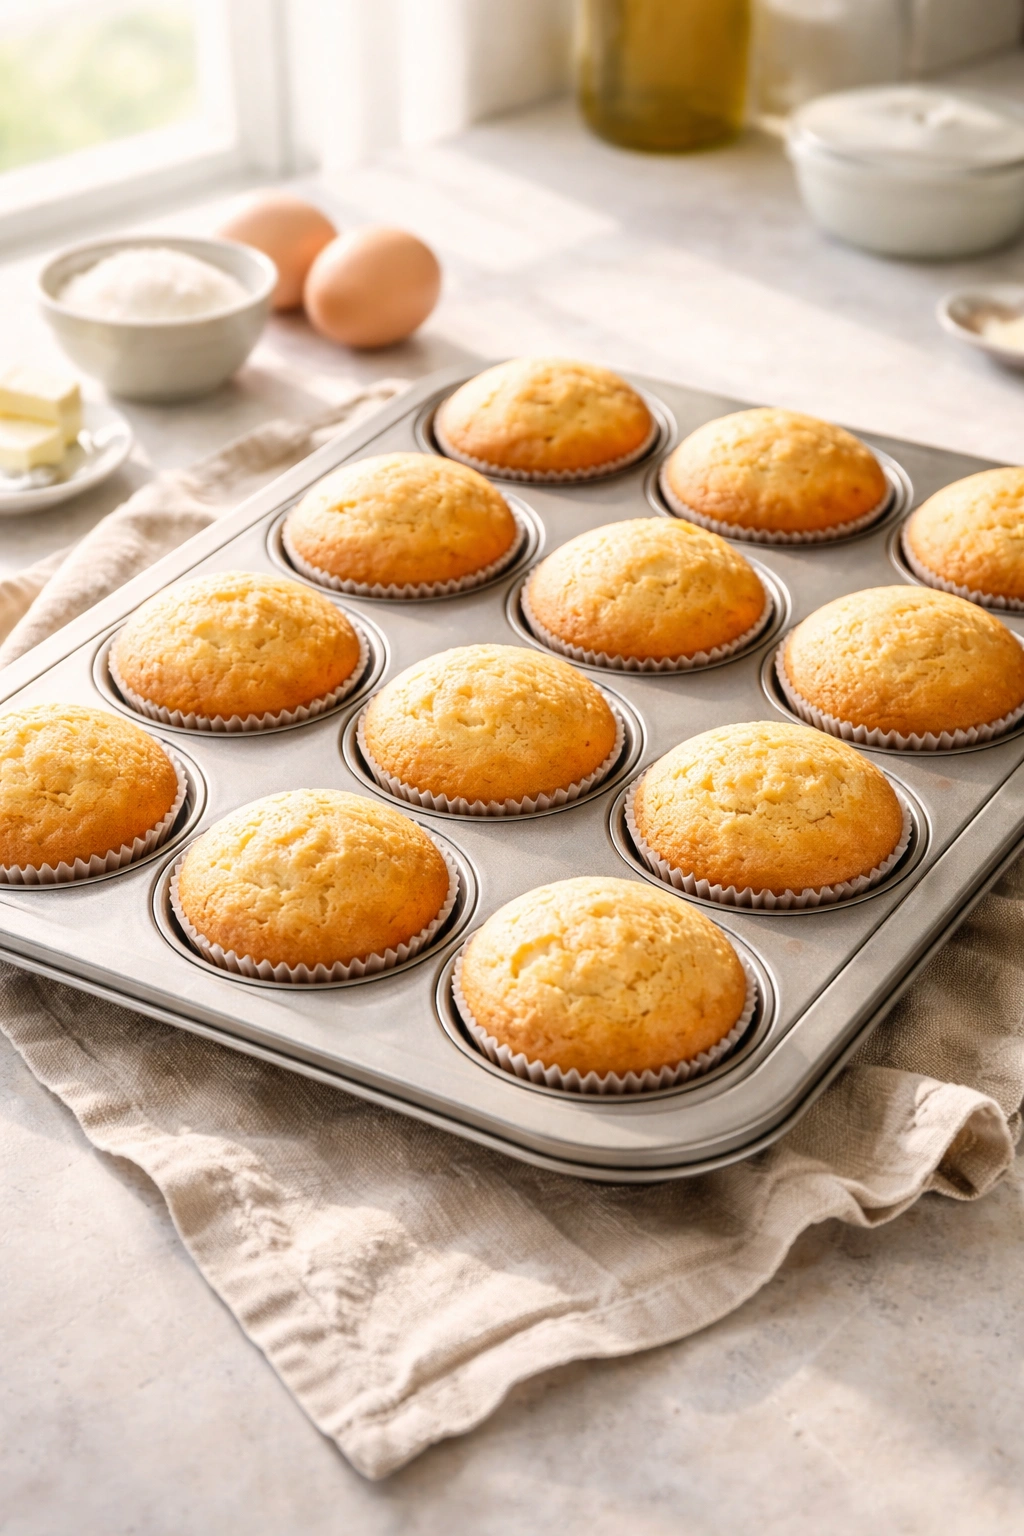
- Preheat your oven to 400°F (200°C) and position the rack in the center. Line a standard 12-cup muffin tin with paper liners, or if you’re making a double batch, line two muffin tins. You can also grease the cups with nonstick spray, but paper liners make removal much easier and ensure the muffins come out with no sticking. If using paper liners, you can fill the empty cups halfway with water to ensure even baking.
Mix the Dry Ingredients:
- In a medium bowl, whisk together the flour, salt, baking powder, and baking soda until they’re evenly combined and there are no lumps of baking soda or powder hiding in the flour. This step is more important than it might seem — if the leavening isn’t distributed evenly, some muffins will rise more than others.
Combine Oil and Flour (The Crucial Step):
- In a large mixing bowl, pour the neutral oil and add the flour mixture to it. Using a whisk or a rubber spatula, stir the oil and flour together until the mixture looks like wet sand and every trace of dry flour has been coated with oil. This should take only 30-45 seconds of stirring. Do not overmix at this stage — you’re just coating the flour with fat, not developing a batter. It’s okay if it looks slightly textured or grainy at this point.
Whisk the Wet Ingredients:
- In another bowl, whisk together the sugar, eggs, vanilla extract, and milk until well combined and the sugar has mostly dissolved. The mixture should look smooth and pale, with no streaks of yolk visible. This step usually takes 1 to 2 minutes of steady whisking.
Combine Wet and Dry (The Final Mix):
- Add the wet mixture to the oil-coated flour and fold them together using a rubber spatula with about 15-20 gentle folds, just until you no longer see streaks of dry flour. This is the most important moment in the entire recipe — stop as soon as the dry flour disappears. Lumpy batter is okay. Smooth, fully mixed batter means you’ve overworked the gluten and will have dense muffins. The batter should look slightly bumpy and textured, not glossy and smooth.
Optional: Create Cinnamon Swirl:
- If you’re making cinnamon muffins, quickly make a swirl. Mix 2 tablespoons sugar and 1 teaspoon ground cinnamon in a tiny bowl. You’ll add this to the muffin cups in the next step before filling them completely with batter.
Fill the Muffin Cups:
- Spoon the batter into the prepared muffin cups, filling each one until it’s three-quarters full. If you’re making the cinnamon swirl version, fill each cup halfway with batter, sprinkle a small pinch of the cinnamon-sugar mixture into the center of each cup (about ¼ teaspoon), then top with the remaining batter until three-quarters full. The cinnamon-sugar should be in the middle, not all the way to the edges.
Bake Until Golden:
- Bake for 20 to 25 minutes for standard muffins, or 30 to 35 minutes for jumbo muffins, until the tops are golden brown and a toothpick inserted into the center of a muffin comes out clean or with just a few moist crumbs clinging to it. The muffin tops should be domed and feel set when you gently press them, and the muffins should smell incredibly fragrant and sweet.
Cool Before Removing:
-
Let the muffins cool in the pan for 10 minutes — this is important because they’re still setting up and will be fragile if removed too early. After 10 minutes, gently run a thin knife around the edge of each muffin cup and turn the pan upside down onto a cooling rack. The muffins should release easily. If they stick, let them rest for another 2-3 minutes and try again. Never try to force them out while still very hot — they’ll tear.
-
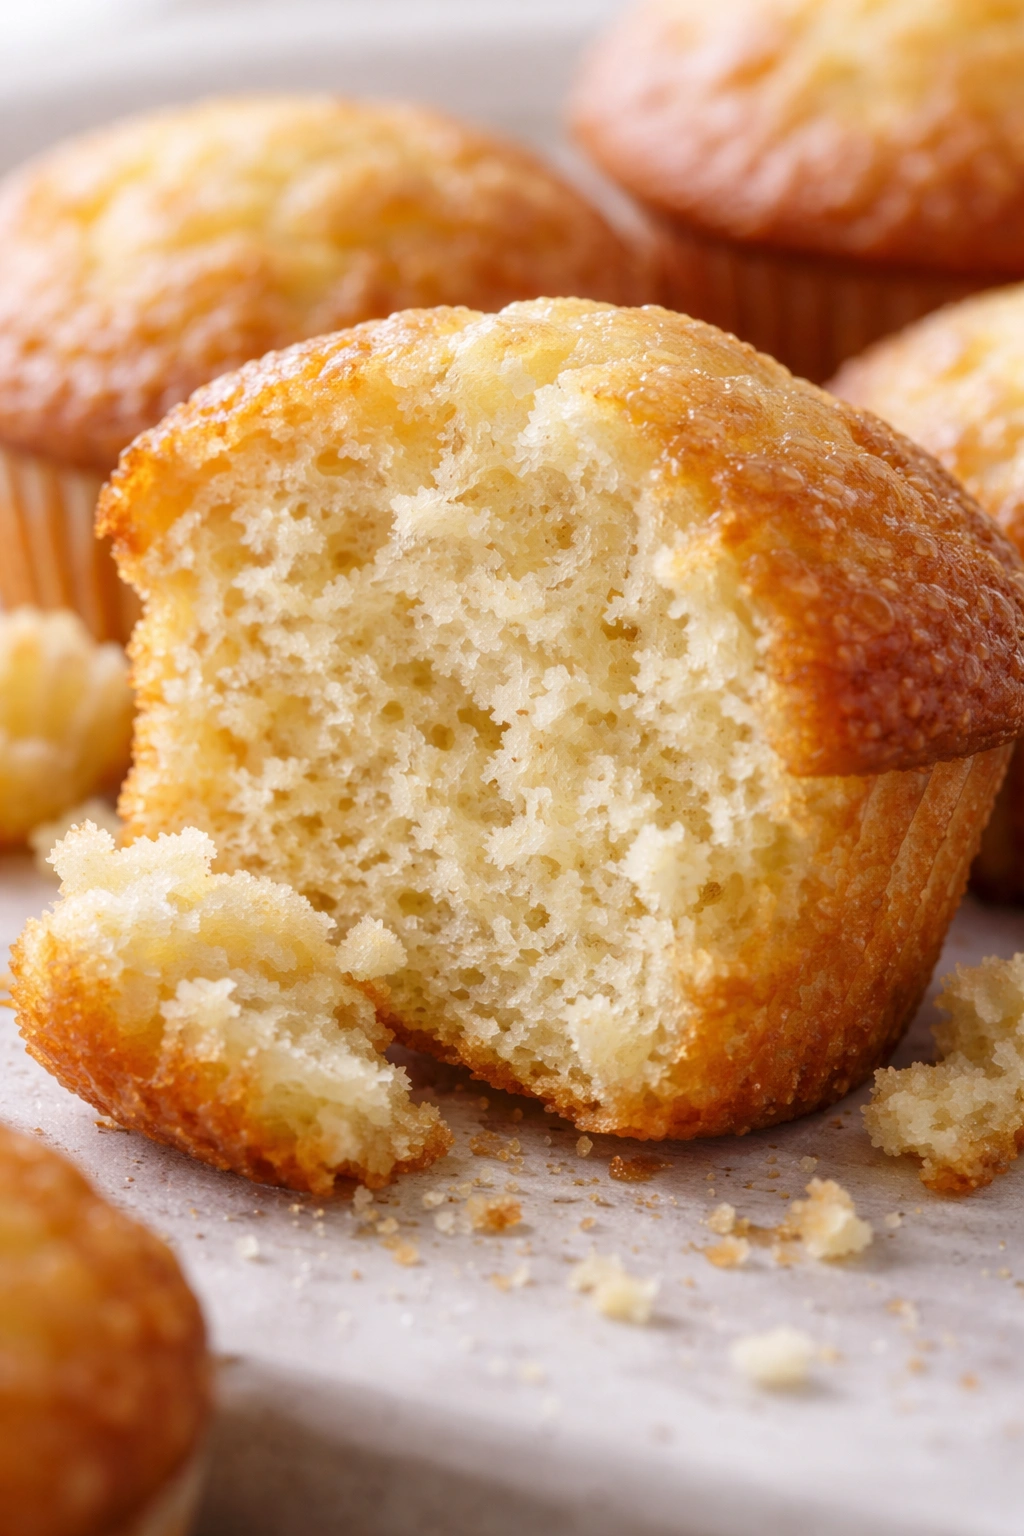
Once on the cooling rack, let the muffins cool for at least another 10 minutes before eating. They’ll be very soft and delicate while still hot. A few minutes of cooling allows the crumb to set up enough that you can handle them without them falling apart.
Common Mistakes and How to Avoid Them
The most frequent muffin failure is dense, gummy, or tough crumb — and nearly every time, it comes down to one of three issues: over-mixing the batter, using old baking powder, or underbaking.
Overmixing the Batter is the number one culprit. The reverse creaming method is designed to protect you from this, but only if you stop mixing as soon as the flour disappears. If you continue folding after the dry ingredients are incorporated, you’re developing gluten and creating toughness. The batter should look bumpy and rustic. If it looks smooth and glossy, you’ve mixed too much. This is actually harder to overcorrect than it sounds — stop just before you think you’re done.
Using Old Leavening causes muffins to not rise properly and results in dense, squat muffins. Baking powder and baking soda have expiration dates for a reason. Once opened, baking powder lasts about three to six months before it loses potency. If you’re not sure how old your baking powder is, buy new. It’s inexpensive and makes an enormous difference. A quick test: mix a teaspoon of baking powder with hot water — it should fizz vigorously. If it barely bubbles, it’s too old.
Underbaking results in muffins that taste raw or gummy. The toothpick test is your friend — if the toothpick comes out with wet batter, the muffins need more time. A few moist crumbs are fine, but no wet batter should be visible. If your oven runs cool, you might need to bake a minute or two longer than the recipe states. Oven temperatures vary — the first time you make these, check them at the minimum time and be willing to add a minute or two if needed.
Using Cold Eggs or Milk can result in slightly lumpy batter that bakes into muffins with less-than-perfect texture. Room temperature ingredients mix more smoothly. Set eggs out while you’re preheating the oven, and milk comes to room temperature surprisingly quickly on the counter.
Opening the Oven Door Too Early causes the temperature to drop, which can affect rise and browning. Try not to peek before the 15-minute mark, and keep door openings brief.
Flavor Variations That Work Every Time
The beauty of this recipe is its flexibility. The base is sturdy enough to handle virtually any flavor addition without losing its signature tenderness.
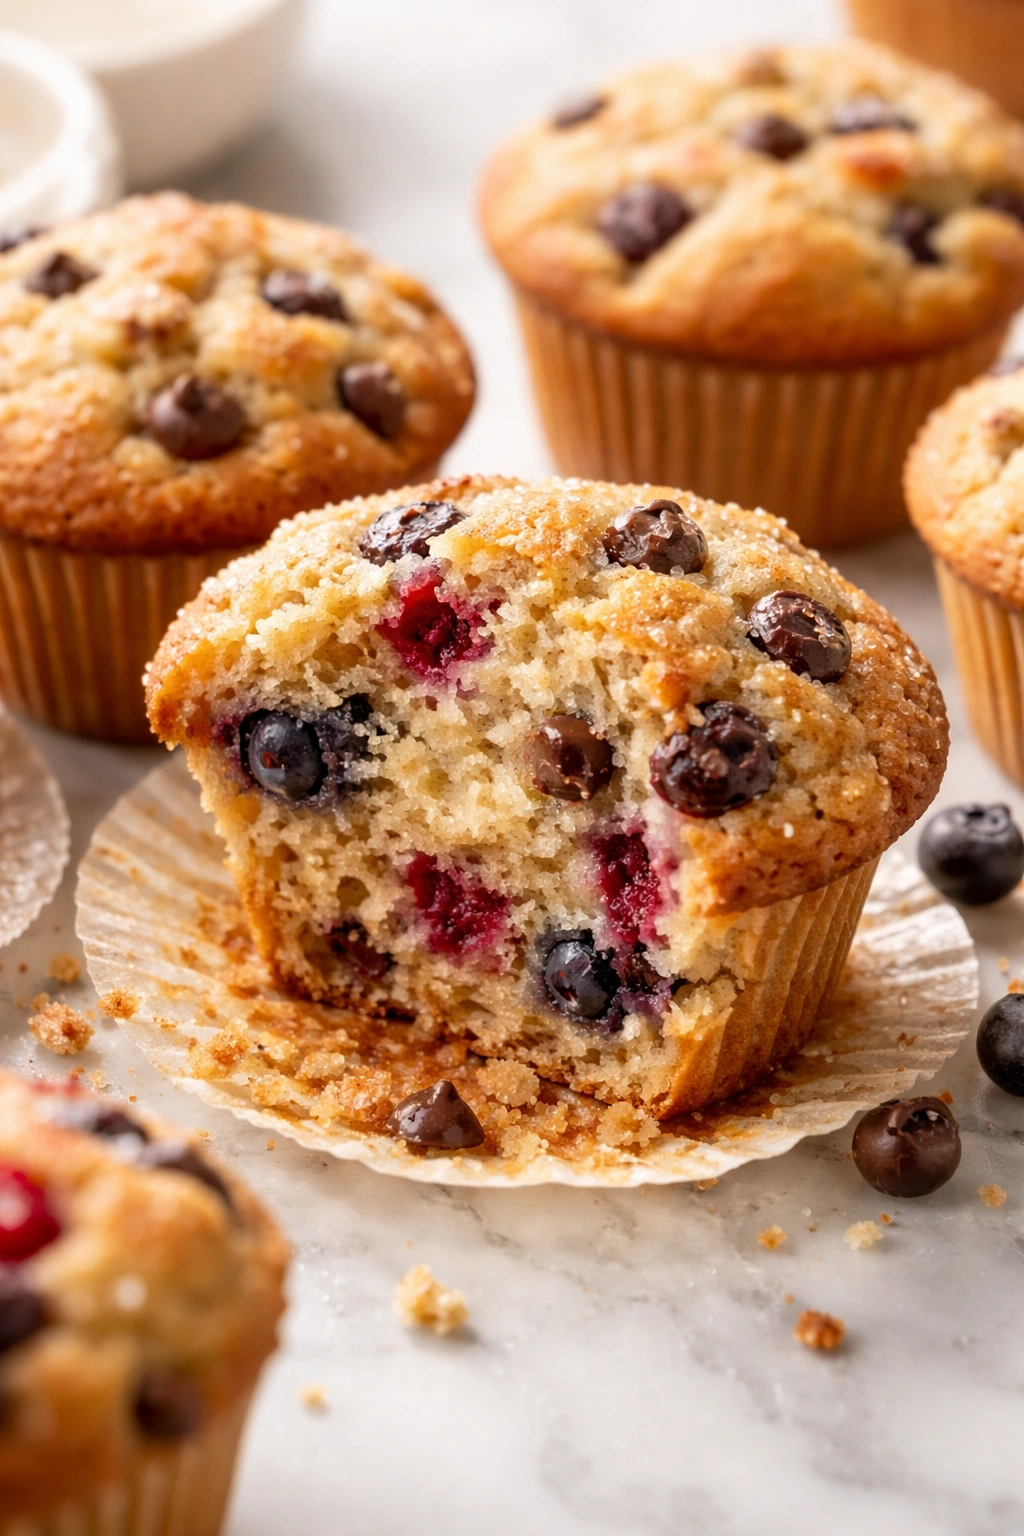
Berry Muffins
Add ¾ to 1 cup of fresh berries (blueberries, raspberries, blackberries, or a mix) to the batter after the final fold. Do not fold them in aggressively — just gently stir them through. If you’re using frozen berries, don’t thaw them; add them directly from the freezer, as this prevents them from leaking color and moisture into the batter. Fresh berries should be patted dry and tossed with a tablespoon of flour before adding, which helps them distribute evenly and prevents them from sinking to the bottom. These muffins are best eaten the same day or the next day, as the berries release moisture over time.
Chocolate Chip Muffins
Fold ¾ cup of chocolate chips into the batter after the final fold. Semisweet, dark chocolate, or a mix work beautifully. For more intense chocolate flavor, add 2 tablespoons of unsweetened cocoa powder to the flour mixture when you whisk it together, and reduce the sugar by 2 tablespoons to compensate.
Banana Muffins
Replace ¼ cup of the milk with mashed banana (roughly one ripe banana, mashed until smooth). Add the banana to the wet mixture before whisking so it blends in evenly. Banana muffins taste distinctly banana-forward and have an extra-moist crumb. If you prefer more subtle banana flavor, use only 2 tablespoons mashed banana instead.
Lemon or Orange Muffins
Add 1½ teaspoons of finely grated lemon or orange zest to the sugar before mixing, and replace ½ teaspoon of the vanilla with ½ teaspoon of citrus extract (optional but excellent). The zest will perfume the entire batch. These are bright, fresh, and fantastic with coffee.
Brown Butter Muffins
Melt the oil in a small saucepan over medium heat. Once it’s hot, add a few tablespoons of butter and let it cook until the milk solids turn golden and smell incredibly nutty — this takes 3 to 5 minutes. Watch carefully so it doesn’t burn. Strain the brown butter through cheesecloth or a fine mesh strainer to remove any solids, then let it cool before using it in place of the oil. Brown butter muffins have a sophisticated, rich, almost caramel-like flavor that elevates the simple recipe into something special.
Spiced Muffins
Add 1 teaspoon of ground cinnamon, ½ teaspoon of ground nutmeg, and ¼ teaspoon of ground ginger to the flour mixture. For even more spice impact, add ⅛ teaspoon of ground cloves. These muffins taste like fall and pair beautifully with coffee or tea.
Streusel Topping (For Extra Texture)
Before baking, sprinkle a streusel topping onto the unbaked muffin batter. Mix together ½ cup old-fashioned rolled oats, ¼ cup packed brown sugar, ¼ cup flour, 3 tablespoons melted butter, and ¼ teaspoon of salt. Sprinkle this mixture over the muffin cups before baking. The streusel bakes into a wonderful crunchy top that contrasts beautifully with the tender crumb.
Storing and Reheating Your Muffins
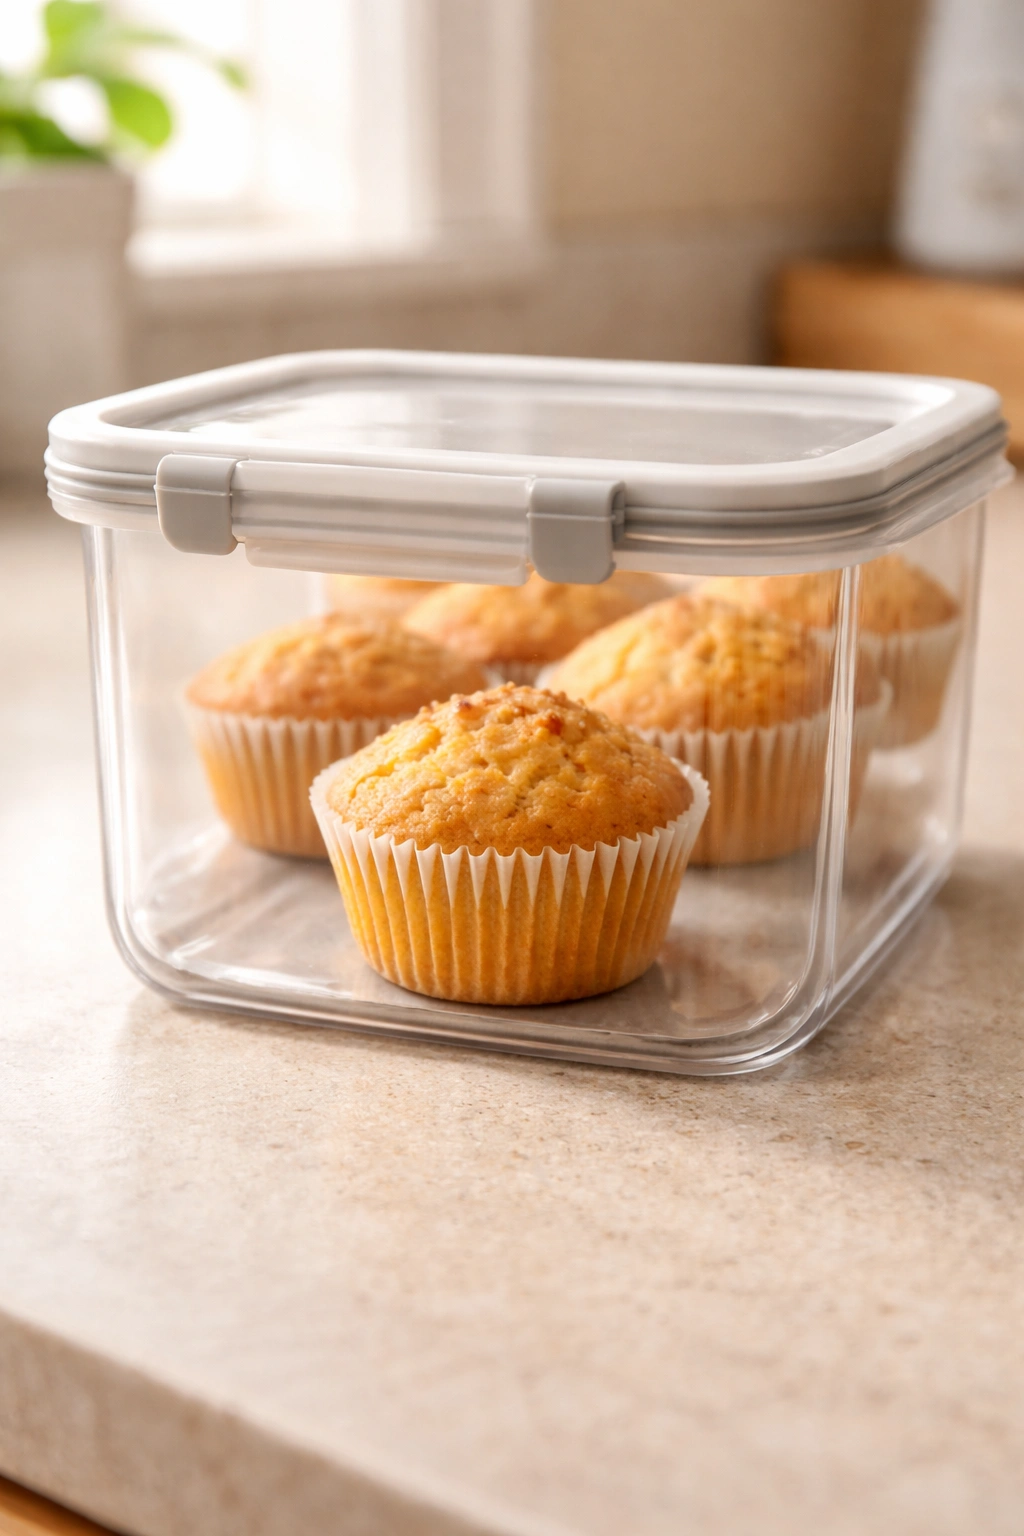
Properly stored muffins keep beautifully for several days, making this recipe even more practical for busy mornings.
At Room Temperature: Store baked muffins in an airtight container for up to 2 days. The oil in the batter keeps them moist, so they remain tender through day two without drying out. After a couple of days, they start losing freshness and the crumb becomes slightly dry.
In the Refrigerator: Muffins keep for up to 5 days in an airtight container in the refrigerator. Refrigeration slows any potential mold growth and extends their life. The cold makes them firmer, but they still taste good.
In the Freezer: Muffins freeze beautifully for up to 3 months in an airtight container or freezer bag. Freeze them in a single layer first so they don’t stick together, then transfer them to the container once fully frozen. To thaw, simply leave them on the counter for an hour or two, or reheat them in the oven.
Reheating Muffins: The best way to revive a day-old or frozen muffin is in a 350°F (175°C) oven for 8 to 10 minutes. This restores the tender crumb and warms them through without drying them out. Alternatively, wrap them loosely in a damp paper towel and microwave for 20 to 30 seconds — this steams them slightly and returns moisture to the crumb. The oven method is better if you have time, but the microwave works in a pinch.
Dietary Swaps and Substitutions
This recipe can be adapted for different dietary needs without sacrificing texture or flavor.
Gluten-Free: Replace the all-purpose flour with a high-quality gluten-free all-purpose flour blend that contains xanthan gum (this helps bind the crumb). Use the same amount and follow the recipe exactly. The texture will be slightly different — a bit more crumbly — but still delicious. Some gluten-free flour blends perform better than others, so this might take some experimentation to get just right in your kitchen.
Dairy-Free: Use a dairy-free milk like oat milk, almond milk, or coconut milk in place of cow’s milk. Avoid ultra-thin varieties; opt for “original” or “barista” blend if available, as these have a richer mouthfeel more similar to dairy milk. Everything else stays the same. Dairy-free muffins work beautifully with this recipe.
Vegan: Use a flax egg in place of the two regular eggs. Mix 2 tablespoons of ground flaxseed with 6 tablespoons of water and let sit for 5 minutes until thickened. Use this in place of the two eggs. Use dairy-free milk as described above. The muffins will be slightly denser than the original but still tasty and tender.
Lower Sugar: Reduce the sugar to ½ cup and add ½ teaspoon of baking soda (on top of the ½ teaspoon already in the recipe). This helps compensate for the tenderizing effect that sugar provides. The muffins won’t be quite as tender, but they’ll still be quite good. You can also add more vanilla extract — up to 1½ teaspoons total — to amplify sweetness perception without adding sugar.
Serving Suggestions and Pairings
The versatility of these muffins means they work in virtually any context.
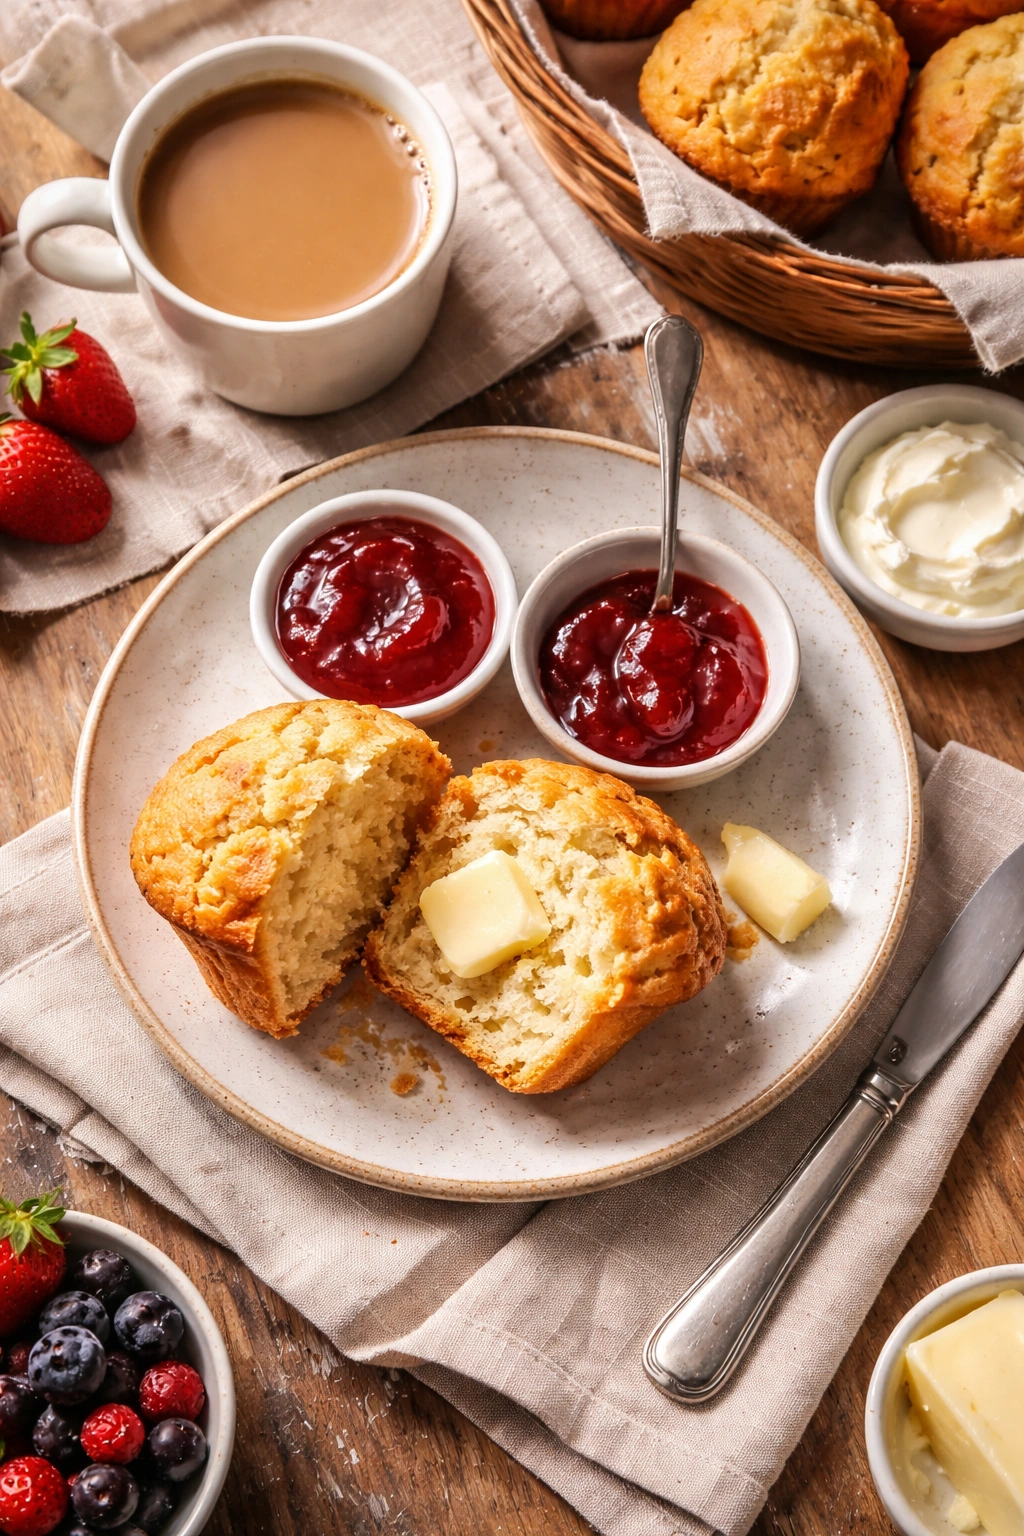
For Breakfast or Brunch: Serve them warm with softened butter, jam, or honey. A simple spread of butter melting into a still-warm muffin is one of life’s underrated pleasures. They pair beautifully with strong coffee, hot tea, or a cold glass of milk.
As a Snack: Pack them for work, school, or travel. They hold up well in backpacks and lunchboxes, and they’re substantial enough to keep hunger at bay between meals.
For Guests: Warm a batch in a 325°F oven for 5 minutes, arrange them in a basket lined with a cloth napkin, and serve alongside butter, jam, or cream cheese. Homemade muffins always make a good impression because they signal time and care.
With Accompaniments: A streusel-topped muffin pairs beautifully with vanilla yogurt for a light breakfast. Chocolate chip muffins work well with whipped cream for a more indulgent version. Lemon muffins are wonderful with a thin spread of lemon curd.
For Parties and Events: These muffins are perfect for brunches, bake sales, or potlucks. Make a double batch, frost them lightly with cream cheese frosting if you want something fancier, or leave them plain and let the flavor speak for itself.
Final Thoughts
This recipe exists because the best recipes are the ones you actually use. There’s no finesse required, no special equipment, and no tricks that seem impossible on a Monday morning when you’re still groggy. What you get instead is something better: consistent, delicious muffins that taste like they came from a bakery but that you made yourself in your own kitchen.
Once you’ve made these a few times, you’ll know them by feel. You’ll understand how the batter should look and feel when it’s properly mixed. You’ll develop an intuition about whether your oven runs hot or cool. You’ll start experimenting with your own flavor combinations because the base is so stable. That’s when a recipe transforms from something you follow to something you own.
The real power of a foundational recipe like this is that it removes the guesswork from baking. You’re not wondering if your muffins will turn out — you know they will. That confidence changes how you approach the kitchen. It makes baking feel less like a risky science experiment and more like something you can actually accomplish on a regular weekday. And once you have this formula down, you never need another muffin recipe. You never need to wonder if that new recipe will work, or if the results will compare to what you’ve already made successfully a hundred times. You simply make these, in whatever flavor variation calls to you, and enjoy the results.